
The best moment in bread baking is when the lid comes off. Ten minutes earlier the loaf was pale and soft. Now it is deep caramel, crackling as it cools, and the whole kitchen smells like a bakery. That is what a dutch oven bread recipes collection is really about, and it is why I have baked almost nothing but cast iron for the last decade.
Here is the part most bread roundups miss: cast iron bakes far more than one crusty loaf. Artisan boules and sourdough, yes, but also skillet garlic bread, sticky cinnamon rolls, buttermilk biscuits, and the best cornbread you will ever pull out of an oven. Twenty one recipes below, organized by type, with the technique guidance to make any of them work.
If you are after the classic crusty loaf to start with, my dutch oven bread recipe has the full method. And if you want to see what else this pot can do, the best dutch oven recipes hub covers everything from pot roast to cobbler.

Quick Look at this Roundup
- ✅ Total Recipes: 21
- 🕒 Fastest Bake: 25 minutes (popovers and cornbread)
- 🥣 Categories: Artisan Loaves, Skillet and Pull-Apart, Sweet Breads, Biscuits, Cornbread
- 🏕️ Camping-Friendly: Yes, with a coal guide below
- 👪 Skill Level: Beginner friendly, most need no kneading
- ⭐ Most Popular: No Knead Dutch Oven Bread, Creamed Corn Cornbread, Cinnamon Rolls
Summarize and Save the Recipe
Jump to:
- Quick Look at this Roundup
- Why You Will Love Baking Bread in Cast Iron
- What Makes Cast Iron Bread Different
- How to Bake Bread in a Dutch Oven
- What Size Dutch Oven Do You Need for Bread
- Enameled or Bare Cast Iron: Which Bakes Better Bread
- Crusty Artisan Loaves in a Dutch Oven
- Cast Iron Skillet and Pull-Apart Breads
- Sweet Breads and Rolls
- Cast Iron Biscuits and Popovers
- Cast Iron Cornbread
- Quick Breads: The Fastest Way Into Cast Iron Baking
- Baking Bread in a Camp Dutch Oven Over Coals
- Bonus: The Dough That Is Not Quite Bread
- Troubleshooting Cast Iron Bread
- Dutch Oven Bread FAQs
- More Cast Iron Recipes You Will Love
Why You Will Love Baking Bread in Cast Iron
- It fixes the crust problem. Home ovens vent steam, so the crust sets before the loaf finishes rising. A lidded Dutch oven does not.
- No kneading required. Most of these are mix, wait, bake. The pot does the hard part.
- One pot, every kind of bread. Lean loaves, enriched doughs, quick breads, and cornbread all come out of the same iron.
- It works at camp. Same pot, coals instead of an oven element, and a guide below for the briquette math.
What Makes Cast Iron Bread Different
A loaf of dough is roughly forty percent water by weight. In the first ten minutes of baking, the surface gives off steam. In an open oven that steam vents away, the crust sets early, and the loaf stops growing. Under a lid it has nowhere to go, so it stays pressed against the dough, keeps the surface soft and stretchy, and lets the loaf keep climbing for several extra minutes. Bakers call that oven spring. When the lid comes off, the now dry heat sets and browns the crust.
This is why you do not add water. No ice cubes in the pot, no misting, no pan of water on the rack below. The dough supplies its own steam, and adding more just makes the crust leathery instead of crisp.
Cast iron works better than a lighter pot for one reason: mass. A preheated iron Dutch oven holds an enormous reserve of heat, so when cold dough drops in, the temperature barely dips. The pot behaves like a small oven inside your oven, holding steady high heat right against the loaf.
Here is the part almost nobody explains, and it is the reason this page is organized the way it is. Not every bread wants trapped steam. Lean doughs do. Enriched and sweet doughs want the opposite: lower heat, greased iron, lid off, so they brown and caramelize instead of steaming. Cornbread wants a preheated greased skillet so the batter hits hot fat and sets a crisp edge. Same pot, three different playbooks.
If your cast iron needs some attention before you start, my cast iron care guide covers seasoning and cleanup.
How to Bake Bread in a Dutch Oven
Every guide out there gives you a different temperature and a different preheat, which is confusing when you are just trying to get one loaf right. Here is how I actually do it, and why.
Preheating the Pot
There are two schools. Preheated pot: the Dutch oven goes in lid on, into a cold oven, set to 450°F. Once the oven hits temperature, hold it another twenty minutes. This gives the best oven spring. Cold start: the shaped dough goes into a cold lined pot and both go into a 425°F oven together. Add five to ten minutes to the covered bake and accept slightly less rise.
Either way, always start the pot in a cold oven and let it come up with the heat. Sliding a room temperature enameled pot into an oven already at 450°F is thermal shock, and it is exactly how enamel crazes and cracks. For your first loaf, use the cold start at 425°F. It is far more forgiving, and you can move up once the dough is dialed in.
Lid On, Lid Off
- Lid on: 30 to 35 minutes. This is the rise and set phase. Do not peek. Lifting the lid dumps the steam that is doing all the work.
- Lid off: 10 to 15 minutes. This is the browning phase. Watch it instead of timing it, and pull the loaf at deep caramel.
- Gas or convection oven: cut the lid off time to 5 to 10 minutes. These run hotter at the base and will scorch the bottom and the scored ridges.
How to Tell When It Is Done
Almost nobody gives you a number for this, and it is the single easiest way to stop guessing. Use an instant read thermometer in the center of the loaf.
- Lean artisan loaves: 205°F to 210°F internal.
- Enriched and sweet doughs like cinnamon rolls, monkey bread, and pull-aparts: 190°F to 195°F internal. They carry more fat and sugar and will dry out if you take them to 205°F.
The old tap the bottom and listen for a hollow sound trick does work, but it takes practice to read. A fifteen dollar thermometer removes the guessing entirely.
Cooling, and Why Impatience Ruins Bread
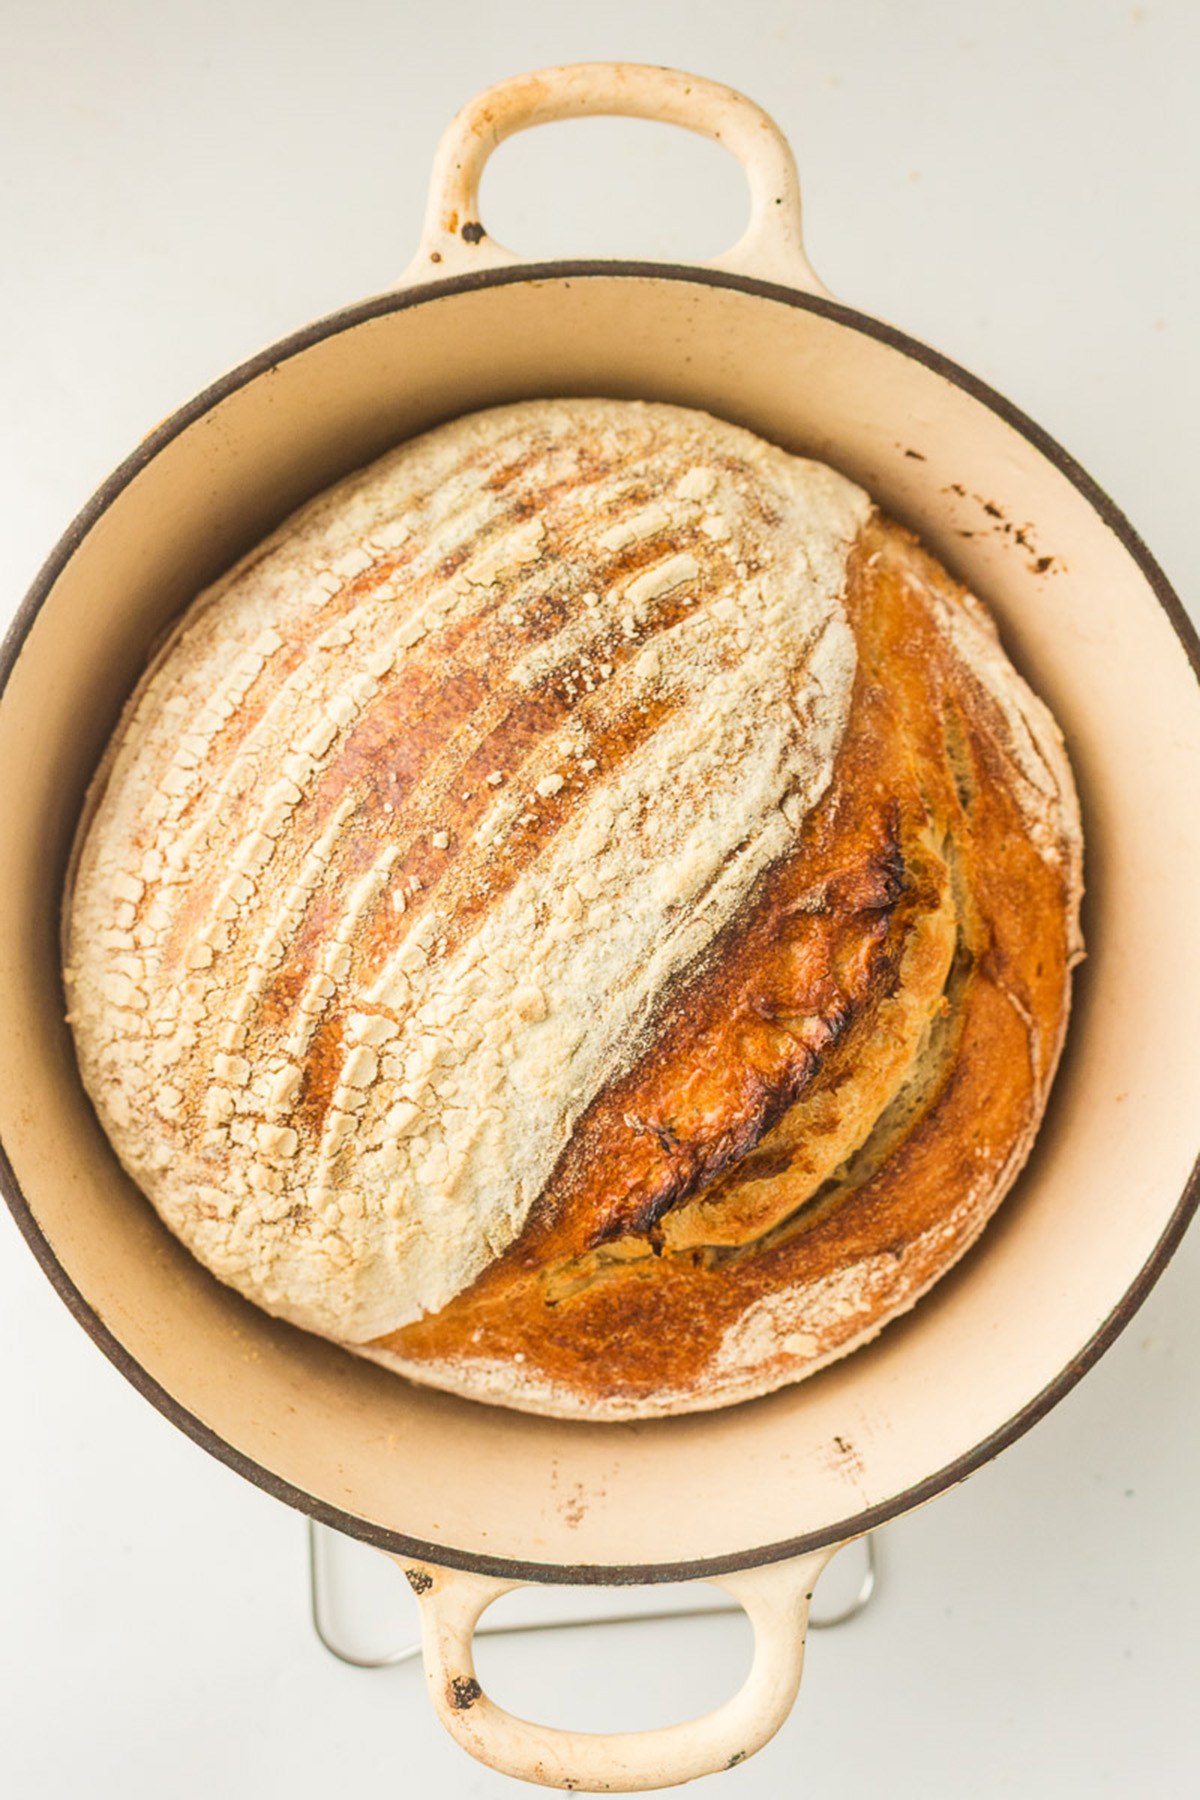
A loaf is still cooking when it comes out of the oven. Starch is setting and trapped moisture is redistributing through the crumb. Cut into it at ten minutes and that moisture escapes as steam, leaving a gummy, pasty texture that reads as underbaked even though the loaf was perfectly done. Give it thirty minutes minimum on a wire rack, and an hour is better. Quick breads and cornbread are the exception and are fine served warm.
Want to practice all of this on one loaf first? Start with my no knead dutch oven bread recipe.
What Size Dutch Oven Do You Need for Bread
Pot size matters more than most people expect, and getting it wrong is the most common reason a loaf comes out flat. Match the pot to the weight of your dough.
| Dough Weight | Pot Size | Result |
|---|---|---|
| 1 lb (about 450g) | 3 to 4 quart | Tall, tight boule |
| 1.5 lb (about 700g) | 4 to 5 quart | The sweet spot for most recipes |
| 2 lb (about 900g) | 5 to 6 quart | Standard artisan loaf |
| 2.5 lb and up | 7 quart or split into two loaves | Watch the lid clearance |
Pot too large and the dough has nothing to climb, so it spreads sideways into a flat wide disc instead of rising. That is the more common mistake. Pot too small and the loaf hits the lid, flattens on top, and scorches its crown against the hot iron.
Round pots give a better boule and oval pots suit a longer bâtard shape. If you own exactly one Dutch oven and want it to handle bread, make it a 5.5 or 6 quart round.
Enameled or Bare Cast Iron: Which Bakes Better Bread
Nearly every bread guide online assumes you have an enameled Dutch oven. Plenty of us are baking in bare seasoned iron, and it is not a compromise. In some ways it is the better tool.
- Both work. Bare seasoned iron has no enamel to crack and no thermal shock limit, and it will take 500°F without complaint.
- High heat will not hurt your seasoning. Polymerized seasoning is stable well past bread temperatures. This worries people more than it should.
- Do not oil the pot. Oil fries the base and blocks the crust from forming. Use parchment instead.
- Bare iron browns the bottom harder than enamel. Move the rack up one position or sprinkle cornmeal under the loaf to buffer it.
- Cleanup is easy. Scrape the burnt flour out dry, skip the long soak, dry the pot on the burner, and wipe on a thin coat of oil.
The Lid Knob Warning Nobody Gives You
This one can cost you a pot. Many enameled Dutch ovens ship with a phenolic or plastic lid knob rated well below bread baking temperature, commonly somewhere around 375°F to 400°F. Bake at 450°F with that knob installed and it can scorch, soften, or fail outright. Most manufacturers sell a stainless replacement knob for a few dollars and swapping it takes one screw. Check your own manufacturer rating before your first bake, because it varies by brand and model year. Bare cast iron lids have an integrated iron handle and no such limit, which is a genuine advantage for bread.
Crusty Artisan Loaves in a Dutch Oven
These are the loaves the lid was made for. Lean doughs of flour, water, yeast, and salt, baked hot and covered so the trapped steam gives you maximum rise and a crust that shatters when you cut it. Start with any of these four dutch oven bread recipes and you will understand the method for all of them.
Dutch Oven Bread (No Knead Crusty Loaf)
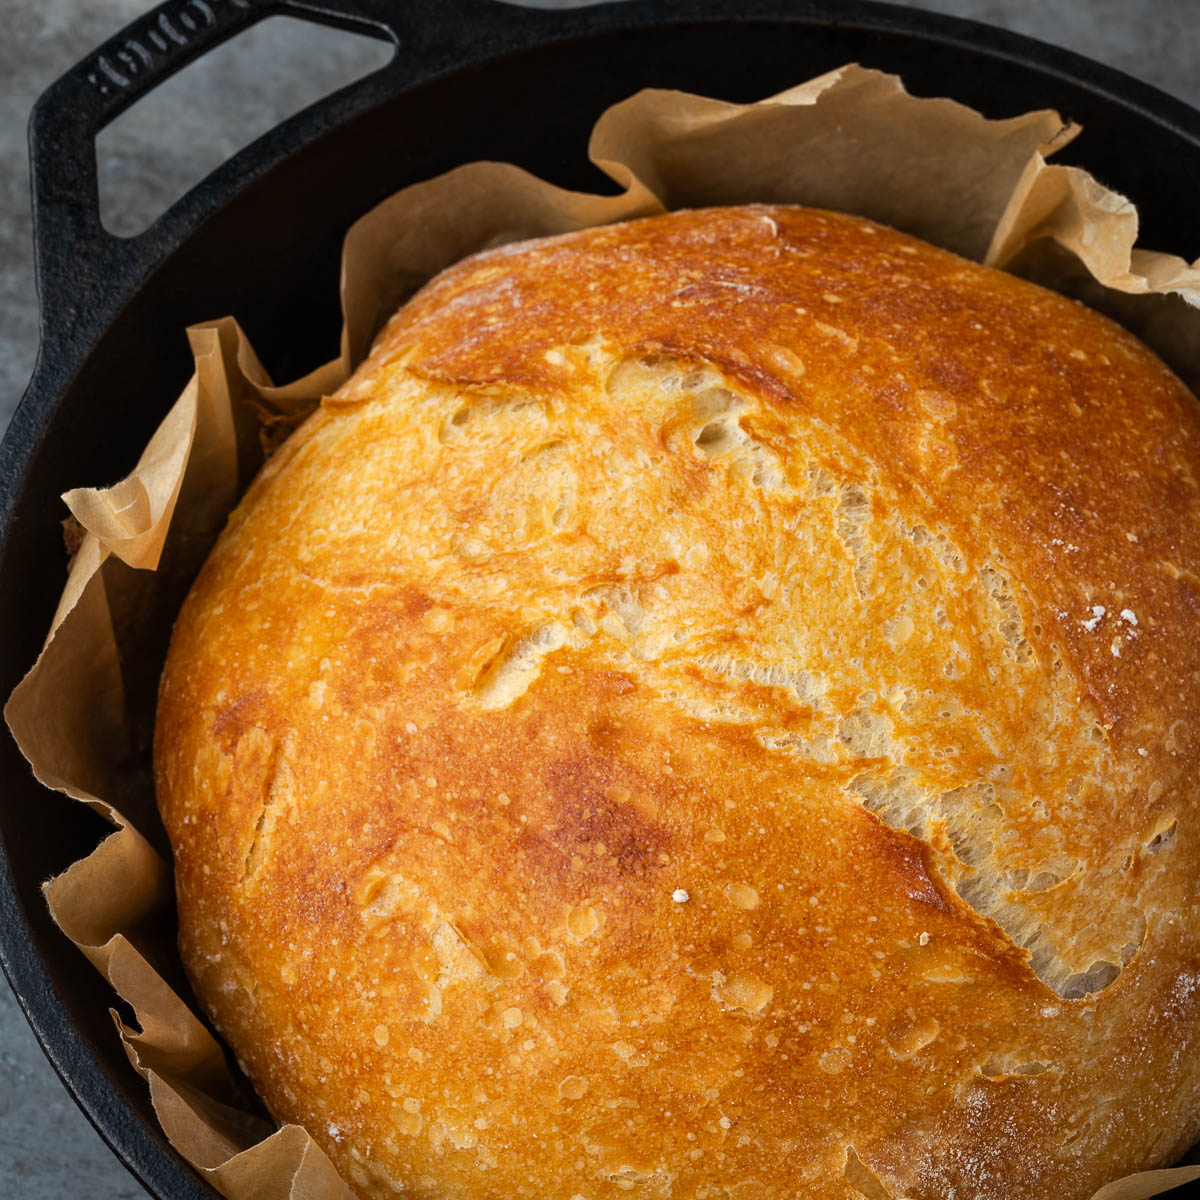
Start here. Four ingredients, no kneading, and a crust that crackles when you cut it. This is the loaf that teaches you everything else on this page, and it is the one I still bake most weeks. Dutch Oven Bread (No Knead Crusty Loaf) Recipe
Dutch Oven Sourdough Bread
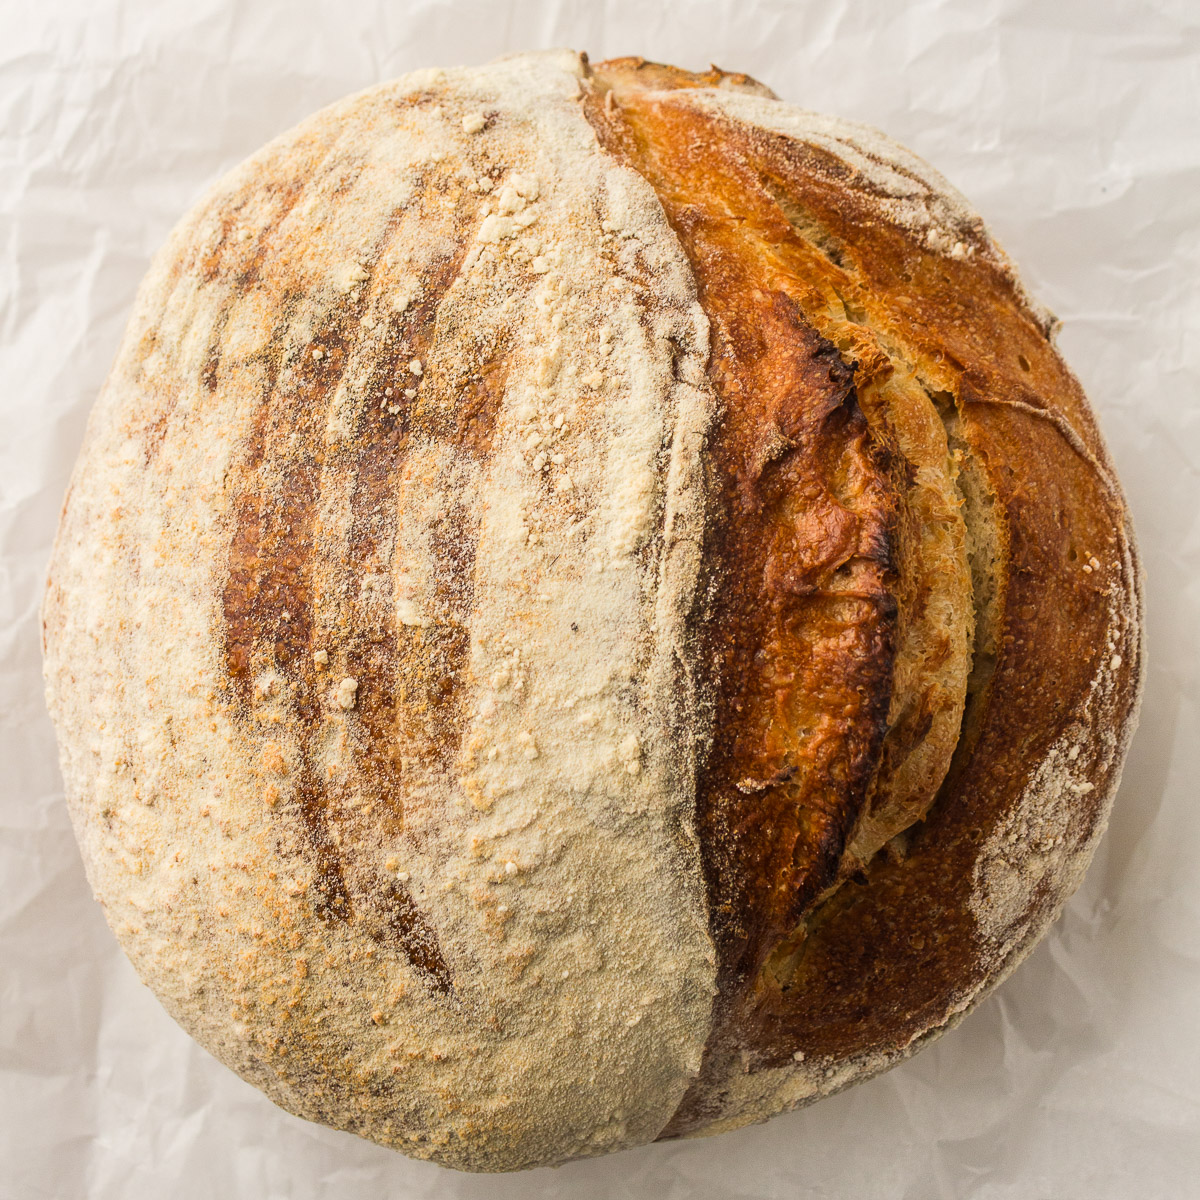
If you have a starter going, the Dutch oven is what turns it into a bakery loaf. Four ingredients, an open airy crumb, and that deep tangy flavor you cannot fake with commercial yeast. Dutch Oven Sourdough Bread Recipe
Artesian Italian Bread with Dipping Oil
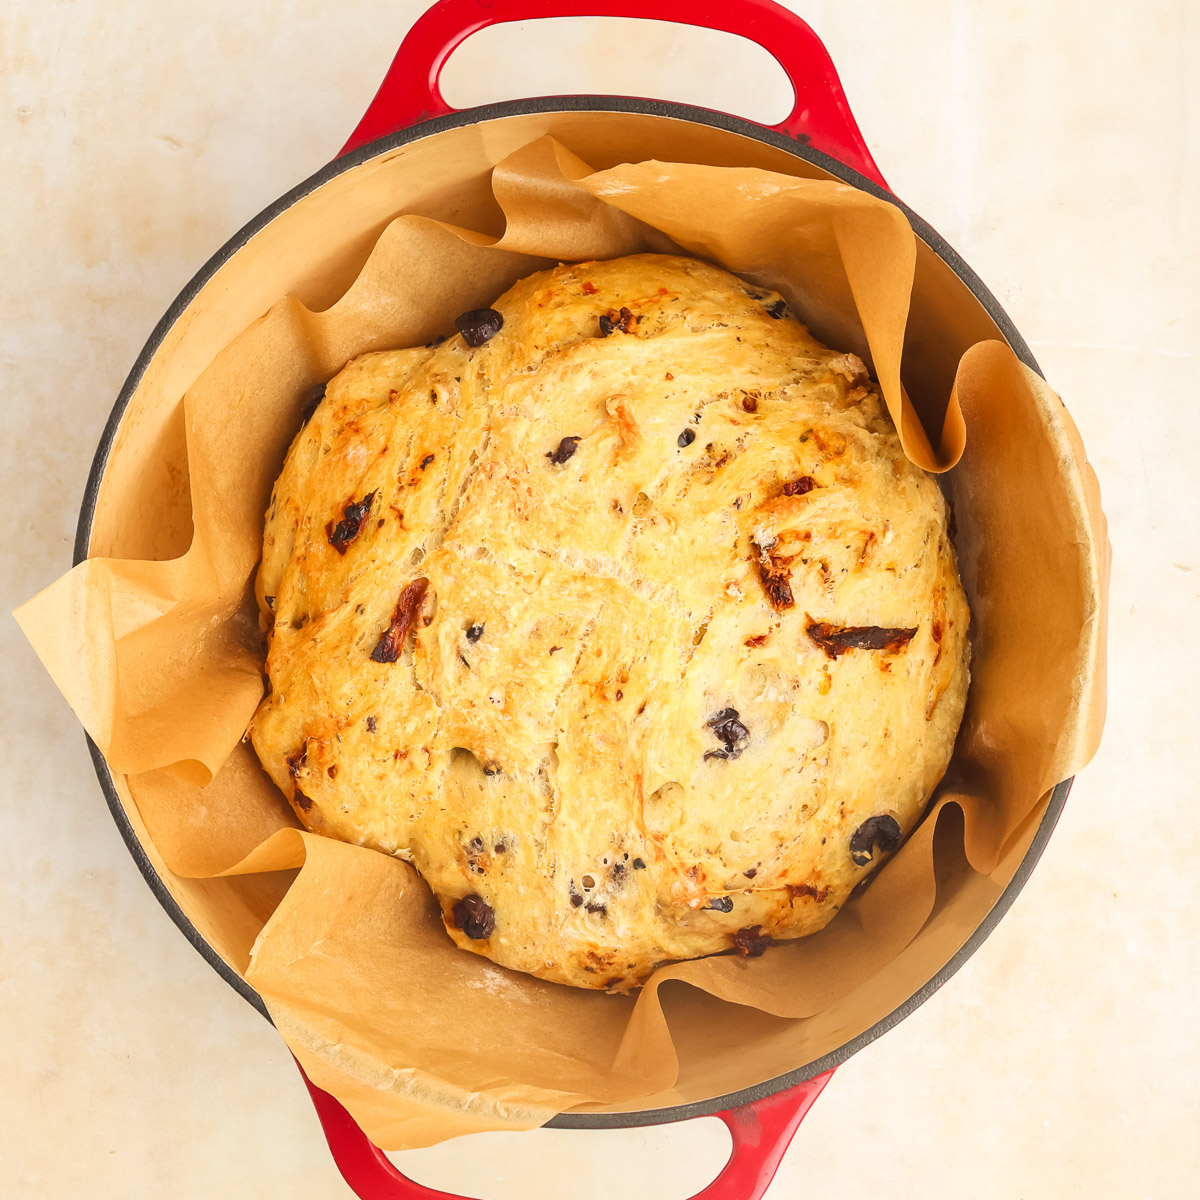
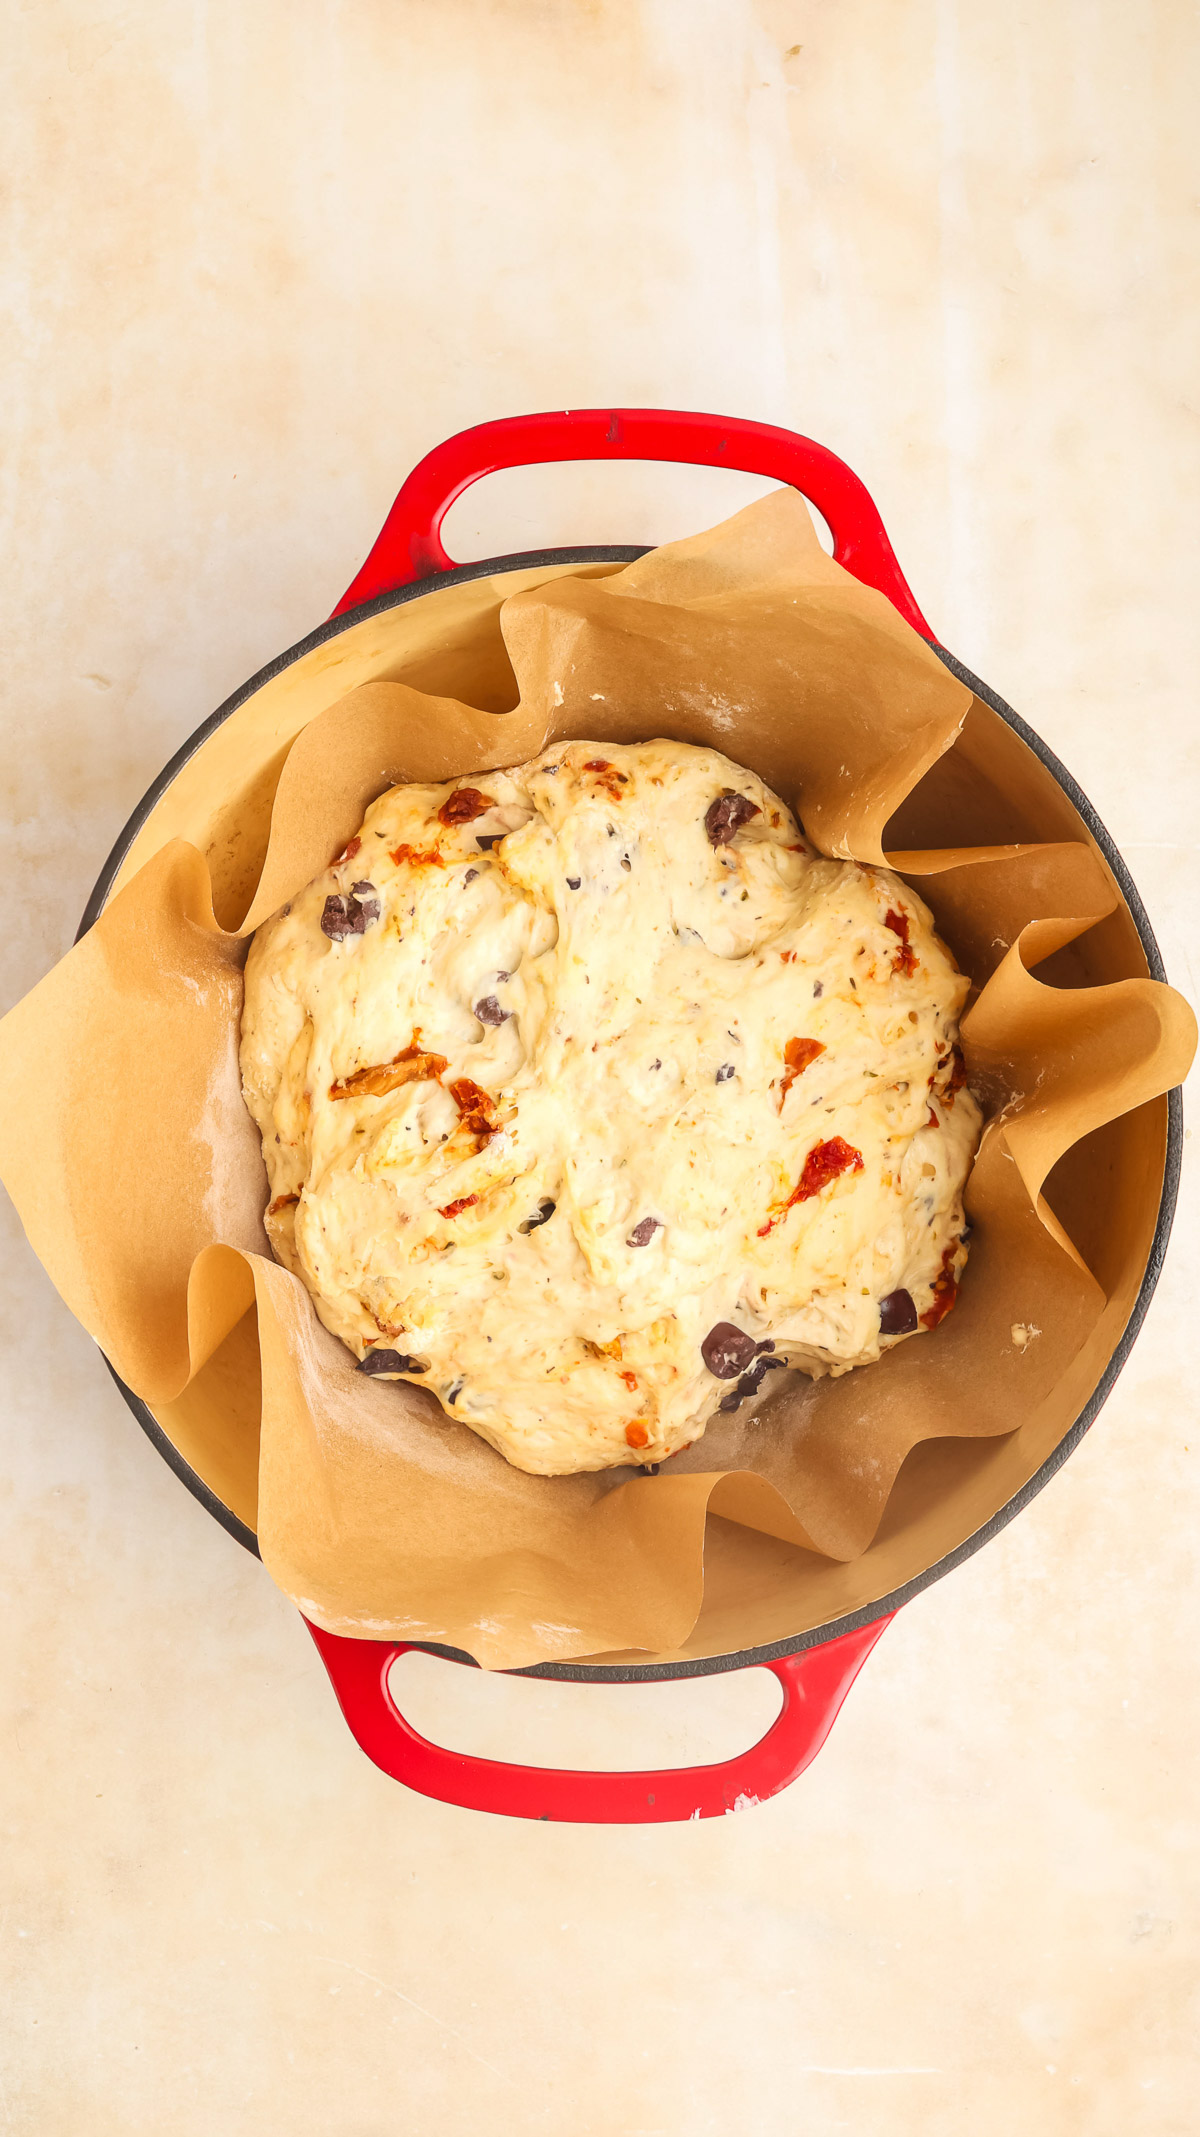
Kalamata olives, sun dried tomatoes, garlic, and oregano baked right into a no knead loaf. Serve it warm with the herb dipping oil and watch it disappear before dinner even starts. Artesian Italian Bread with Dipping Oil Recipe
Rosemary Garlic Bread
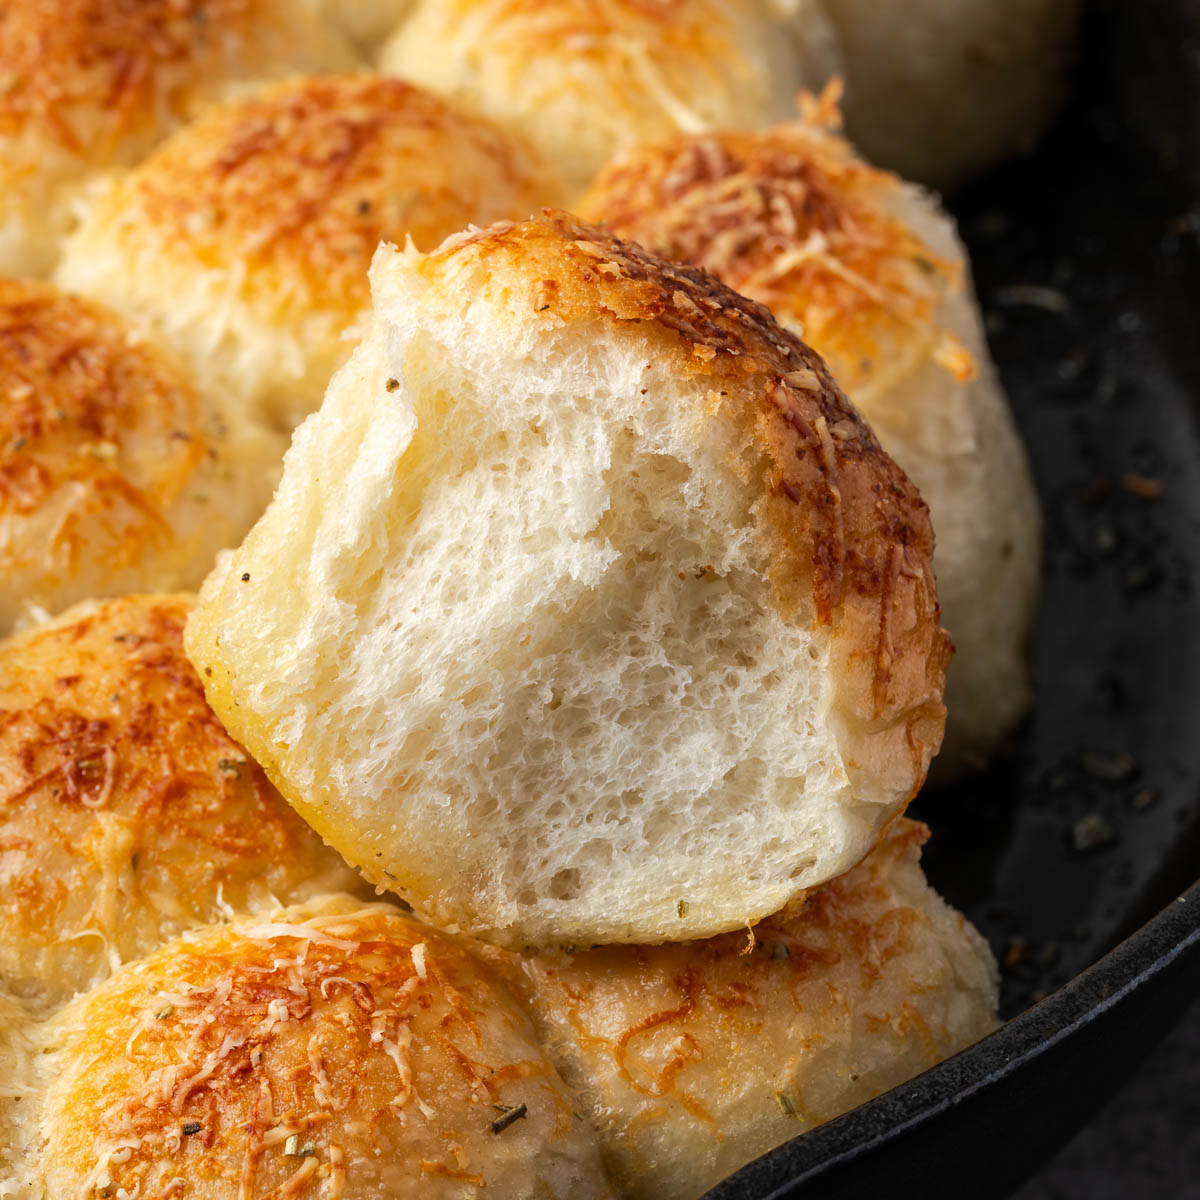
Five ingredients, golden crust, pillowy center, and enough garlic and rosemary to make the whole house smell incredible. This one works at home or over coals at the campsite, which is why it shows up on nearly every camping trip we take. Rosemary Garlic Bread Recipe
Cast Iron Skillet and Pull-Apart Breads
Now the playbook flips. Skillet bread bakes uncovered, because the goal here is browned edges and crisp bubbling cheese rather than trapped steam. These pull apart bread recipes are the ones that vanish first at a party, and a cast iron skillet is what gives them that crackling bottom crust.
Cast Iron Garlic Bread
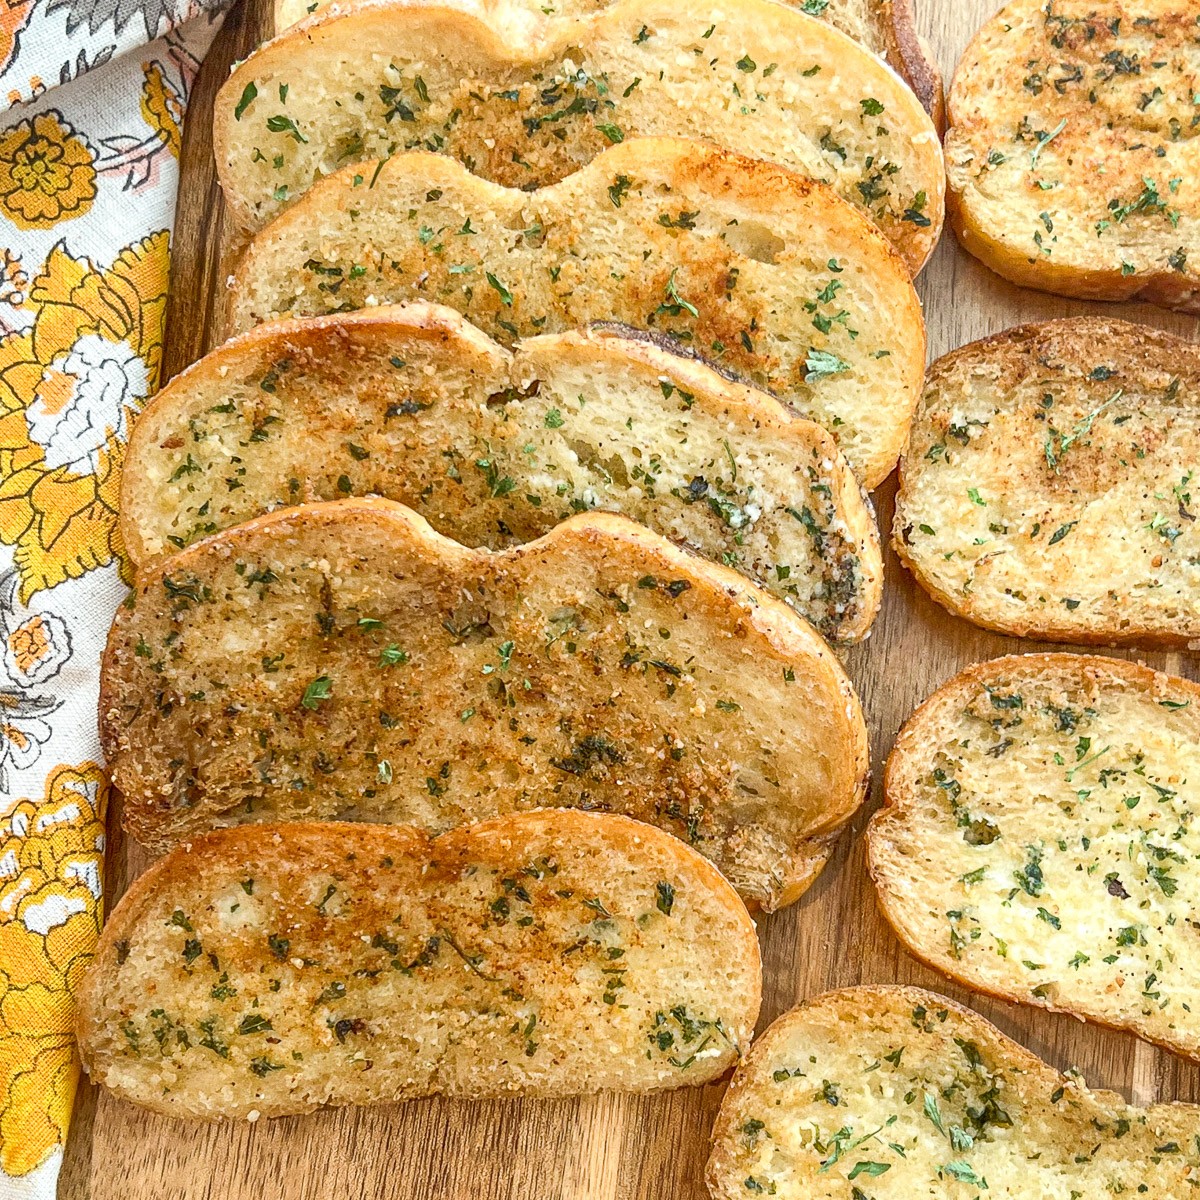
Buttery, garlicky, and crisp at the edges because the skillet toasts the bottom while the top broils. Your next pasta night deserves this, and it takes about fifteen minutes start to finish. Cast Iron Garlic Bread Recipe
Garlic Parmesan Pull Apart Bread
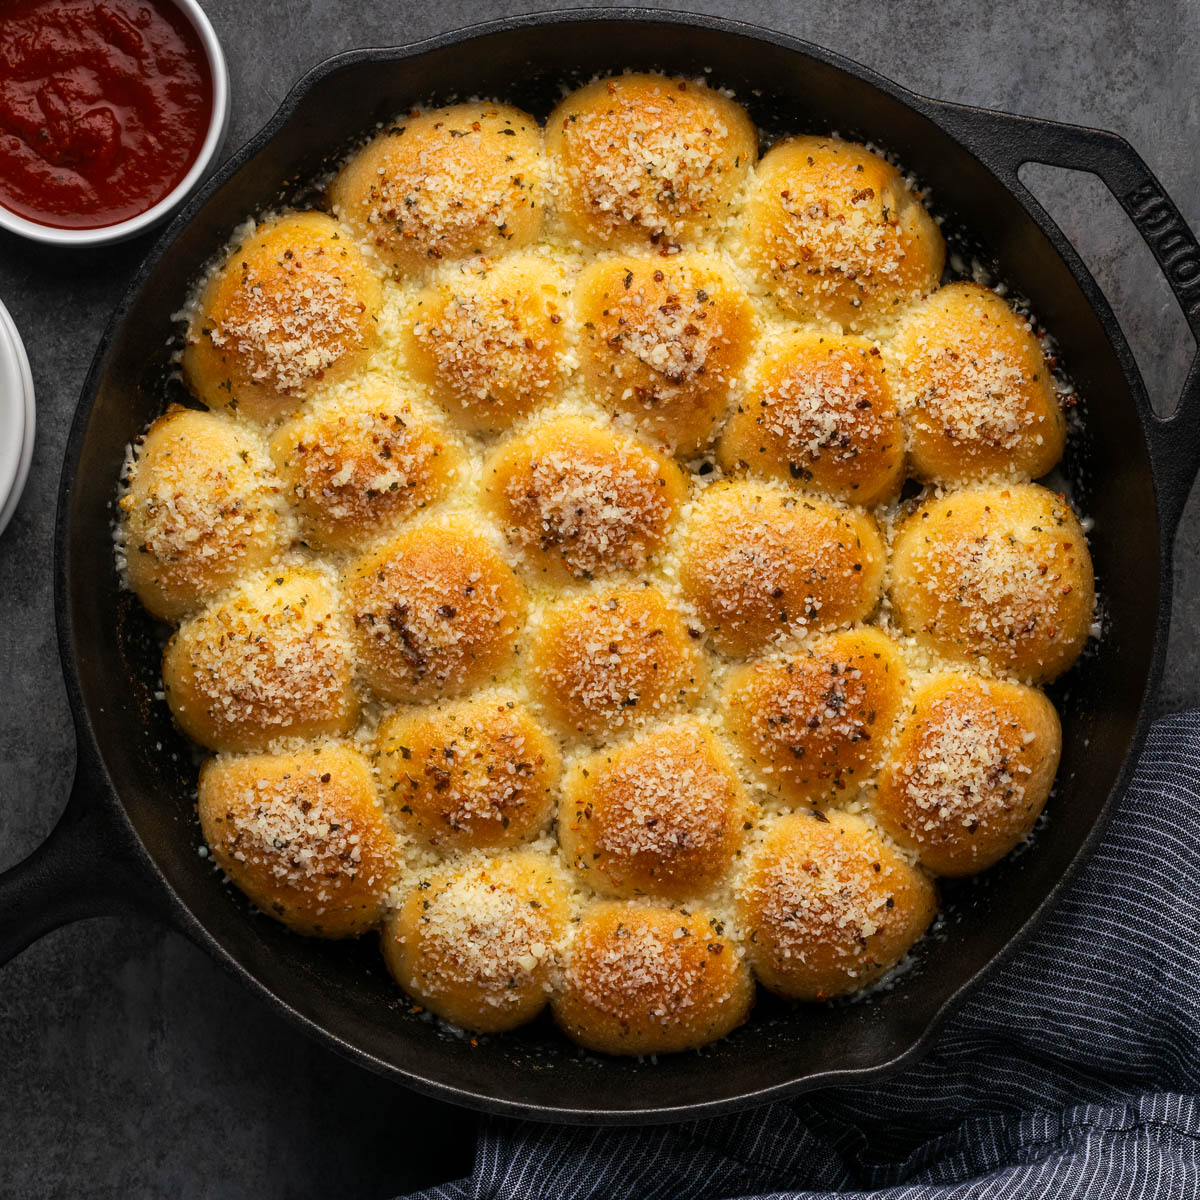
Soft rolls baked shoulder to shoulder in a skillet, then brushed with garlic butter and parmesan. People tear at this straight out of the pan, which is exactly the point. Garlic Parmesan Pull Apart Bread Recipe
Cheesy Pull Apart Bread
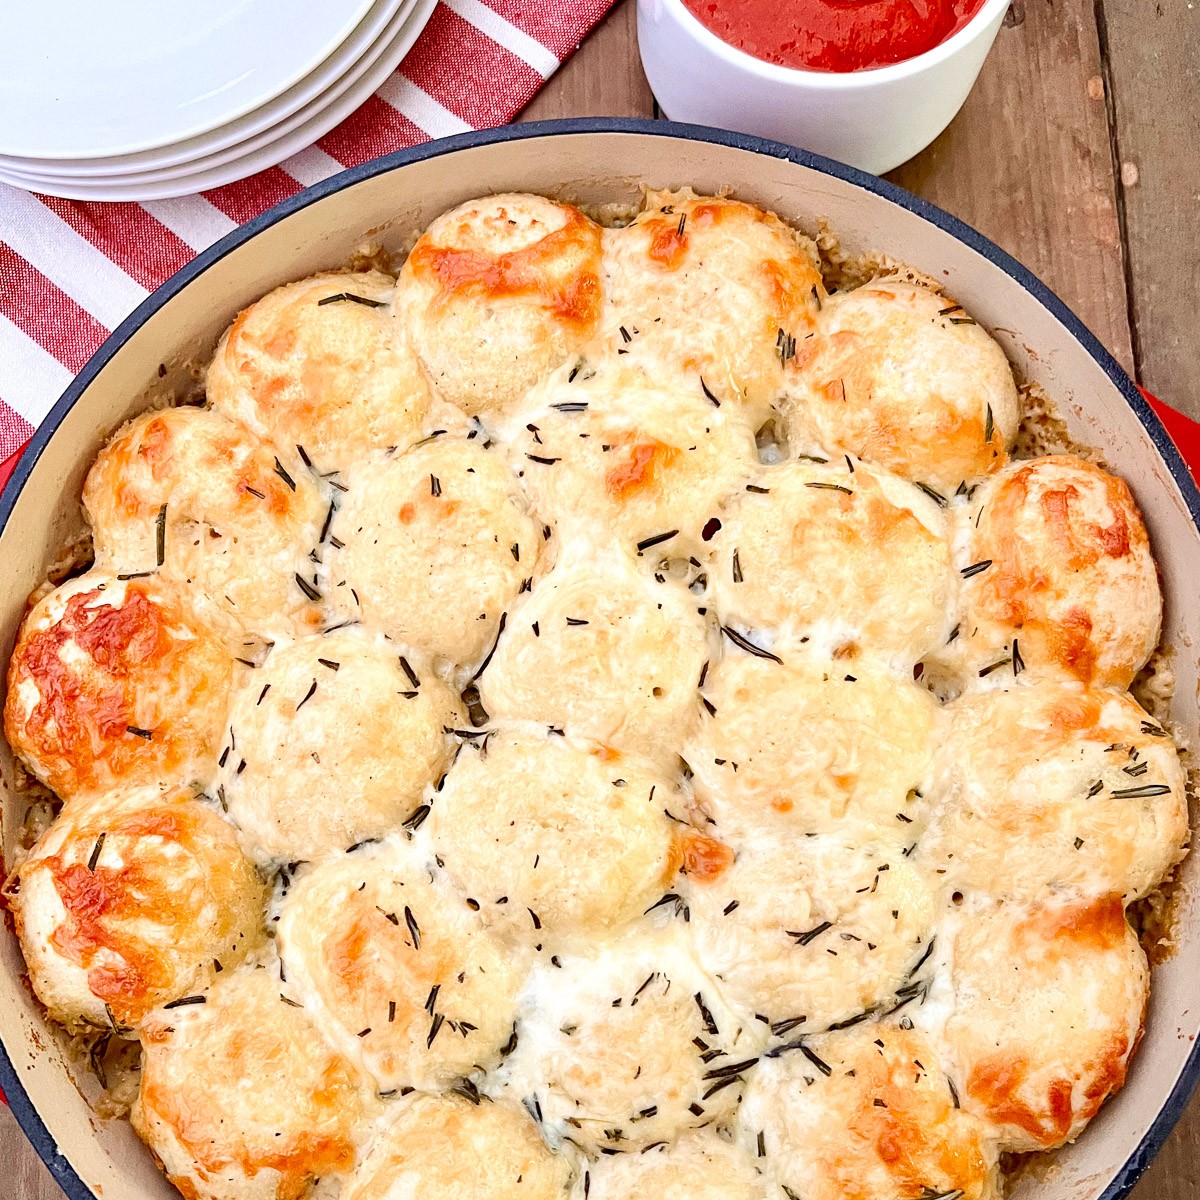
Alfredo sauce, garlic butter, and a serious amount of cheese, all tucked between fluffy rolls. Perfect for game day or any night you want an appetizer that doubles as dinner. Cheesy Pull Apart Bread Recipe
Sweet Breads and Rolls
Here is the single most useful thing to know about sweet bread recipes in cast iron: enriched doughs run the opposite playbook from artisan loaves. Bake them at 350°F to 375°F in a greased pot, do not preheat, and leave the lid off or barely on. You want browning and caramelization, not steam. And pull them at 190°F to 195°F internal, not 205°F, or the extra fat and sugar will dry them out.
Dutch Oven Cinnamon Rolls
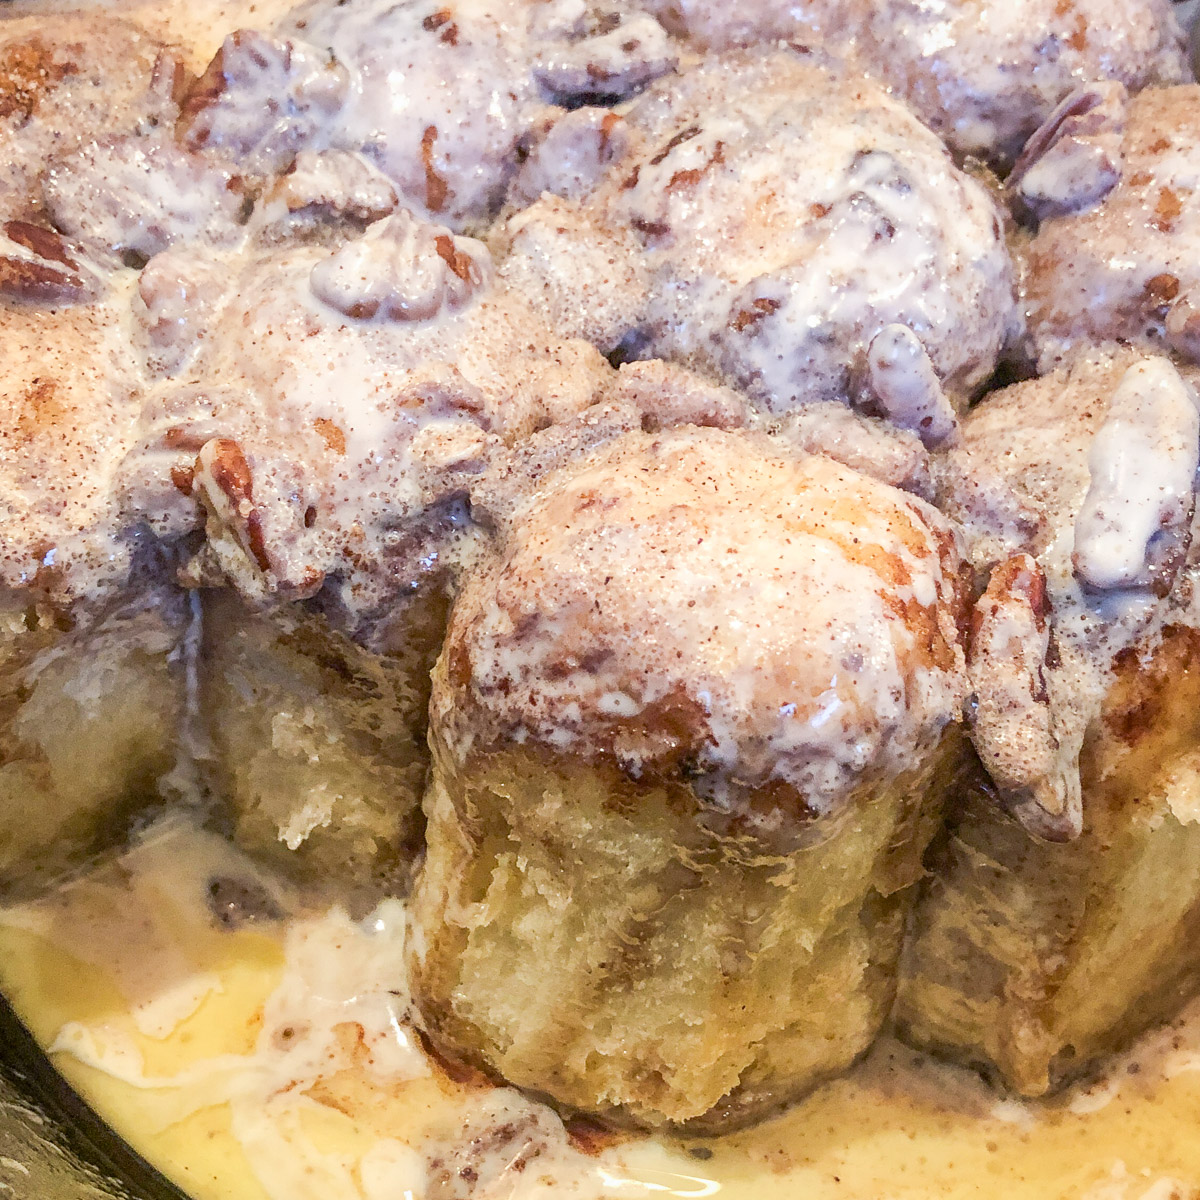
Ooey gooey classic cinnamon rolls with the edges caramelized against the iron. These are a camping breakfast staple at our place, and they work just as well in the kitchen oven. Dutch Oven Cinnamon Rolls Recipe
Monkey Bread with Butterscotch Pudding
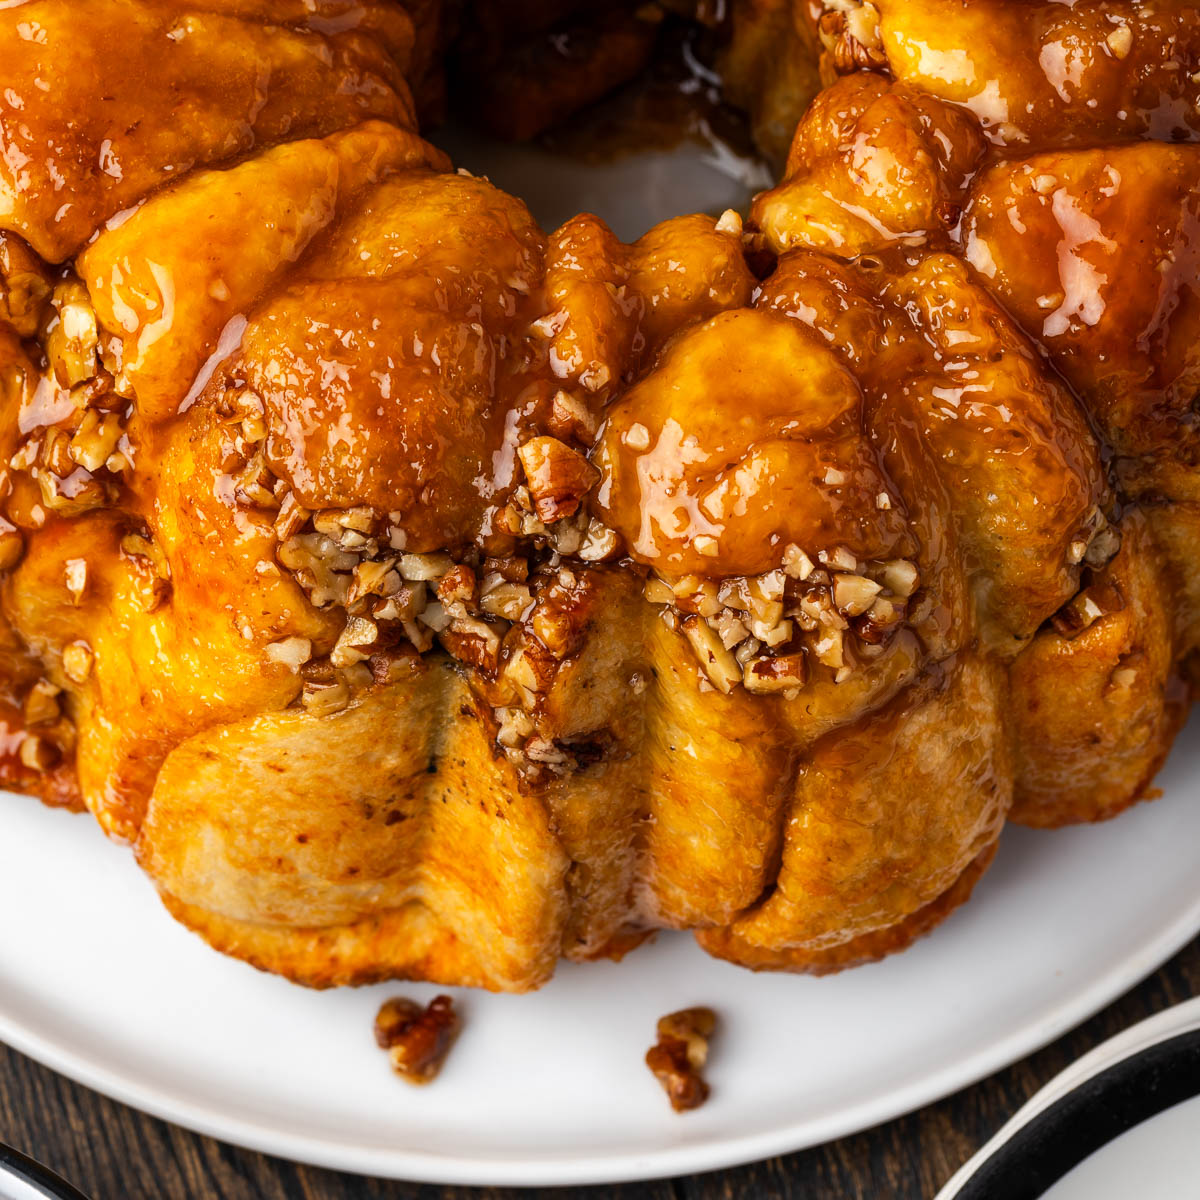
Butterscotch pudding mix is the trick here. It turns the caramel sauce thick and glossy instead of thin and runny, so every sticky piece holds onto it. Sunday morning material. Monkey Bread with Butterscotch Pudding Recipe
Sweet and Buttery Cherry Rolls
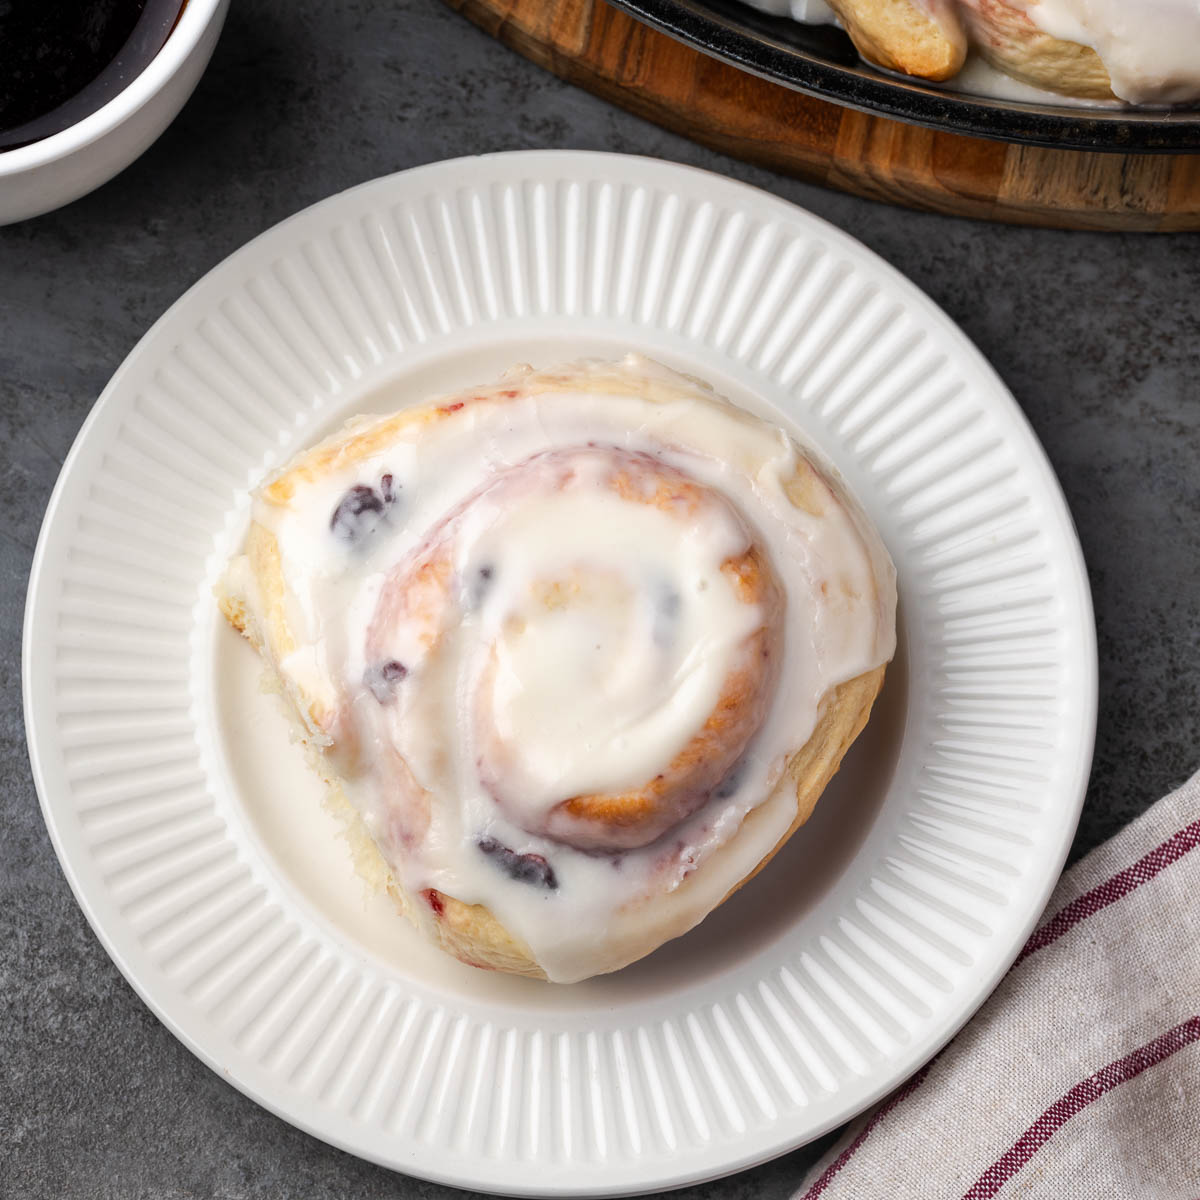
Tender rolls with sweet cherry filling and a simple glaze over the top. Easy enough for a weekday breakfast, pretty enough to put out for company. Sweet and Buttery Cherry Rolls Recipe
Bacon Banana Bread
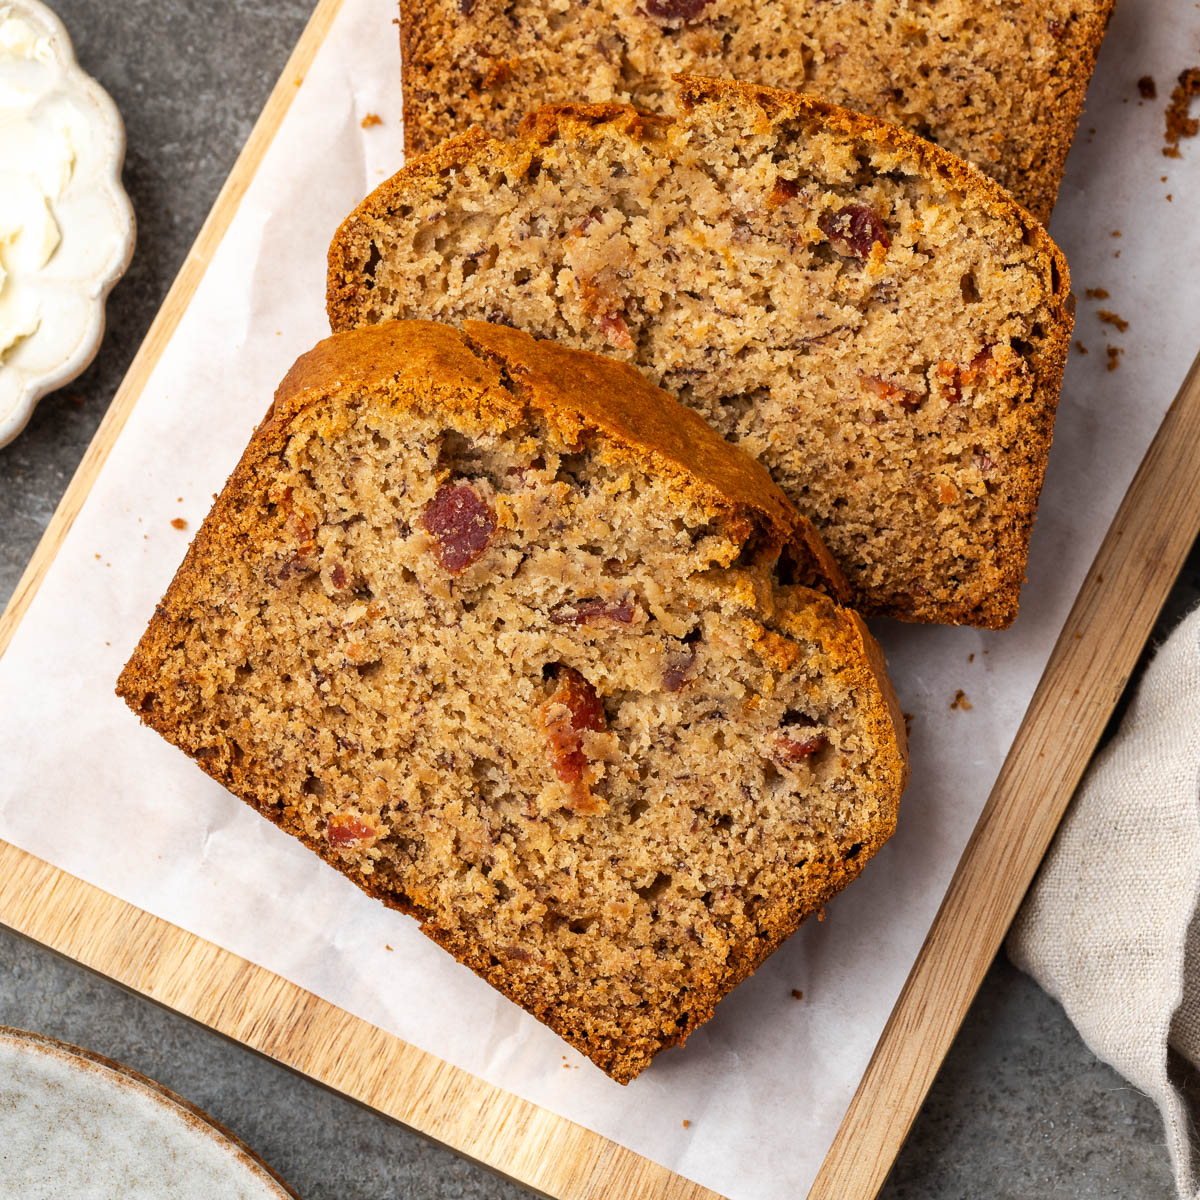
Salty bacon against sweet banana sounds odd until you try it, and then it makes complete sense. The cast iron gives the crust a chew that a loaf pan never will. Bacon Banana Bread Recipe
Dutch Oven Raspberry Bread
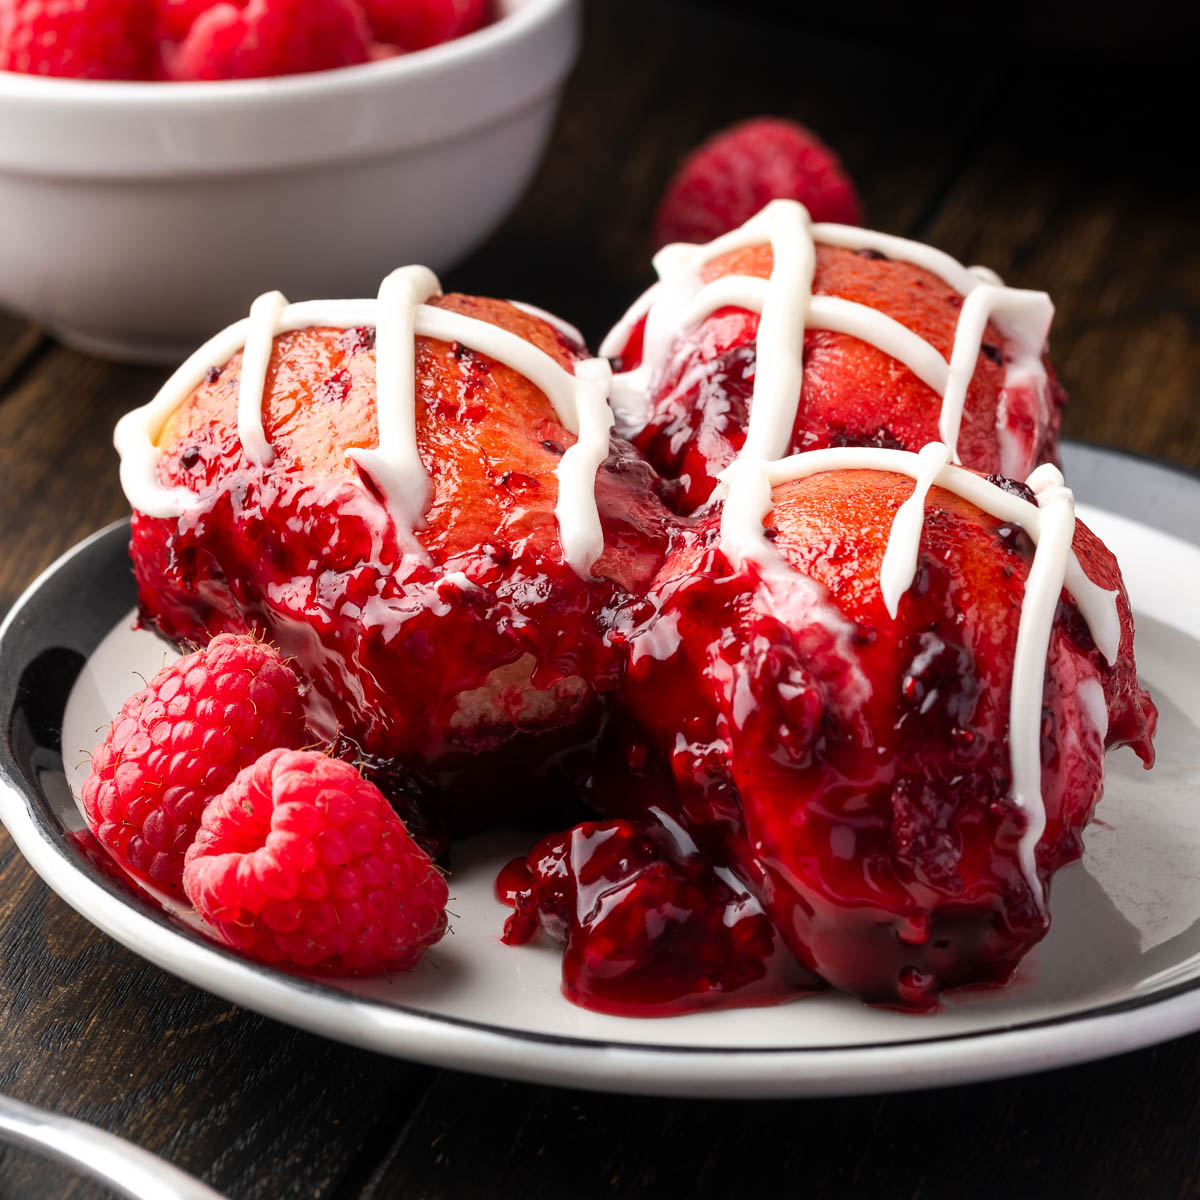
Tart raspberries folded into a soft sweet loaf. Good warm with butter for breakfast, good cold off the counter at ten at night, which is usually when ours goes. Dutch Oven Raspberry Bread Recipe
Cast Iron Biscuits and Popovers
What cast iron does for biscuits is simple: a screaming hot greased skillet sets the bottom crust instantly and drives the lift, which is why cast iron biscuits come out taller and crisper than anything off a sheet pan. Popovers need that same thermal mass, because their entire rise is steam looking for somewhere to go. These also work beautifully as dutch oven biscuits at the campsite.
Old-Fashioned Buttermilk Biscuits
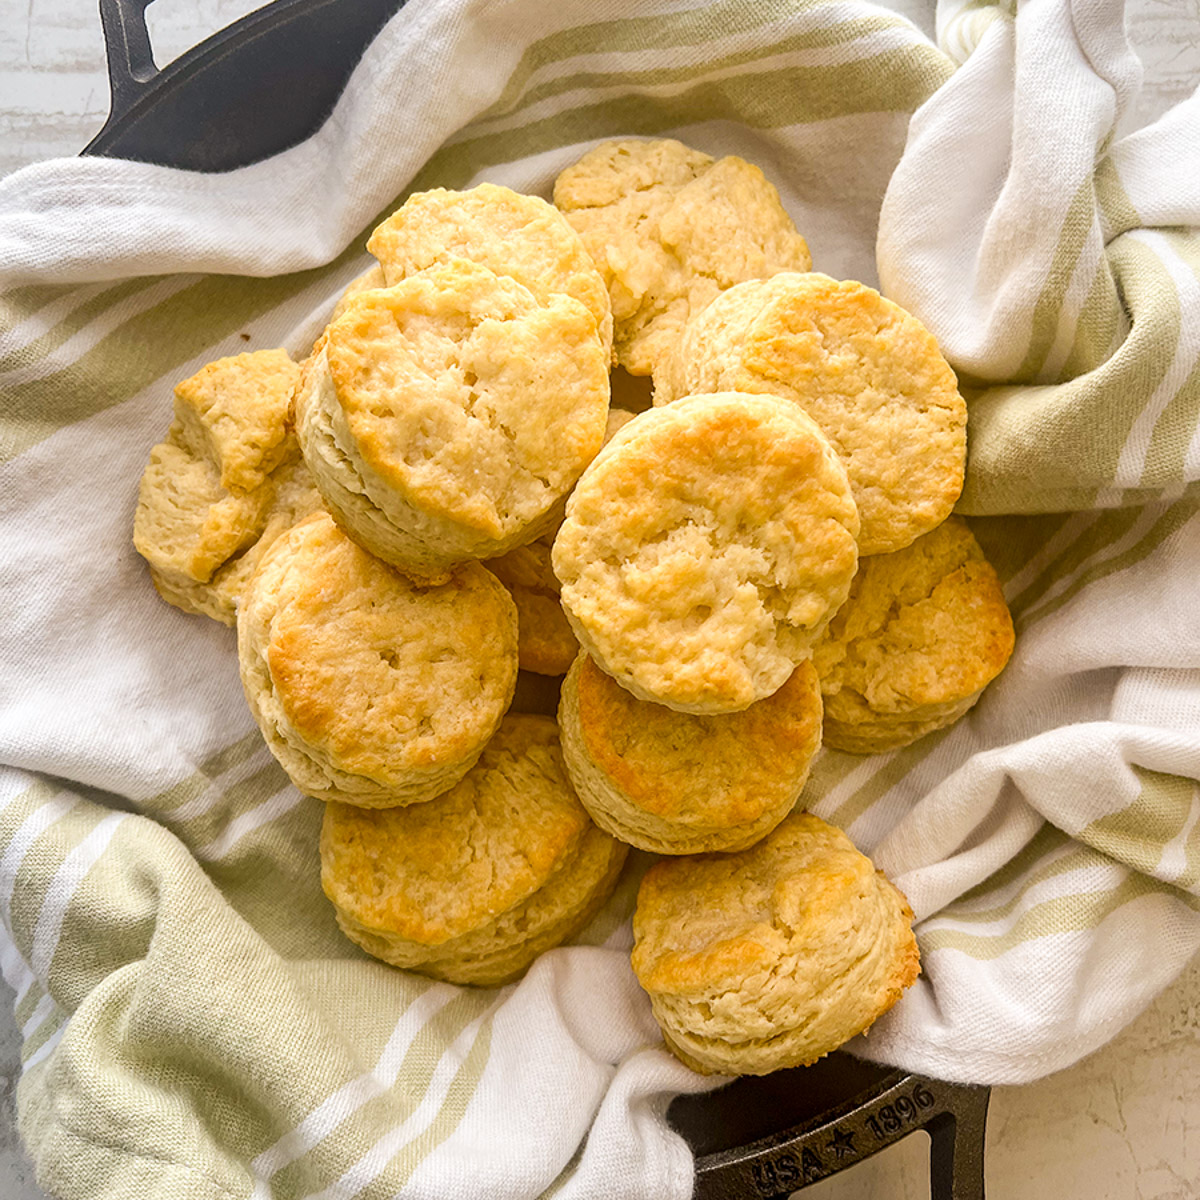
A Southern staple done right. Cold butter, cold buttermilk, and a screaming hot skillet give you a crisp bottom and layers you can peel apart. Nine out of ten times these are gone before the gravy is finished. Old-Fashioned Buttermilk Biscuits Recipe
Zesty Lemon Biscuits
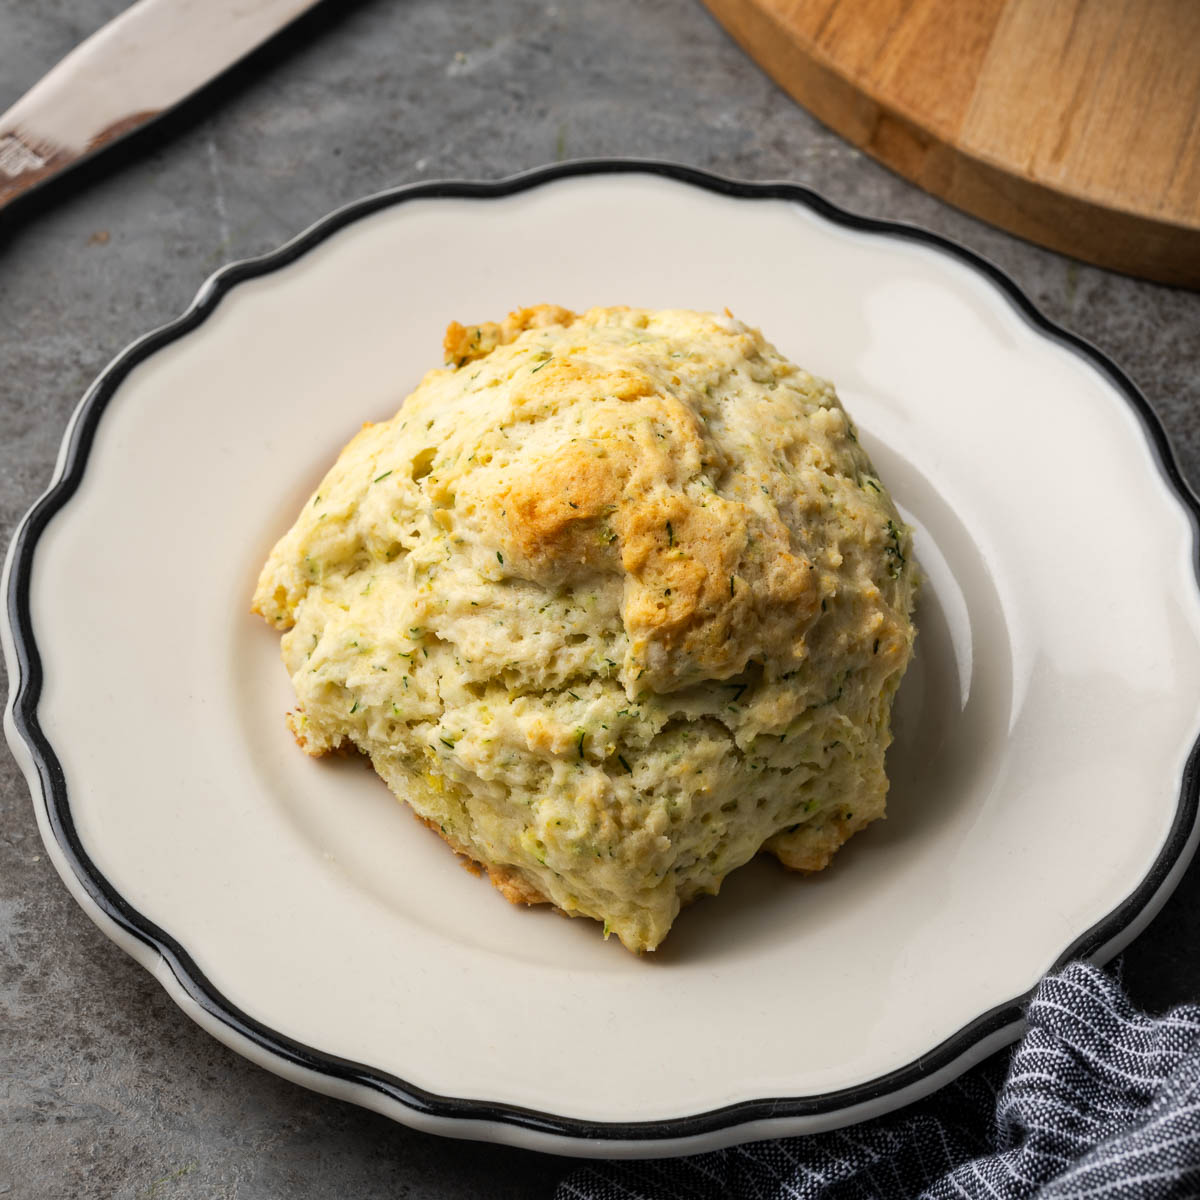
Bright lemon and fresh dill turn a plain biscuit into something worth talking about. These are the ones to make when you are serving fish or a spring dinner and want a side that keeps up. Zesty Lemon Biscuits Recipe
French Breakfast Puffs
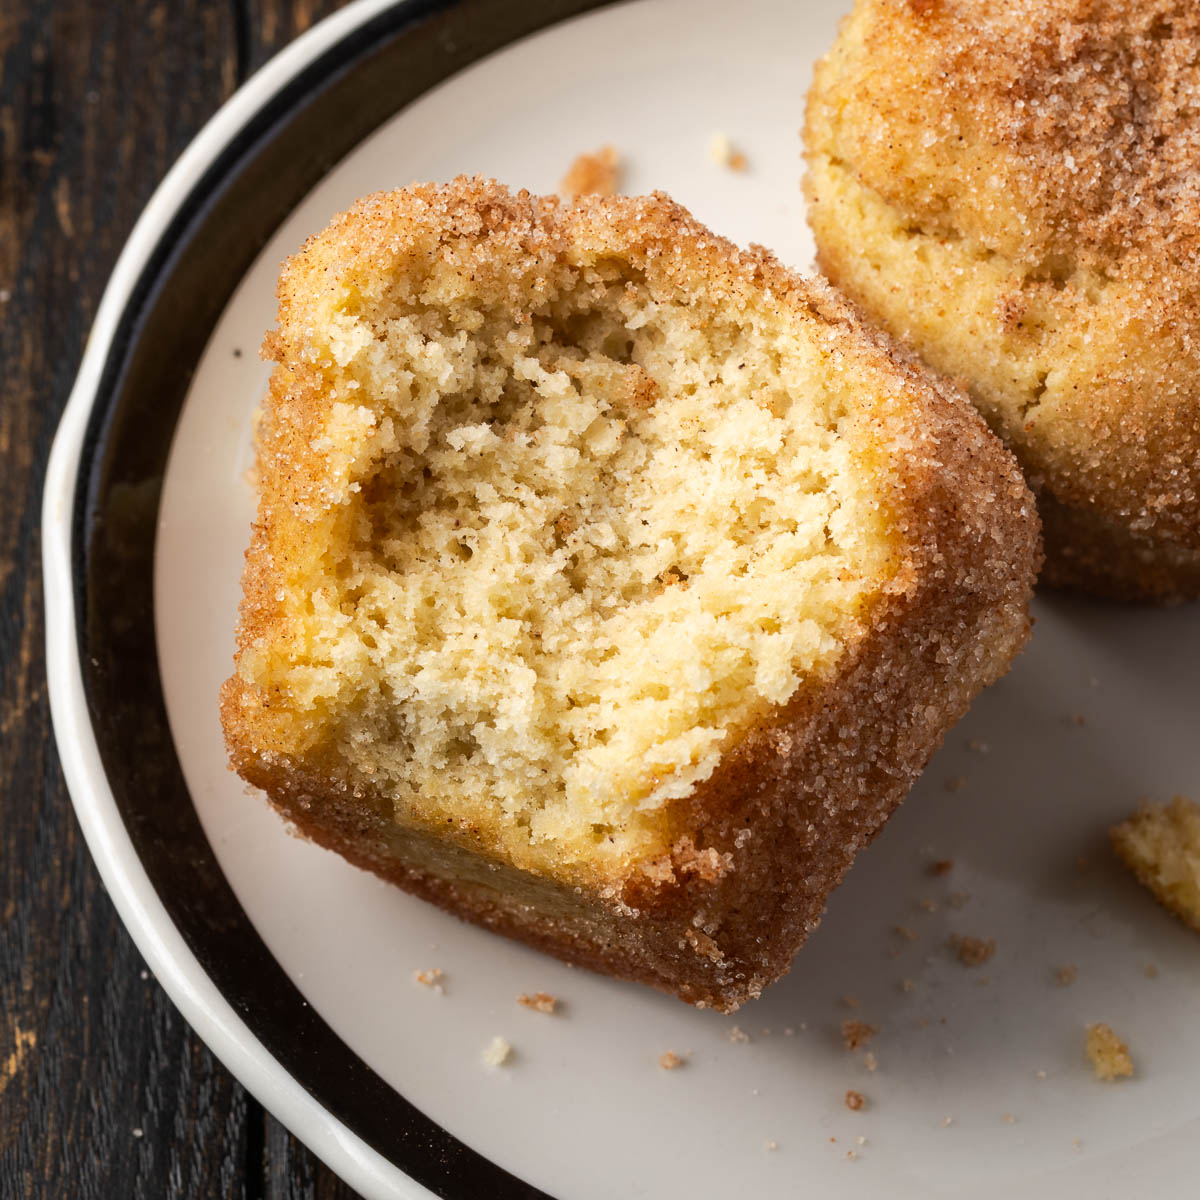
Also called snickerdoodle muffins, and once you have had one you will understand why they never last. Baked, dunked in melted butter, then rolled in cinnamon sugar while still warm. French Breakfast Puffs Recipe
Easy Cast Iron Popovers
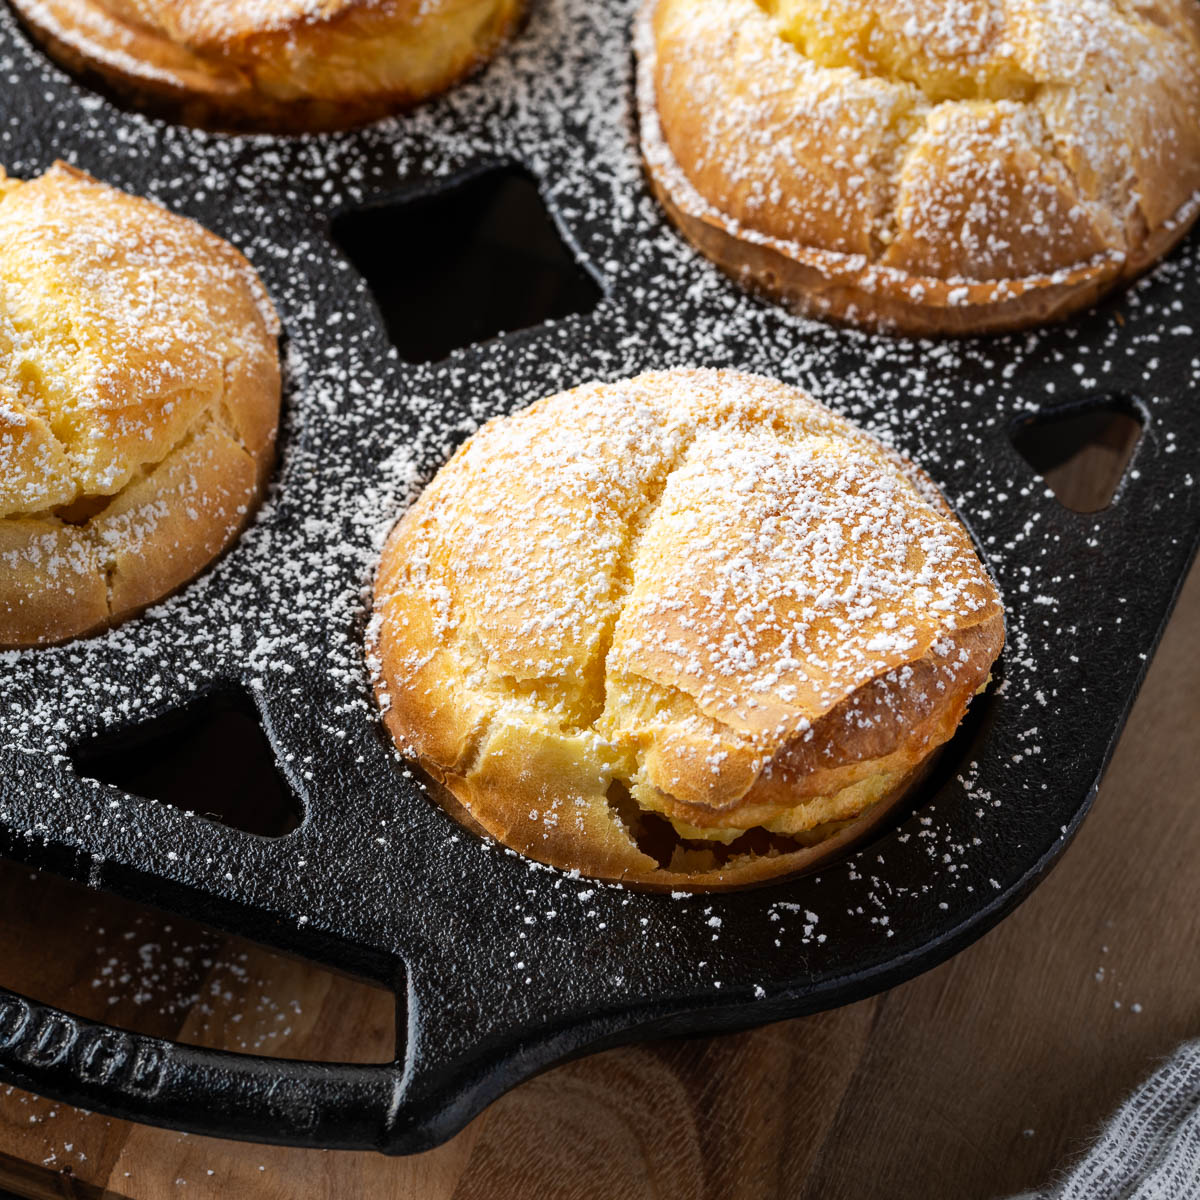
Hollow, dramatic, and almost entirely made of steam. Cast iron is what gets them to climb, because the batter needs a blazing hot pan the second it goes in. Fun to make with kids. Easy Cast Iron Popovers Recipe
Cast Iron Cornbread
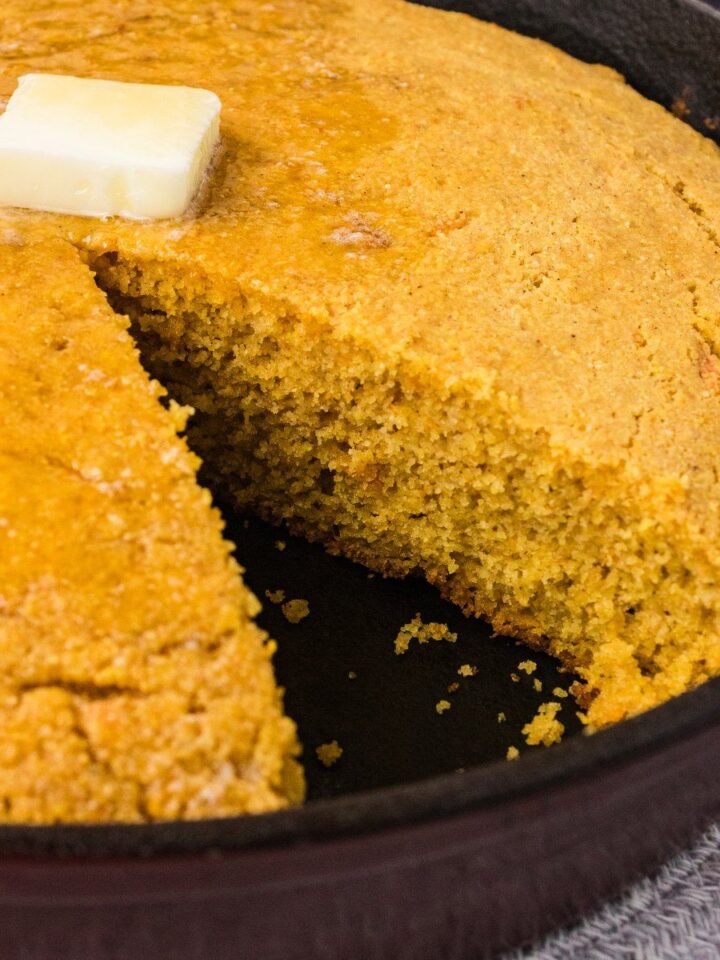
Cast iron cornbread is the exception to everything I said about enriched doughs. Here you absolutely do preheat, and you absolutely do grease the pan. Get the skillet hot, add bacon grease or butter, and pour the batter straight into the shimmering fat. That contact is what creates the crisp fried edge that makes skillet cornbread worth making at all. A glass dish simply cannot do it.
Southern Cornbread in a Skillet

No sugar, plenty of buttermilk, and a crust that comes from pouring batter into hot bacon grease. This is cornbread the way it is meant to be served next to a pot of beans or chili. Southern Cornbread in a Skillet Recipe
Cast Iron Sweet Cornbread
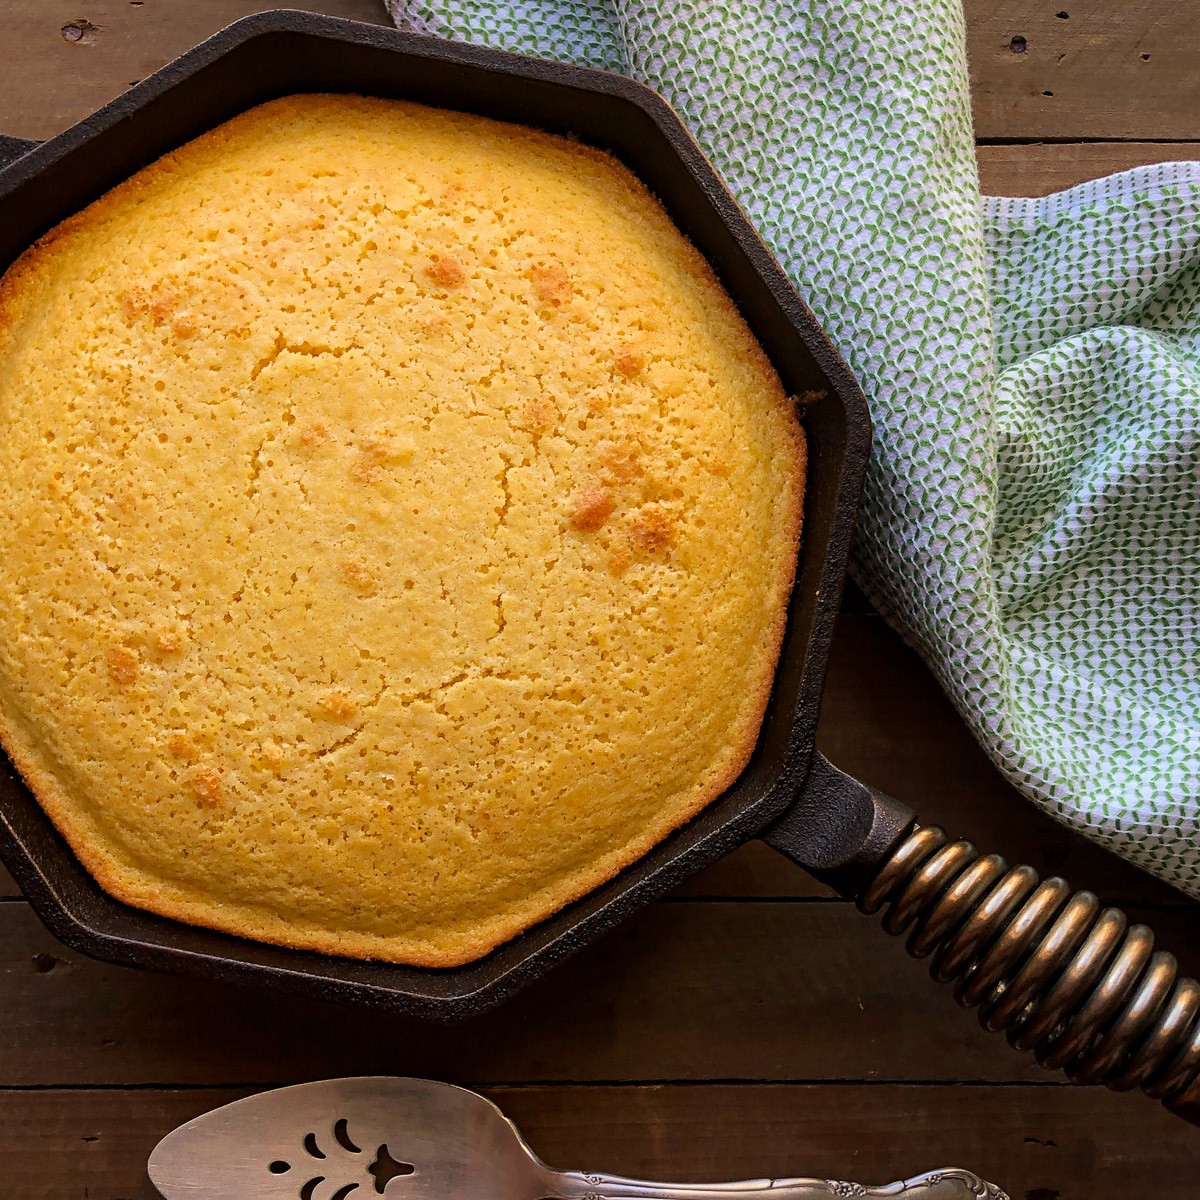
Sweet enough to pass for dessert but still at home beside dinner. If the Southern version is too plain for your family, this is the one that settles the argument. Cast Iron Sweet Cornbread Recipe
Moist Cornbread with Creamed Corn
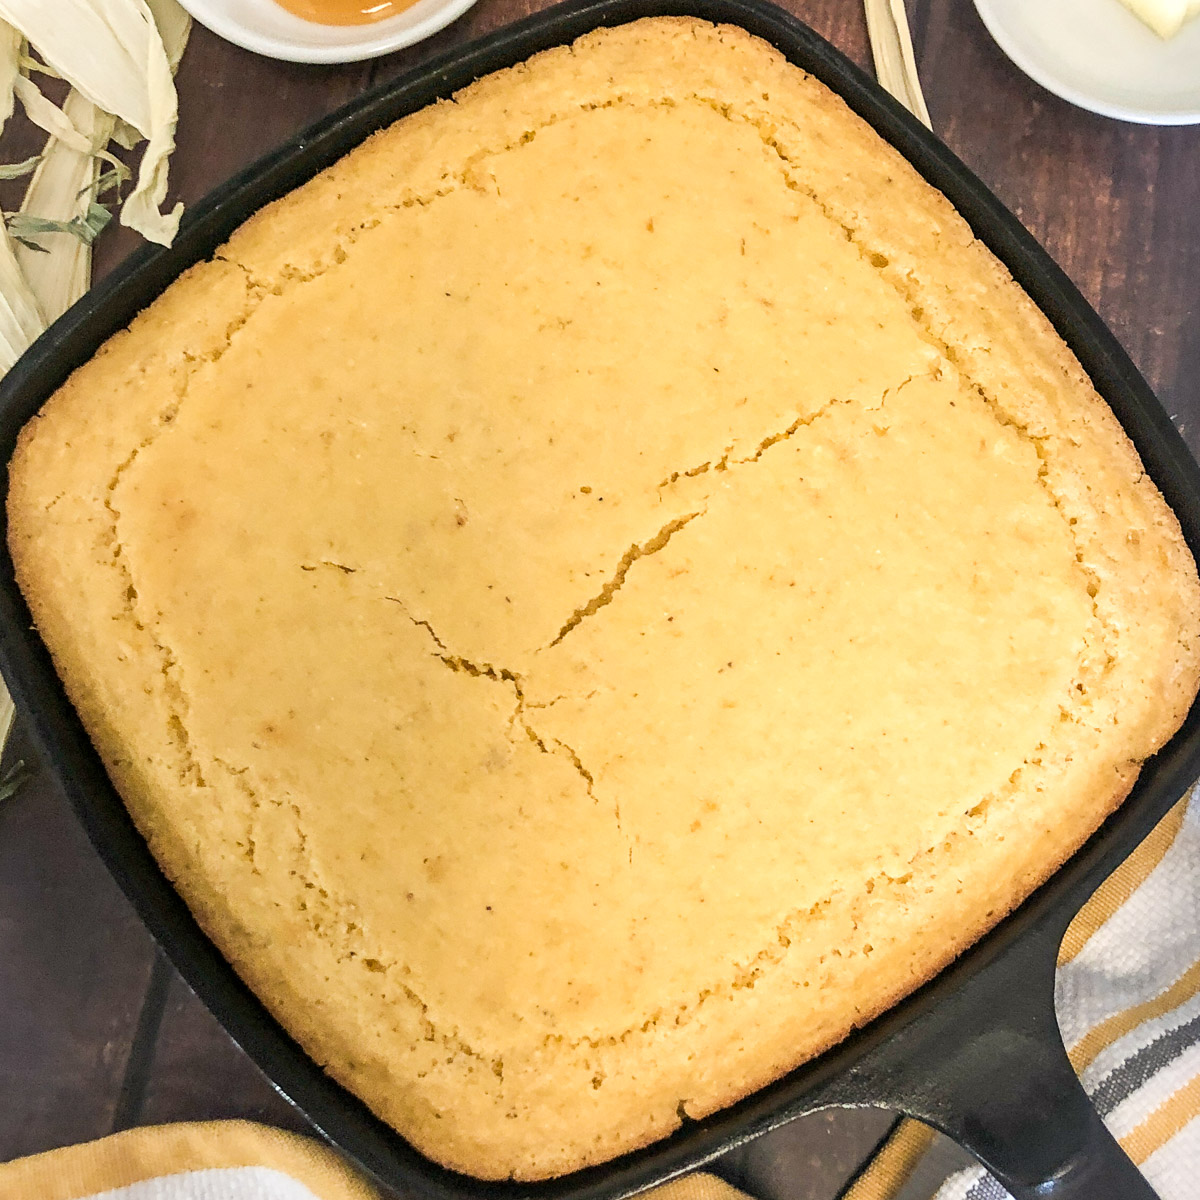
Creamed corn keeps the crumb moist for days, which is why this is the most requested cornbread on the site. Works from scratch or with a box of Jiffy when you are short on time. Moist Cornbread with Creamed Corn Recipe
Pumpkin Cornbread
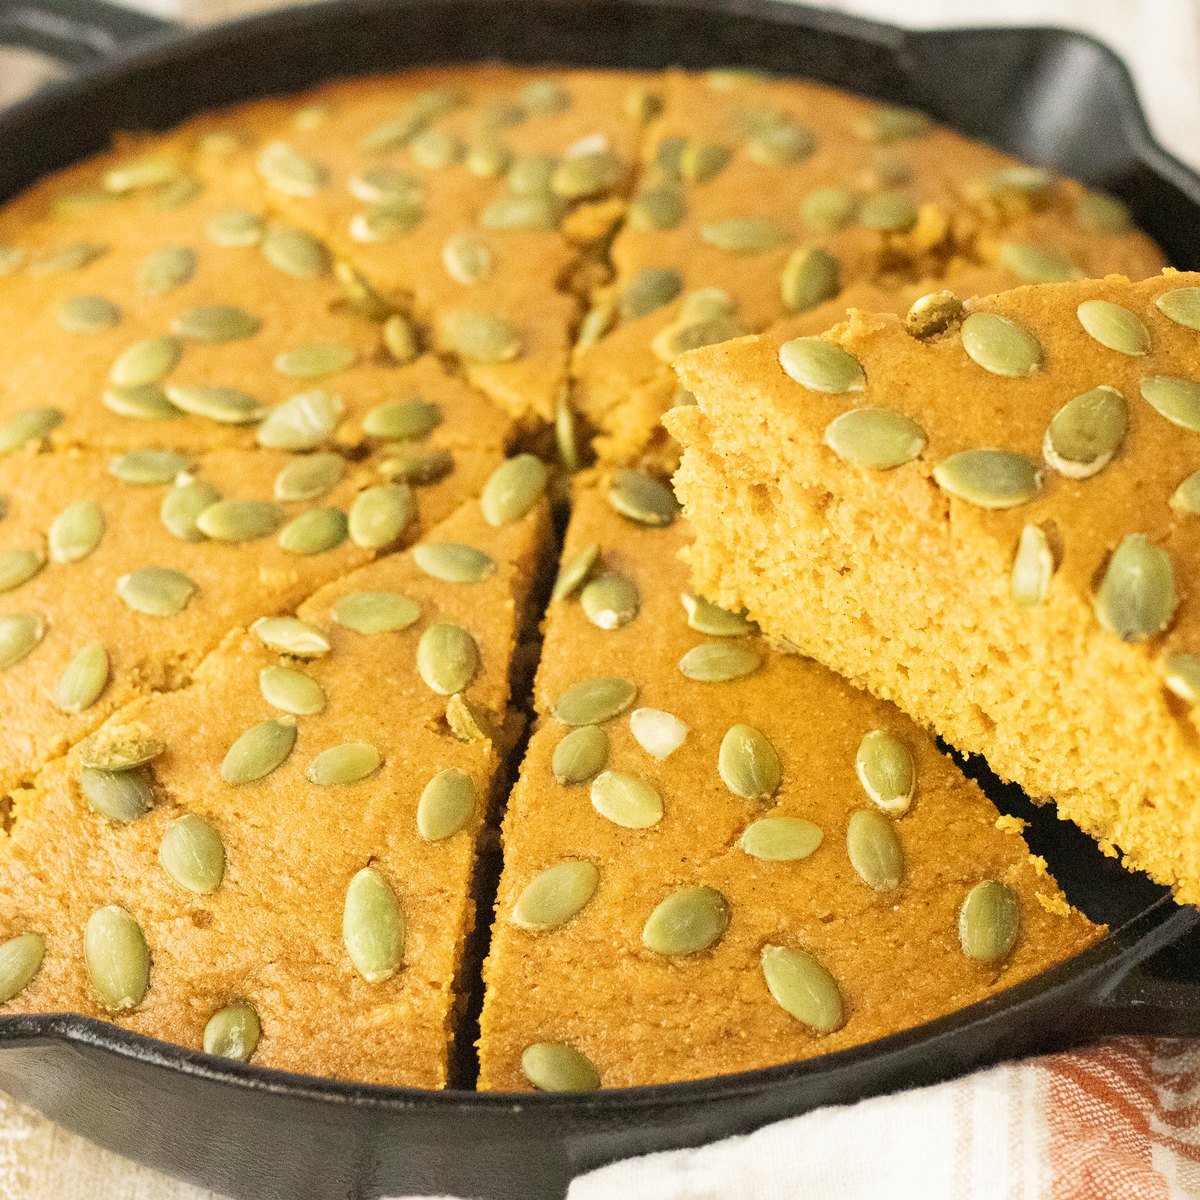
Pumpkin, maple, warm spices, and toasted pepitas on top. Ready in under forty five minutes and built for a bowl of chili on the first cold night of fall. Pumpkin Cornbread Recipe
Quick Breads: The Fastest Way Into Cast Iron Baking
If yeast intimidates you, start here. Quick bread recipes are leavened chemically with baking soda or baking powder instead of yeast, which means no proofing, no rise time, and no waiting around. You mix the batter and it goes straight into the pan.
That single difference takes a loaf from four hours down to about forty five minutes, and it makes quick breads the right answer on a weeknight or a camping morning when nobody wants to babysit dough. The tradeoff is texture: you get a tender, cake-like crumb rather than the chewy open structure of a yeasted loaf.
Ten of the twenty one recipes on this page are quick breads. All four cornbreads, both biscuits, the popovers, the French breakfast puffs, the bacon banana bread, and the raspberry bread. If you are new to baking in cast iron, any one of those is a low risk place to start.
Baking Bread in a Camp Dutch Oven Over Coals
This is where a bare cast iron camp oven earns its keep, and it is the thing almost no bread guide covers. Campfire bread works on the same principle as your kitchen oven. You are just supplying the heat with briquettes instead of an element.
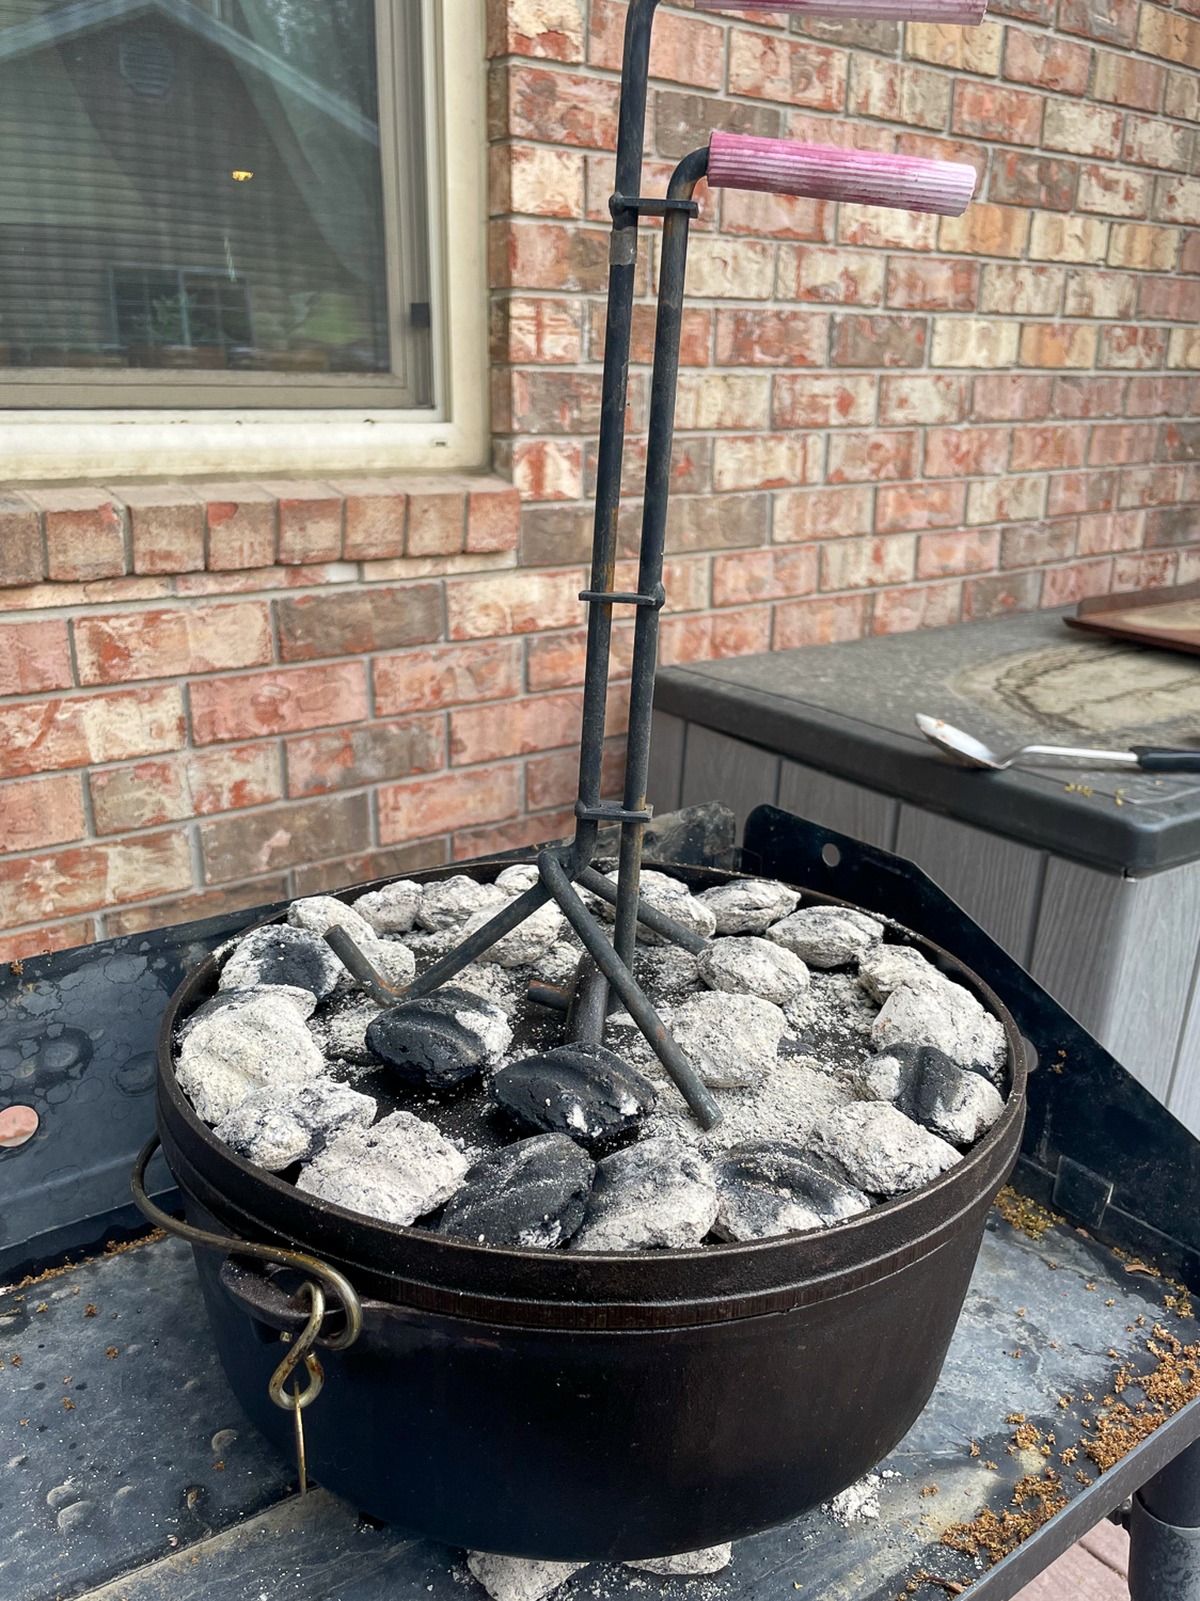
Start With a Coal Count, Then Stop Counting
The standard formula is oven diameter times two, so 24 coals gets a 12 inch oven to roughly 350°F. Bread wants a little more than that, so add about two coals per additional 25°F and you land near 30 coals for 425°F. Because you are baking rather than braising, load them roughly 3 to 1 in favor of the lid, which works out to about 22 on top and 8 underneath. Heat from above browns the crust while too much heat from below scorches the base.
Now the important part. That formula assumes something close to sea level, about 70°F, and no wind, and those conditions exist at almost no campsite. I learned this the expensive way running the same oven and the same coal count at 1,000 feet and then at 8,000 feet and getting completely different results. Use the number to light your first chimney, then throw the chart away and read the fire. I wrote up the whole system in why you should stop using a Dutch oven temperature chart, and it applies to bread more than almost anything else you will bake outdoors.
Read the Coals Instead of Counting Them
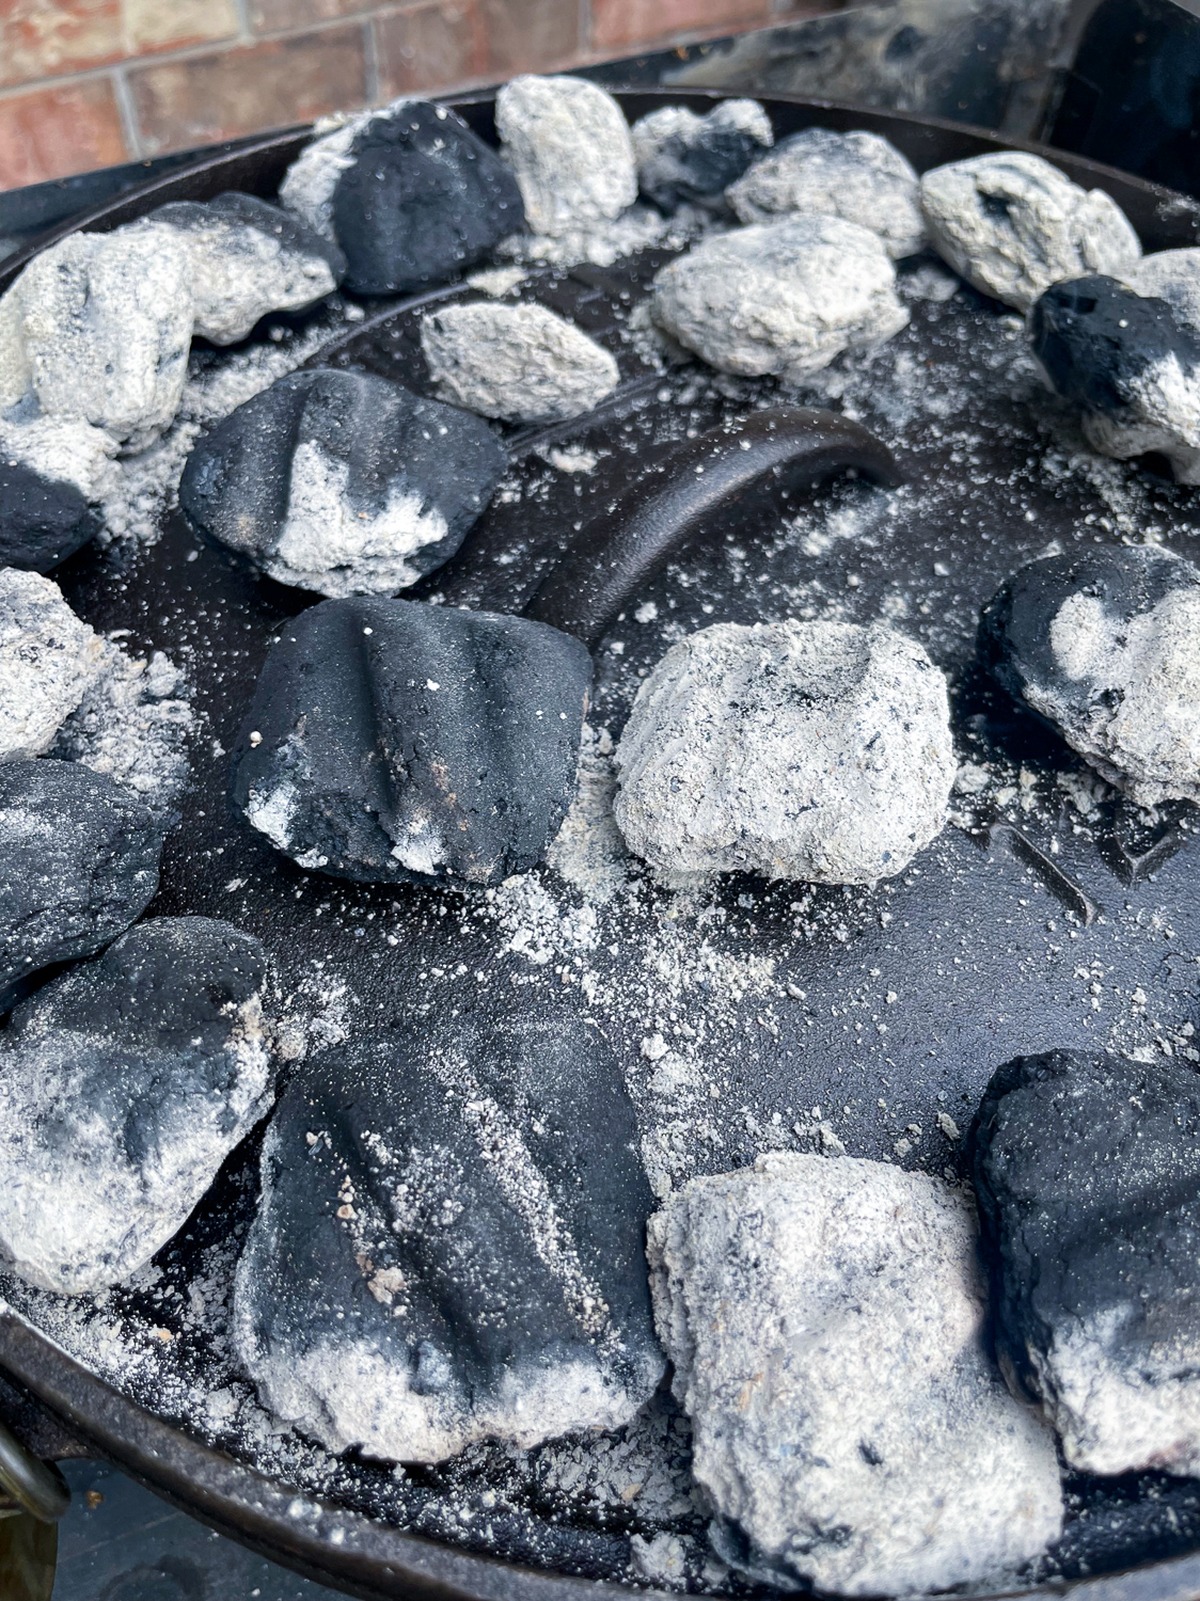
- Coal color. White-gray ash coating means steady, optimal heat. A bright orange glow means you are running hot, so pull one or two from the bottom. Dark, dull gray means they are spent and it is time to replenish.
- The hand test. Hold your palm six inches above the lid. Four to five seconds of comfort puts you around 325°F to 350°F. Two to three seconds is 375°F to 425°F, which is your bread window. Under two seconds is too hot.
- Steam at the lid rim. A light wisp is normal. Heavy continuous steam means the oven is running too hot.
- Smell. A light caramel note is exactly right. Any scorching smell before the halfway mark means the bottom is burning, so pull coals from underneath.
There is more detail on all of these cues, including elevation and weather corrections, in my guide to cooking by feel instead of by chart.
Rotate to Kill Hot Spots
Every fifteen minutes, turn the pot a quarter turn in one direction and the lid a quarter turn in the other. Coals never burn evenly, and a stationary pot will scorch hard on one side while the other stays pale. Rotating both also redistributes airflow, which stretches how long your coals stay useful.
Keep a charcoal chimney going the whole time so a second round is lighting while the first is still working, and replenish when the coals are about 60 to 70 percent spent rather than waiting until they die. A loaf is unforgiving about a temperature drop halfway through the bake.
Lift the Loaf Off the Bottom
Bottom heat is the enemy outdoors. A small trivet, three balls of crumpled foil, or a doubled layer of parchment keeps the base of the loaf off the floor of the pot and stops it carbonizing before the top is done.
Wind and Cold Change Everything
On a windy day, resist the urge to pile on more coals. More coals in wind just burn faster and you end up chasing the temperature. Reposition first: block the wind or move the oven, and only then adjust the coal count. Cold ambient air pulls heat out of the oven the same way, so expect longer bakes and plan for a second chimney.
Camp Oven Lids Are Different
A true camp Dutch oven has a flat flanged lid designed to hold coals, plus legs to lift it off the ground. Your domestic domed lid will not hold briquettes, so a kitchen Dutch oven does not convert cleanly to coal baking. If you camp often, it is worth owning both.
The easiest loaf to start with over coals is my rosemary garlic bread, which was built for exactly this.
Bonus: The Dough That Is Not Quite Bread
Quick Pizza Dough
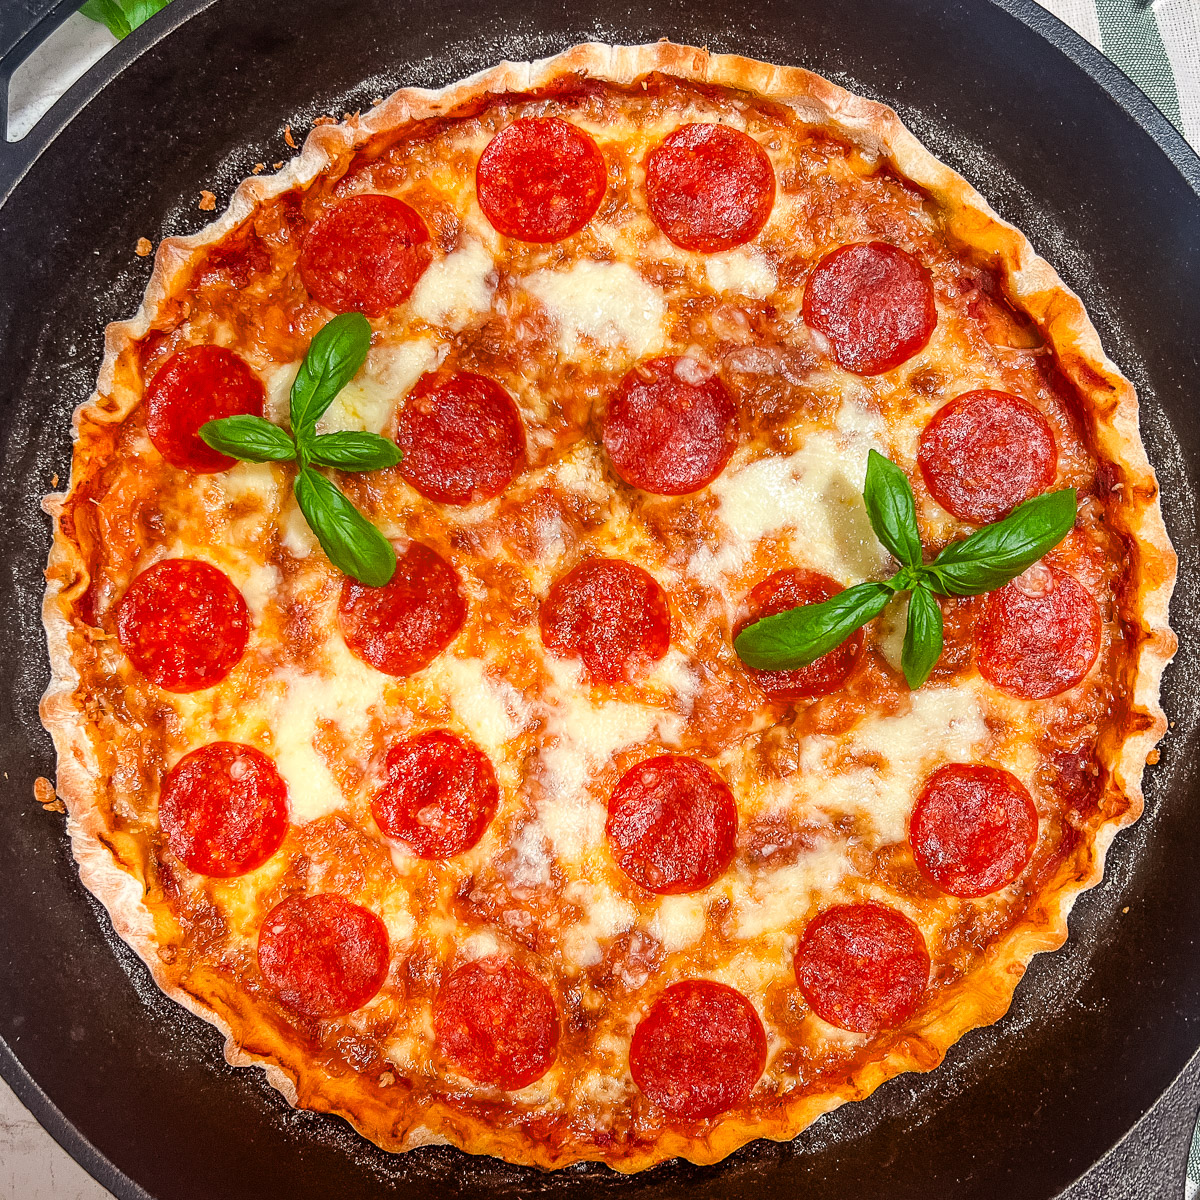
Not bread exactly, but it is the same flour, water, yeast, and salt, and it belongs in any cast iron baking lineup. Mix it in the morning and you have cast iron pizza on the table by dinner. Quick Pizza Dough Recipe
Troubleshooting Cast Iron Bread
Six problems account for almost every bread failure I hear about. Here is what causes each one and how to fix it.
- Burnt or rock hard bottom. The most common complaint by a wide margin. Radiant heat off the oven floor plus a thick preheated iron base that stores and re-radiates it. Fixes, easiest first: move the rack up one position, slide a sheet pan onto the rack below to deflect heat, sprinkle cornmeal or semolina under the loaf, double the parchment, or drop to 425°F and cold start the pot.
- Gummy or pasty crumb. You cut it too soon. That is the whole answer. Cool a full thirty to sixty minutes.
- Flat, spread out loaf. Either the pot is too big for the dough, the dough over-proofed, or shaping was rough and crushed the gas out of it.
- Dough never rose. Dead yeast, water hotter than 120°F, or a room that is too cold. Test your yeast first: a teaspoon in warm water should foam within five minutes.
- Loaf stuck to the parchment. Cheap parchment. Crumple the sheet before lining so it molds to the pot, and check that it is rated to at least 450°F.
- Pale crust after the full bake. The lid came off too late, or your oven runs cold. Judge browning by color, never by the clock.
Dutch Oven Bread FAQs
Far more than the crusty boule everyone starts with. Lean artisan loaves and sourdough are the classic use, but a Dutch oven also handles cinnamon rolls, monkey bread, pull-apart breads, banana bread, biscuits, and dinner rolls. The method changes by dough type: lean doughs bake hot with the lid on to trap steam, while enriched and sweet doughs bake lower, greased, and mostly uncovered so they brown instead of steaming.
For crusty artisan loaves, yes, and the difference is not subtle. A home oven vents steam, so the crust sets early and the loaf stops rising. A Dutch oven lid traps the steam the dough gives off, keeping the surface soft long enough for the loaf to expand fully. You get more rise and a crackling crust a bare baking sheet cannot produce. For soft sandwich loaves and quick breads, a regular pan is fine.
Yes, though it changes what you get. Without a lid there is no trapped steam, so a skillet will not give you the dramatic rise and crackling crust of a covered bake. What it does give you is a crisp browned bottom and edges, which is exactly right for garlic bread, pull-apart breads, biscuits, and cornbread. If you want a crusty boule in a skillet, invert a second skillet or an oven safe bowl over the top for the first thirty minutes to mimic the lid.
Four cause most of the trouble. Cutting the loaf before it has cooled thirty minutes, which leaves a gummy crumb. Using a pot far larger than the dough, which lets the loaf spread flat instead of rising. Lifting the lid to peek during the covered bake, which releases the steam doing the work. And baking on a low rack with a preheated pot, which scorches the bottom.
Not necessarily. Preheating gives the best oven spring because the dough hits a hot surface and rises fast. But a cold start works well and is more forgiving: put the shaped dough in a lined cold pot, put both in the oven together, and add five to ten minutes to the covered bake. If you do preheat, always start the pot in a cold oven and let it heat gradually. Putting a room temperature enameled pot into a 450°F oven risks cracking the enamel.
Yes, and it has real advantages. There is no enamel to crack, so you can preheat aggressively and go to 500°F without worry, and the lid handle is solid iron rather than a temperature limited knob. High heat will not damage the seasoning. Do not oil the pot, since oil fries the base and blocks the crust from forming. Use parchment instead, and expect a slightly darker bottom than enamel gives.
A 5.5 to 6 quart pot handles a standard two pound loaf and is the best single size if you only own one. Smaller three to four quart pots work for one pound loaves. Size matters more than people expect: too large and the dough spreads sideways into a flat disc instead of climbing, too small and the loaf hits the lid, flattens, and scorches on top.
More Cast Iron Recipes You Will Love

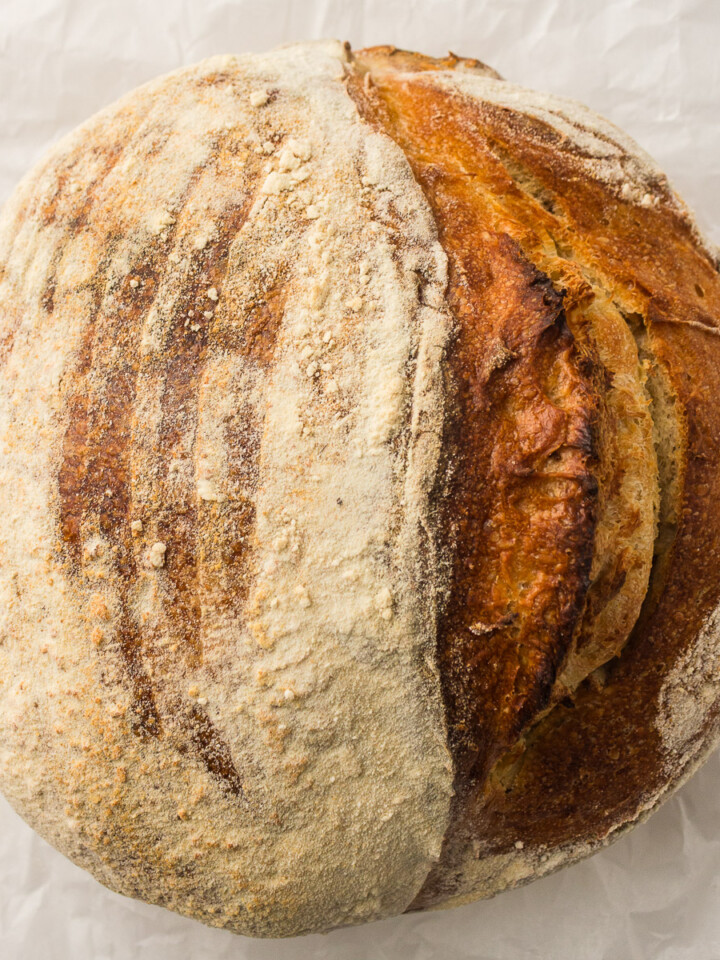

If you baked any of these Dutch Oven Bread Recipes, I would love to hear how it turned out. Leave a 🌟 star rating on the recipe you tried and tell me about it in the 📝 comments. It helps other bakers know which one to start with.
Leave a Reply