
If you Googled "dutch oven temperature chart," I want to save you from making the same mistake I made for years: that chart is only accurate under a very specific set of conditions that almost never happen in the field. I learned this the hard, expensive, hungry way - same 12-inch oven, same recipe, same number of dutch oven coals, once at a campsite around 1,000 feet elevation and once up in the mountains at 8,000 feet. The results barely resembled each other. That's when I stopped counting and started cooking by feel.
Summarize and Save the Method
Jump to:
- Why You'll Love This Method
- Why the Coal-Counting Formula Falls Apart
- The Three Variables That Actually Control Your Heat
- How to Cook by Feel: Your Real Temperature Indicators
- Practical Coal Management
- Put It Into Practice: Three Good Starter Recipes
- Frequently Asked Questions
- Field Reference Card: Dutch Oven Heat at a Glance
Why You'll Love This Method
- No chart required. You're swapping a piece of paper for a set of instincts that work at any elevation, in any weather, with any oven.
- It actually adapts. Elevation, ambient temperature, and wind are the three real variables - and this approach accounts for all of them.
- Fewer ruined meals. The formula gives false confidence. The feel method gives real results.
- Works across every recipe. Once you can read your fire, it applies to breakfast, dinner, and everything in between.
Why the Coal-Counting Formula Falls Apart
The "oven diameter × 2 = coals for 350°F" rule is what essentially every camp cooking guide on the internet teaches. It's tidy, it's repeatable, and it was designed for a specific set of conditions: a specific elevation, roughly 70°F, no wind, moderate humidity. Those conditions exist at exactly zero campgrounds I've ever visited.
Here's the analogy that made it click for me: Would you use the same oven setting in a 95°F kitchen in July as you would in a 25°F garage in January? Of course not. But that's exactly what a temperature chart asks you to do when you take it into the field. The rest of this post isn't a better chart - it's a better system.
The Three Variables That Actually Control Your Heat
These three factors determine actual cooking performance more than coal count does. Internalize them and the formula becomes a rough starting point rather than a plan.
Elevation
Thin air at altitude means less oxygen, which reduces how efficiently your coals burn. Lower air pressure also means heat transfers less effectively into the food itself. Cooking the same Dutch oven recipe at 4,500 feet versus 8,000 feet roughly doubles the cook time - even with an identical coal setup. That's not a sign anything is wrong. It's just physics, and no chart accounts for it.
My real-world calibration: add approximately 15–20 minutes per 1,000 feet of elevation gain above your baseline. If you learned to cook at sea level, your baseline is sea level. If you learned at 4,500 feet like I did, your baseline is 4,500 feet. The number isn't official science - it's what I've observed over hundreds of cooks at different elevations, and it's a lot more useful than a table that doesn't account for elevation.
Ambient Temperature
Your coals and your food are in a thermal tug-of-war with the surrounding air. Understand that and two scenarios become obvious:
Hot days (90–100°F): Coals run hotter than expected. Your oven may overshoot temperature with a standard coal count. Reduce by 2–3 coals from baseline and check your visual cues earlier than usual - don't wait for the halfway mark to see how things are tracking.
Cold days (20–30°F): Coals fight to maintain heat; cook times extend significantly. Add 2–3 coals to baseline, shorten replenishment windows to every 20 minutes instead of 30, and be especially vigilant about wind. I've cooked at the same campsite in January with the same oven I use in July - they are not the same cook, not even close.
Wind
Wind is the most underestimated variable in outdoor dutch oven charcoal cooking. Even 5–10 mph draws heat away from the sides of the oven and accelerates how fast coals burn. Three practical responses:
- Positioning: Orient the oven so wind hits its back, not the front where you're working.
- Windbreaks: A ring of rocks, a camp table on the windward side, or even a large cooler can make a measurable difference.
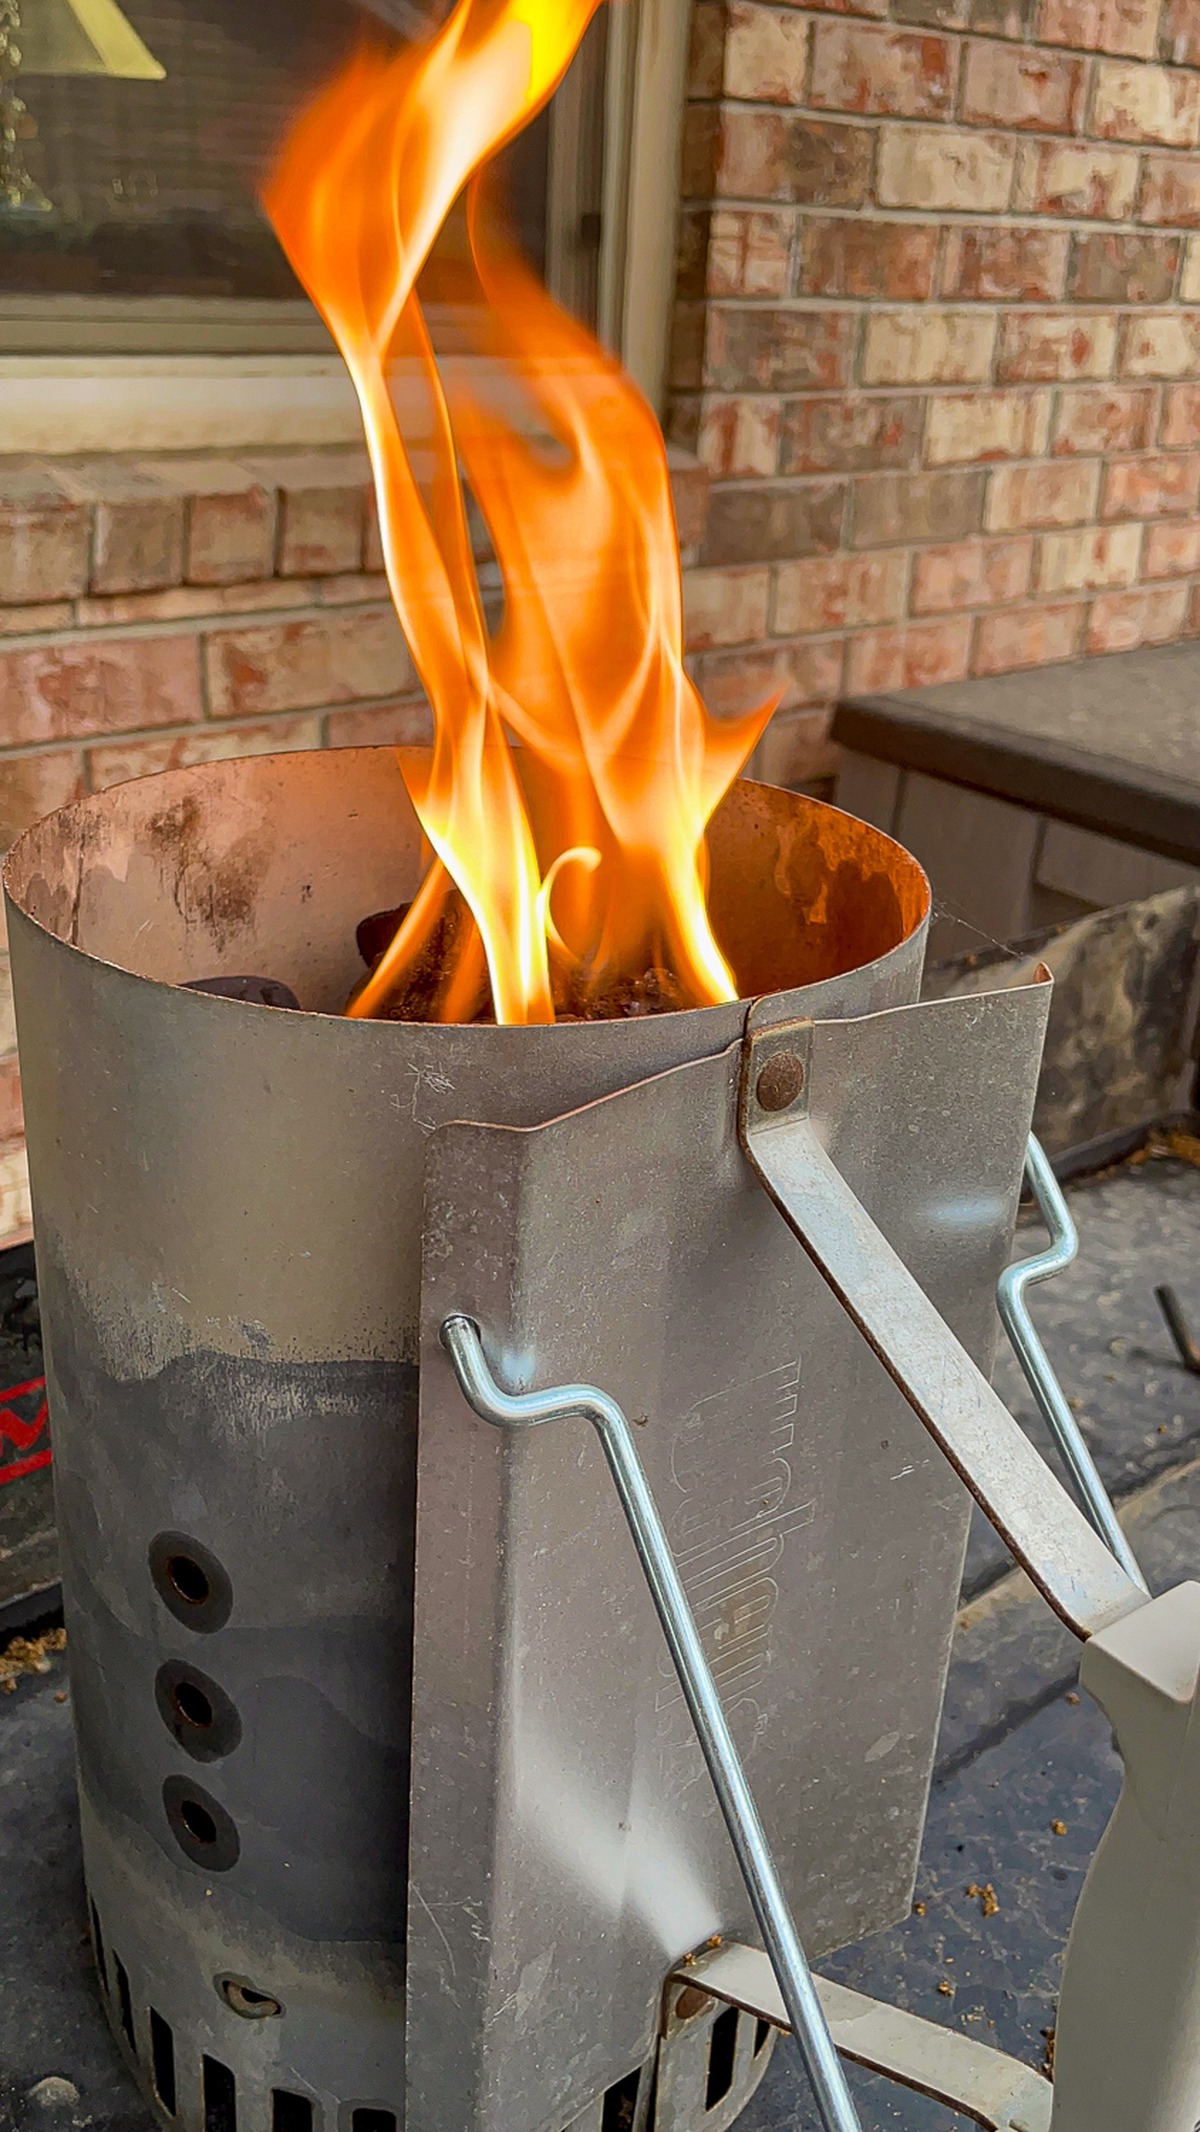
- Planning: On windy days, plan to replenish coals every 20 minutes and keep extras hot and ready in your chimney.
How to Cook by Feel: Your Real Temperature Indicators
Instead of counting briquettes, train yourself to read these signs. This builds a skill that works everywhere - not a rule that only works at sea level on a calm 70°F day.
Visual Cues
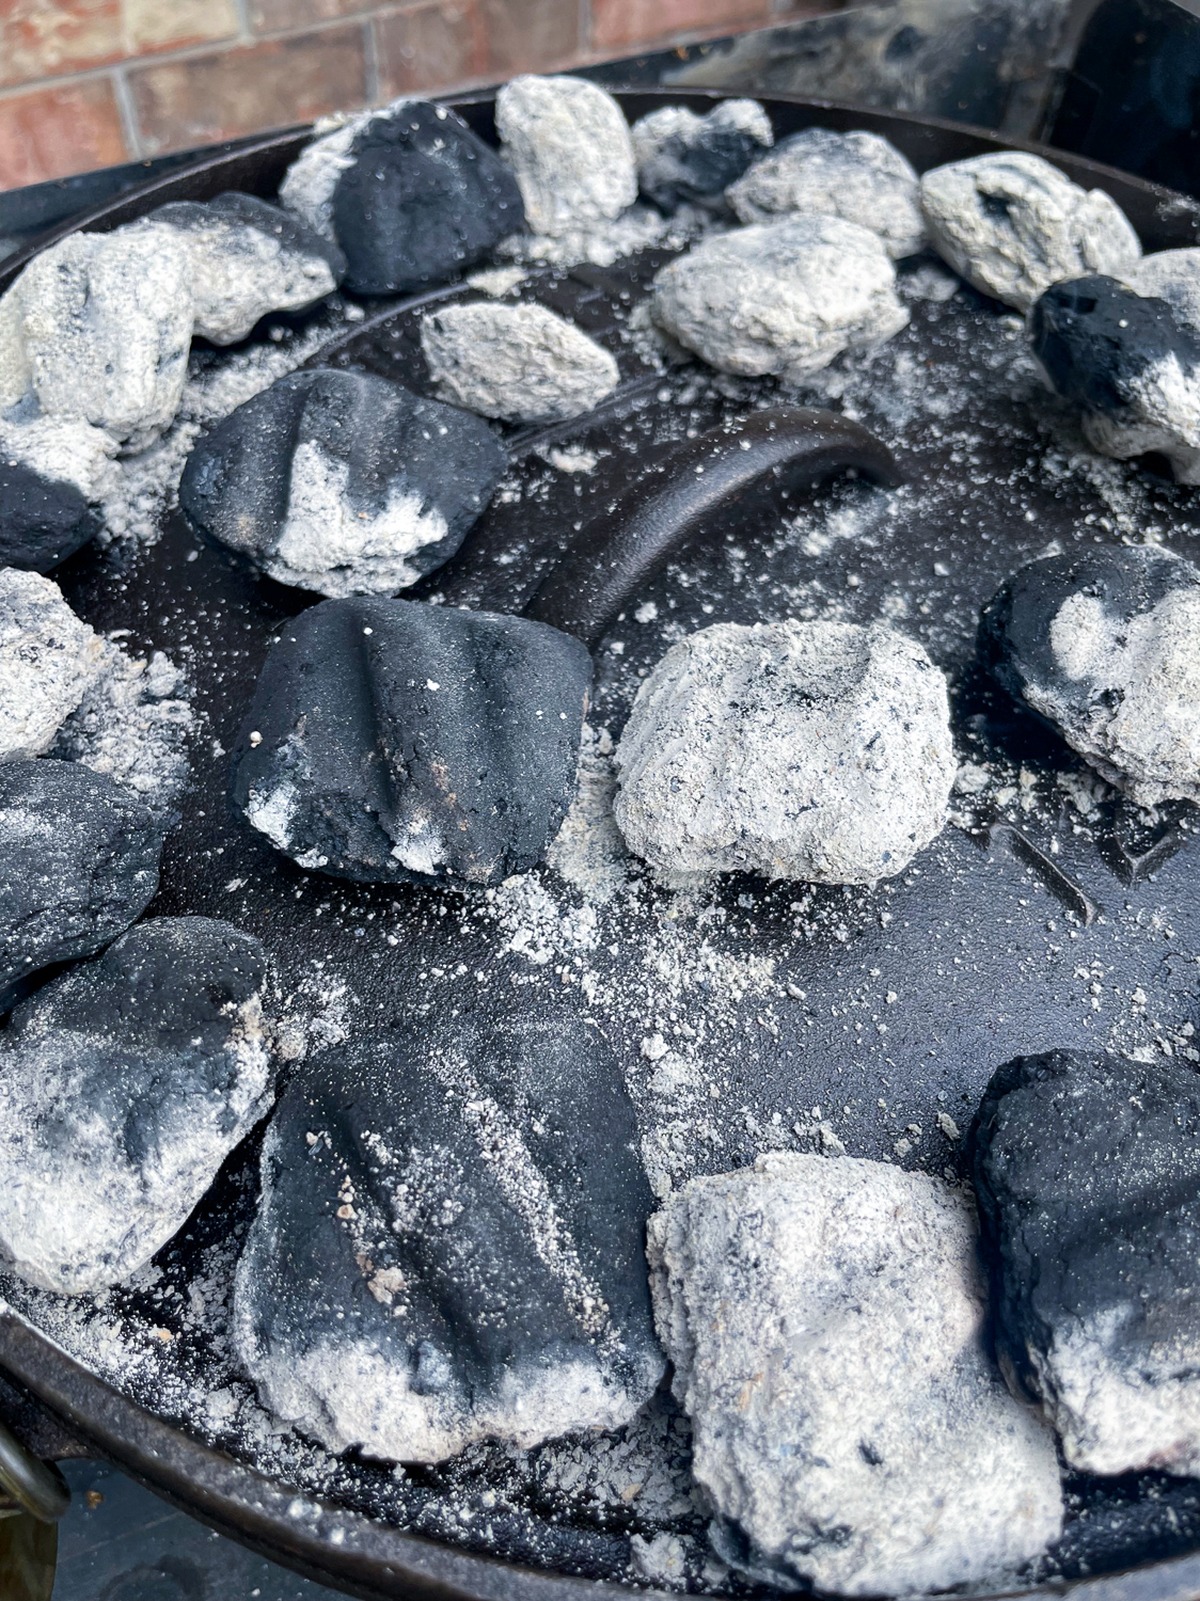
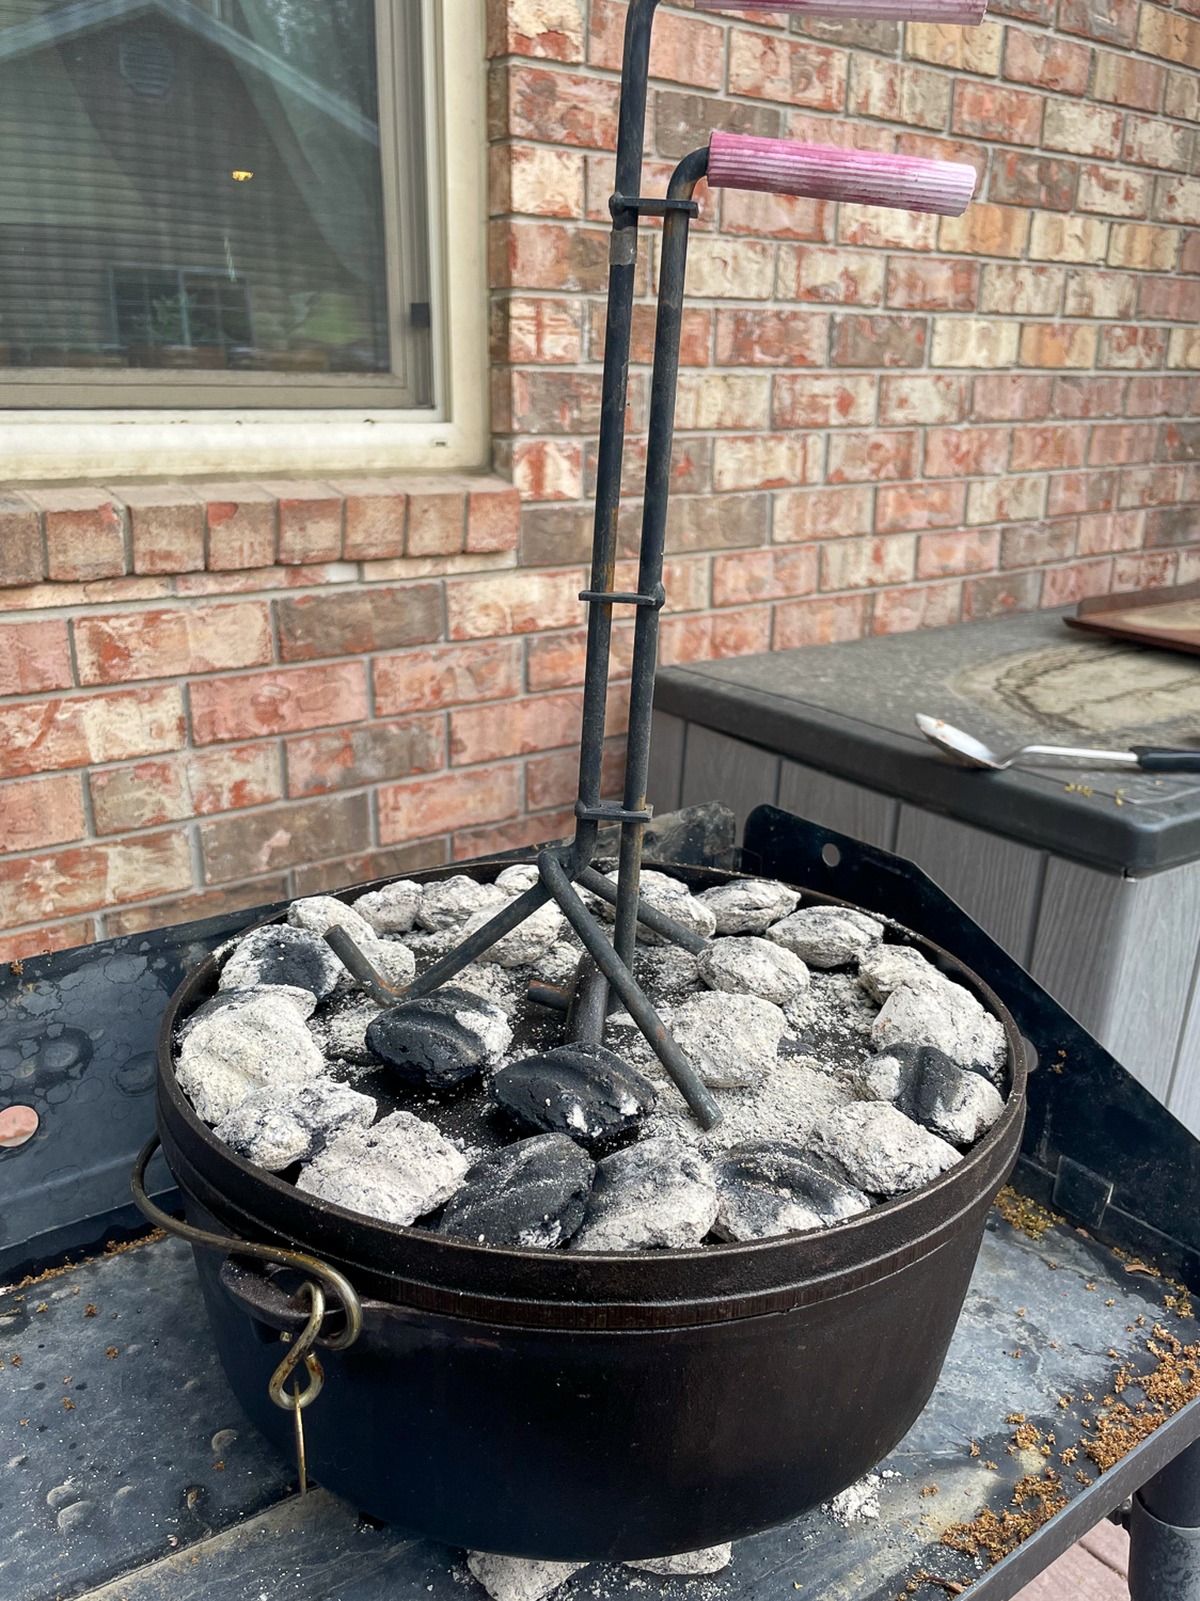
- Coal color: White-gray ash coating = optimal, steady heat. Bright orange glow = running hot, pull 1–2 from the bottom. Dark gray and dull = coals are spent, time to replenish.
- Steam at the lid rim: A light wisp of steam is normal - moisture cooking off. Heavy, continuous steam means your oven is running too hot or has too much liquid for the recipe.
- The hand test: Hold your palm 6 inches above the lid. If you can comfortably hold it there for 4–5 seconds, you're in the 325–350°F range. 2–3 seconds is 375–425°F. Less than 2 seconds is too hot for most recipes.
Sensory Cues
- Sound: A gentle, consistent sizzle is what you want. Rapid popping or loud spattering means reduce heat immediately - pull coals from the bottom first.
- Smell: A light caramel note from baking is expected and good. Any scorching smell before the halfway mark means something is burning at the bottom - check and reduce heat.
- Lid condensation: When you rotate the lid, the underside should show moisture. Bone-dry lid underside at the 30-minute mark in a dish that should still have moisture means you're running hot and dry.
The first time you notice a coal going dark before you expected it, that's the system working. You're not following a checklist anymore - you're reading a fire. It develops over a few cooks, not a few paragraphs, but these are the exact signs to watch for.
Practical Coal Management
Once you have heat management dialed in, every recipe on our camp Dutch oven recipes page becomes a lot more predictable. These four habits are what separate consistent cooks from frustrated ones:
- Use a charcoal chimney and keep it going. Have a second round of coals lighting while the first round is still working. You should never be waiting for coals - they should be waiting for you.
- Rotate oven and lid together. A quarter-turn of both every 15 minutes evens out hot spots AND extends the useful life of your coals by redistributing airflow.
- Replenish before coals are spent. Don't wait until your coals are gray and cold. Add fresh ones when they're still 60–70% spent - this keeps temperature stable instead of letting it drop and recover.
- In wind: reposition before you add coals. More coals on a windy day just means faster coal consumption. Fix the environment first, then adjust coal count.
Put It Into Practice: Three Good Starter Recipes
The fastest way to internalize this feel-based approach is to practice it on forgiving recipes before attempting anything ambitious. These three each practice a different heat configuration, and they're all designed to teach you something specific about fire management:
- Even heat (1:1 coal ratio): The Dutch Oven Mountain Man Breakfast - equal heat top and bottom, no baking forgiveness required, mistakes are obvious fast.
- Top-heavy heat for baking (3:1 ratio, more on lid): The camp oven peach dump cake is ideal - baking teaches you to read rising steam and lid color before you can smell the result.
- Forgiving all-around cook: Dutch Oven Baked Potatoes are hard to ruin and give you time to practice coal rotation and replenishment without pressure.
If you're brand new to camp cooking, the Dutch Oven Lasagna is the easiest first-timer recipe on the site - very forgiving heat window and hard to wreck even on your first outdoor cook.
Frequently Asked Questions
The standard formula says 24 coals (oven diameter x 2) for 350°F, and that's a reasonable starting point - not a rule. At 8,000 feet elevation, 24 coals may produce noticeably less heat than at sea level, and on a cold or windy day you may need 27 - 30 to reach the same result. Use the formula to light your first round, then watch your coal color, lid steam, and the hand test to adjust from there.
Two things happen at altitude: oxygen thins out, which reduces how efficiently your coals burn, and lower air pressure means heat transfers less effectively into the food itself. At 8,000 feet, expect cooking times to run 50 - 100% longer than they would at lower elevation with the same coal count. This is not a sign anything is wrong - it's just physics. Add extra coals, budget extra time, and trust your visual cues over the clock.
Three reliable signs: (1) you hear rapid popping or aggressive sizzling instead of a gentle simmer, (2) you catch a scorching smell before the halfway mark of your cook time, or (3) when you rotate the lid, the underside is bone-dry when it should still have moisture on it. If any of these show up, pull 2 - 3 coals from the bottom (not the top) and give the food a quick check.
More than most beginners expect. Even a light 5 - 10 mph breeze significantly accelerates how fast coals burn and pulls heat away from one side of the oven. On windy days, position the oven with its back to the wind, build a simple windbreak with rocks or a camp table, and plan to replenish coals every 20 minutes instead of the typical 30. Don't just add more coals - fix the environment first.
Briquettes are the better choice for learning heat management because they're uniform in size and burn at a predictable rate. Wood coals work well too, but their heat output varies significantly depending on the wood type and how long they've been burning. If you're working on developing your feel for temperature, start with briquettes - they're more consistent while you're calibrating your instincts. Once those instincts are solid, wood coals are a great next step.
Cold air drains heat from your coals faster than you'd expect. Below 40°F, add 2 - 3 coals to your usual count, shorten your replenishment window to every 20 minutes, and keep your chimney running nearby so replacement coals are always warm and ready. A windbreak matters even more in the cold - wind and cold together are doubly damaging to coal performance.
Field Reference Card: Dutch Oven Heat at a Glance
Screenshot this. These are the signs and adjustments you'll actually use at the campsite - no chart required.
| Coal Color | What It Means | Action |
|---|---|---|
| White-gray ash | Optimal, steady heat | No change needed |
| Bright orange glow | Running too hot | Remove 1–2 coals from bottom |
| Dark gray, no glow | Spent | Replenish now |
| Hand Test (6" above lid) | Approximate Temp |
|---|---|
| Hold 4–5 seconds | ~325–350°F |
| Hold 2–3 seconds | ~375–425°F |
| Less than 2 seconds | Too hot - reduce immediately |
| Condition | Adjustment |
|---|---|
| Every 1,000 ft above baseline | Add ~15–20 min cook time |
| Hot day (90°F+) | Reduce 2–3 coals, watch early |
| Cold day (below 40°F) | Add 2–3 coals, replenish every 20 min |
| Wind present | Reposition first, then adjust coals |


