

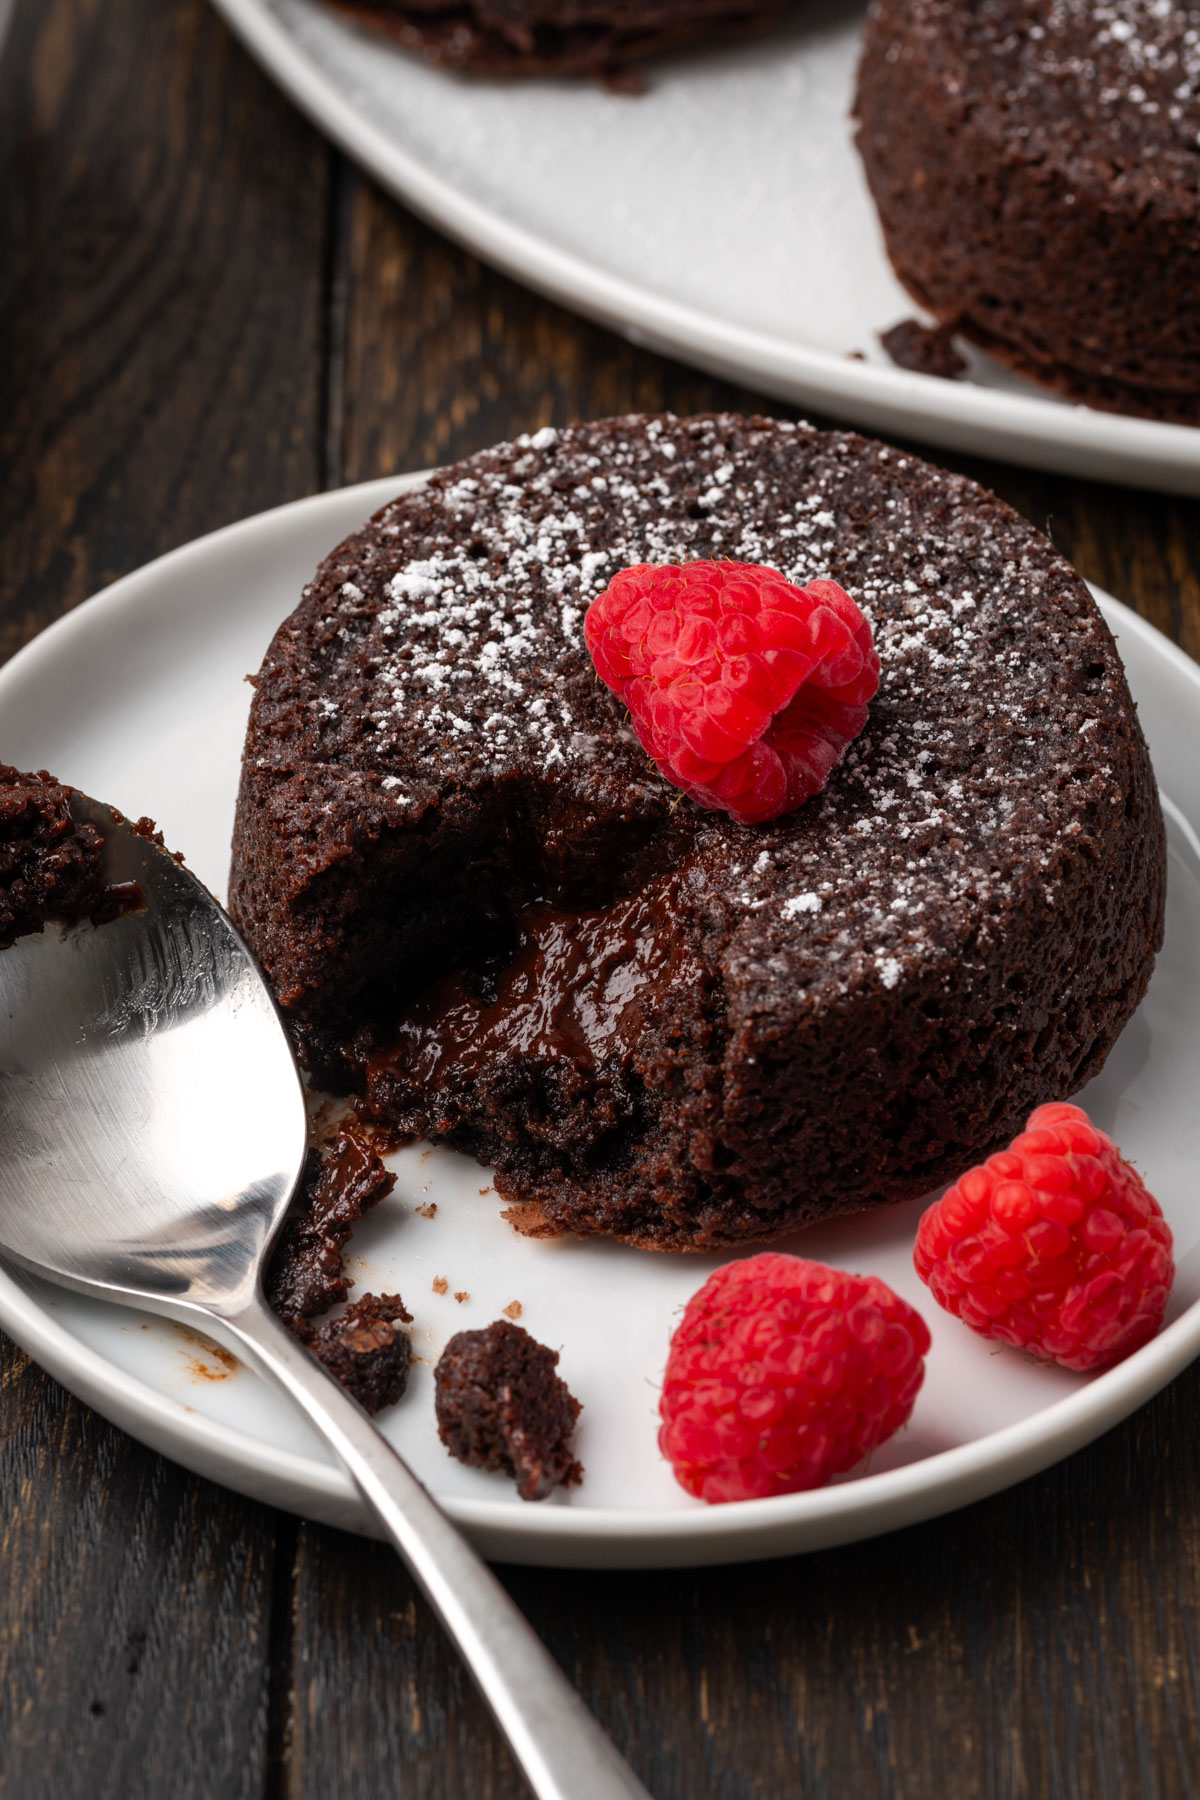
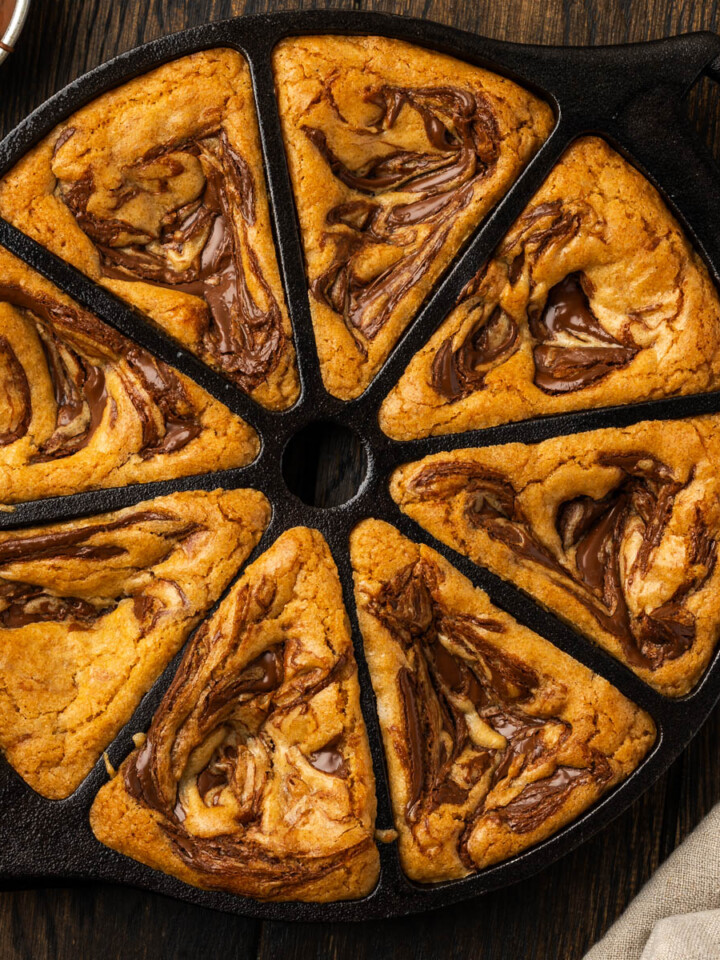
These Mini Lava Cakes bake up with a crisp edge and a rich, gooey chocolate center that melts in your mouth. Made in a cast-iron pan, they’re a simple yet decadent dessert that feels restaurant-worthy at home.
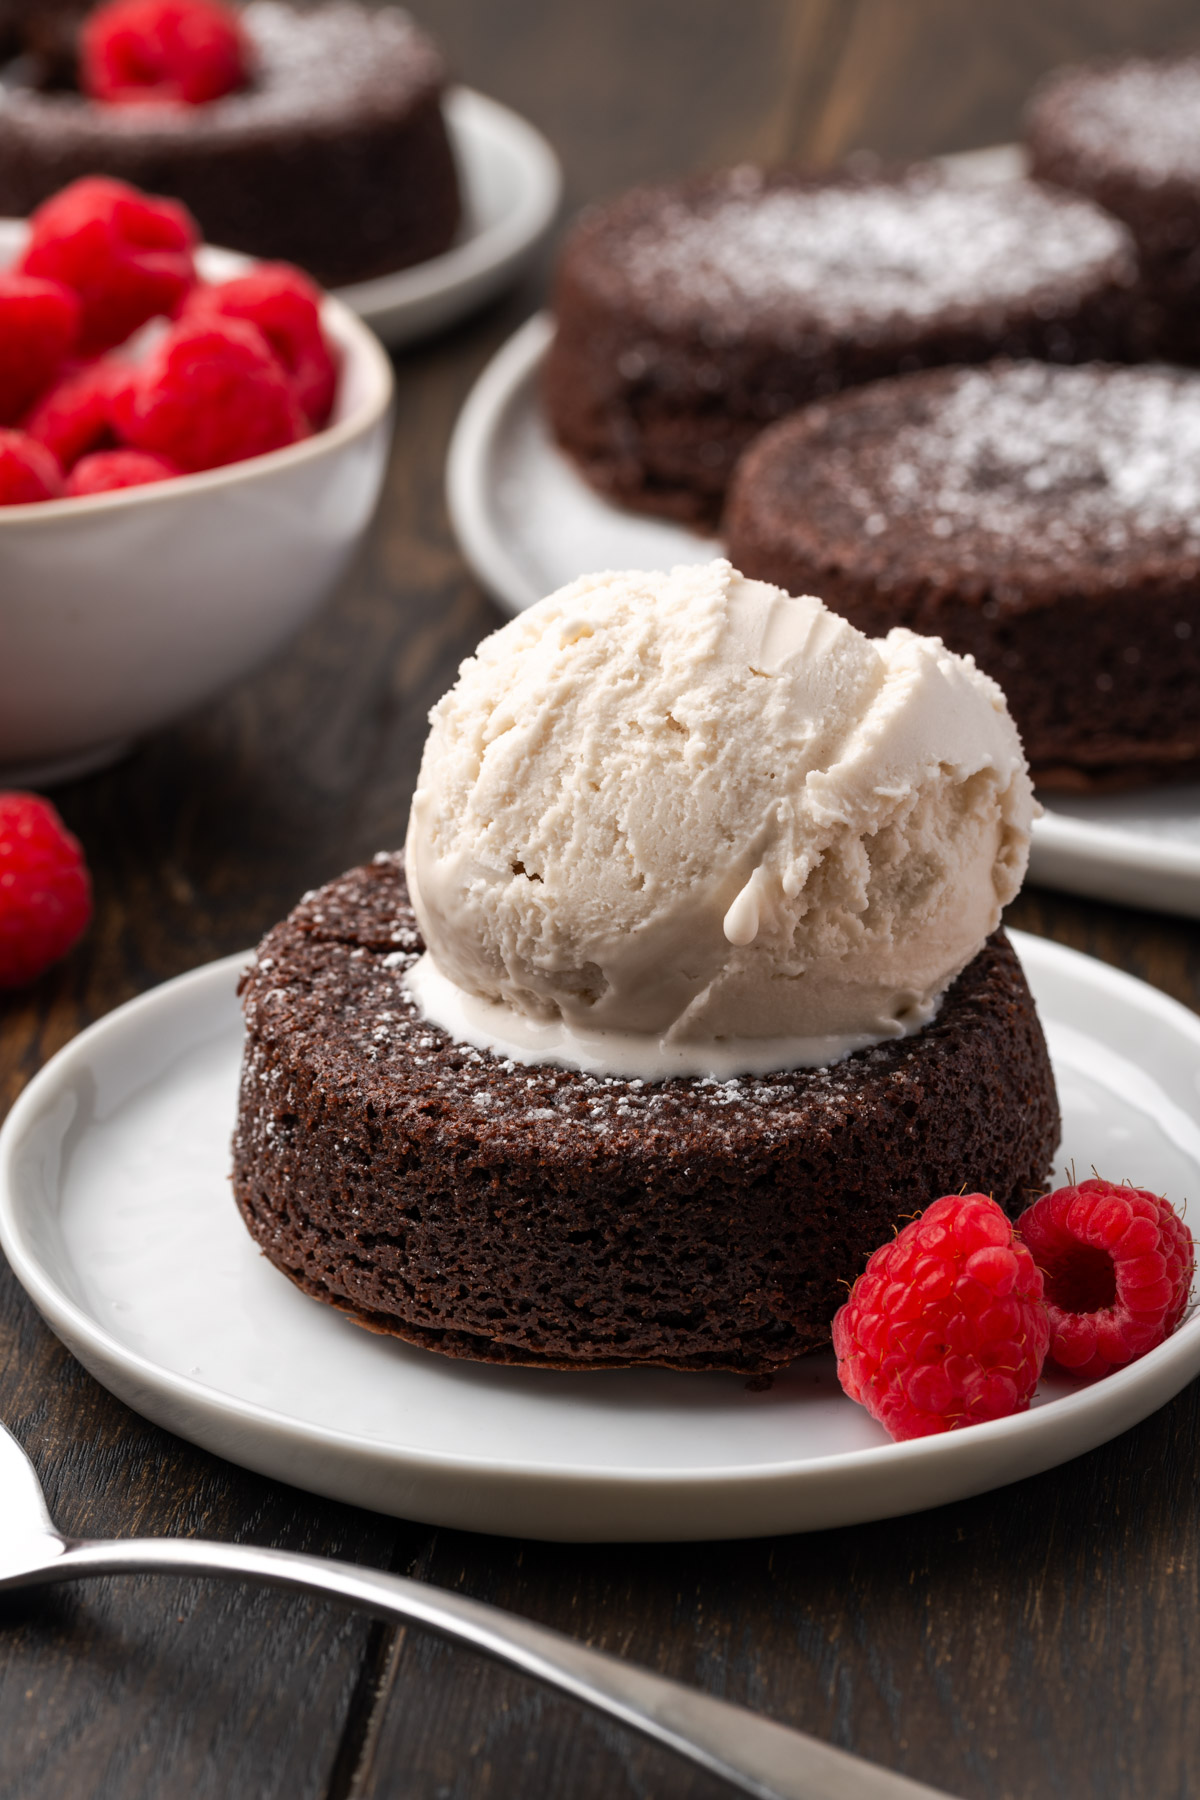
These mini chocolate lava cakes taste like something straight from a fancy dessert menu, and I love how effortless they are to make at home. The fudgy brownie base paired with a molten chocolate center makes every bite irresistible. Using a cast-iron skillet gives the cakes their perfectly crisp edges while locking in that warm, melty middle, making this dessert unforgettable with every bite!
For even more indulgent chocolate treats, don’t miss this chocolate cherry cake and chocolate chip cookie brownie.
Why You’ll Love This Recipe
- Simple to Make: With just a handful of ingredients and a cast-iron lava cake pan, this mini lava cake recipe comes together quickly without complicated steps.
- Decadent Flavor: The fudgy brownie base paired with the molten chocolate center makes these mini molten lava cakes rich, indulgent, and unforgettable. For another brownie favorite, try my skillet caramel brownies next.
- Versatile Treat: Whether it’s date night, a family dessert, or a dinner party, this indulgent dessert feels like a restaurant-style sweet made right at home.
- Single-Serve Portions: Baking in a drop biscuit pan or mini skillets makes each one a perfectly portioned single-serve lava cake that’s as fun to serve as it is to eat.
Jump to:
Ingredients
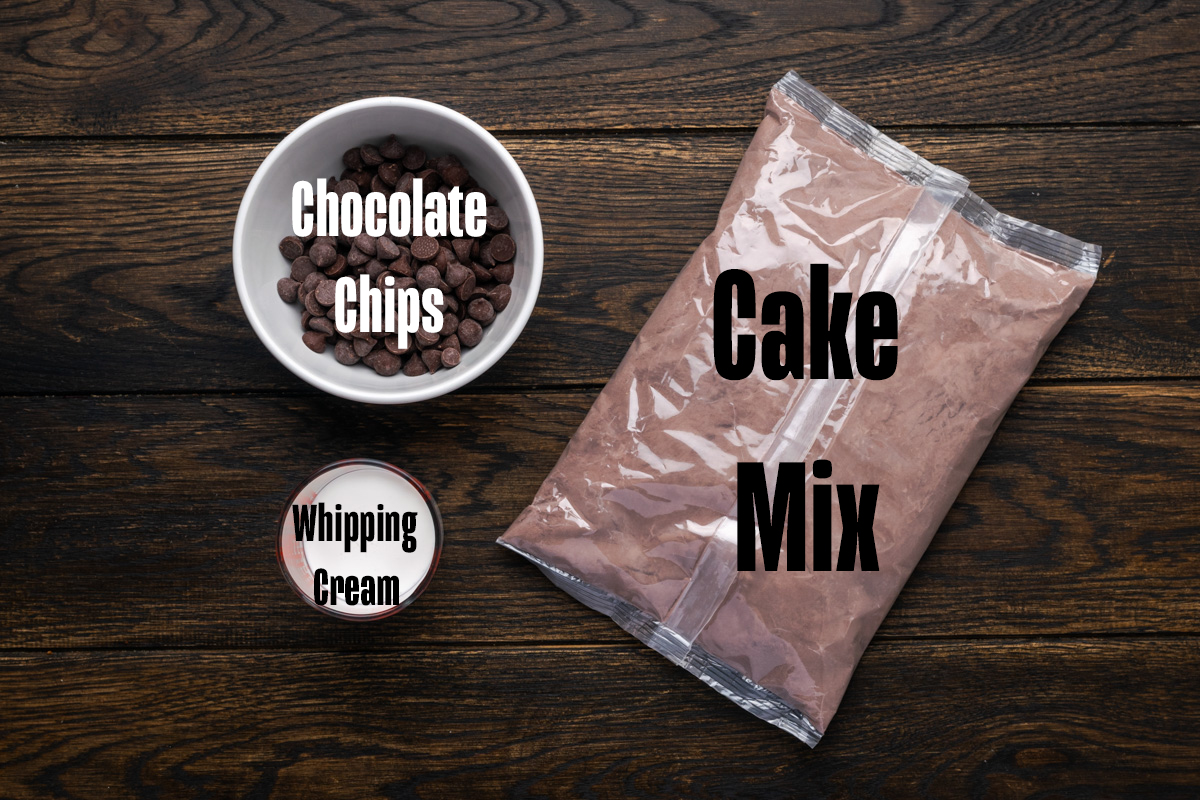
- Semisweet Chocolate Chips: These create the gooey molten center that makes the mini molten cake so irresistible.
- Heavy Whipping Cream: When melted with chocolate, it forms the truffle-like filling that oozes out of the center.
- Fudge Brownie Mix: The ultimate shortcut for achieving a rich, fudgy base with minimal effort. Prepare as directed on the box before adding the chocolate filling.
See the recipe card below for exact ingredient amounts, nutritional information, and detailed instructions.
Variations
- Peanut Butter Swirl: Add a teaspoon of peanut butter to the center before baking for a rich, nutty twist that pairs perfectly with chocolate. Love peanut butter? Don’t miss this easy peanut butter fudge recipe.
- Salted Caramel Center: Drop a teaspoon of soft caramel in the middle before baking for a gooey, sweet-and-salty surprise in each individual chocolate lava cake.
- Nutty Delight: Fold in chopped, toasted nuts, such as pecans or hazelnuts, into the batter for added texture and flavor.
- Boozy Chocolate: Add a splash of your favorite liqueur, such as Kailua or Baileys, into the melted chocolate filling for a decadent adult treat.
How to Make Mini Lava Cakes
Making these individual chocolate lava cakes is easier than you might think. Before you start, preheat the oven to 350°F and have your cast-iron lava cake pan or mini skillets ready.
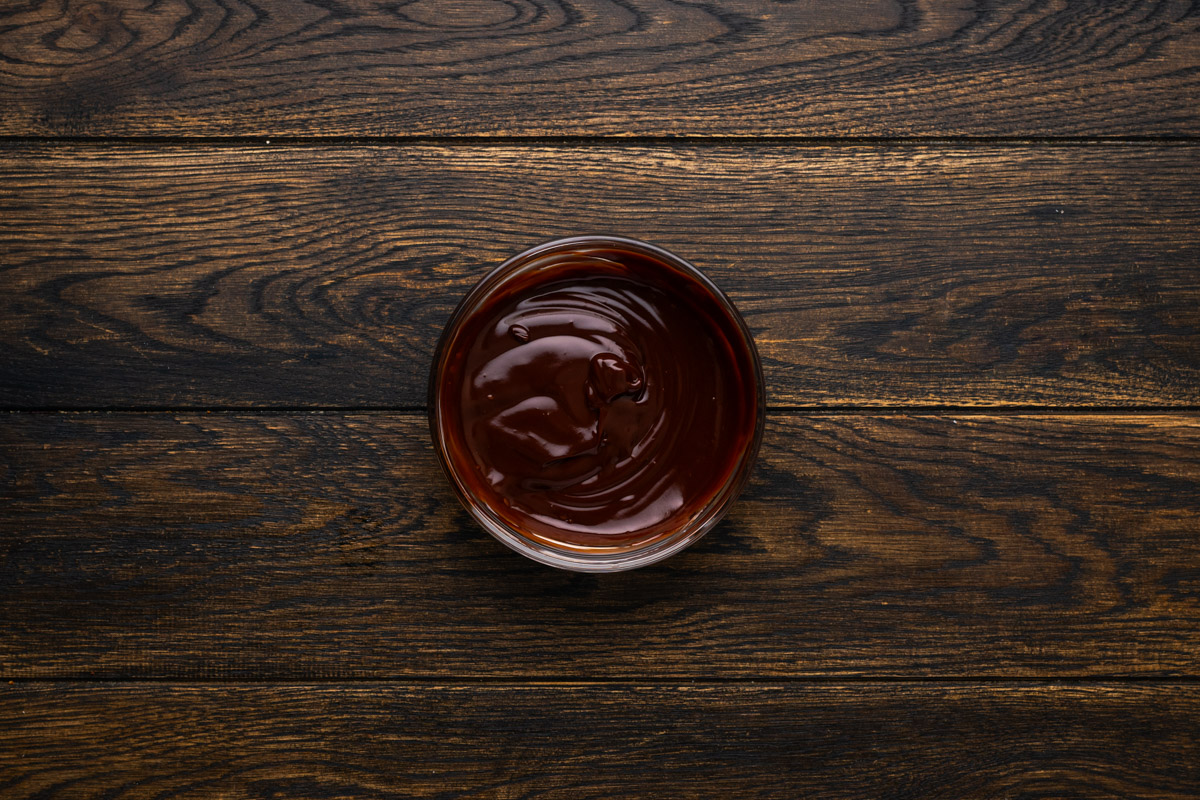
Step 1: Prepare the Chocolate Filling. Melt the semisweet chocolate with the heavy cream in a small bowl until smooth, then chill in the fridge until it firms up slightly.
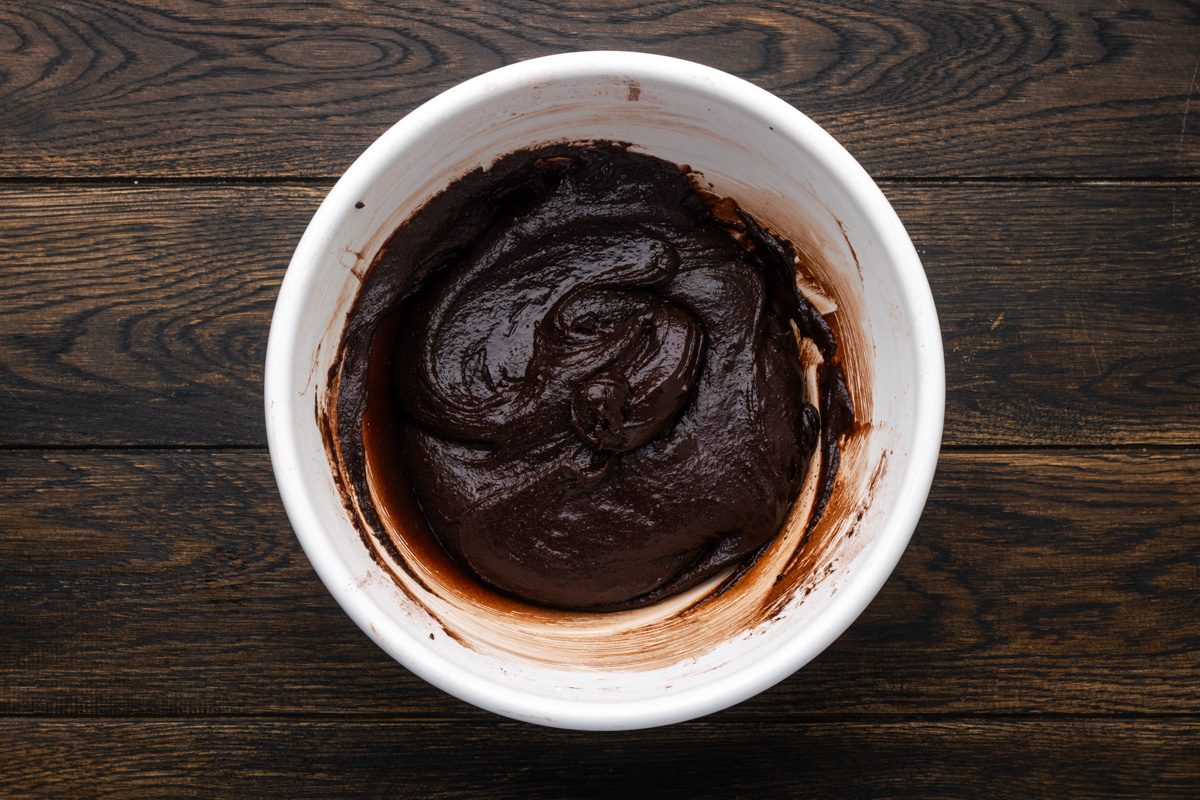
Step 2: Make the Brownie Base.
Preheat the oven to 350°F and place the cast-iron pan in the oven while it's preheating. Prepare the brownie mix according to the package directions, keeping it smooth and ready to spoon into your pans.
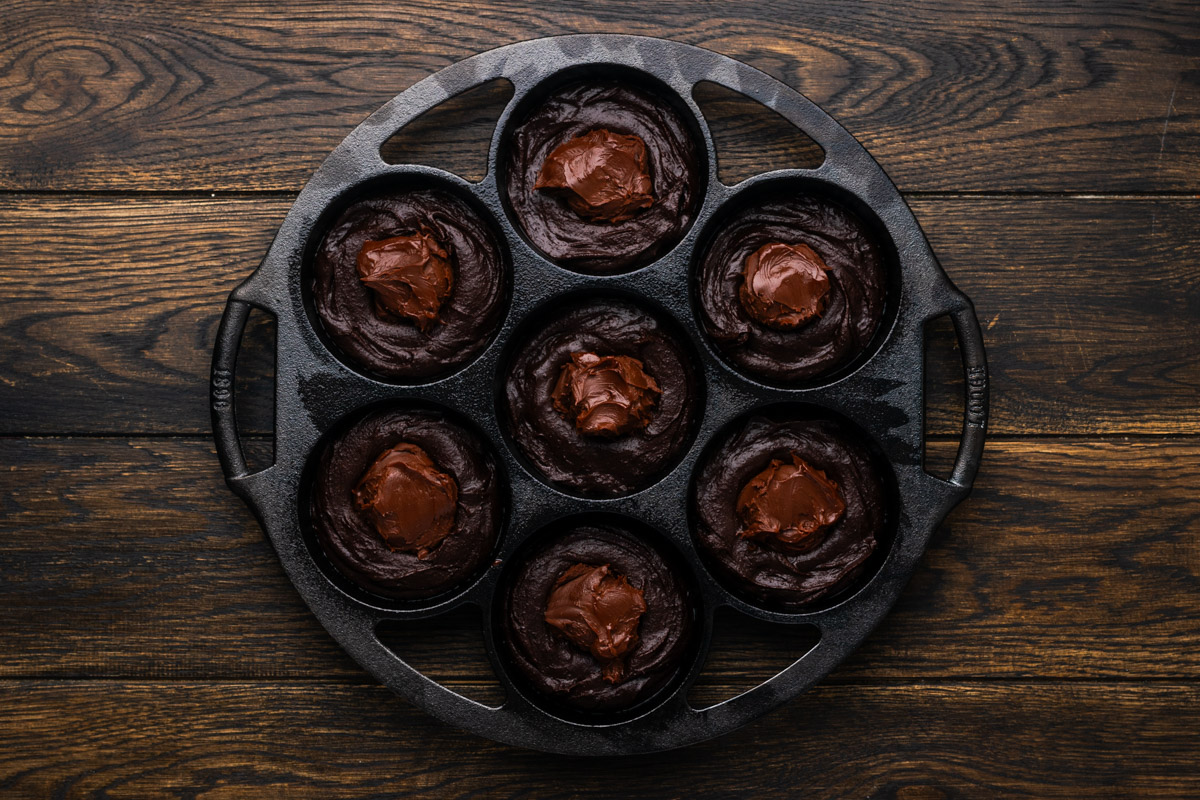
Step 3: Assemble the Cakes. Spray the pan with cooking spray. Then, spoon the brownie batter into each mini skillet, then add a small spoonful of the chilled chocolate mixture in the center before covering lightly with more batter.

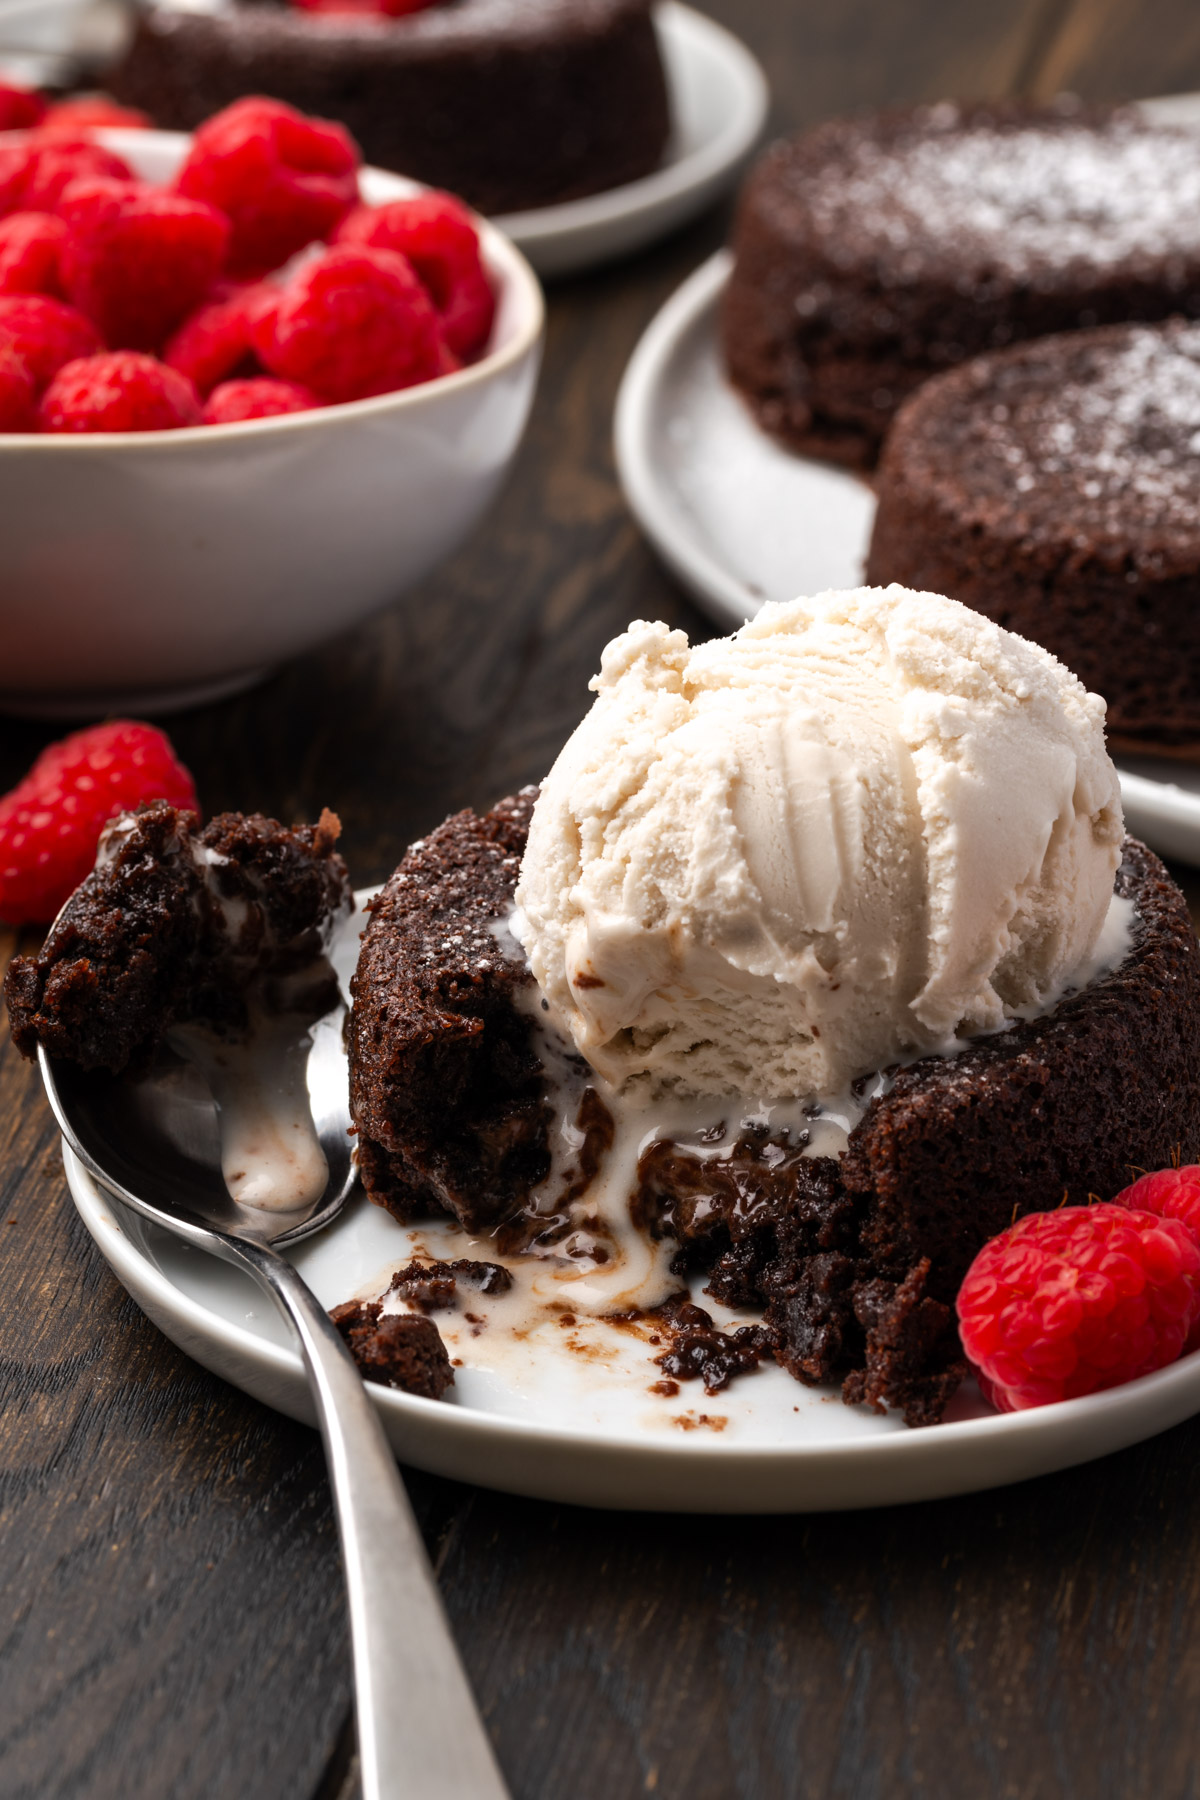
Step 4: Bake and Serve. Bake the cakes until the edges are set but the center is still soft, about 22 minutes. Then, let them rest for a bit before serving with ice cream, a drizzle of caramel, or, for a sweet, nutty twist, add my sweetly roasted cinnamon nuts on top.
Expert Tips
- Chill the Chocolate Filling: Refrigerating the melted chocolate and cream mixture before adding it to the brownie batter helps create a distinct molten center that won’t fully bake through.
- Even Portions: Use a small ice cream scoop or spoon to divide the batter evenly among pans so each cake bakes consistently.
- Watch the Bake Time: Keep a close eye on the cakes as overbaking will set the center and lose that gooey molten effect.
- Serve Immediately: Mini lava cakes are best enjoyed warm right out of the oven. If needed, you can store baked cakes in an airtight container for up to 2 days and gently reheat them in the oven for a few minutes.
Serving Suggestions
- Serve these mini lava cakes as a decadent dessert for dinner parties paired with a scoop of vanilla ice cream and a spoonful of skillet banana foster for a delicious combo!
- Make them part of a special holiday dessert alongside other treats like berry cobbler and skillet apple crisp, so there's something for everyone!
Recipe FAQs
A cast-iron lava cake pan or mini skillets work best for crisp edges, but you can also use small ramekins or a muffin tin lined with parchment cups. Just watch the baking time, as it may need a few minutes less or more depending on the size.
The edges should be set and slightly firm while the center remains soft. Gently jiggle the pan; if the middle moves slightly, it’s ready to come out.
Yes, assemble them in the pans, cover tightly, and freeze for up to a month. Bake from frozen, adding a few extra minutes to the cooking time.
More Delicious Dessert Recipes

If you tried this Mini Lava Cakes Recipe or any other recipe on my blog, please leave a 🌟 star rating and let me know how it went in the 📝 comments below. Thanks for visiting!
Get the Recipe

Mini Lava Cakes
Equipment
- cast iron drop biscuit pan
Ingredients
- ½ oz semisweet chocolate chips
- ¼ cup heavy whipping cream
- 18.3 oz fudge brownie mix
- cooking spray
Instructions
- Melt chocolate and whipping cream in a small bowl in the microwave. Then refrigerate mixture until firm.
- Preheat oven to 350°F and place the cast iron pan in the oven to heat as well.
- Prepare Brownie mix as directed on the box. Spray the pan with cooking spray and pour batter into mini skillets or a Cast Iron Lodge Drop Biscuit pan while adding a teaspoon of chocolate mixture in each.
- Bake for 22 minutes and let cool for 10 minutes before serving with ice cream.
Notes
- Chill the chocolate filling before adding it to the batter to create a distinct molten center.
- Use a cast-iron lava cake pan or mini skillets for even baking and perfectly crisp edges.
- Spoon the batter evenly into each pan so all cakes bake consistently and have the ideal molten center.
- Watch the bake time carefully and remove the cakes while the center is still soft to ensure that gooey chocolate core.
Nutrition
Dutch Oven Daddy is not a dietician or nutritionist, and any nutritional information shared is only an estimate. We recommend running the ingredients through an online nutritional calculator if you need to verify any information.
D says
A great desert!!
Ned Adams says
Thank you! Glad you enjoyed!
Edward says
This is my new favorite sweet treat! Thank you!