


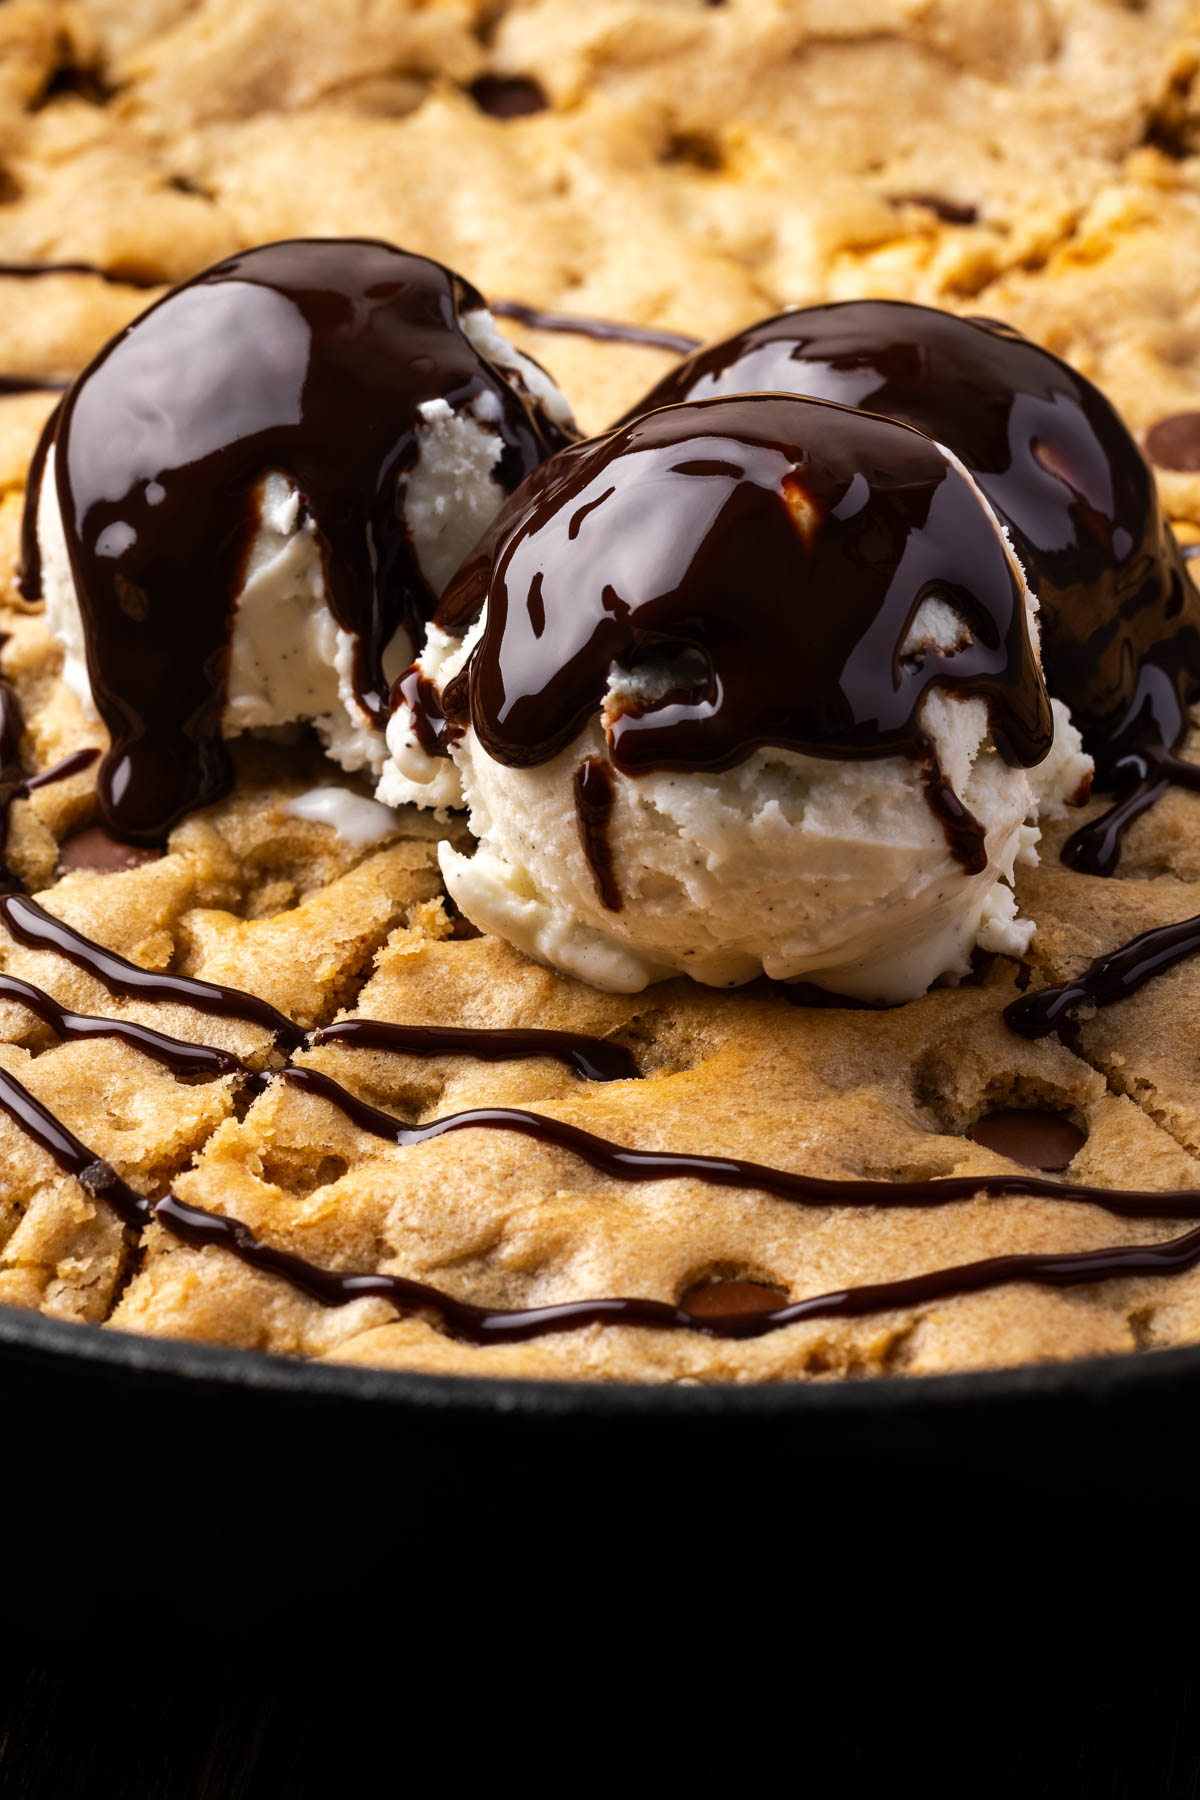
Nothing beats a warm, gooey cookie fresh from the oven-except for a giant, warm, gooey cookie baked right in a cast-iron skillet! This Skillet Cookie (aka the Pizookie) is irresistibly easy to make and the ultimate crowd-pleasing dessert, perfect for sharing…or keeping all to yourself!
Jump to:
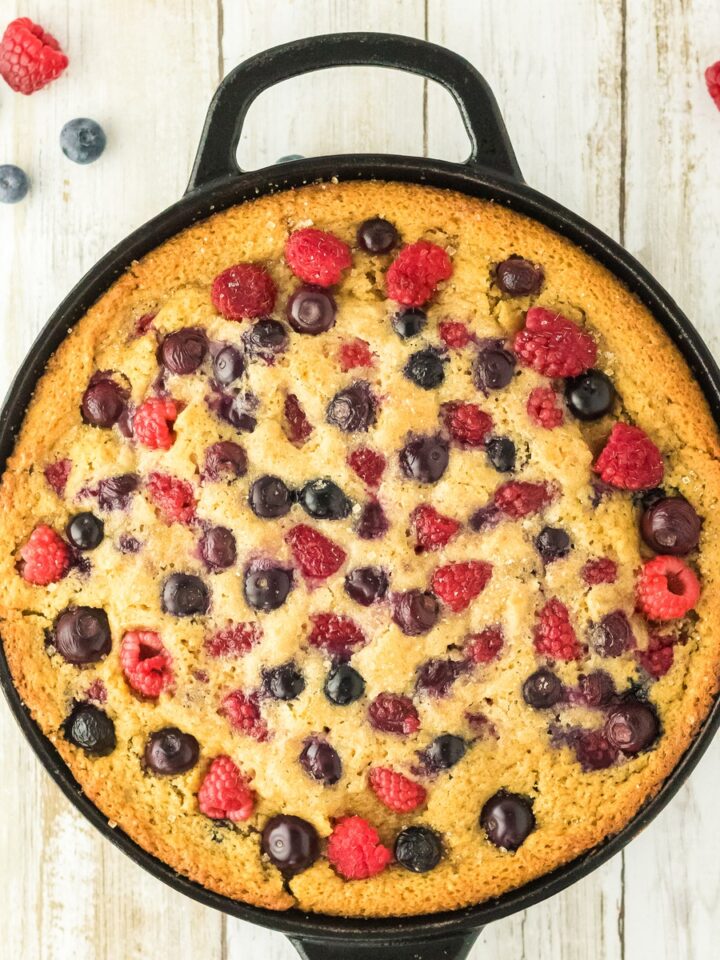
This Skillet Cookie takes everything you love about a classic chocolate chip cookie and makes it even better—bigger, gooier, and baked in a single pan. With melty chocolate and butterscotch chips, crisp golden edges, and a soft, chewy center, it’s the perfect mash-up of a cookie and a pizza.
The best part? It’s ridiculously easy—just mix, press into a skillet, and bake. Whether you’re indulging solo or generously sharing with friends and family, one bite and the whole table will go silent. It’s that good!
Love skillet cookie recipes? Try this Skillet Snickerdoodle Cookie, Oatmeal Chocolate Chip Cookies, or the decadent Chocolate Chip Cookie Brownie next!
Why You’ll Love This Recipe
- A Shareable Dessert: Forget baking multiple batches—this giant skillet chocolate chip cookie is made for gatherings, celebrations, or cozy nights in. Just grab some spoons, gather around, and dig in!
- Contrasting Texture: Enjoy the best of both worlds—golden, crispy edges with a soft, gooey center. Warm, rich chocolate and butterscotch chips make it all the more indulgent!
- Endlessly Customizable: Stick with classic chocolate chips or mix things up—double chocolate, peanut butter chunks, berries, or even caramel - so many options!
- Rustic and Homey: Straight from the skillet, this cookie has a cozy feel—simple, satisfying, and oh-so comforting.
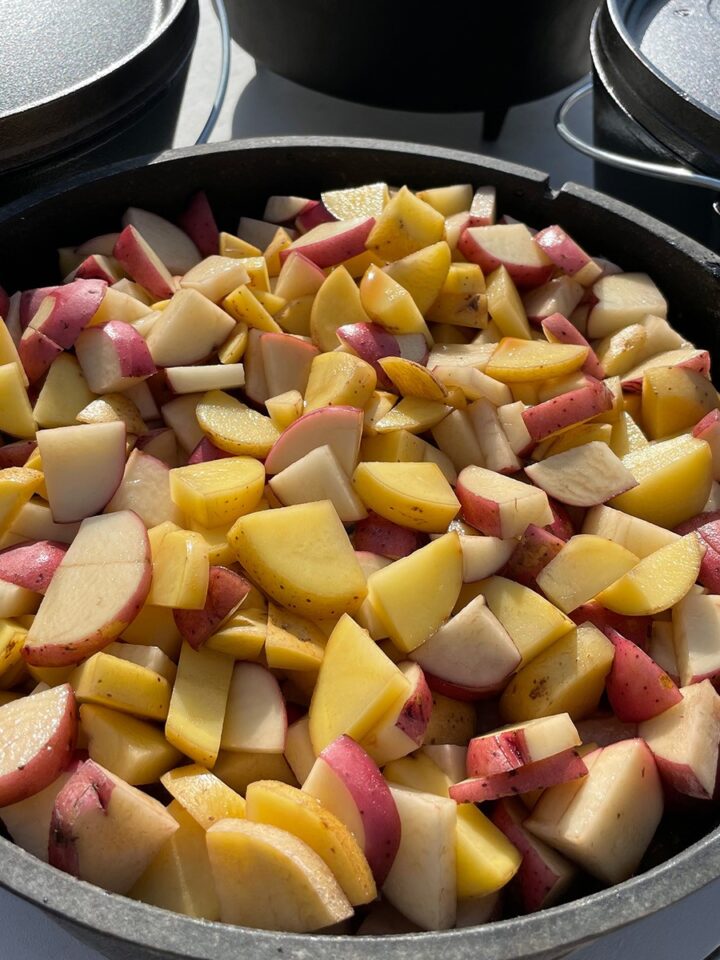
- Perfect for Camping: Want to take dessert outdoors? This cast-iron skillet cookie bakes easily over a campfire, making it the ultimate no-fuss camping or backyard bonfire dessert.
Pizookie Ingredients

- Flour: The foundation of this chocolate chip skillet cookie that gives it structure, so it holds its shape when baking.
- Melty Bits: A mix of chocolate and butterscotch chips adds sweetness and a bit of texture in every bite.
- Sweeteners: A blend of granulated and brown sugar creates the perfect balance of sweetness and chewiness. Vanilla enhances the overall flavor with a hint of warmth.
- Butter: Melted butter forms a rich, creamy base for the dough giving it flavor too!
- Egg: Plays a crucial role in binding the ingredients together while contributing to that irresistibly chewy texture.
- Baking Soda and Salt: Baking soda helps the cookie rise and keeps it soft, while salt balances the sweetness and enhances the flavors.
See the recipe card below for exact ingredient amounts, nutritional information, and detailed instructions.
Variations
- Add a Swirl: Swirl in caramel or peanut butter before baking for extra gooey goodness. Don’t overmix to keep those beautiful, distinct ribbons of flavor.
- Salty Crunch: Mix in crushed pretzels for a salty-sweet contrast that pairs perfectly with the chocolate and butterscotch chips.
- Dairy-Free Option: Swap the butter for coconut oil or plant-based butter. Use dairy-free chocolate chips to keep this indulgence completely dairy-free!
How to Make a Skillet Cookie
Ditch the baking sheets and whip up a cookie that’s bigger and better! First, preheat your oven to 350°F, then grab your 12” skillet, melt your butter in the microwave, and gather all the ingredients for this delectable, homemade Pizookie!

- Step 1: Mix the Wet Ingredients. Mix the granulated sugar, brown sugar, beaten egg, butter, and vanilla together in a mixing bowl.

- Step 2: Mix in the Dry Ingredients. Slowly add the flour, baking soda, and salt, mixing until fully combined.

- Step 3: Fold in the Melty Bits. Gently stir in the chocolate and butterscotch chips until evenly distributed throughout the batter.

- Step 4: Transfer to the Skillet. Add the cookie dough to your skillet and press so that it's even.

- Step 5: Bake, Slice, and Enjoy. Bake the pizookie in a greased skillet for 15-20 minutes or until golden brown, allow to cool for 10 minutes, cut into slices, and serve warm with your favorite toppings!
Serving Suggestions
This cast iron cookie is already packed with loads of chocolatey comfort - but why stop there? Let’s take it over the top with these fun and easy pairings:
- Top your Pizookie dessert with a scoop of ice cream, a drizzle of caramel or chocolate syrup, and a sprinkle of extra chocolate chips or sprinkles for extra-indulgence and fun color.
- Pair it with tater tot nachos or jalapeño poppers to keep the laid-back, restaurant-style dining vibe alive!
- Serve it after a hearty meal like chicken broccoli casserole or teriyaki barbecue chicken for a chocolatey, satisfying finish.
Expert Tips
- Storing and Reheating: Store leftovers in an airtight container at room temperature for up to 2 days or in the fridge for up to 5 days. For longer storage, freeze cooled slices in a freezer-safe container for up to 3 months. Thaw overnight in the fridge, then reheat in the oven at 325°F or microwave in short bursts until warmed.
- Watch the Bake Time: For that perfect soft center, keep an eye on the cookie as it bakes. The edges should be golden brown and set, while the center may still look slightly underbaked—this is ideal! The residual heat will continue to bake the cookie once out of the oven.
- Sift for Better Texture: For an ultra-smooth batter and soft, chewy cookie, sift the flour, baking soda, and salt before mixing with the wet ingredients. This helps prevent lumps and creates a more even dough.
Recipe FAQs
No skillet? No problem! You can bake this cookie in an 8x8-inch baking dish or a 9-inch round cake pan. Line the pan with parchment paper or lightly grease it, then press the dough evenly into the dish. Bake at 350°F for 15-20 minutes or until the edges are golden brown and the center is slightly set.
Your skillet cookie is ready when the edges are golden brown and firm, but the center still looks slightly underbaked. The residual heat from the skillet will continue baking the cookie after it's removed from the oven, giving it that perfect gooey center. If you prefer a firmer cookie, bake for an additional 2-3 minutes, but be careful not to overbake, as it will firm up as it cools.
To turn this recipe into traditional cookies, scoop tablespoon-sized portions of dough onto a lined baking sheet, spacing them 2 inches apart. Bake at 325°F for 8-10 minutes, or until the edges are golden and the centers are slightly soft. Let them cool on the baking sheet for a few minutes before transferring them to a wire rack.
Yes, you can prep the dough up to 24 hours in advance. Store it in the fridge, then press it into the skillet and bake as directed when ready. For longer storage, you can freeze the dough for up to three months. Thaw it out before prepping it for the oven.

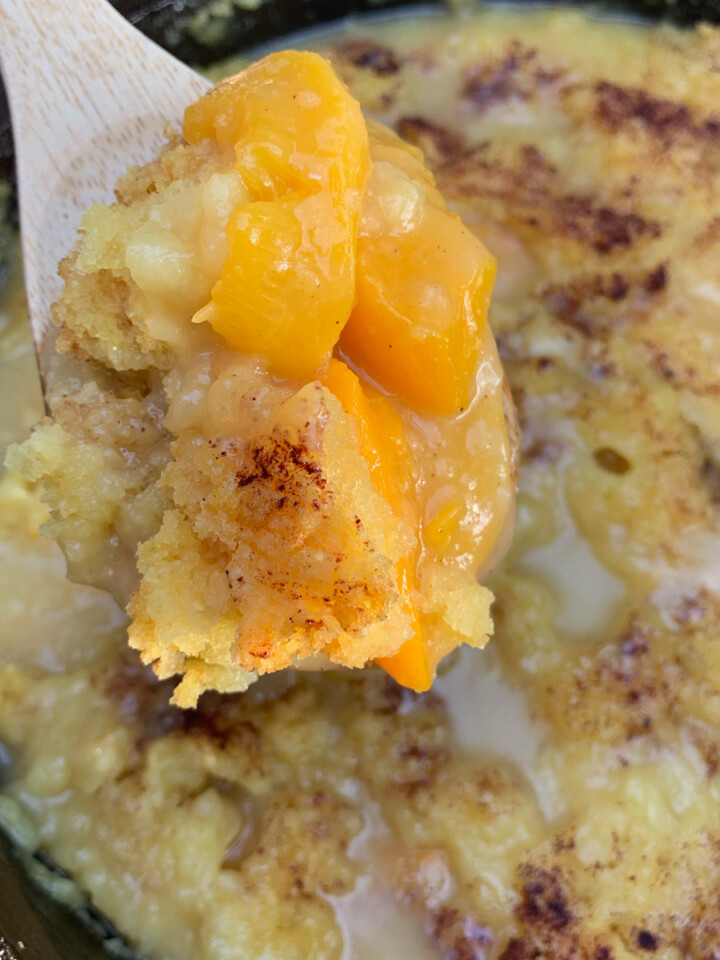
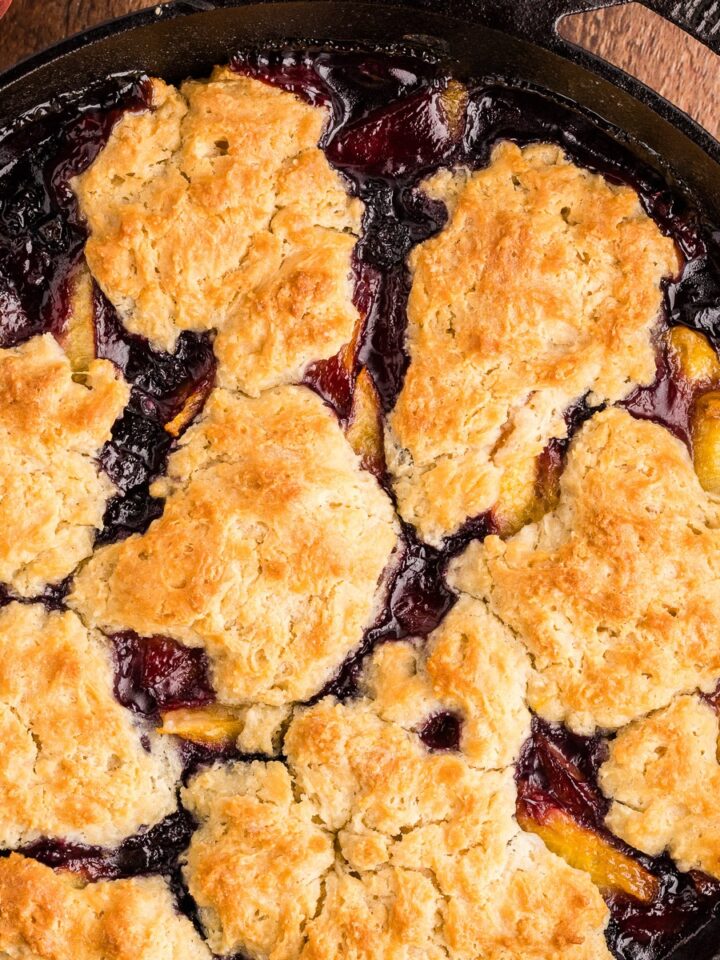
More Delicious Cast Iron Skillet Dessert Recipes


If you tried this pizookie recipe or any other recipe on my blog, please leave a 🌟 star rating and let me know how it went in the 📝 comments below. Thanks for visiting!
Get the Recipe

Cast Iron Skillet Cookie (Pizookie)
Equipment
- 12" Cast Iron Skillet
Ingredients
- ½ cup melted butter
- ½ cup sugar
- ½ cup brown sugar
- 1 teaspoon vanilla extract
- 1 egg
- 1 ½ cup flour
- ½ teaspoon baking soda
- ¼ teaspoon salt
- ½ cup chocolate chips
- ½ cup butterscotch chips
Instructions
- Preheat oven to 350°F.
- Add sugar, brown sugar, beaten egg, butter and vanilla to a mixing bowl and mix well.
- Add flour, baking soda and salt to the wet ingredients. Mix until well blended and forms a dough.
- Add in chocolate chips and butterscotch chips and stir to evenly distribute.
- Add cookie dough to a well greased 12" skillet.
- Bake 20-25 minutes or until golden brown.
- Allow to cool 10 minutes.
- Cut into slices and top with vanilla ice cream and hot fudge.
Notes
- For a gooey center, remove the skillet cookie from the oven when the edges are golden but the center still looks slightly soft.
- Sifting the flour, baking soda, and salt before mixing prevents clumps and creates a softer, more even-textured cookie.
- For an extra soft center, slightly under bake your skillet cookie and let it rest in the pan for 10-15 minutes. The residual heat will continue baking the cookie while keeping the inside irresistibly gooey!
Nutrition
Dutch Oven Daddy is not a dietician or nutritionist, and any nutritional information shared is only an estimate. We recommend running the ingredients through an online nutritional calculator if you need to verify any information.
Ella Adamson says
Lots of calories but delicious!
Jennifer Osborn says
As often as I make desserts, I still have not tackled the ever impressive giant skillet cookie! this looks delish!
But I've got the big skillet and tiny baby skillets I've been dying to use so no more excuses!
Ned Adams says
So awesome!! You are right, no excuses 😉 Excited to see how things go!
Greta says
AMAZING RECIPE!!! I love this dessert, and it’s great to share with family and friends!
Ned Adams says
Glad you loved it! Thanks for sharing!
D says
Hits the spot!!
Ned Adams says
Glad it hit the spot! Thank you for sharing!
Edward says
What an incredible cookie! My family loved sharing this together!
Ned Adams says
Glad you all enjoyed!
Tk Gray says
Yu.my I'm definitely trying this!
Ned Adams says
Awesome! Can't wait to see how it turns out for you! Happy cooking. 🙂