
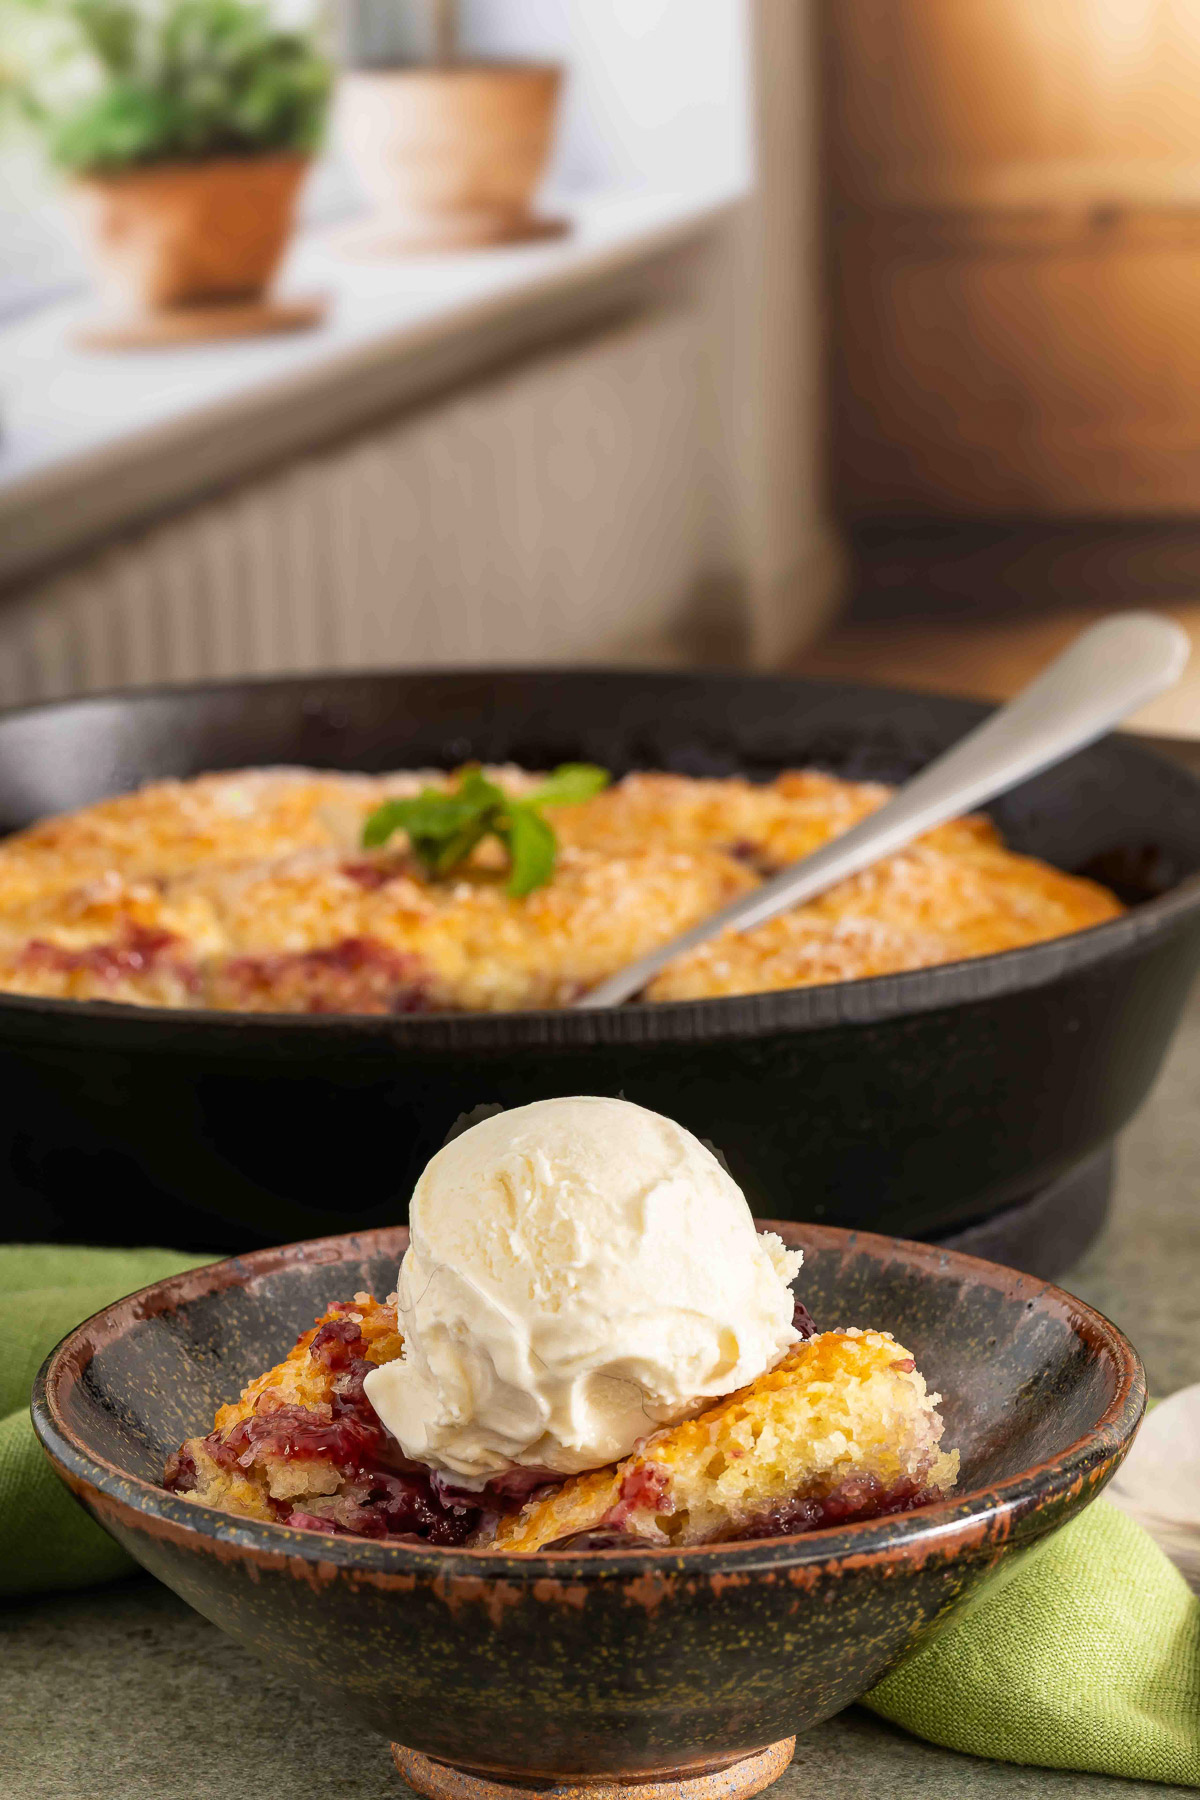
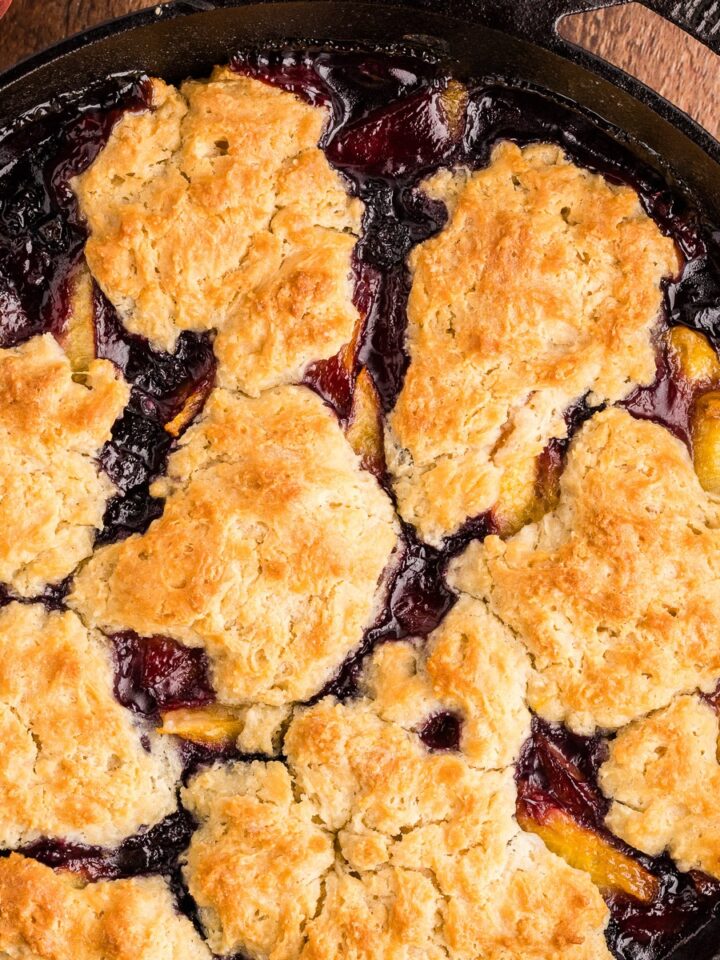
There's a moment when the biscuit tops turn deep golden and the cherry filling starts bubbling up around the edges of the skillet, and that is when you know this Cherry Cobbler is going to be good. Canned cherries and a shaggy buttermilk biscuit dough are all it takes, with no pitting and no waiting for cherry season. The cast iron gives you crisp, caramelized biscuit edges and a thick, glossy cherry filling underneath.
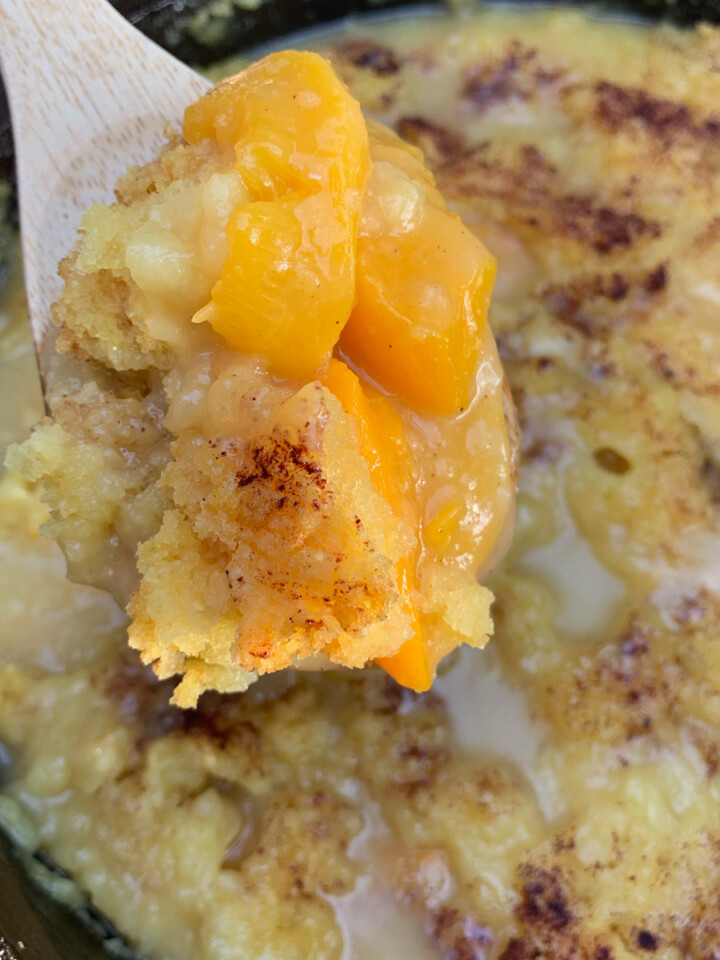
If you love easy cast iron desserts, you will also want to try my Dutch Oven Peach Cobbler and my Skillet Strawberry Rhubarb Cobbler.
Quick Look at this Recipe
- ✅ Recipe Name: Cherry Cobbler
- 🕒 Ready In: 1 hour 5 minutes (25 min prep, 40 min bake)
- 👪 Serves: 8 people
- 🥣 Main Ingredients: canned cherries, cornstarch, buttermilk, butter, flour
- 📖 Dietary Info: Vegetarian; contains gluten and dairy
- ⭐ Why You'll Love It: A pantry-friendly cobbler with crisp, caramelized cast iron biscuit edges.
Summarize and Save the Recipe
Jump to:
Why You'll Love This Cherry Cobbler
- Pantry-friendly and year-round. Canned cherries mean no pitting and no waiting for summer to get that cherry flavor.
- A real biscuit topping. Tender, buttery buttermilk biscuits with crisp edges, not a thin pour-over cake batter.
- Cast iron does the work. A hot skillet gives you caramelized edges and an evenly cooked, never-doughy bottom.
- Comes together fast. Simple pantry ingredients and about 25 minutes of hands-on prep.
What Makes This Cherry Cobbler Different
Two choices set this one apart. First, it uses canned cherries that you drain yourself, not cherry pie filling. That distinction matters. Pie filling is already sweetened and thickened, so it bakes up gloppy and too sweet. Here you build the filling from scratch with a little sugar and cornstarch, so you control exactly how sweet and how thick it gets.
Second, this is a biscuit cobbler baked in cast iron, not the cake-batter style most recipes pour into a glass dish. The skillet holds heat and spreads it evenly, which is what crisps the bottoms of the biscuits and caramelizes the edges. It is the same reason cast iron is the right tool for almost every cobbler I make.
What You'll Need
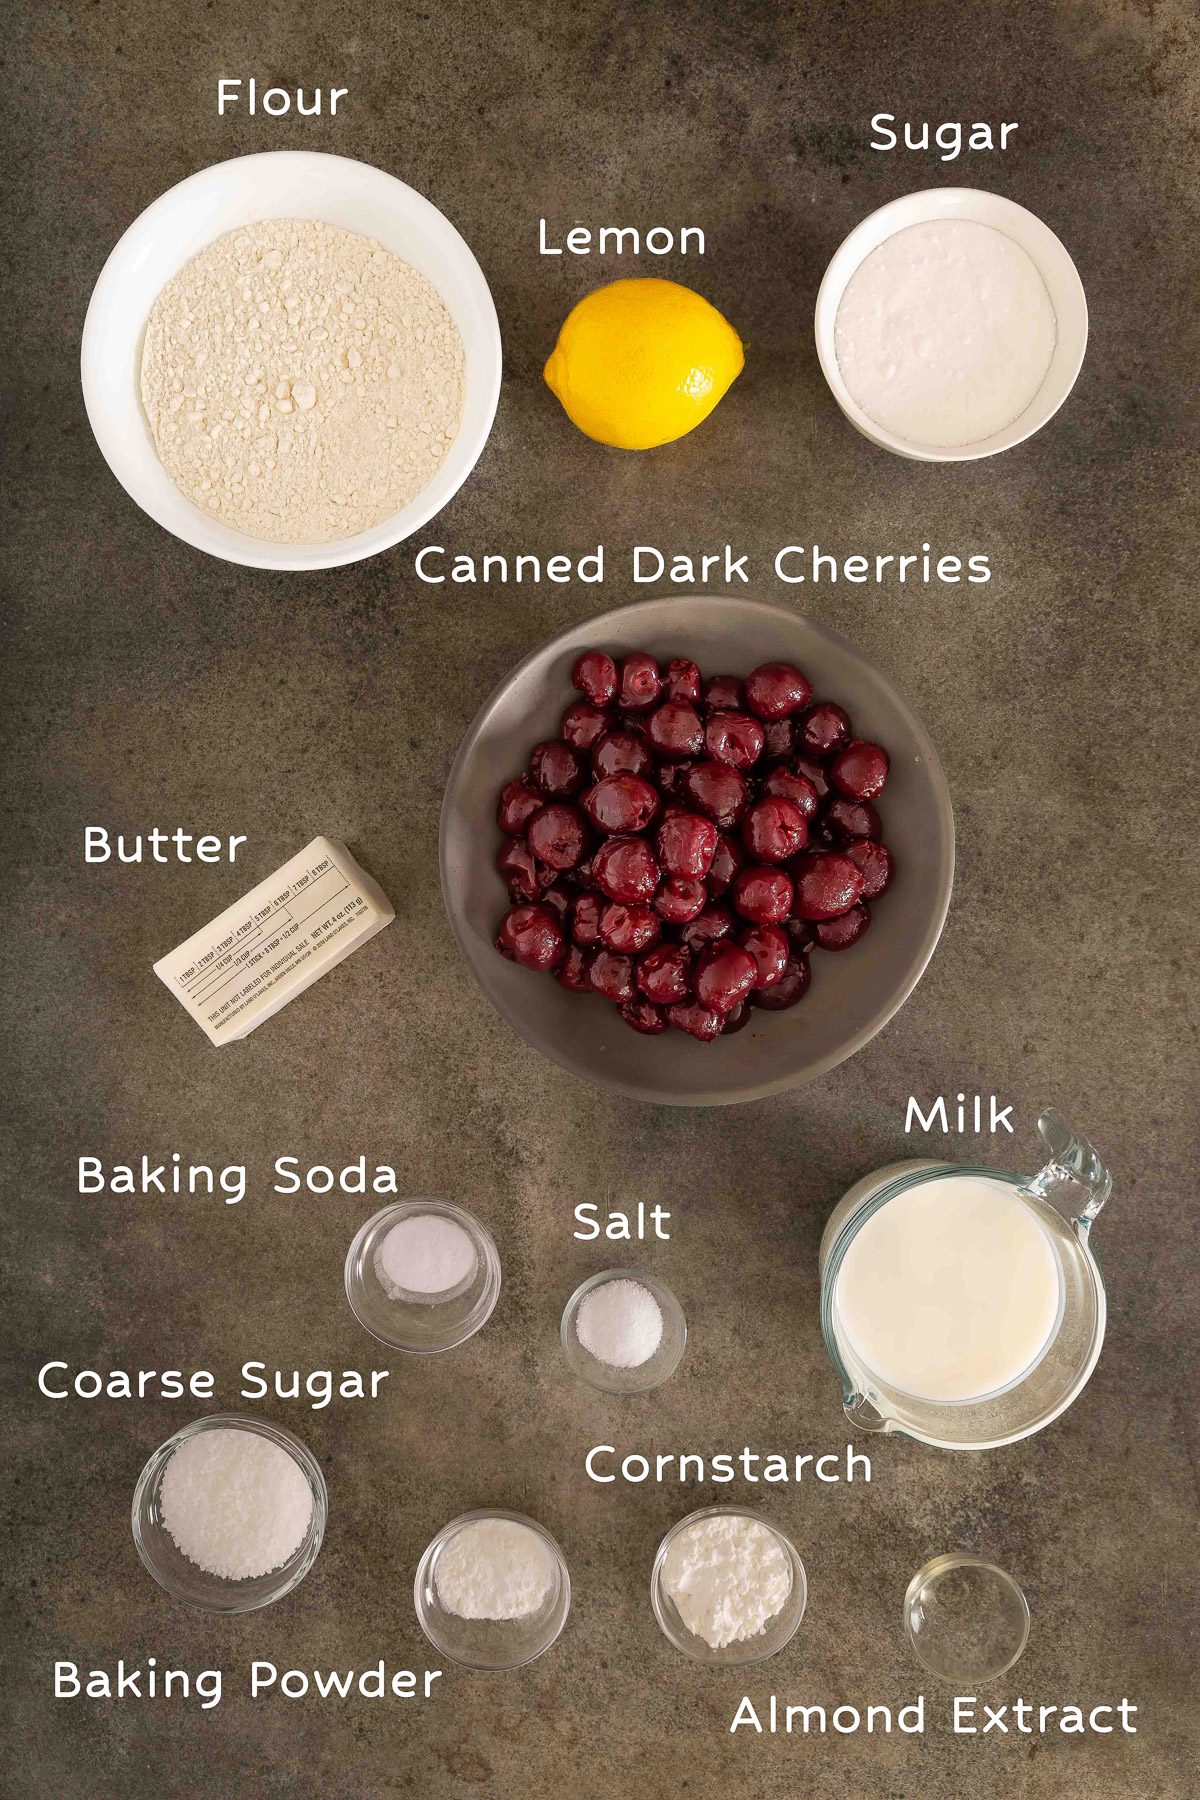
- Canned cherries: Use cherries canned in water or light syrup, drained, with ½ cup of the juice reserved. Not cherry pie filling.
- Cornstarch: Thickens the reserved juice into a glossy filling.
- Lemon juice: A little brightness to balance the sweet cherries.
- Almond extract: The classic partner to cherries. Optional, but it makes the filling taste fuller.
- Cold butter and cold buttermilk: The secret to tender biscuits. Cold fat stays in solid pieces until the oven, then steams and creates flaky layers.
- Flour, sugar, baking powder, baking soda, salt: The simple base for the biscuit topping.
- Coarse sugar: Optional finish for a little sparkle and crunch on top.
This is just an overview. See the recipe card below for the full ingredient amounts and complete instructions.
How to Make Cherry Cobbler
One tip worth calling out: the filling should be hot when the biscuits go on top. That heat starts the biscuit bottoms cooking right away and keeps them from turning doughy.

- Step 1: Combine the Filling. Drain the cherries, reserving ½ cup juice, then stir together with the sugar, lemon juice, cornstarch, and salt.

- Step 2: Cook Until Glossy. Simmer over medium heat until the mixture thickens and turns glossy, then stir in the almond extract.
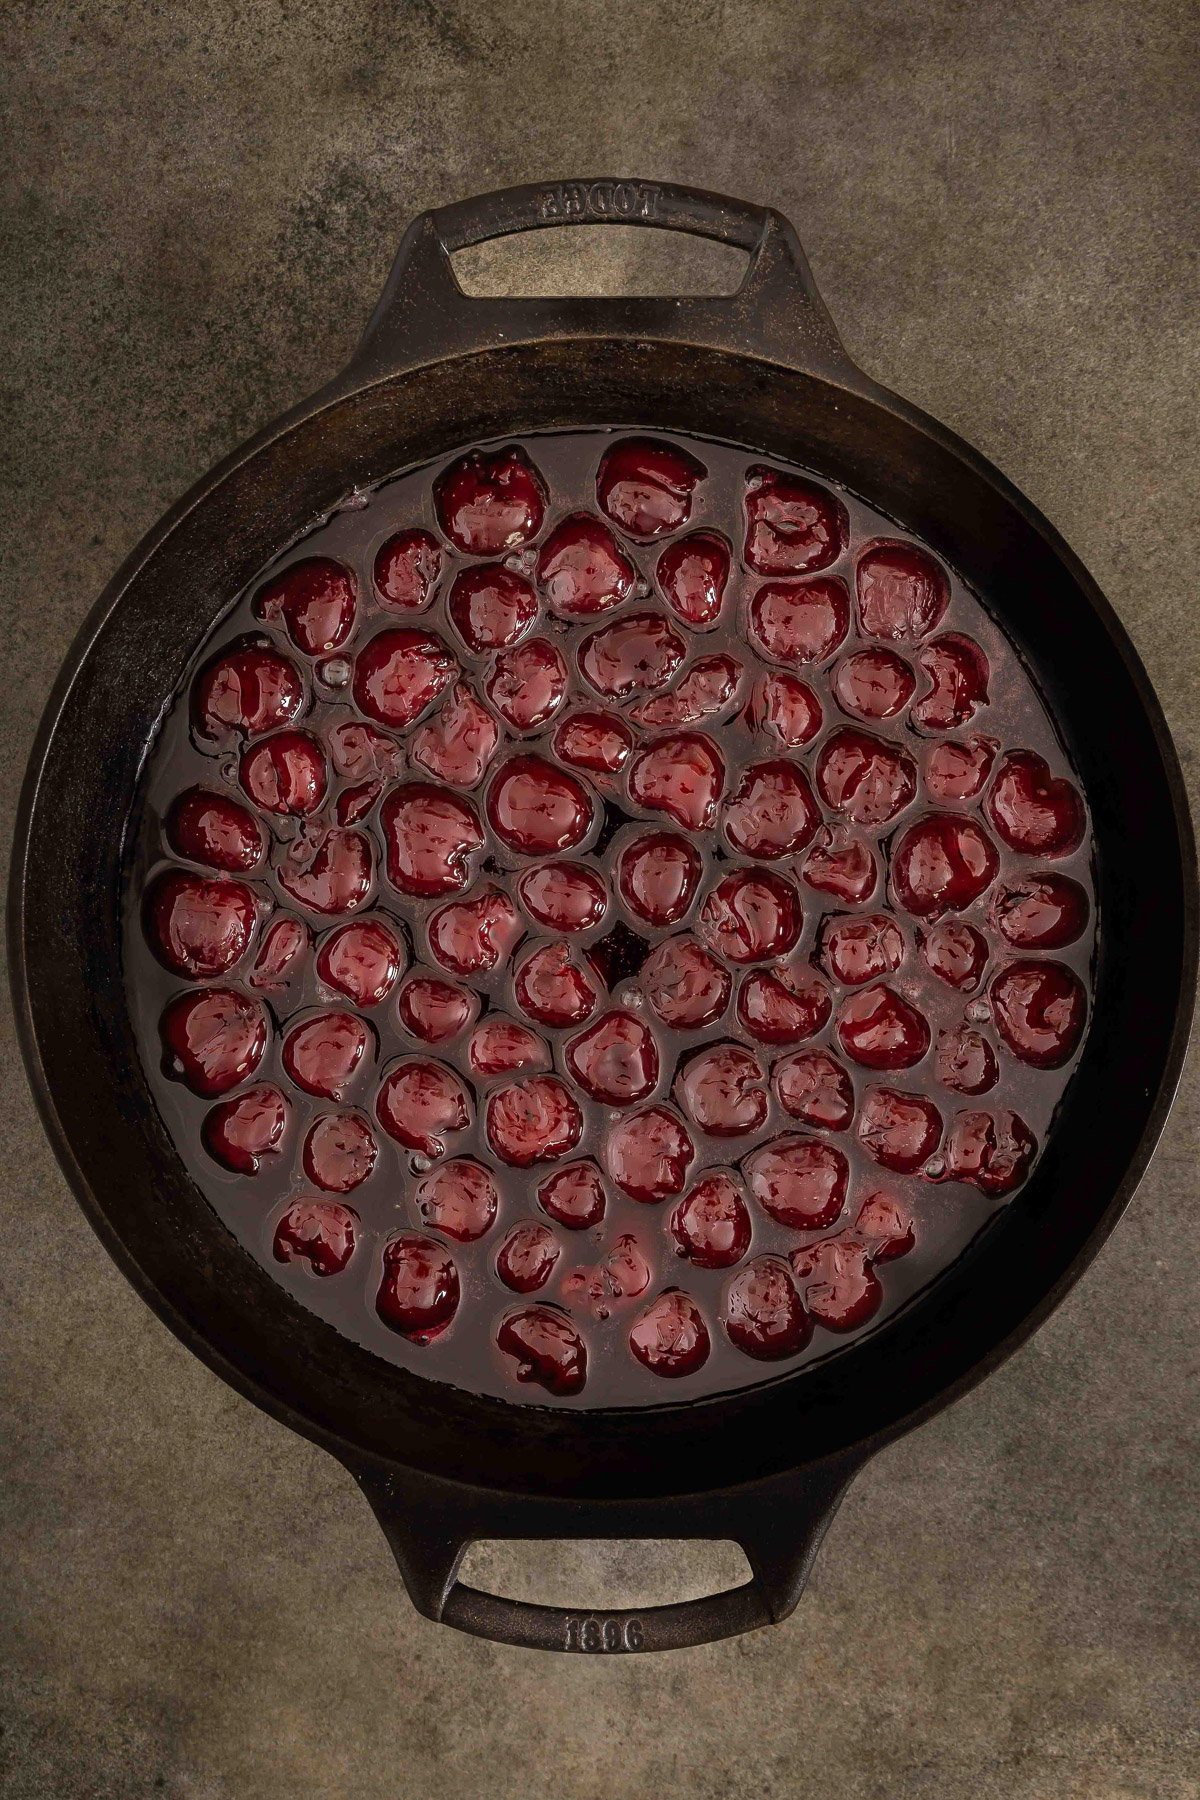
- Step 3: Spread in the Skillet. Pour the hot filling into a 10-inch cast iron skillet and spread it into an even layer.
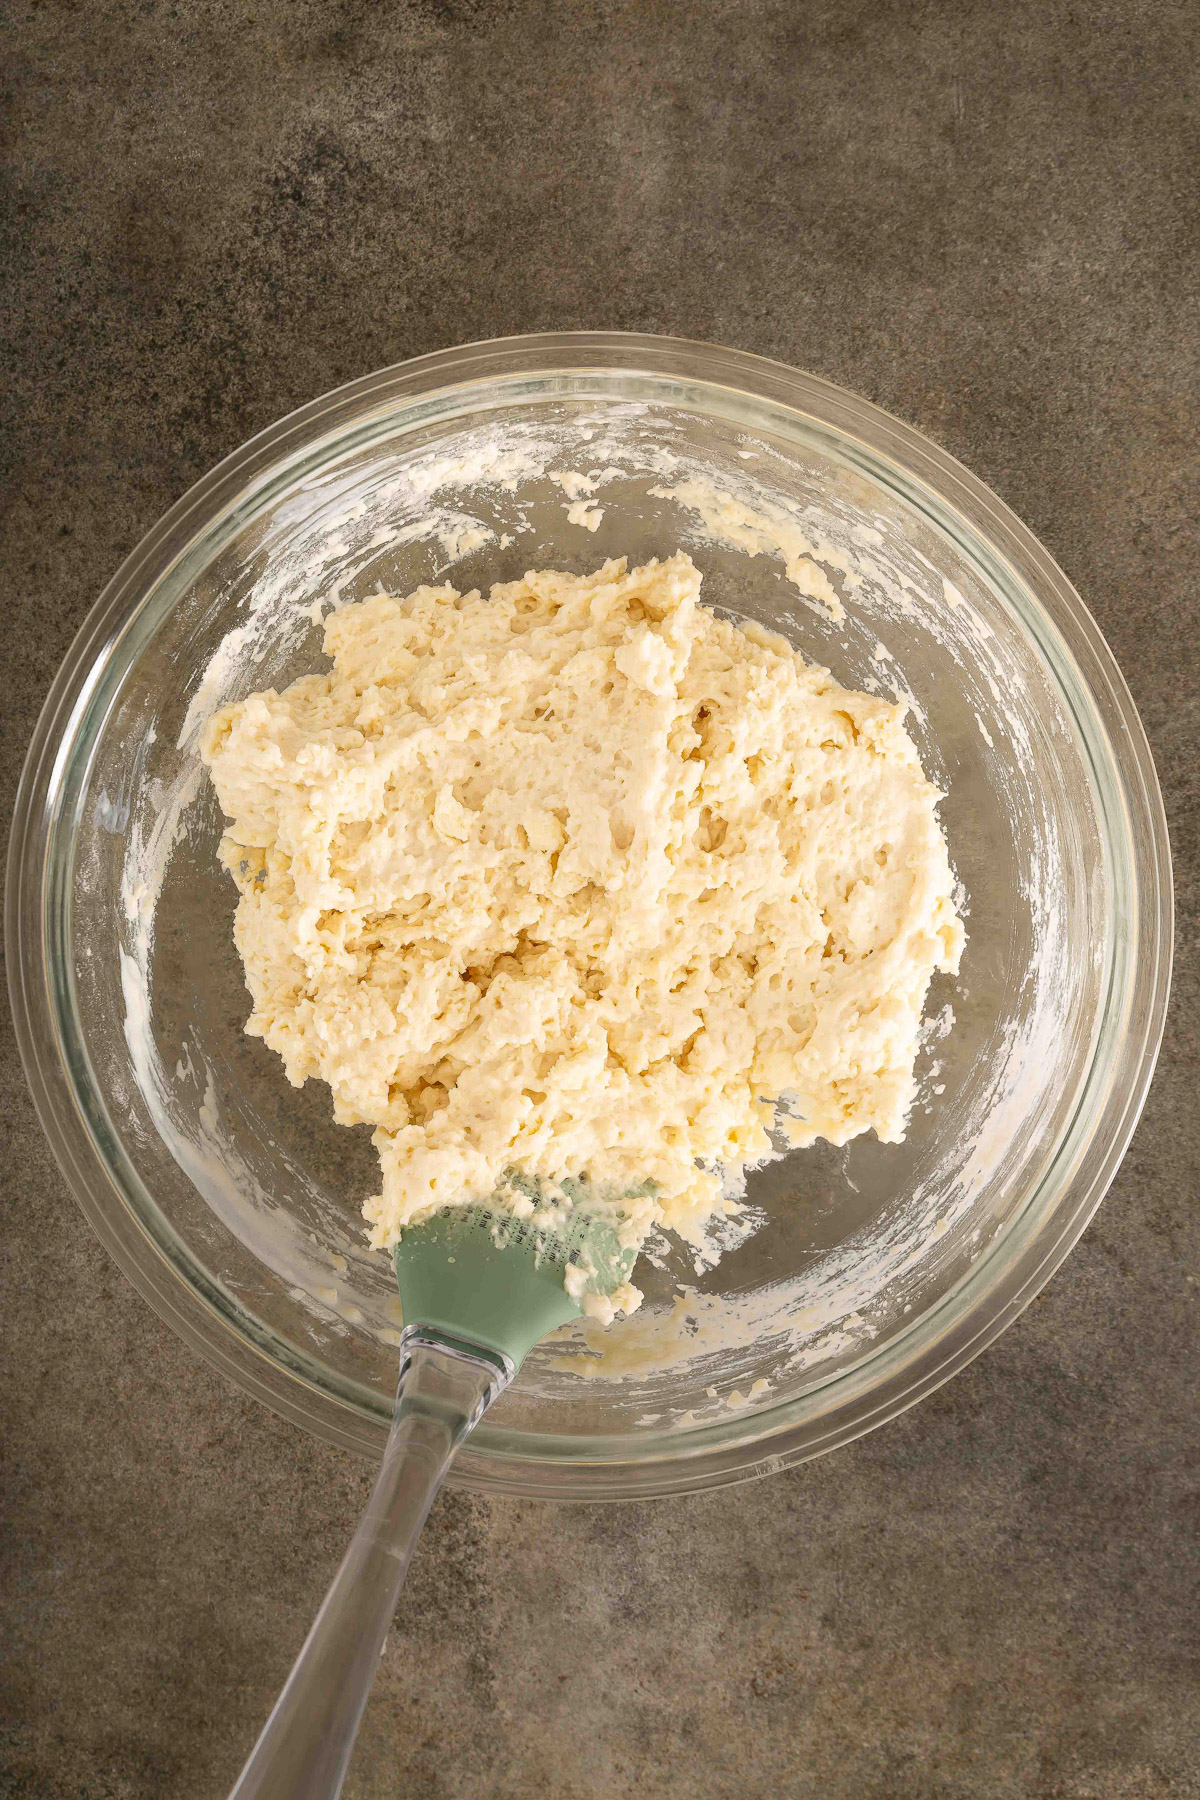
- Step 4: Make the Dough. Cut cold butter into the dry ingredients, then stir in cold buttermilk just until a shaggy dough forms.
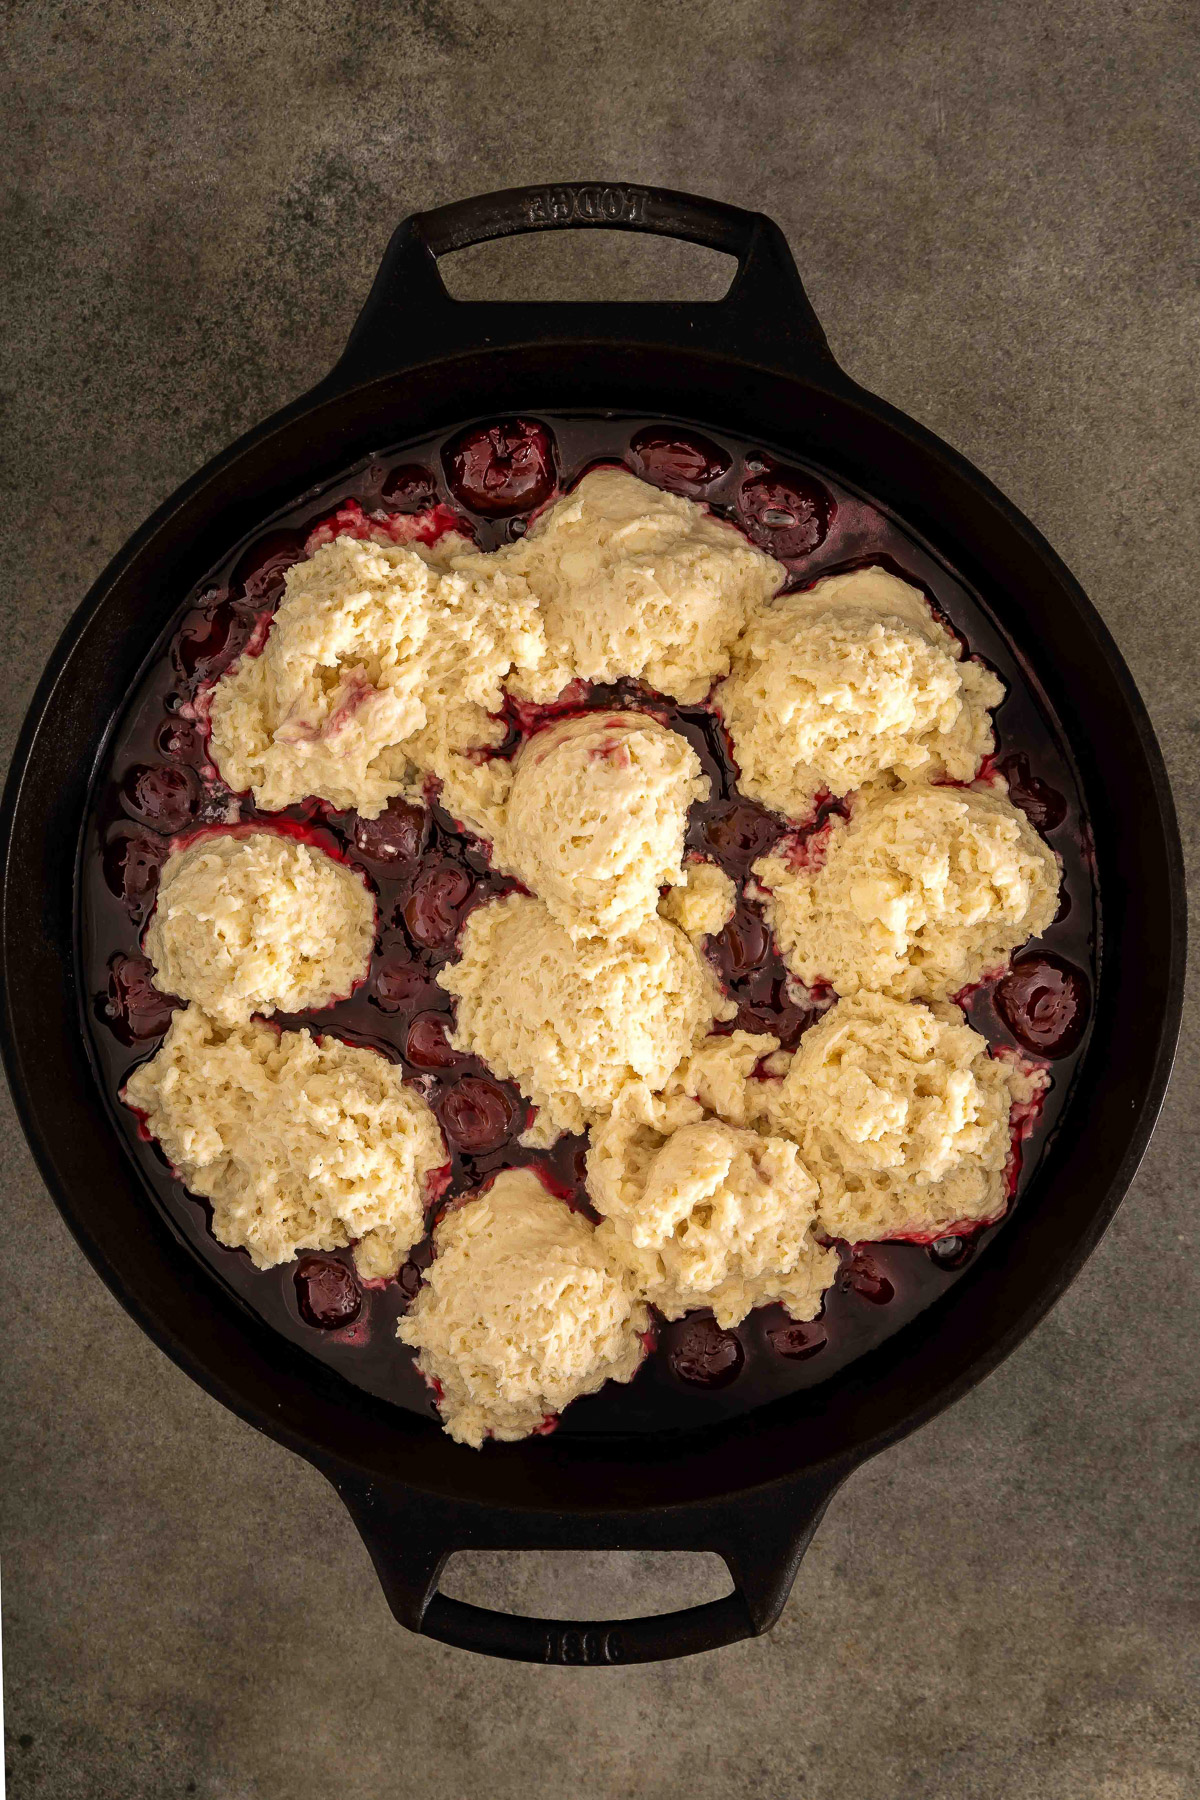
- Step 5: Drop the Biscuits. Spoon mounds of dough over the hot filling, leaving space between each so they can spread and brown.

- Step 6: Bake. Bake until the biscuits are golden and the filling bubbles up around the edges, then let it rest before serving.
Variations and Substitutions
- No buttermilk? Add 2 teaspoons of lemon juice or white vinegar to regular milk and let it sit 5 minutes.
- Frozen or fresh cherries. Both work in place of canned. Thaw and drain frozen cherries, and pit fresh ones first.
- Warm spices. Add a pinch of cinnamon or cardamom to the biscuit dough for a cozy twist.
- Almond crunch. Fold sliced almonds into the topping or scatter them on top before baking.
- Heartier topping. Swap part of the flour for white whole wheat.
Love cherries baked in cast iron? Try my Skillet Cherry Clafoutis next.
Expert Tips
- Keep the butter and buttermilk cold for the most tender biscuit texture.
- Do not overmix. A rough, shaggy dough bakes up tender, while overmixing is the number one cause of dense biscuits.
- For extra-golden tops, brush the biscuits lightly with cream before baking.
- If the tops brown too fast, tent loosely with foil toward the end of baking.
- Let the cobbler rest 10 to 15 minutes before serving so the filling can set up.
What to Serve with Cherry Cobbler
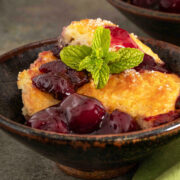
Serve it warm, straight from the skillet. A scoop of vanilla ice cream melting into the cherry filling is the classic move, but it is just as good with whipped cream or a splash of cold cream poured over the top.
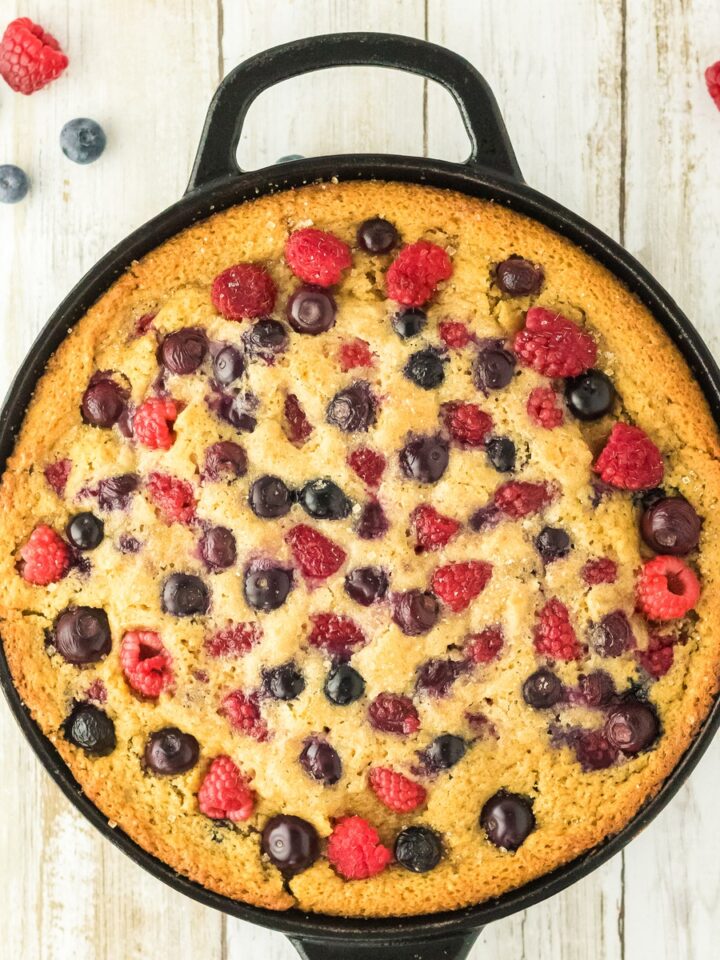
If you are building a whole cast iron dessert lineup, my Peach Blueberry Cobbler is another crowd-pleaser.
Cherry Cobbler FAQs
You can, but the cobbler will be much sweeter and thicker. If you use pie filling, skip the stovetop thickening step and cut the added sugar significantly, since the filling is already sweetened and thickened.
Absolutely. Thaw frozen cherries and drain off the excess liquid before making the filling. Fresh cherries work too; pit them first. You may need a touch more cornstarch since both release more juice than drained canned cherries.
It usually needed a little more cornstarch or more time to cook on the stovetop before baking. The cobbler also thickens as it cools, so let it rest at least 10 to 15 minutes before serving.
Overmixing is the most common cause. Stir just until the dough comes together and leave some small, pea-sized butter pieces throughout. Keeping the butter and buttermilk cold matters too.
Yes. An 8x8-inch or similar baking dish works well, though you will not get the same crisp, caramelized edges that cast iron gives.
You can make the cherry filling a day ahead and refrigerate it. The biscuit topping is best mixed and baked fresh right before serving.
More Delicious Recipes


If you tried this Cherry Cobbler or any other recipe on my website, please leave a 🌟 star rating and let me know how it went in the 📝 comments below. I love hearing from you!
Get the Recipe
Cherry Cobbler
Equipment
- 10-inch cast iron skillet
- Saucepan
- Mixing bowls
Ingredients
For the cherries
- 2 cans (15 oz each) cherries drained, reserve ½ cup juice
- ½ to ¾ cup granulated sugar 100 to 150g
- 1 tablespoon lemon juice
- 1 ½ to 2 tablespoons cornstarch
- 1 pinch salt
- ½ teaspoon almond extract optional
For the biscuit topping
- 1 ½ cups all-purpose flour 180g
- ¼ cup granulated sugar 50g
- 1 ½ teaspoons baking powder
- ¼ teaspoon baking soda
- ½ teaspoon salt
- 6 tablespoons cold unsalted butter 85g, cut into small pieces
- ¾ cup cold buttermilk 180ml
Optional finish
- 1 to 3 tablespoons coarse sugar for sprinkling
Instructions
- Preheat the oven to 375 degrees F (190 degrees C).
- In a saucepan, combine the cherries, reserved juice, sugar, lemon juice, cornstarch, and salt. Cook over medium heat, stirring often, until the mixture thickens and becomes glossy, about 5 to 7 minutes.
- Remove from the heat and stir in the almond extract, if using.
- Pour the warm cherry filling into a 10-inch cast iron skillet and spread it evenly.
- In a bowl, whisk together the flour, sugar, baking powder, baking soda, and salt.
- Add the cold butter and work it in with your fingers or a pastry cutter until the mixture looks like coarse crumbs with some pea-sized pieces of butter.
- Pour in the cold buttermilk and gently stir just until a soft dough forms. Do not overmix.
- Drop spoonfuls of the dough over the cherry filling, leaving a little space between each mound so the topping can spread and brown.
- Sprinkle with coarse sugar, if using.
- Bake for 35 to 45 minutes, until the biscuits are golden brown and the cherry filling is bubbling up around the edges.
- Let rest for 10 to 15 minutes before serving.
Notes
- Keep it cold. Cold butter and cold buttermilk give you the most tender, flaky biscuits.
- Hot filling, cold dough. The filling should be hot when the biscuits go on top. This starts them cooking right away and prevents a doughy bottom.
- Shaggy is good. The dough will look rough and shaggy. That is exactly what you want. Overmixing makes dense biscuits.
- Extra-golden tops. Brush the biscuits lightly with cream before baking. If the tops brown too fast, tent loosely with foil toward the end.
- No buttermilk? Add 2 teaspoons lemon juice or vinegar to regular milk and let it sit 5 minutes.
Nutrition
Dutch Oven Daddy is not a dietician or nutritionist, and any nutritional information shared is only an estimate. We recommend running the ingredients through an online nutritional calculator if you need to verify any information.
Leave a Reply