
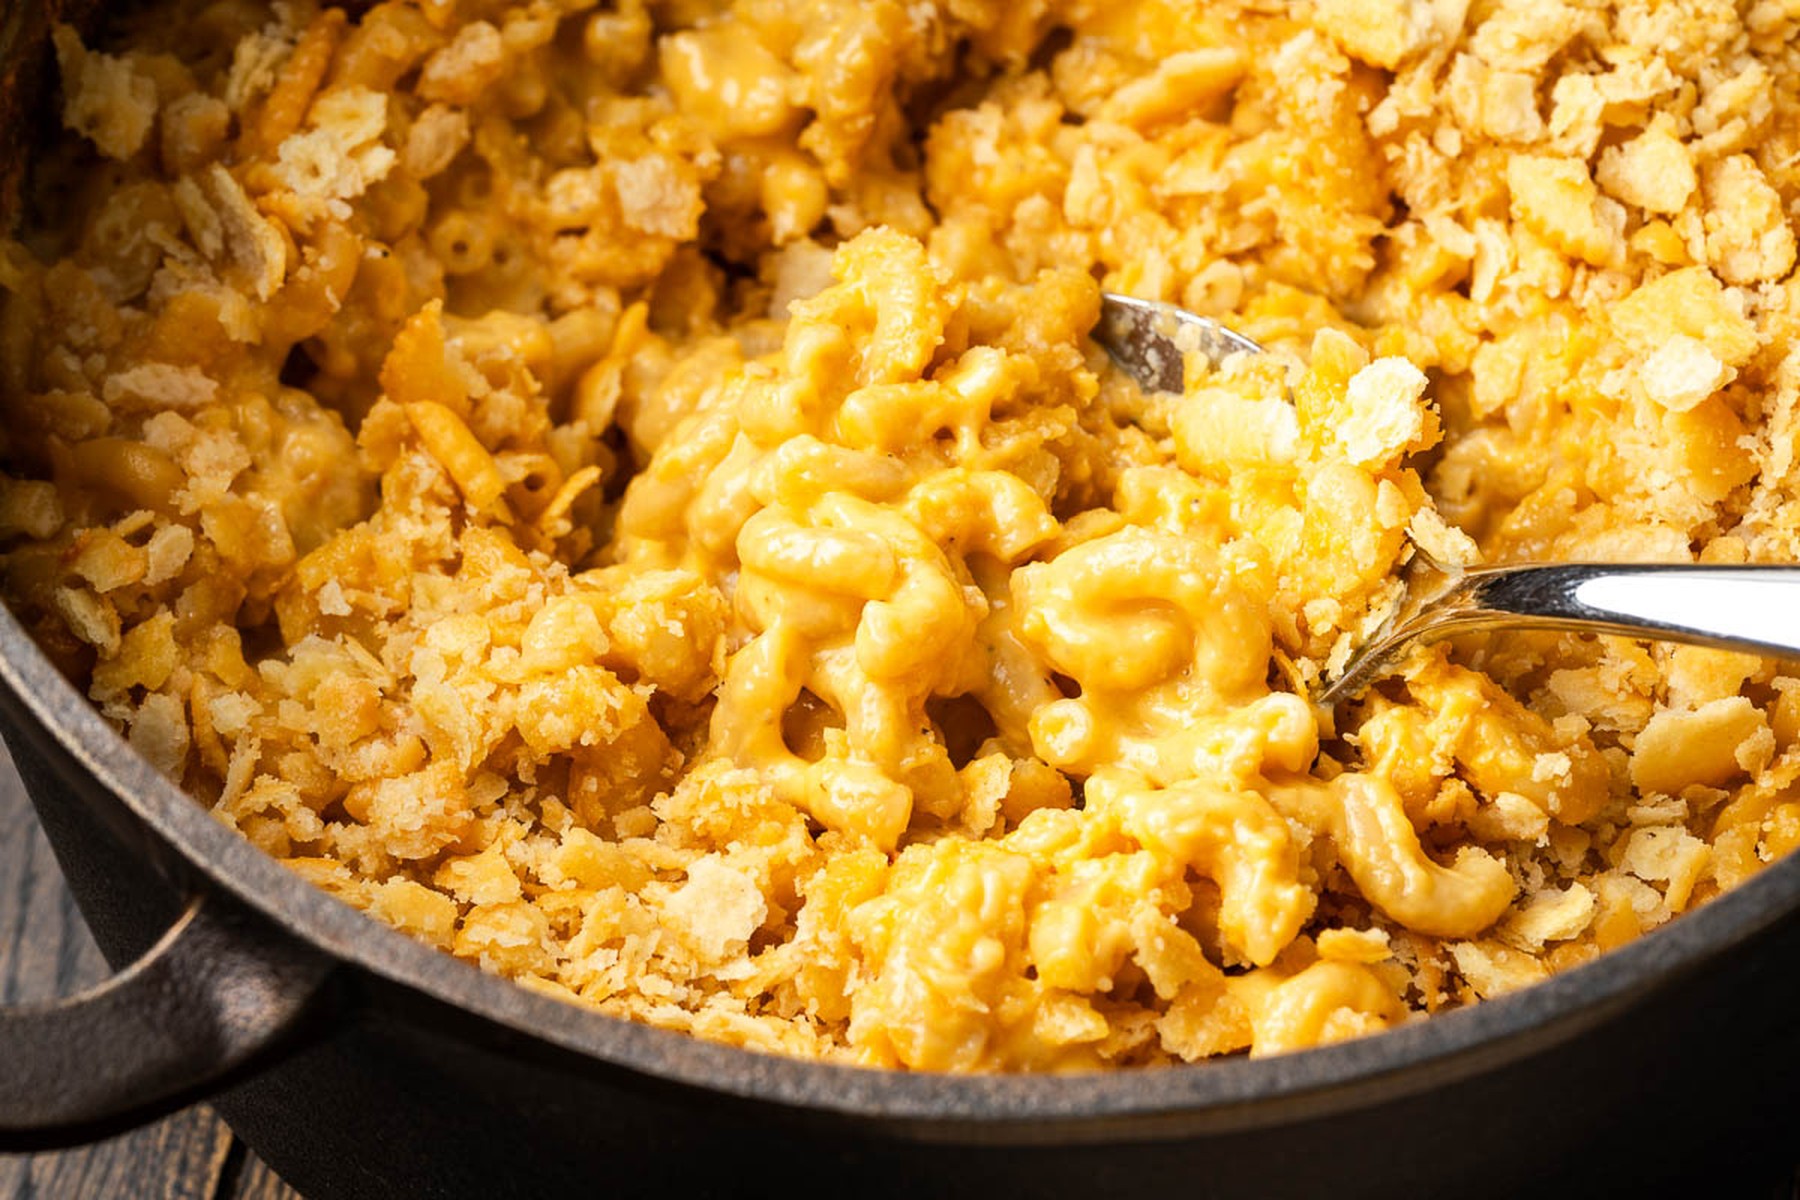
The sizzle of butter hitting hot cast iron is your cue that this Dutch Oven Mac and Cheese is about to be something special. No roux, no strainer, no fussy steps, just real cheese, simple ingredients, and one pot that does all the work.
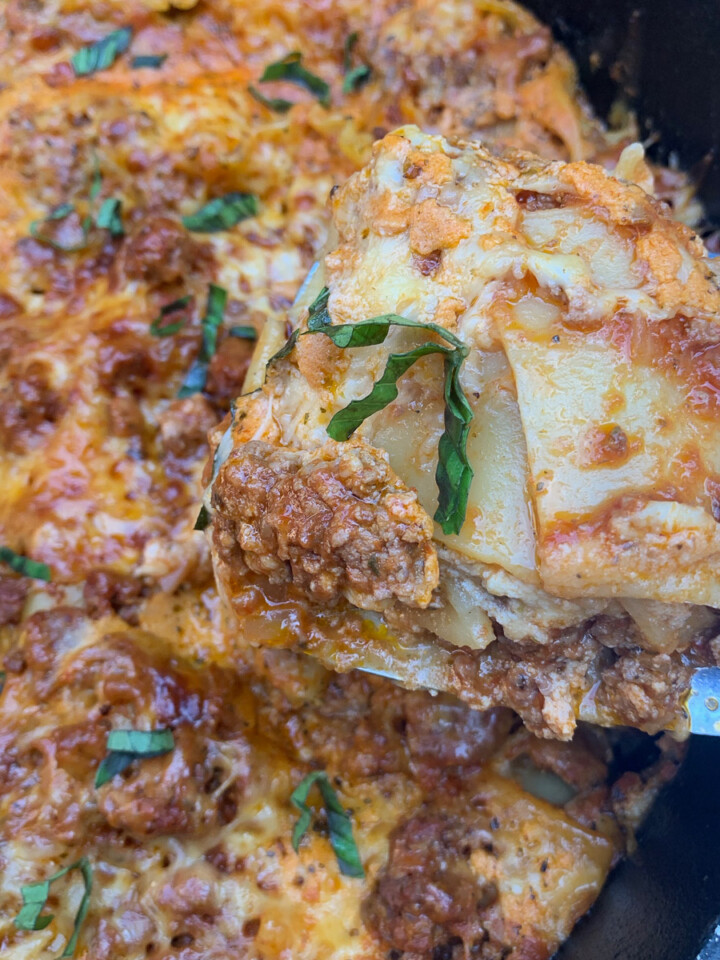
Whether you're cooking over a pile of coals at camp or making this in your kitchen at home, this is the kind of comfort food that disappears before it has a chance to cool. If you enjoy easy dutch oven meals, you'll also love my Dutch Oven Lasagna and Dutch Oven Pizza Pasta.
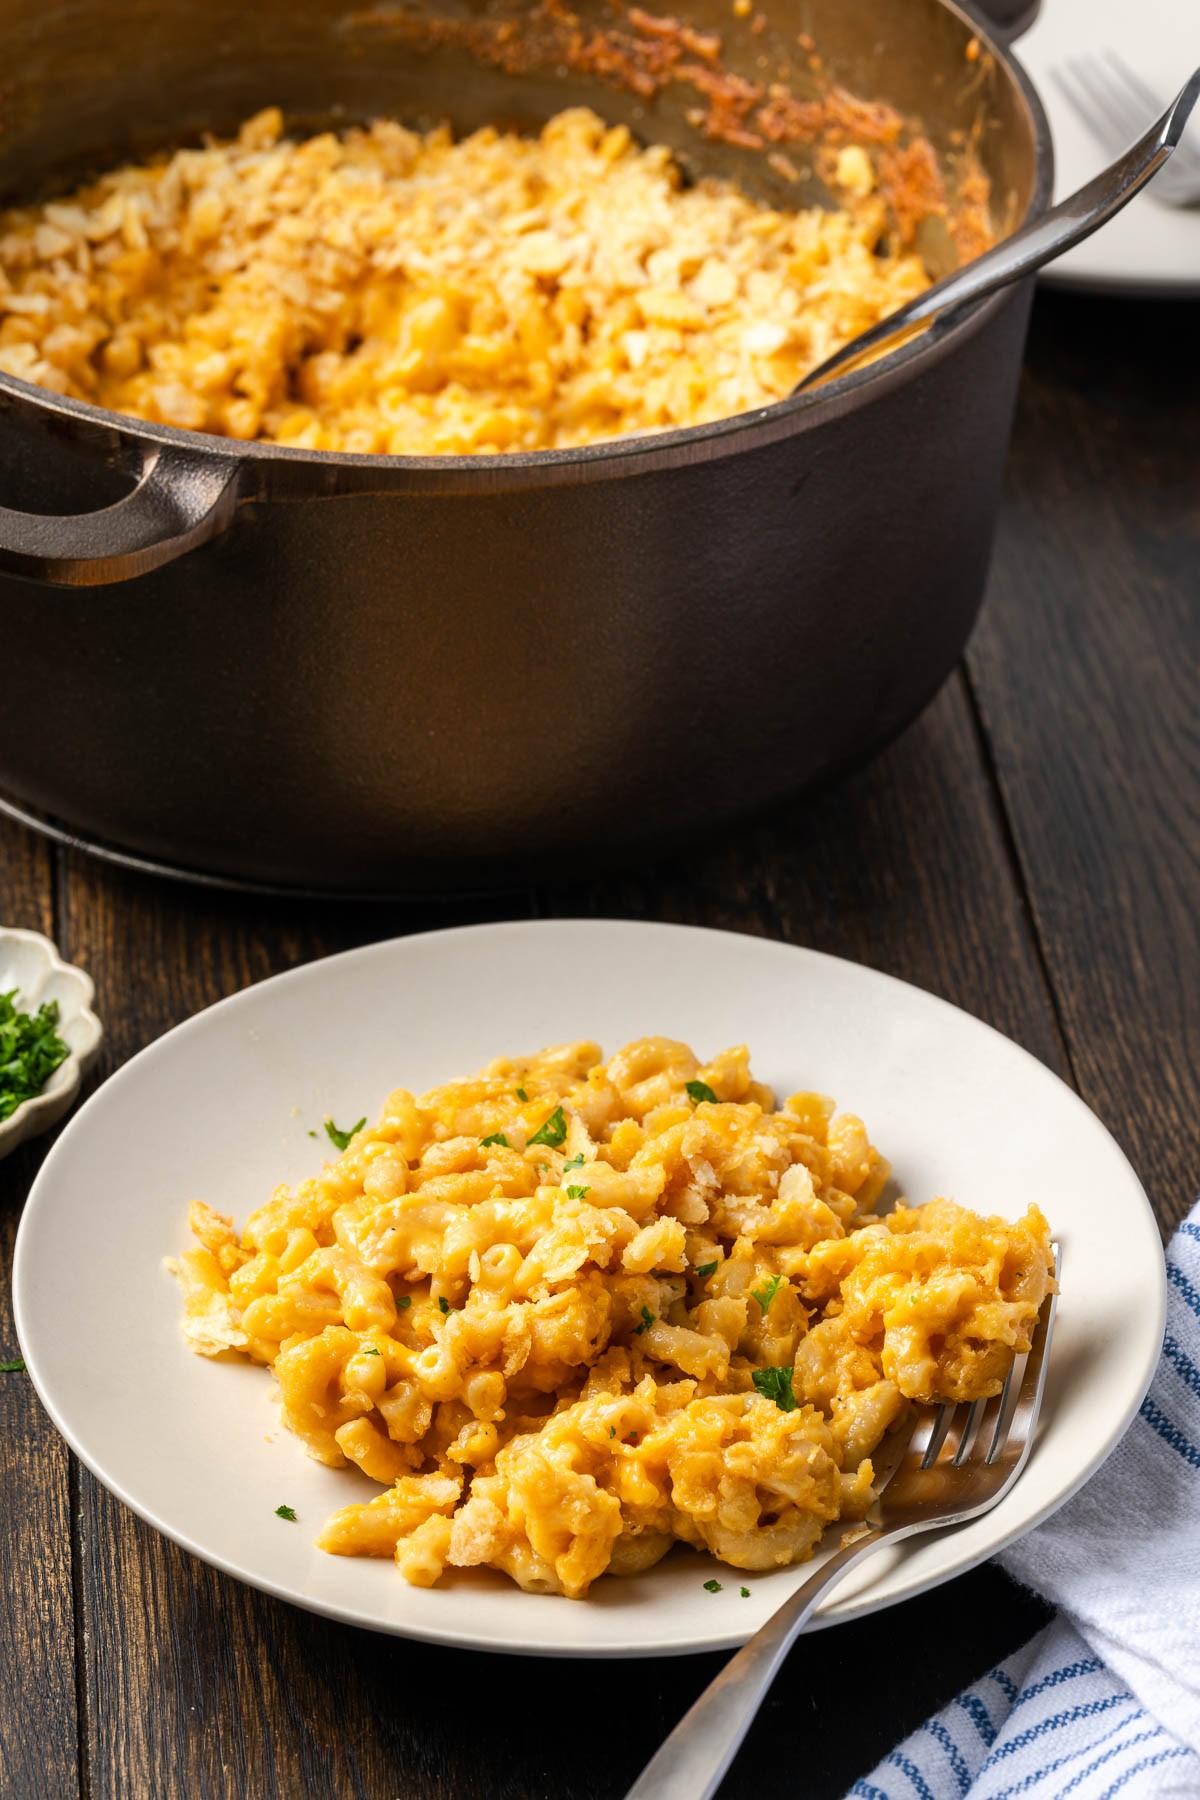
I made this batch in my Smithey 5.5 Qt Dutch Oven. The heavy walls hold heat steady through the whole absorption phase, and the tight-fitting lid locks in steam so the pasta cooks evenly without drying out.
Quick Look at this Recipe
- ✅ Recipe Name: Dutch Oven Mac and Cheese
- 🕒 Ready In: 40 minutes (10 min prep, 30 min cook)
- 👪 Serves: 6 people
- 🥣 Main Ingredients: elbow macaroni, sharp cheddar, evaporated milk, butter
- 📖 Dietary Info: Contains dairy, gluten
- ⭐ Why You'll Love It: One pot, no strainer, crispy top from coals on the lid
Summarize and Save the Recipe
Jump to:
- Quick Look at this Recipe
- Why You'll Love This Dutch Oven Mac and Cheese
- What Makes This Different from Regular Mac and Cheese
- Mac and Cheese Ingredients and Substitutions
- How to Make Dutch Oven Mac and Cheese
- How Many Coals and What Size Dutch Oven
- Expert Tips for the Best Camp Mac and Cheese
- Dutch Oven Mac and Cheese Variations
- What to Serve with Dutch Oven Mac and Cheese
- Storage, Reheating, and Make-Ahead Tips
- Troubleshooting
- Frequently Asked Questions About Dutch Oven Mac and Cheese
- More Delicious Recipes
- Get the Recipe
Why You'll Love This Dutch Oven Mac and Cheese
- No roux, no strainer, no problem. This recipe uses an absorption method where the pasta cooks right in the liquid, so there's nothing to drain. One pot, minimal cleanup, and no lugging a colander to the campsite.
- Real cheese, camp-simple. Most campfire mac and cheese recipes lean on Velveeta or jarred alfredo. This one uses actual shredded cheese and still comes together in about 40 minutes with almost zero prep.
- That crispy top from coals on the lid. Pile coals on the lid and the cheese bubbles up golden and crusty. It's the kind of texture you can't get from stovetop mac, and it's the whole reason to use a dutch oven for this.
- Scales up or down for any crew. Feeding two people or twelve? The recipe doubles easily in a 12-inch camp oven, and halves just as well for a solo trip.
What Makes This Different from Regular Mac and Cheese
Most dutch oven mac and cheese recipes fall into two camps. First, the from-scratch versions have you making a roux, boiling pasta separately, and dirtying multiple pots. The camping shortcuts use Velveeta or jarred alfredo sauce. This recipe sits right in the sweet spot: real cheese, real flavor, and a method so simple you can pull it off at a campsite after a long day on the trail.
The trick is the absorption method. Instead of boiling the pasta in a big pot of water and draining it, you cook the macaroni directly in a measured amount of water and evaporated milk inside the covered dutch oven. As the pasta cooks, it releases starch into the surrounding liquid, naturally thickening it into a silky sauce base without any flour. By the time the noodles are al dente, most of the liquid is absorbed and you've got a creamy foundation ready for cheese.
In fact, this is the same principle behind one-pot pasta recipes. Consequently, the key is getting the liquid ratio right (roughly 2:1 liquid to pasta by volume) so the pasta is tender and the liquid is mostly absorbed by the time you stir in the cheese. It's a forgiving method, and it means you don't need a colander, a second pot, or any of the extra steps that make camp cooking a chore.
Mac and Cheese Ingredients and Substitutions
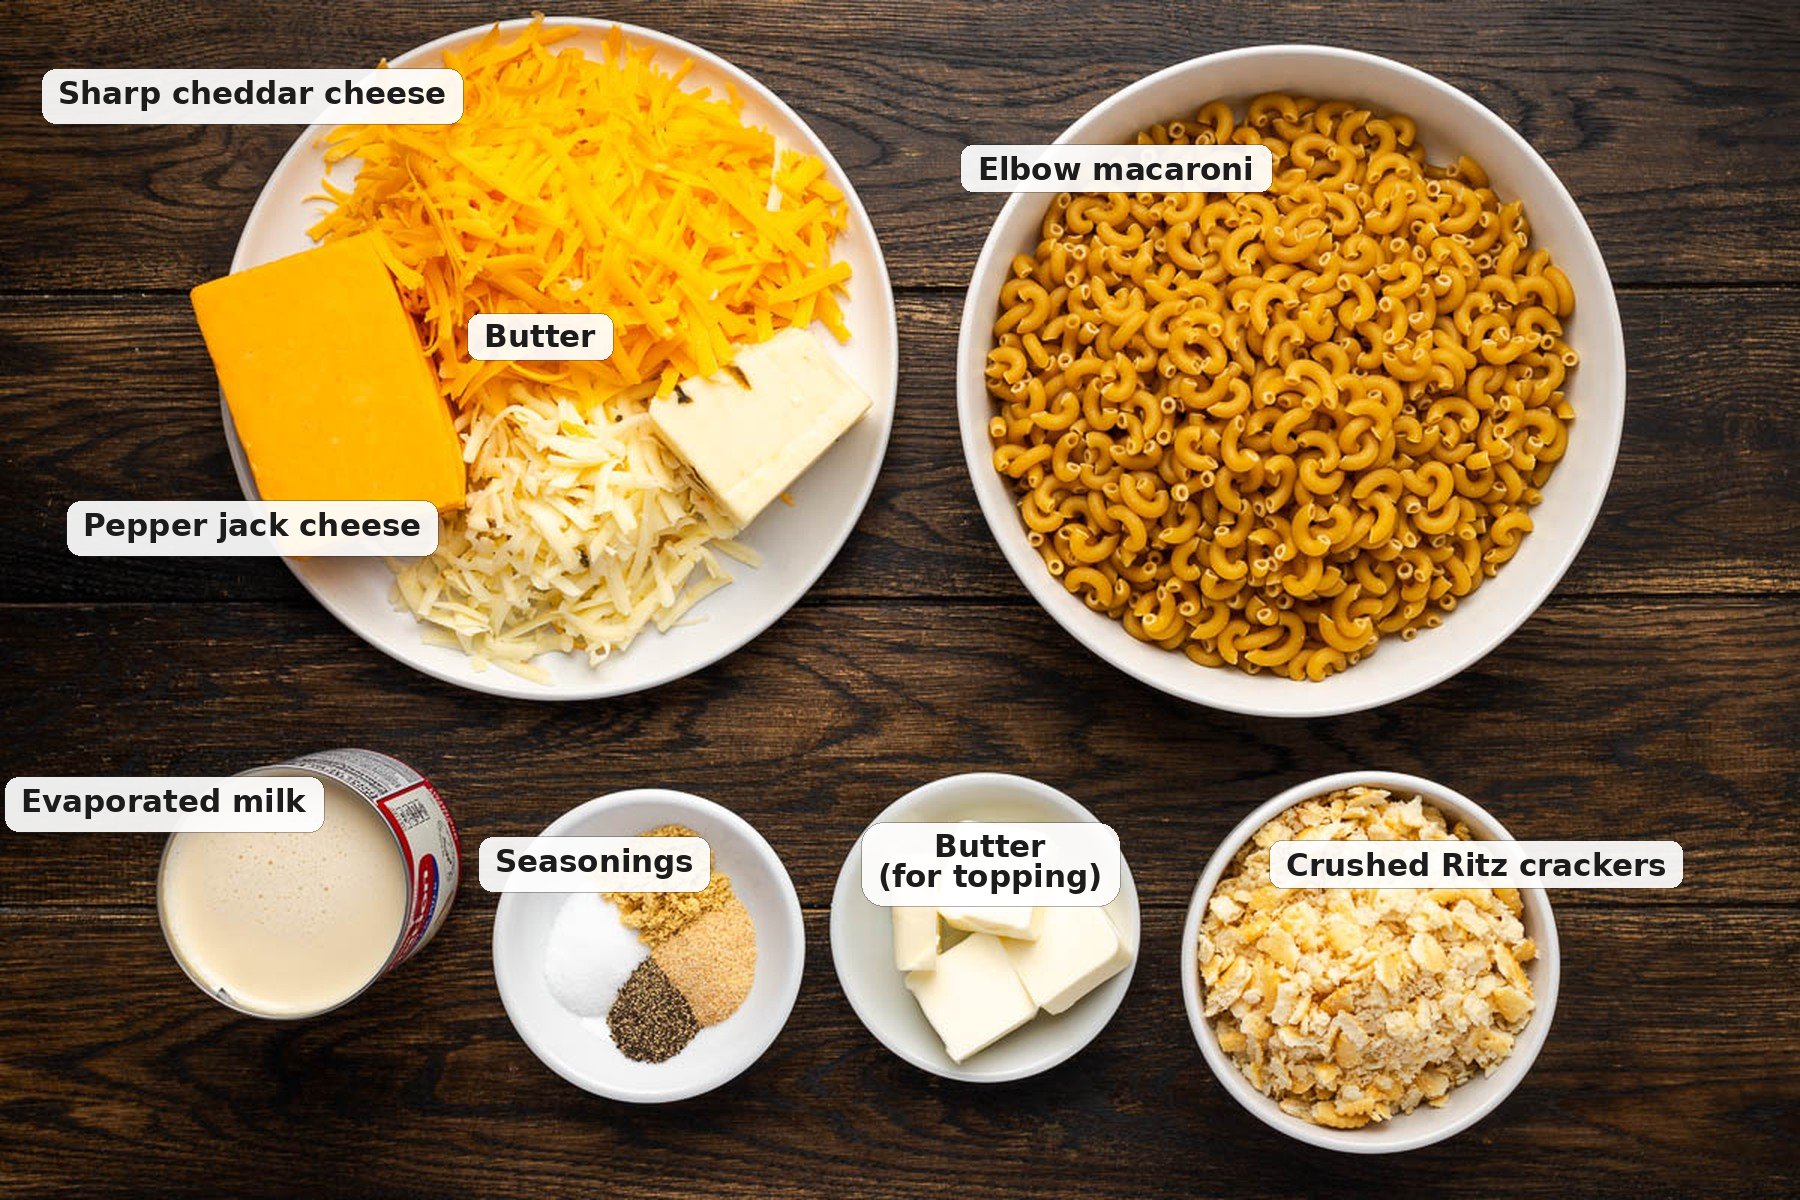
Here's what you need and a few notes on each ingredient. The full measurements are in the recipe card below.
- Elbow macaroni is the classic choice. Cavatappi or medium shells work great too because their curves hold more cheese.
- Sharp cheddar cheese (block, not pre-shredded) is the base. Shred it at home before the trip and pack in a zip-lock bag. Pre-shredded cheese has anti-caking coating that prevents smooth melting.
- Pepper jack adds a subtle kick. Gruyere works if you want more depth, and cream cheese adds extra creaminess. Use a 3:1 ratio of cheddar to your secondary cheese.
- Evaporated milk is the camp MVP. It's shelf-stable (no cooler space needed until opened) and creates a richer, creamier sauce than regular milk without needing a roux. This is the key to creamy camp mac.
- Dry mustard powder doesn't make the mac taste like mustard. It amplifies the cheese flavor. A teaspoon makes a noticeable difference.
- Crushed Ritz crackers or potato chips tossed with melted butter give you that crispy baked topping when the coals hit the lid.
Camp packing tip: Shred cheese at home and bag it. Measure dry mustard and garlic powder into a small container. Additionally, pre-crush crackers into a bag. At camp, the only prep is opening packages.
How to Make Dutch Oven Mac and Cheese
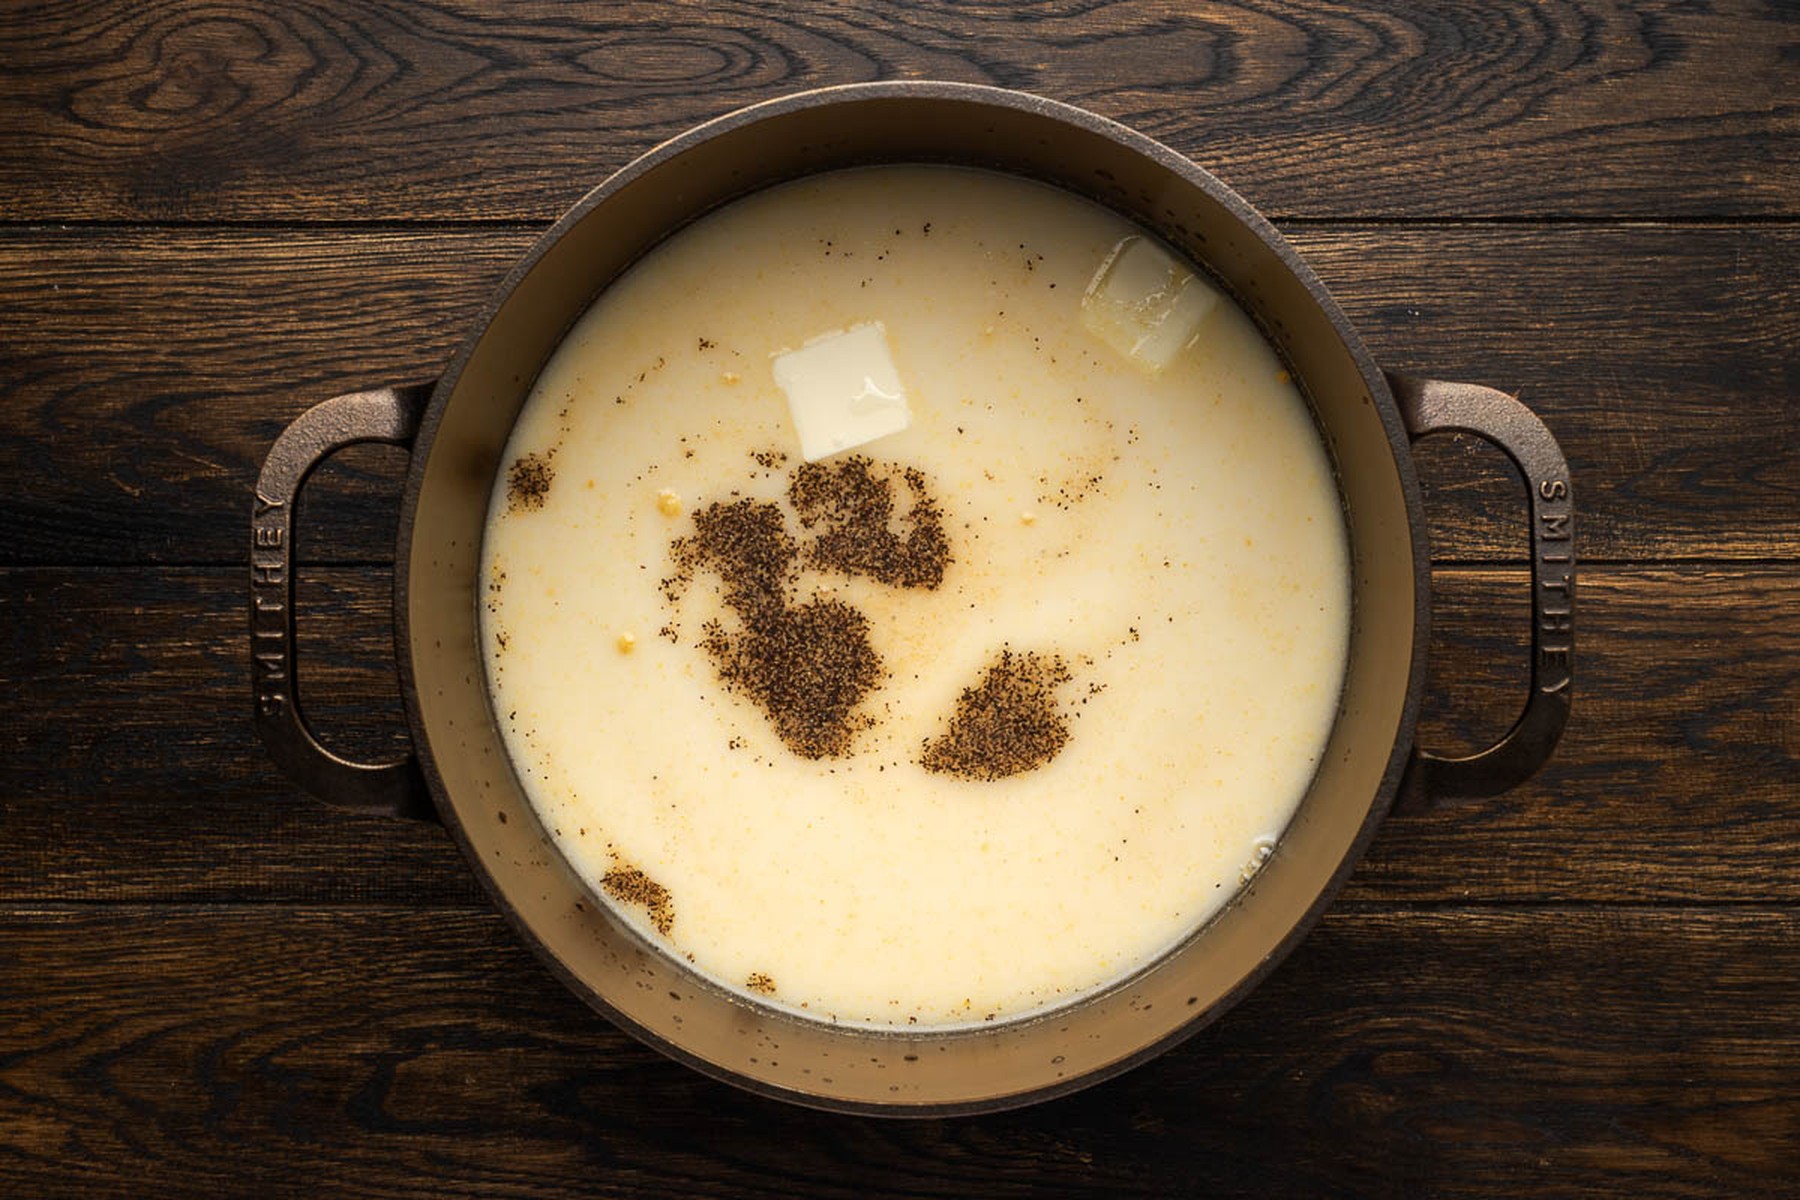
- Simmer the Liquid. Add water, evaporated milk, butter, and seasonings to the dutch oven. Bring to a simmer over 8 to 10 coals.
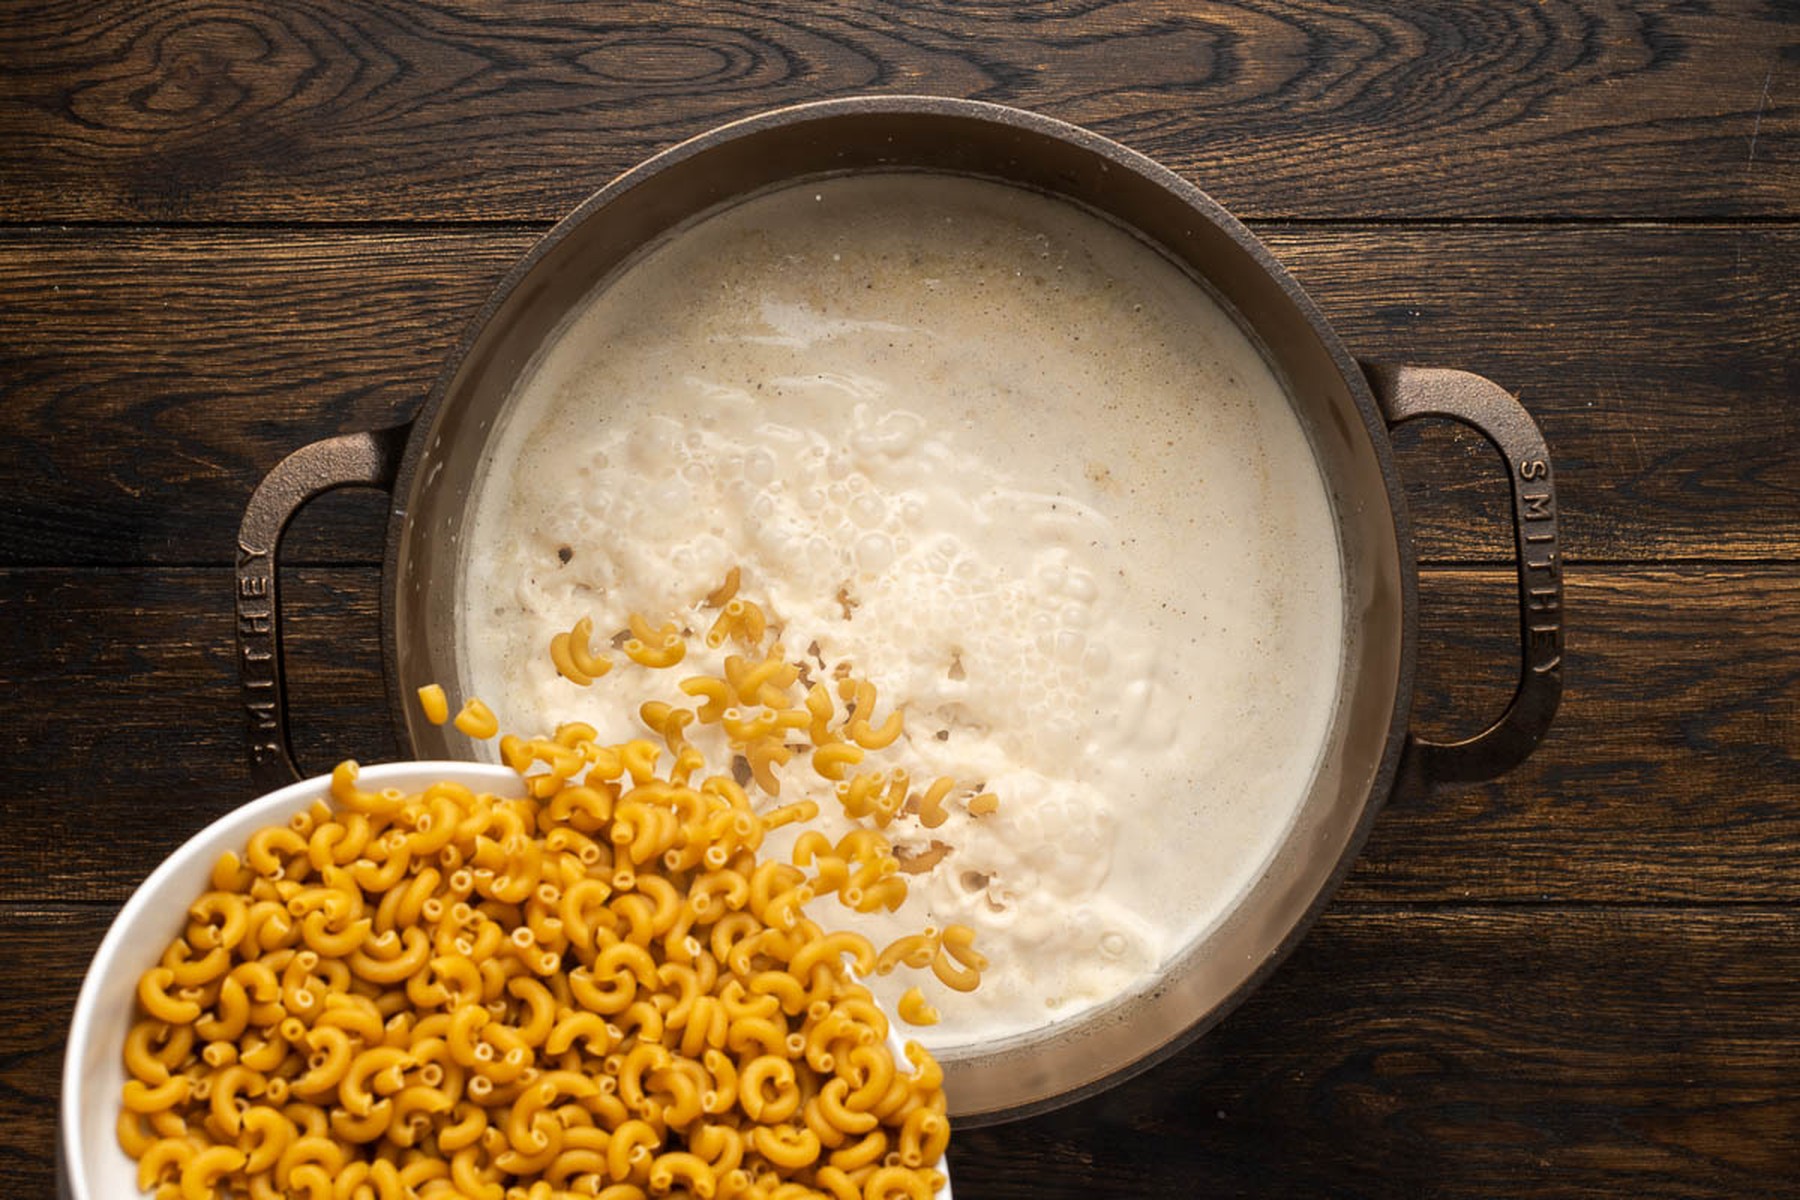
- Add the Pasta. Pour in the elbow macaroni, stir once to separate, and cover. Cook 10 to 12 minutes until al dente.
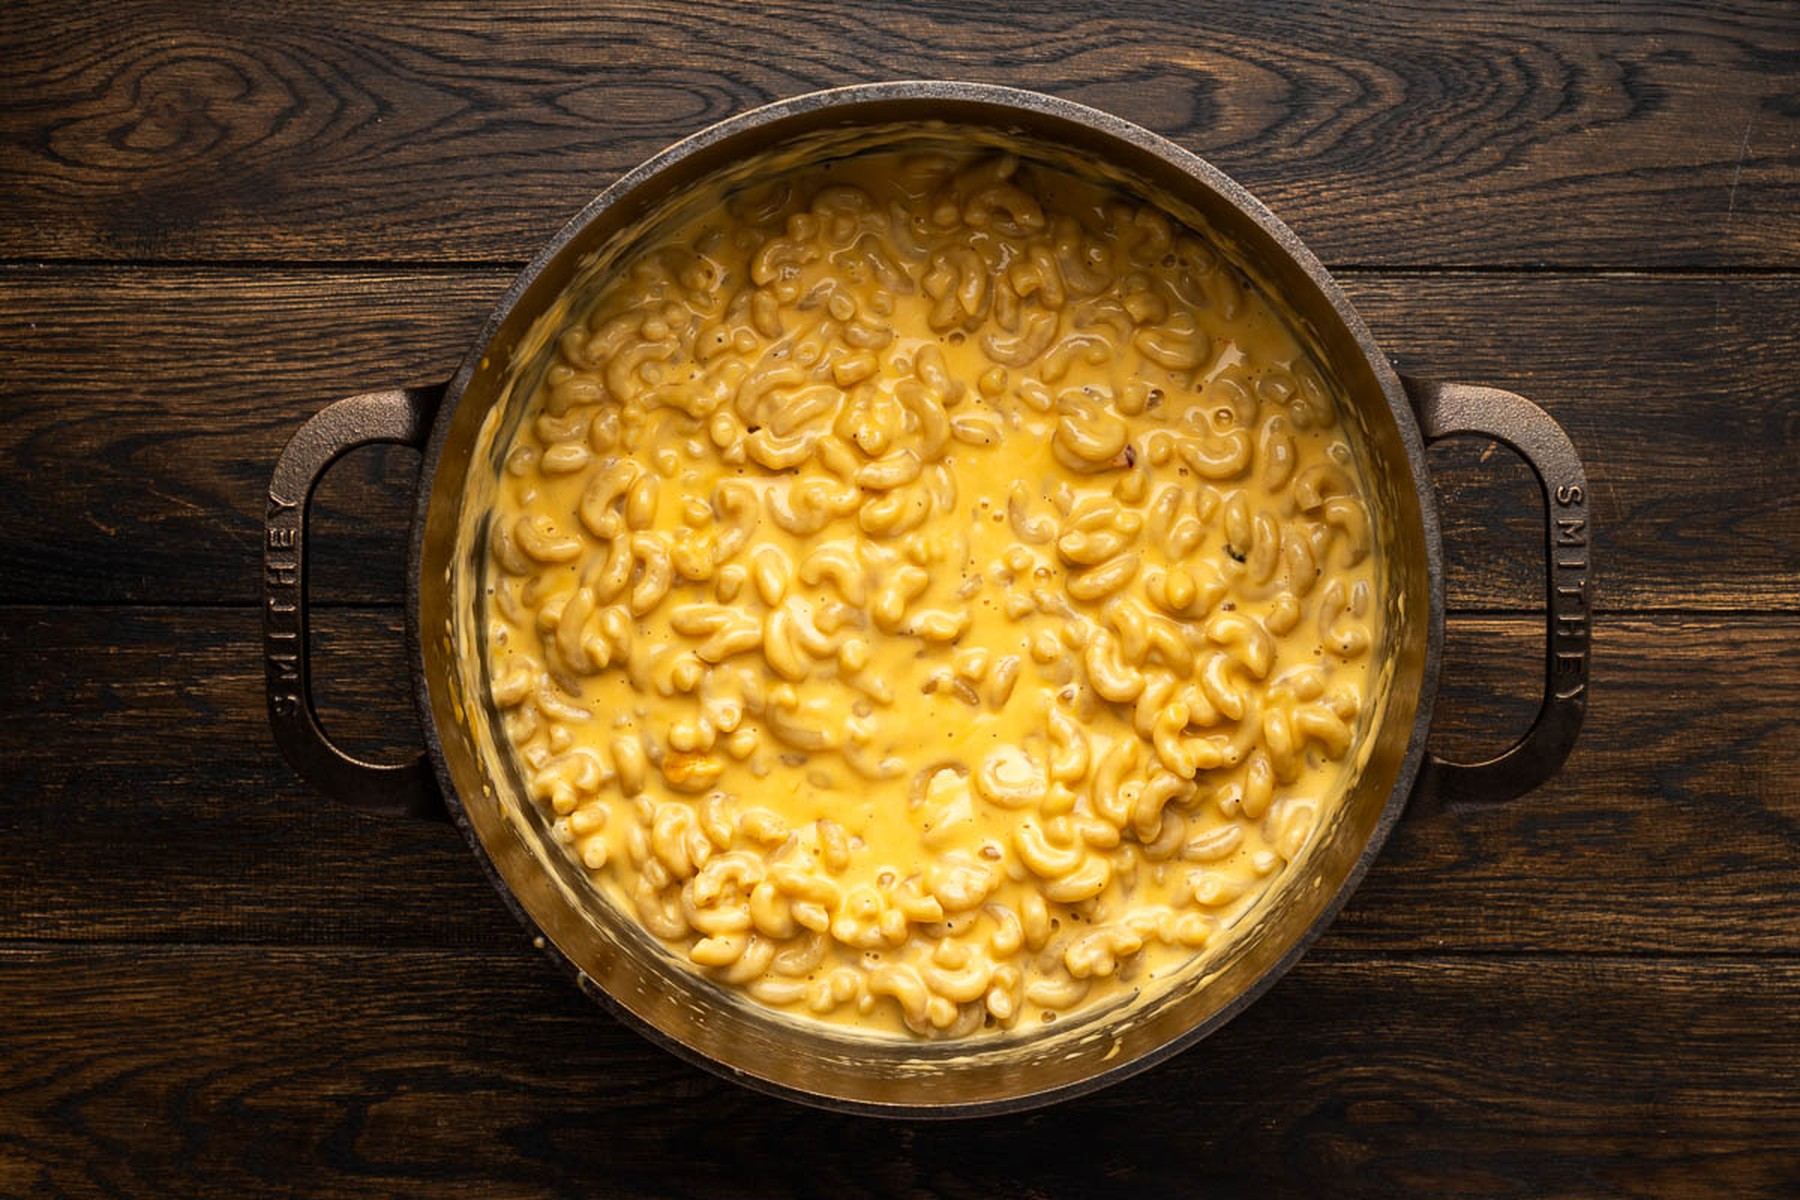
- Stir in the Cheese. Remove from direct heat. Stir in shredded cheddar and pepper jack until melted and creamy.
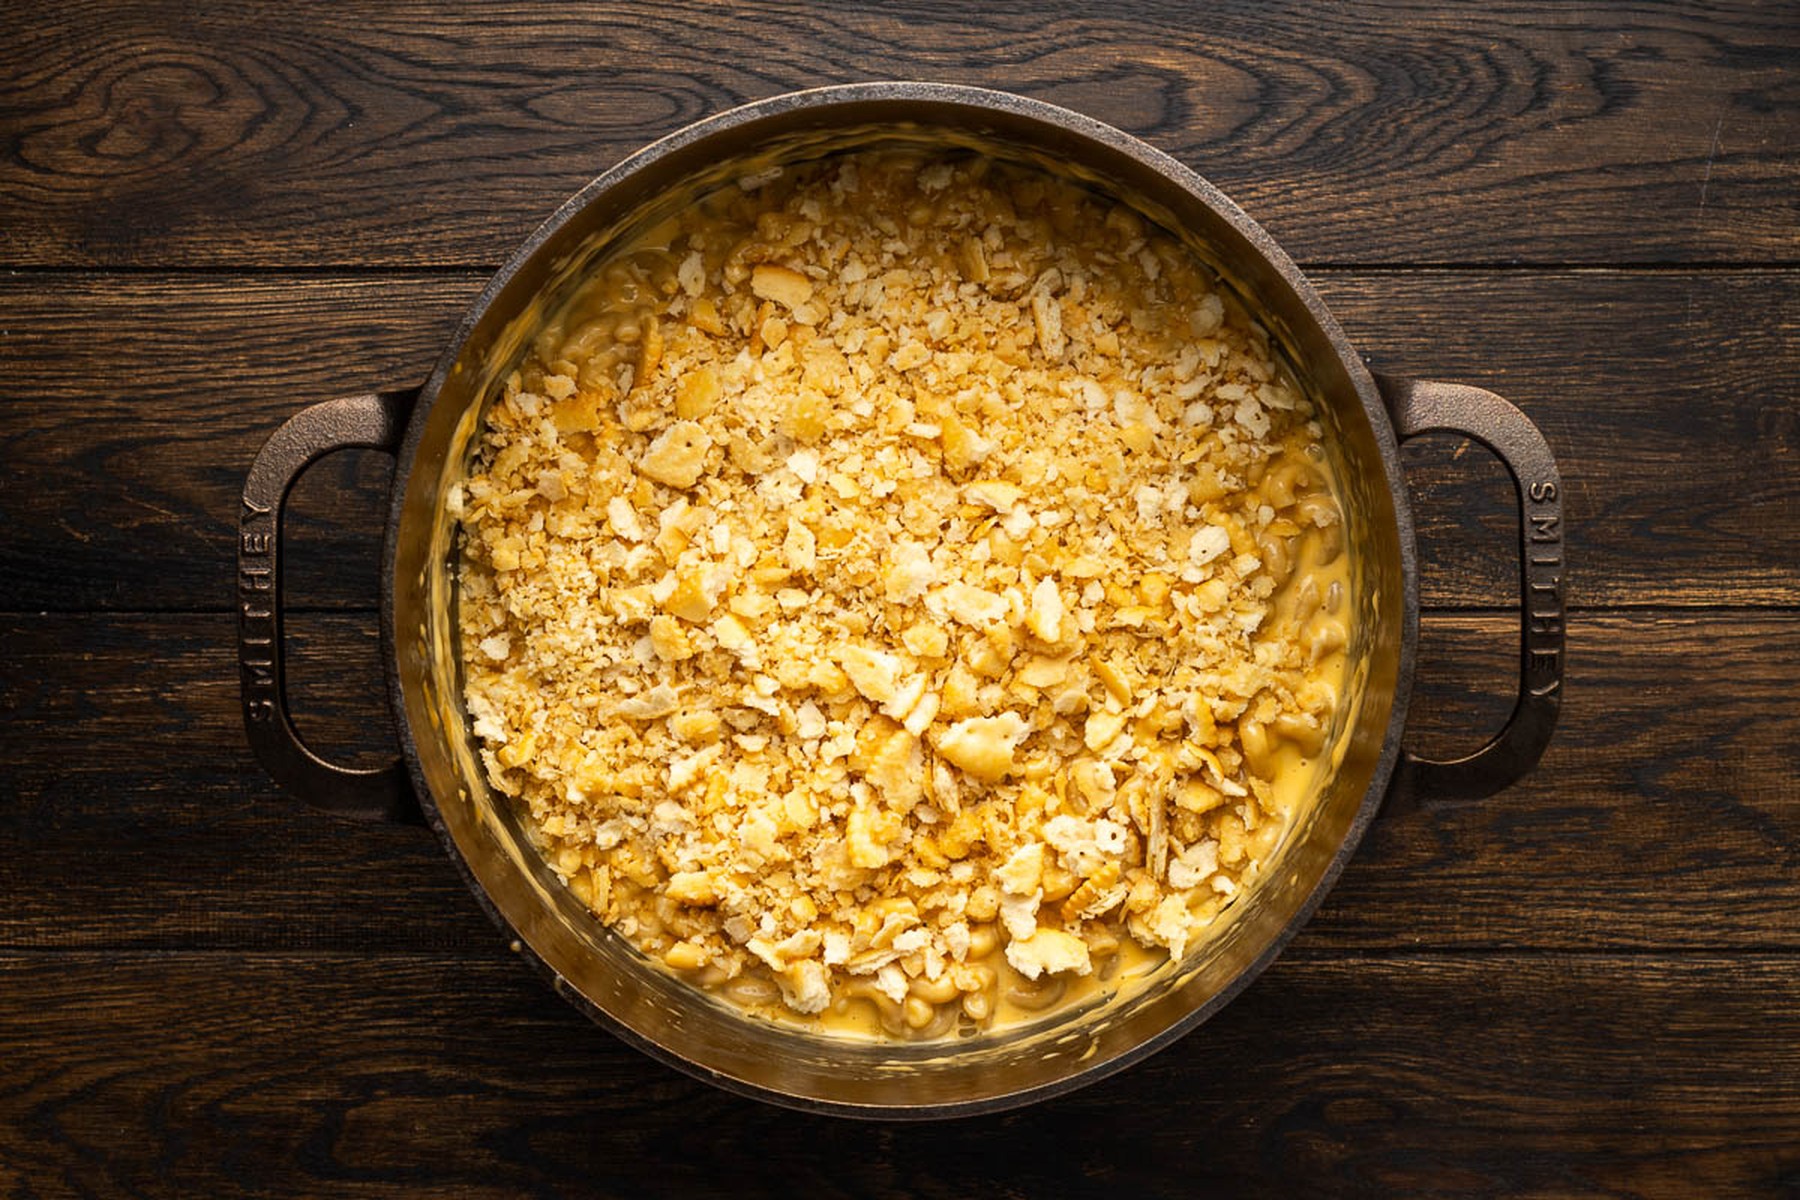
- Add the Cracker Topping. Toss crushed Ritz crackers with melted butter and scatter evenly over the top.
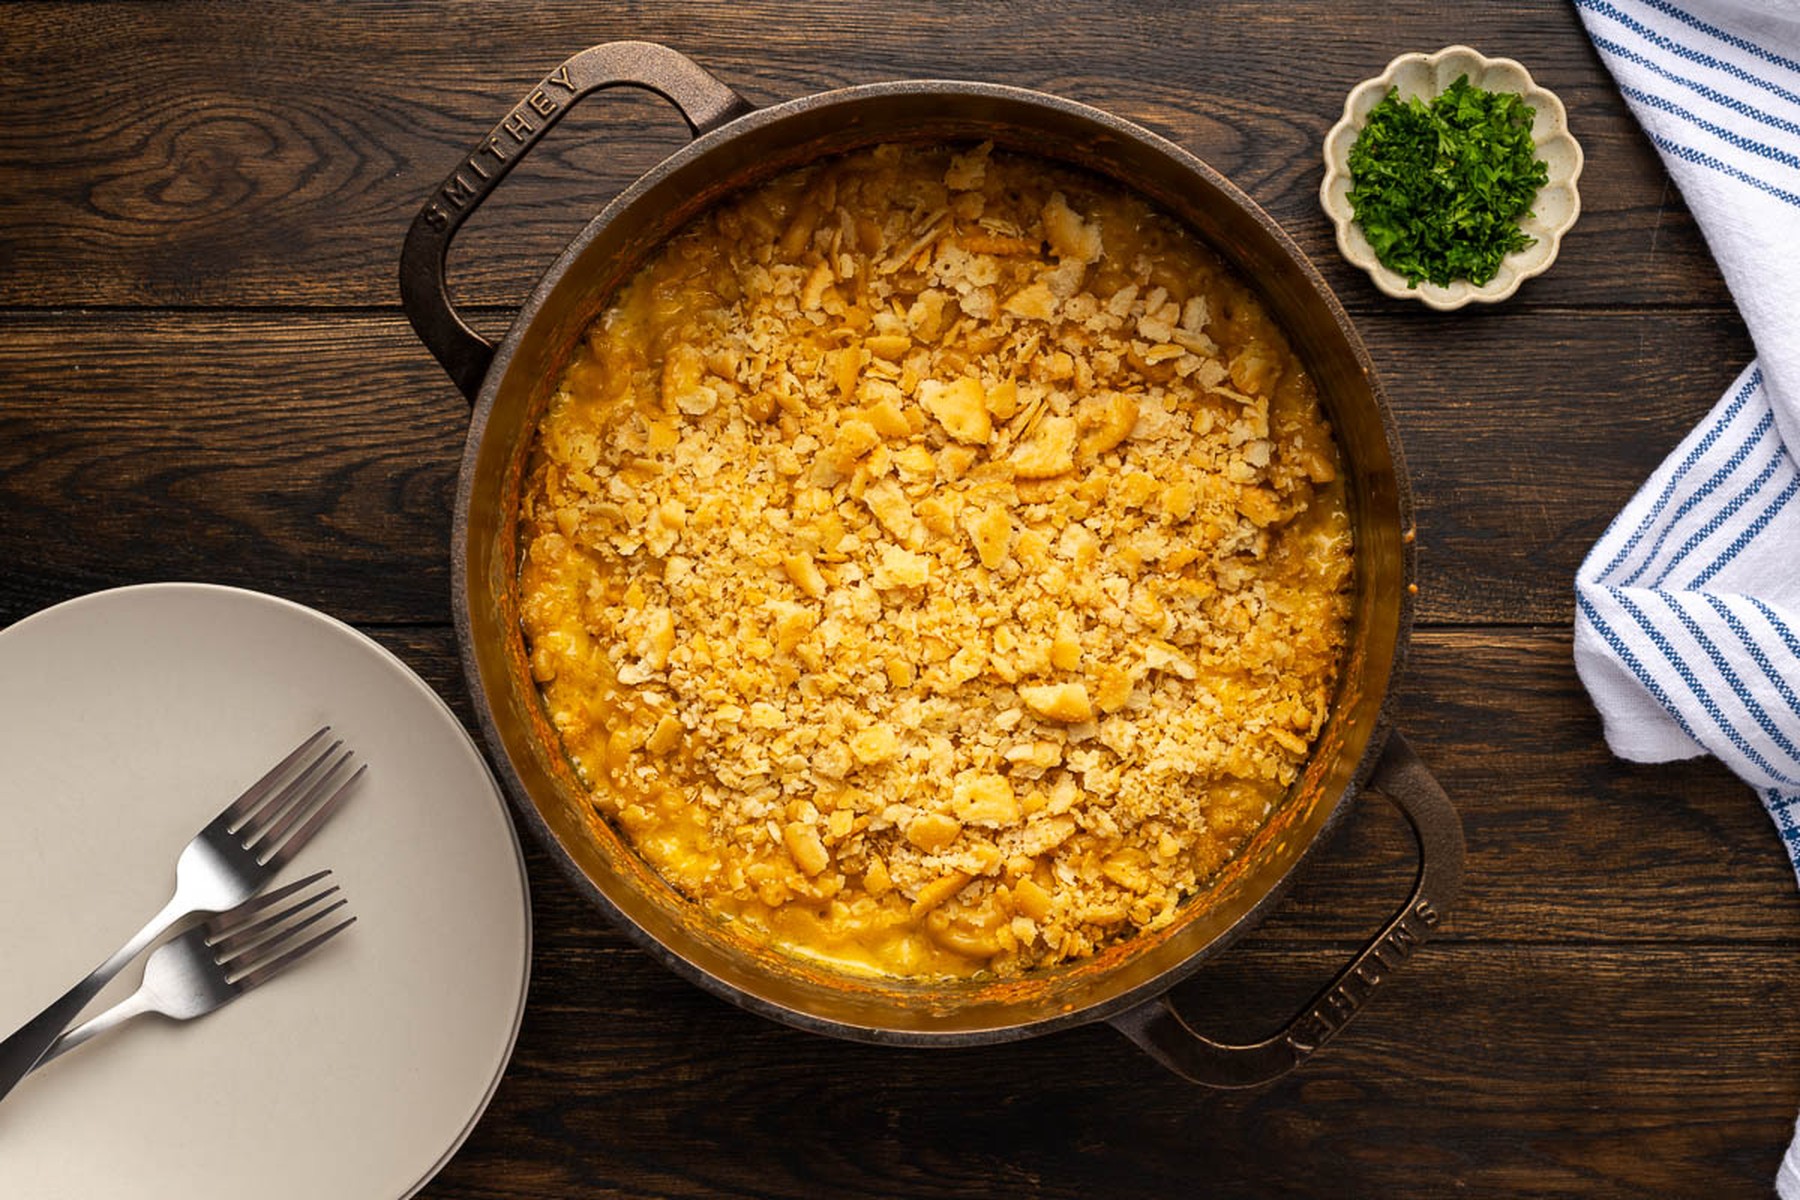
- Bake Until Golden. Cover with the lid. Place 6 coals underneath and 10 to 12 on top. Bake 12 to 15 minutes, rotating every 5 minutes.
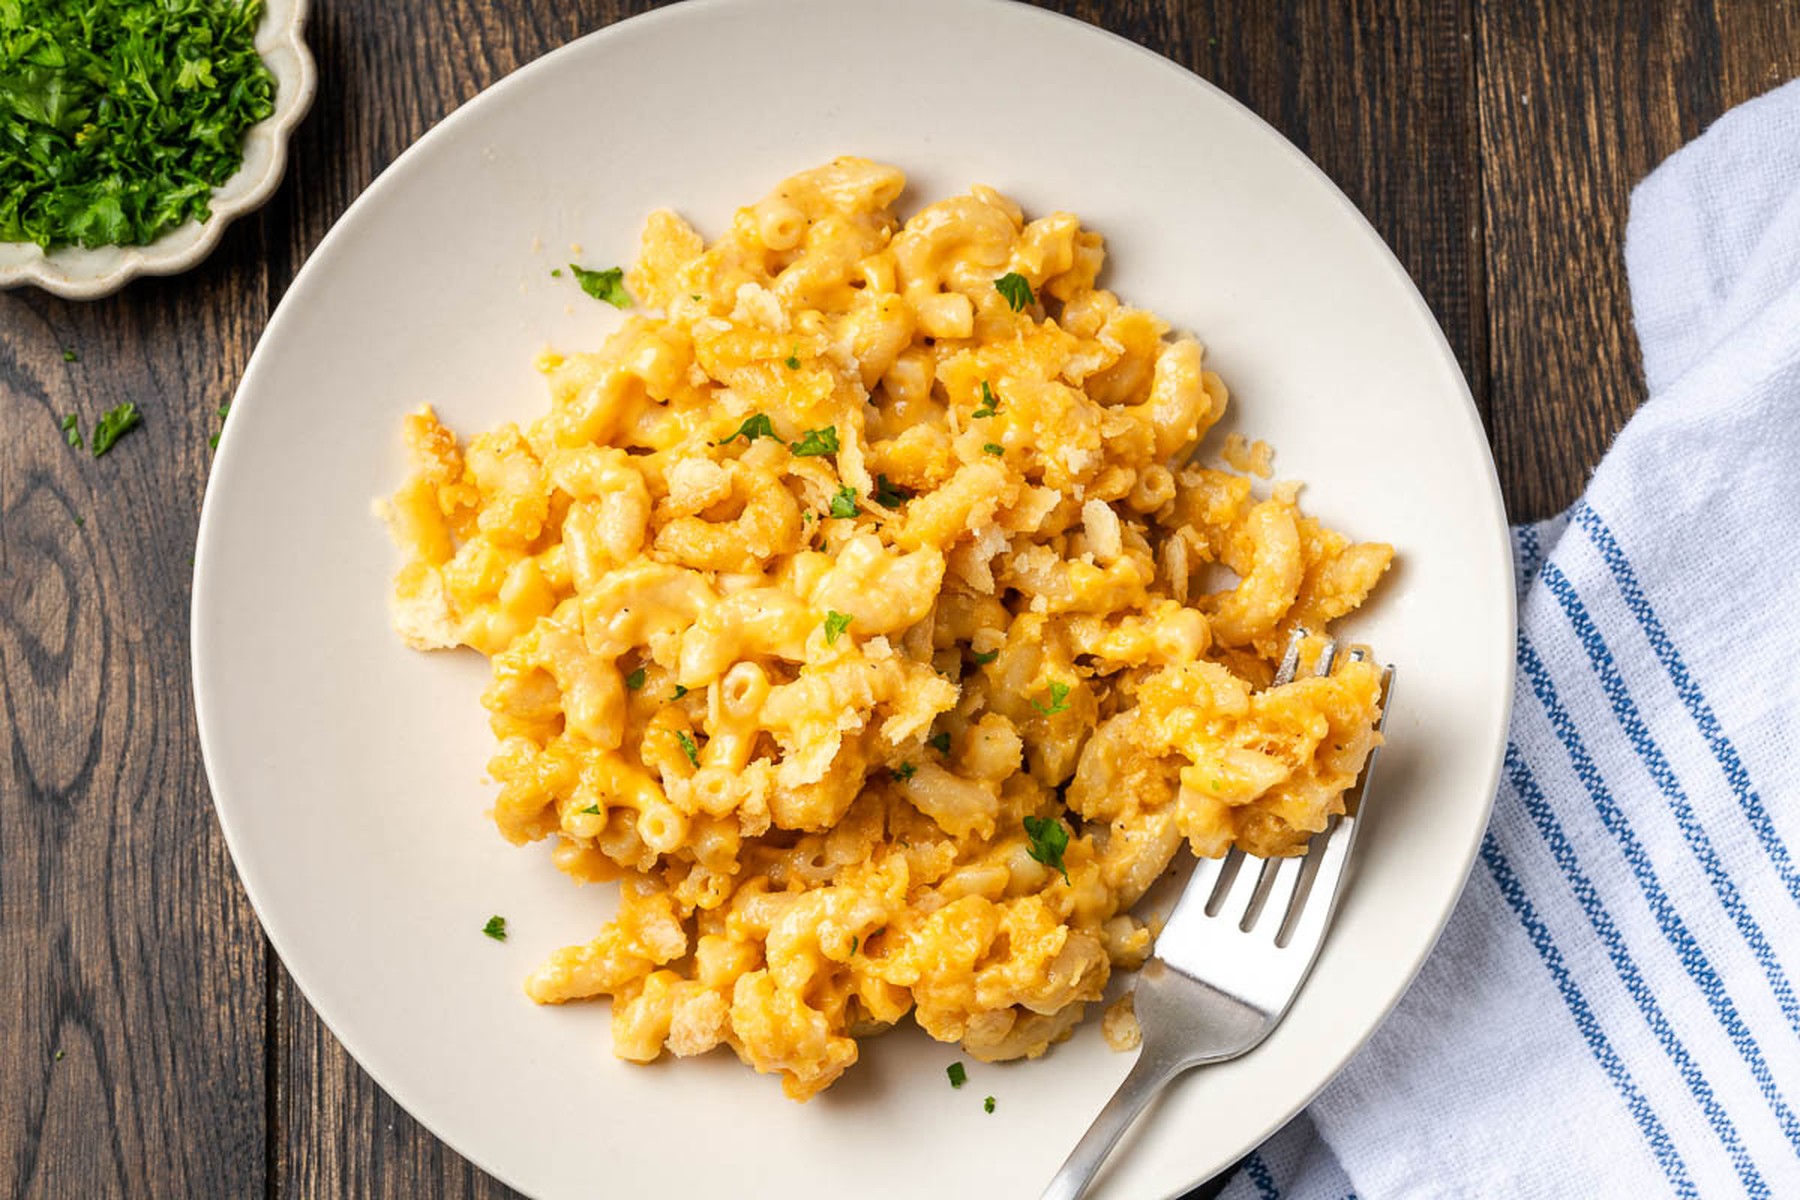
- Serve. Remove from coals, uncover, and let stand 5 minutes. Scoop onto plates and enjoy.
How Many Coals and What Size Dutch Oven
Overall, this is where a dutch oven really earns its keep. Getting the coal count right means even heat and a perfect cook. Check out my Dutch Oven Temperature Chart for more detail on coal placement and heat management.
For a 10-Inch Dutch Oven (Serves 4 to 6)
- Absorption/cooking phase: 8 to 10 coals underneath, none on top. You want a simmer, not a boil.
- Baking phase: 6 coals underneath, 10 to 12 on top. Top-heavy heat browns the crust.
For a 12-Inch Dutch Oven (Serves 8 to 10)
- Absorption/cooking phase: 10 to 12 underneath, none on top.
- Baking phase: 8 underneath, 14 to 16 on top.
Campfire coals vs. briquettes: Briquettes give more consistent, predictable heat. However, campfire coals burn hotter and less evenly, so you should use about 25% fewer and check more often. Rotate the oven every 10 minutes to prevent hot spots.
Making this at home instead? You want a 5.5-quart Dutch oven, which holds the same amount as a 10-inch camp oven but sits flat on the stovetop. I reach for my Smithey 5.5-quart Dutch oven for this one. The heavy walls hold heat steady through the absorption phase, and it goes straight from the burner into the oven for the browning step.
Expert Tips for the Best Camp Mac and Cheese
- Shred your cheese at home. Pre-shredded bags have cellulose coating that makes the sauce grainy. Shred a block of cheddar into a zip-lock bag before you leave.
- Use evaporated milk, not regular milk. It's shelf-stable, richer, and makes a creamier sauce without a roux. Two cans of evaporated milk replaces the need for heavy cream.
- Stir once, then leave it alone during the cooking phase. Constant stirring breaks up the pasta and makes it gummy. Stir when you add the pasta, then let it absorb for 10 to 12 minutes covered.
- Pile the coals on the lid for that crispy top. As a result, moving most of the heat to the top during the last 5 to 8 minutes creates the golden, bubbly crust that sets this apart from stovetop mac.
- Rotate your dutch oven for even baking. Every 10 minutes, turn the oven ¼ turn one direction and the lid ¼ turn the other. This prevents hot spots from burning one side.
- Don't skip the dry mustard. It amplifies the cheese flavor without adding any mustard taste. A teaspoon makes a real difference.
Dutch Oven Mac and Cheese Variations
Naturally, the base recipe is honestly perfect on its own, but of course if you want to switch things up, here are some camp-tested variations.
- Loaded Camp Mac: Stir in crumbled bacon, diced green chiles, and a handful of pepper jack. Top with crushed jalapeño chips instead of Ritz crackers.
- BBQ Pulled Pork Mac: Fold in leftover pulled pork and a drizzle of your favorite BBQ sauce. Perfect for day two of a camping trip when you've got leftover smoked meat.
- Broccoli Cheddar Mac: Add 2 cups of chopped broccoli florets during the last 5 minutes of the absorption phase so they steam right in the pot.
- Buffalo Chicken Mac: Shredded rotisserie chicken plus a few tablespoons of hot sauce stirred in after the cheese melts. Top with crumbled blue cheese.
If you want to go the chili route, my Dutch Oven Chili Mac is another crowd favorite that combines homemade chili and mac in one pot.
What to Serve with Dutch Oven Mac and Cheese
For instance, mac and cheese is the ultimate side for a campfire cookout, but it also makes a satisfying main dish all by itself. Here are a few things that pair well with it.
- Dutch Oven Pork Belly Burnt Ends or grilled brats for a protein-packed main next to the mac
- Garlic Butter Skillet Corn adds a sweet, buttery contrast without competing with the cheese
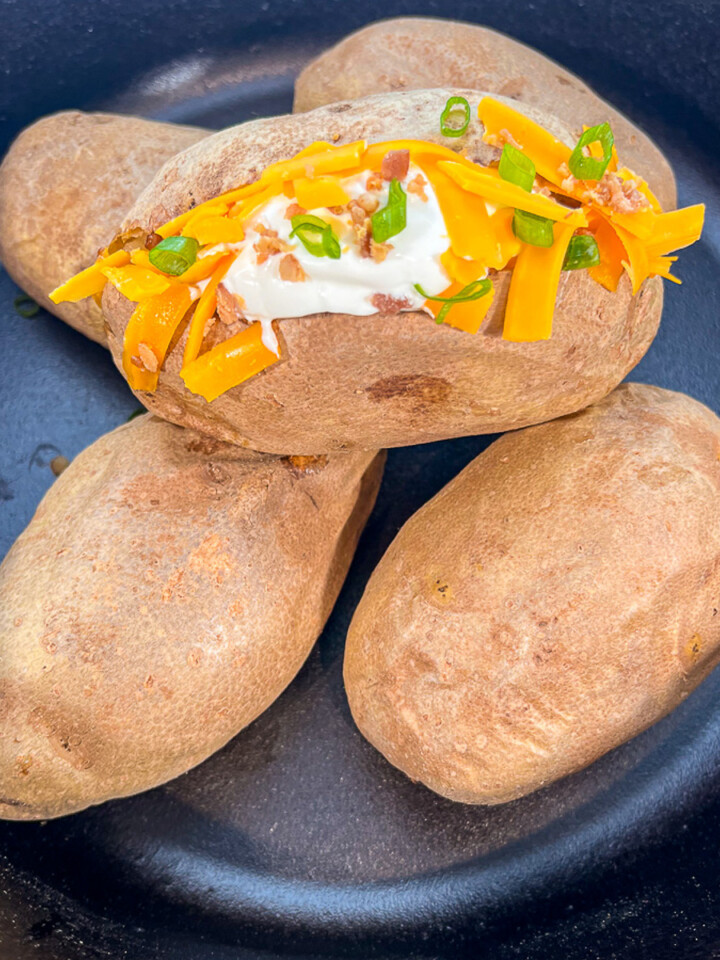
- Dutch Oven Baked Potatoes if you're going all-in on comfort food over coals
- A wedge of Pumpkin Cornbread or Garlic Parmesan Pull Apart Bread for soaking up the cheesy sauce
- Crispy Buttermilk Onion Rings for the full comfort food spread
- A simple green salad or Simple Coleslaw to cut through the richness
In addition, if you want to keep everything in cast iron, Dutch Oven Cheesy Potatoes make an indulgent side for a hungry crew. And for a camp dessert to follow, you can't beat a Dutch Oven Peach Cobbler baked right over the same coals.
Storage, Reheating, and Make-Ahead Tips
- At camp storage: Mac and cheese keeps in a sealed container in your cooler for up to 2 days. It thickens as it sits, so add a splash of milk when reheating.
- Reheating at camp: Warm it in the dutch oven over low coals with the lid on and a splash of milk or water. Stir occasionally. Takes about 10 to 15 minutes.
- Make-ahead option: Cook the pasta and mix the cheese sauce at home. Pack it in a zip-lock or container in your cooler. At camp, dump it into a greased dutch oven, add the cracker topping, and bake over coals for 25 to 30 minutes.
- Freezer friendly: Fully assembled (unbaked) mac and cheese freezes well for up to 3 months. Thaw in the cooler overnight, then bake as directed.
Troubleshooting
- Pasta is mushy. Too much liquid or cooked too long during the absorption phase. Use the exact liquid ratio and check at 10 minutes. The pasta should be al dente with a small amount of liquid still visible.
- Sauce is grainy or clumpy. Usually means pre-shredded cheese was used or the heat was too high when the cheese was added. Use block cheese shredded at home, and stir the cheese in off direct heat or over very low coals.
- Bottom is burnt. Typically, too many coals underneath during the baking phase causes this. Move most heat to the top for baking. If you smell scorching, pull coals from underneath immediately.
- Top didn't get crispy. Not enough coals on the lid, or they died out. Add fresh hot coals to the lid and give it another 5 to 8 minutes.
- Too thick or dry. Stir in a splash of milk or evaporated milk until you hit the consistency you want. Mac and cheese tightens as it sits.
Frequently Asked Questions About Dutch Oven Mac and Cheese
Here are the most common questions about making mac and cheese in a dutch oven, answered from years of camp cooking experience.
Yes, and that is exactly what this recipe does. The pasta cooks directly in the dutch oven using an absorption method. You add the pasta, liquid, and seasonings, cover the pot, and let it cook over coals. The pasta absorbs the liquid as it cooks, so there is no need to boil and drain separately. Just make sure you use the correct liquid-to-pasta ratio so the noodles cook through without drying out.
Sharp cheddar is the go-to base because it melts smoothly and has strong flavor. For a more complex taste, mix in a second cheese like pepper jack, gruyere, or cream cheese at a 3:1 ratio (3 parts cheddar to 1 part secondary cheese). Always shred cheese from a block rather than using pre-shredded bags, which contain anti-caking agents that can make your sauce grainy.
For a 10-inch dutch oven, start with 8 to 10 coals underneath and none on top during the cooking phase. When you switch to baking, move to 6 underneath and 10 to 12 on top for a golden, crispy crust. For a 12-inch oven, increase to 10 to 12 underneath for cooking and 8 bottom / 14 to 16 top for baking. If using campfire coals instead of briquettes, reduce counts by about 25 percent since they burn hotter.
Preparation and Equipment Questions
Absolutely. Cook the pasta and mix the cheese sauce at home, then pack it in a sealed container or zip-lock bag in your cooler. At the campsite, dump it into a greased dutch oven, add the cracker or chip topping, and bake over coals for 25 to 30 minutes. This cuts your campsite cook time roughly in half and means less cleanup at camp.
A 10-inch (4-quart) dutch oven serves 4 to 6 people comfortably. If you are cooking for a larger group, use a 12-inch (6-quart or 8-quart deep) oven and double the recipe. The deeper oven gives the pasta room to cook evenly without overflowing.
Yes. Follow the same recipe but cook it on the stovetop for the absorption phase over medium-low heat, then transfer to a 350 degree F oven for 20 to 25 minutes to bake the top until golden and bubbly. It works the same way, you just skip the coal management.
More Delicious Recipes


If you tried this Dutch Oven Mac and Cheese recipe, please give it a 🌟 star rating and leave your 📝 comments below. Your feedback helps other readers find great recipes too.
Get the Recipe

Dutch Oven Mac and Cheese
Equipment
- 10-inch camp dutch oven with flat lid for coals
- lid lifter for handling hot lid
- Smithey 5.5-quart Dutch oven (or larger, for the at-home version)
Ingredients
- 1 lb elbow macaroni or cavatappi or shells
- 3 cups water
- 1 can (12 oz) evaporated milk
- 2 tablespoons butter
- 1 teaspoon salt
- 1 teaspoon dry mustard
- ½ teaspoon garlic powder
- ¼ teaspoon black pepper
- 4 cups sharp cheddar cheese shredded from a block (about 1 lb)
- 1 cup pepper jack cheese shredded (or gruyere or cream cheese)
- 1 cup Ritz crackers crushed (or potato chips)
- 2 tablespoons butter melted

Instructions
Outdoor Cooking Instructions
- Place dutch oven over 8 to 10 coals. Add water, evaporated milk, butter, salt, dry mustard, garlic powder, and pepper. Stir and bring to a simmer.
- Add elbow macaroni, stir once to separate, and cover with the lid. Cook 10 to 12 minutes, stirring once halfway through, until pasta is al dente and most liquid is absorbed.
- Remove from direct heat. Stir in shredded cheddar and pepper jack cheese until melted and creamy. If the sauce feels too thick, add a splash of milk.
- Toss crushed Ritz crackers or chips with melted butter. Scatter evenly over the top of the mac and cheese.
- Cover with the lid. Place 6 coals underneath and 10 to 12 coals on top. Bake 12 to 15 minutes, rotating the oven and lid ¼ turn in opposite directions every 5 minutes, until the top is golden and bubbly.
- Remove from coals, uncover, and let stand 5 minutes before serving.
Indoor Cooking Instructions
- Preheat your oven to 350 degrees F. Place the dutch oven on the stovetop over medium heat. Add water, evaporated milk, butter, salt, dry mustard, garlic powder, and pepper. Stir and bring to a simmer.
- Add elbow macaroni, stir once to separate, and cover. Reduce heat to medium-low. Cook 10 to 12 minutes, stirring once halfway through, until pasta is al dente and most liquid is absorbed.
- Remove from heat. Stir in shredded cheddar and pepper jack cheese until melted and creamy. If the sauce feels too thick, add a splash of milk.
- Toss crushed Ritz crackers or chips with melted butter. Scatter evenly over the top.
- Transfer uncovered to the oven. Bake at 350 degrees F for 20 to 25 minutes until the top is golden and bubbly.
- Remove from oven and let stand 5 minutes before serving.
Notes
- For a 12-inch oven: Double all ingredients. Use 10 to 12 coals underneath for cooking and 8 bottom / 14 to 16 top for baking.
- At home: Cook the absorption phase on the stovetop over medium-low heat, then bake uncovered at 350 degrees F for 20 to 25 minutes.
- Shred cheese at home from a block and pack in a zip-lock for camp. Pre-shredded bags have anti-caking coating that can make the sauce grainy.
- Make ahead: Cook the pasta and mix the cheese sauce at home. Pack in a sealed container in your cooler. At camp, dump into a greased dutch oven, add topping, and bake over coals for 25 to 30 minutes.
Nutrition
Dutch Oven Daddy is not a dietician or nutritionist, and any nutritional information shared is only an estimate. We recommend running the ingredients through an online nutritional calculator if you need to verify any information.

Edward says
My new camping favorite! Thank you for the recipe!