
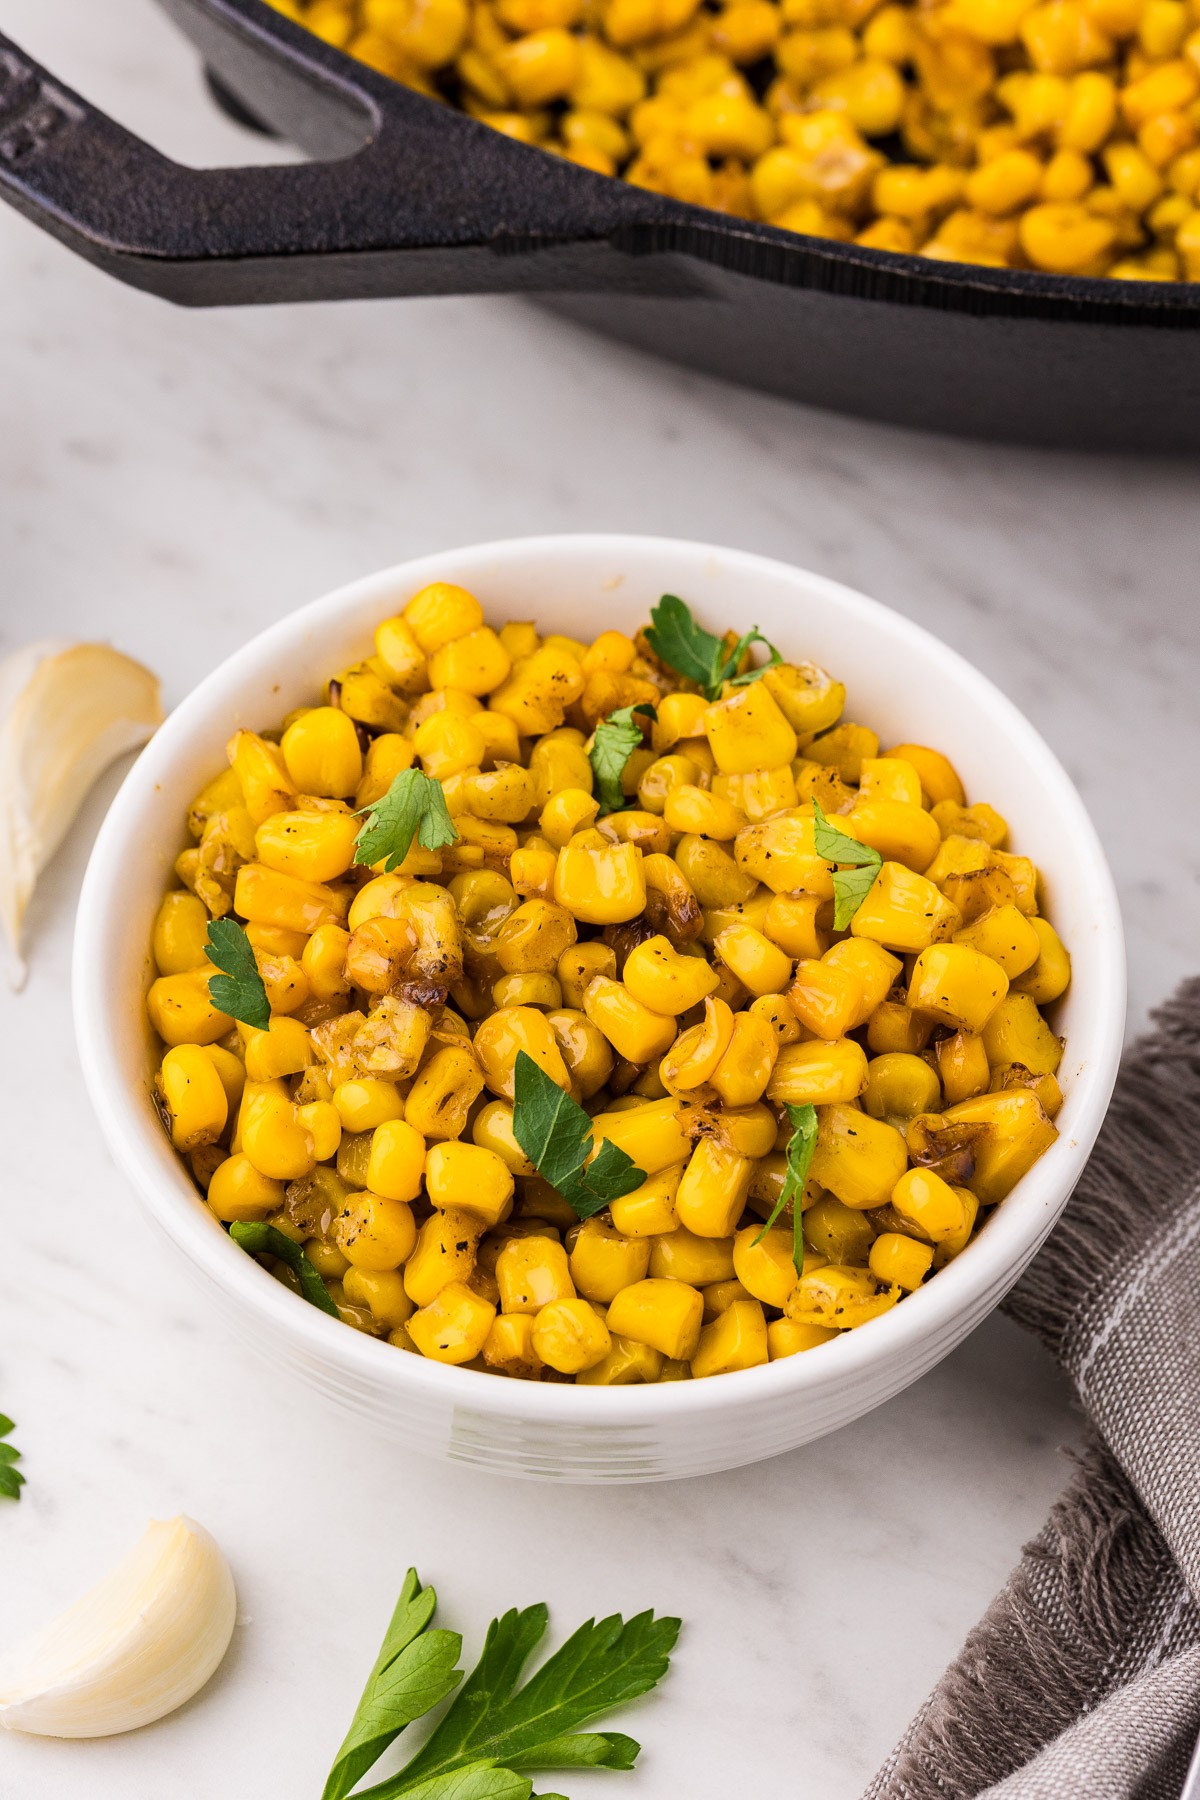
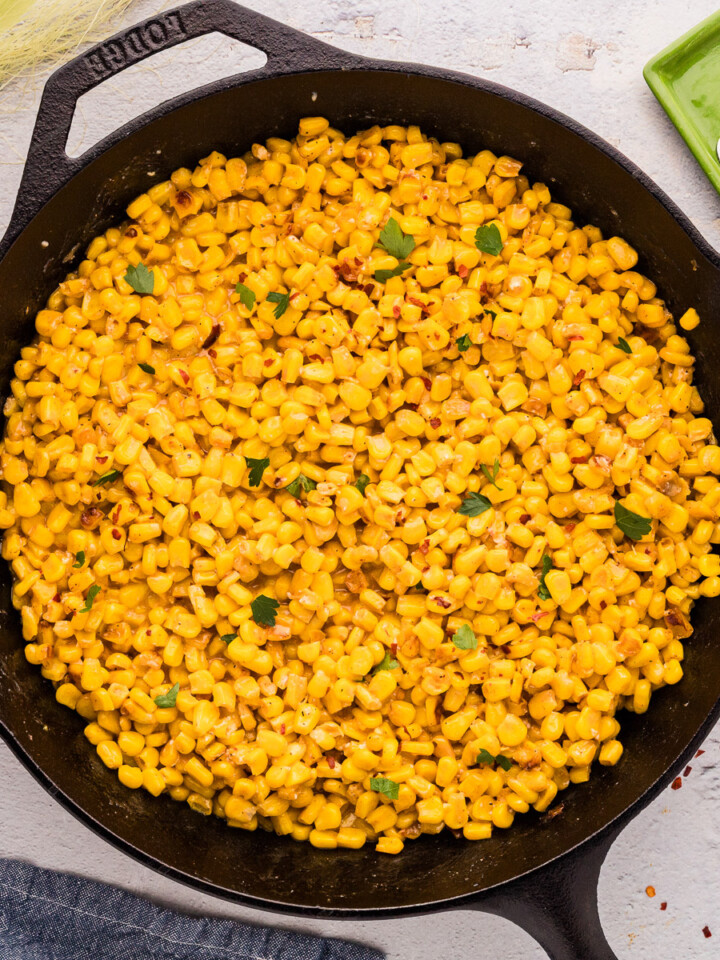
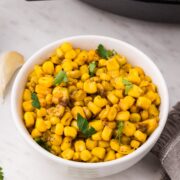
This Garlic Butter Skillet Corn hits the table in 15 minutes flat. Two cans of corn, a couple tablespoons of butter, fresh garlic, and a hot cast iron skillet are all you need. If you have been searching for easy canned corn recipes that actually taste homemade, this is the one to bookmark.
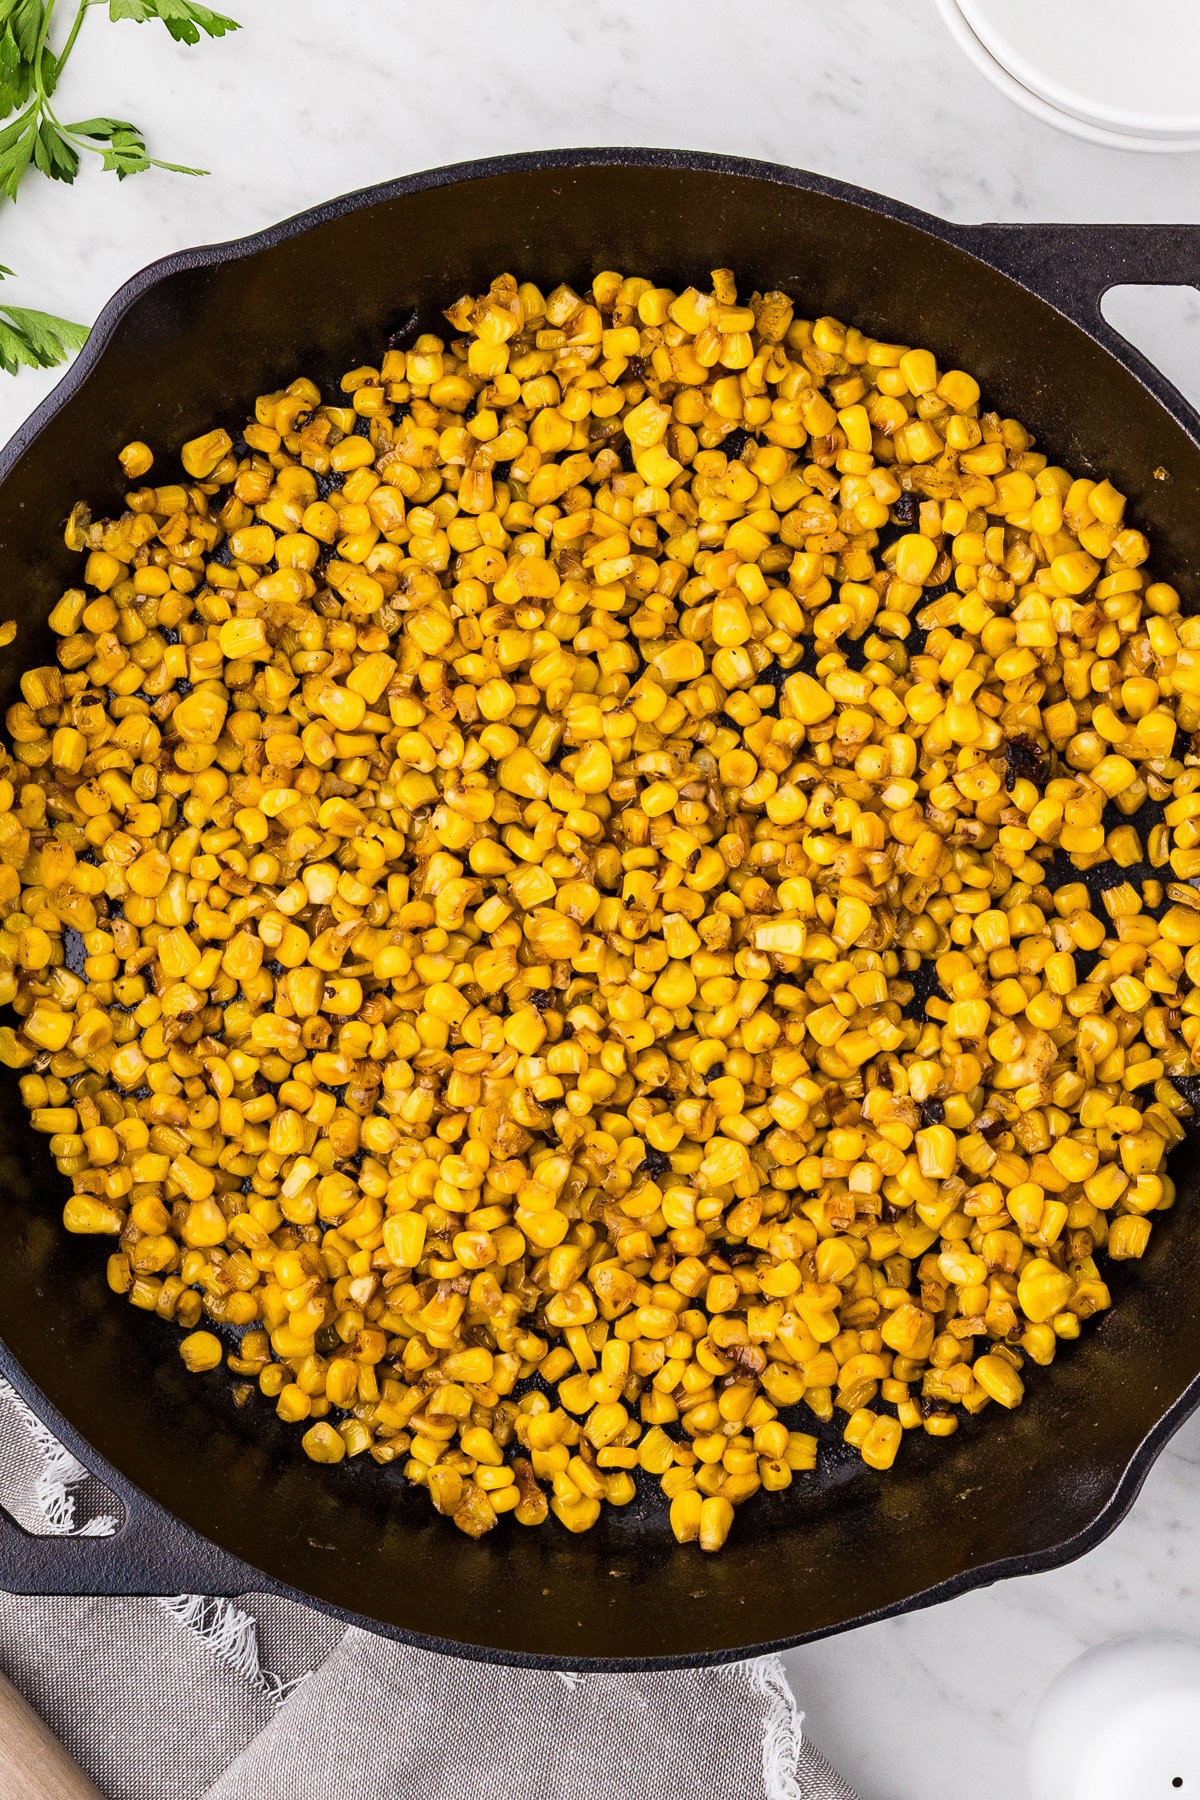
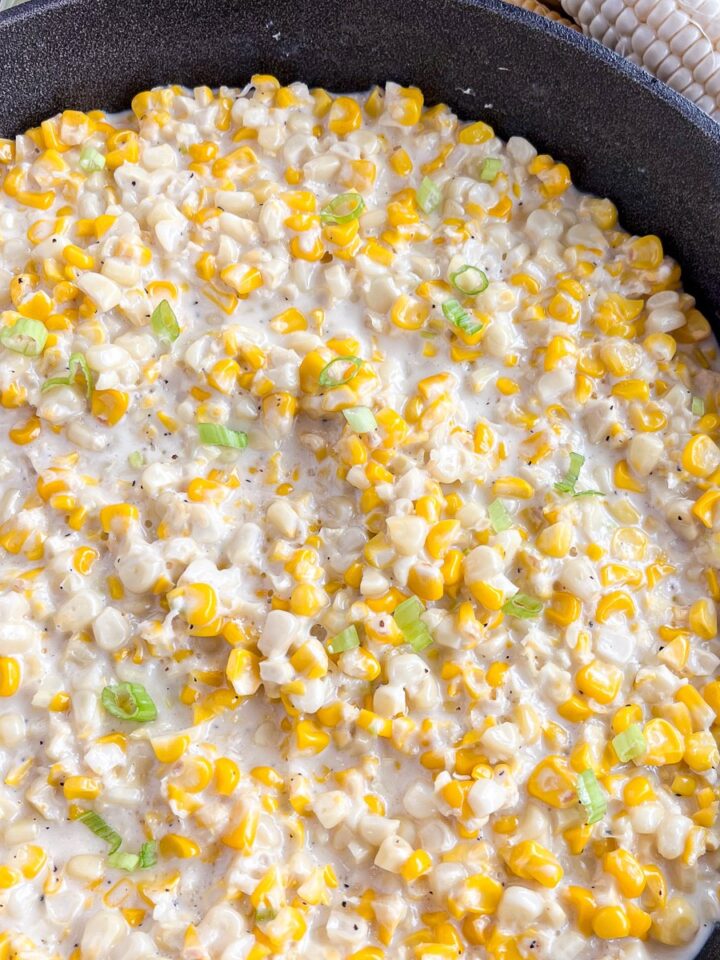
The secret is letting the butter brown just slightly before the garlic goes in. Those toasted milk solids build a nutty, savory base that turns plain corn into something your family will ask for again and again. Then the cast iron does what cast iron does best. It gives you real searing heat so the kernels pick up golden, caramelized spots you will never get from boiling or microwaving. If you enjoy simple skillet sides, you will also love my hot honey butter skillet corn and southern style creamed corn.
Quick Look at the Recipe
- ✅ Recipe Name: Garlic Butter Skillet Corn
- 🕑 Ready In: 15 minutes (5 min prep, 10 min cook)
- 👪 Serves: 4 (¾-cup servings)
- 🥣 Main Ingredients: Canned corn, salted butter, fresh garlic, salt, pepper
- 📖 Dietary Info: Gluten-free, nut-free
- ⭐ Why You'll Love It: The simplest, most flavorful corn side dish you can make in a cast iron skillet. Just five ingredients and 15 minutes.
Summarize and Save the Recipe
Why You'll Love This Garlic Butter Skillet Corn
- Ready in 15 Minutes: From opening the cans to putting food on the table, this skillet corn is done before your grill even finishes heating up. It is perfect for busy weeknights or as a last-minute cookout side.
- Only 5 Ingredients: Canned corn, butter, fresh garlic, salt, and pepper. No cream cheese, no mayo, no specialty items to hunt down at the store.
- The Garlic Butter Does the Heavy Lifting: Browning the butter and then blooming the garlic builds a nutty, savory base that makes simple corn taste like something from a steakhouse side menu.
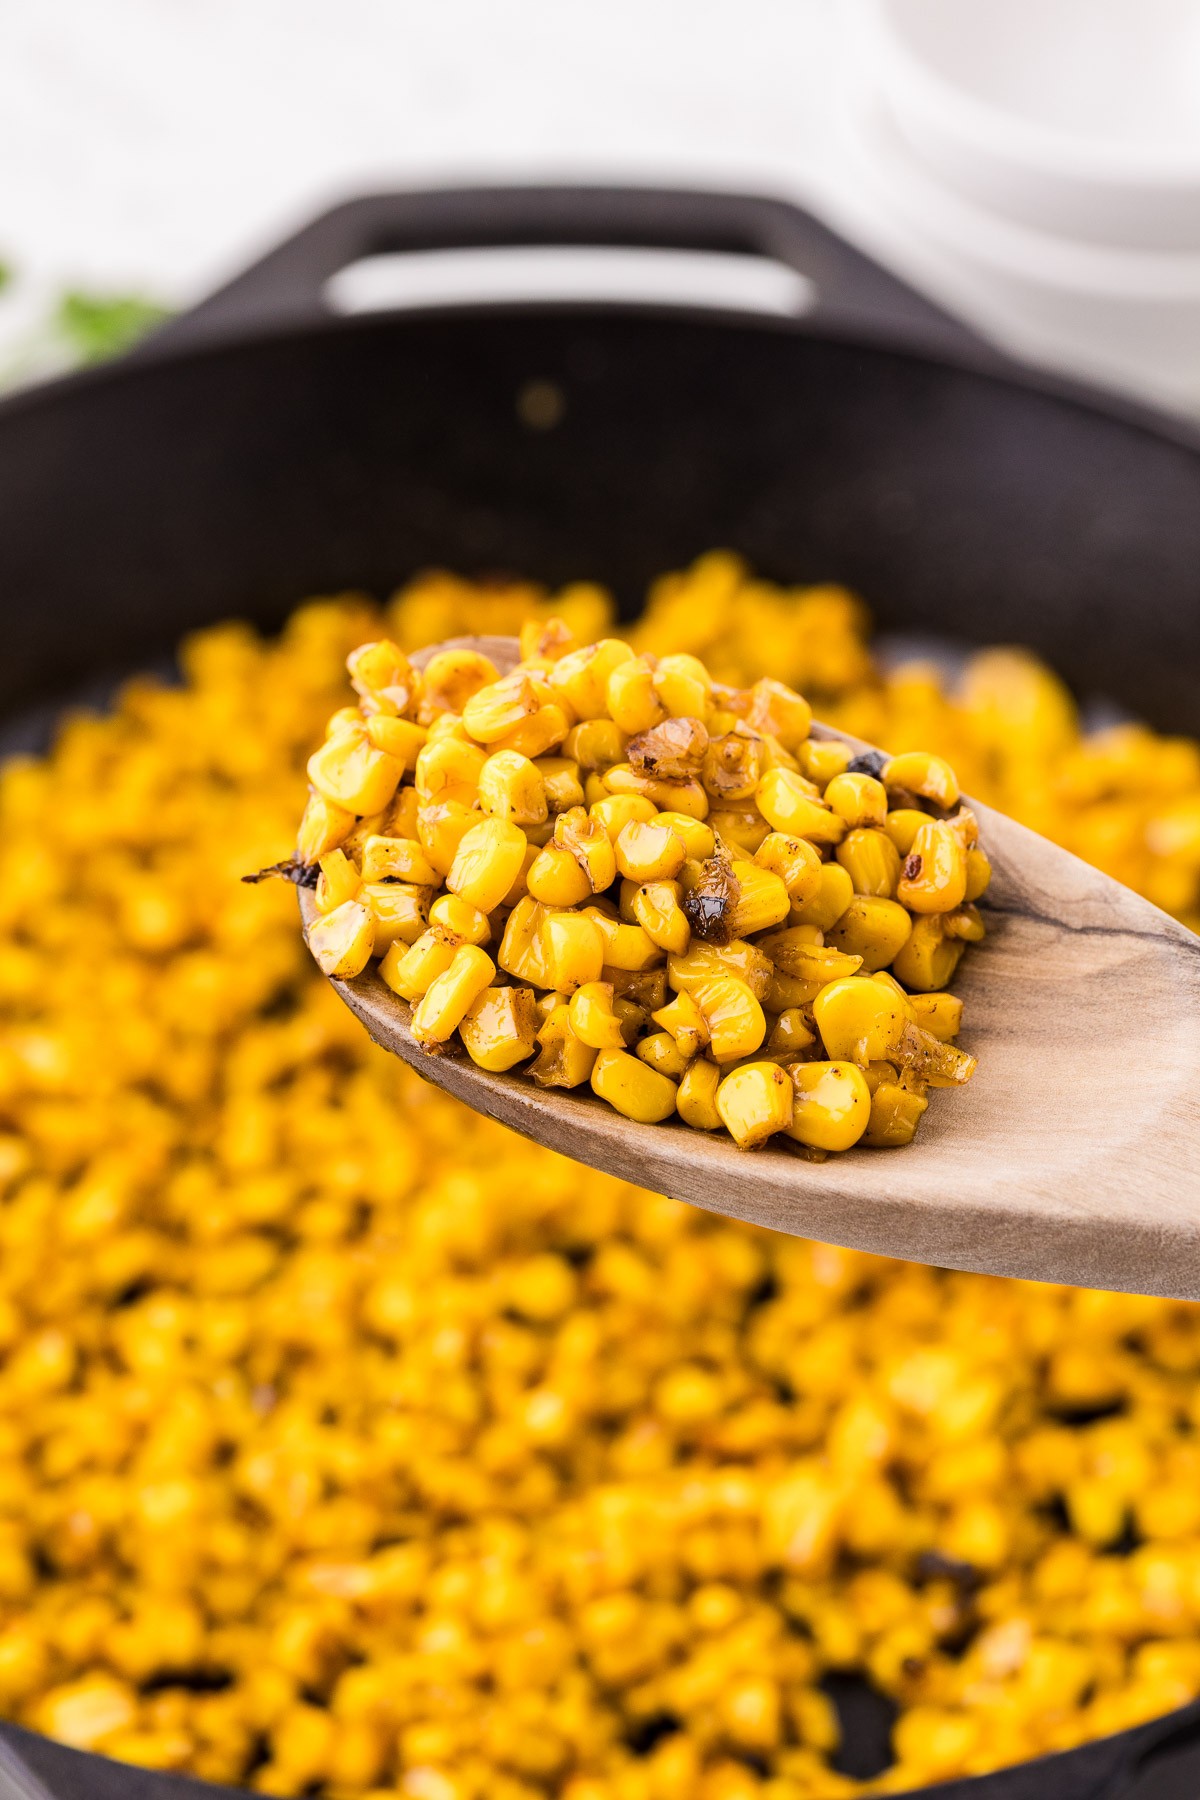
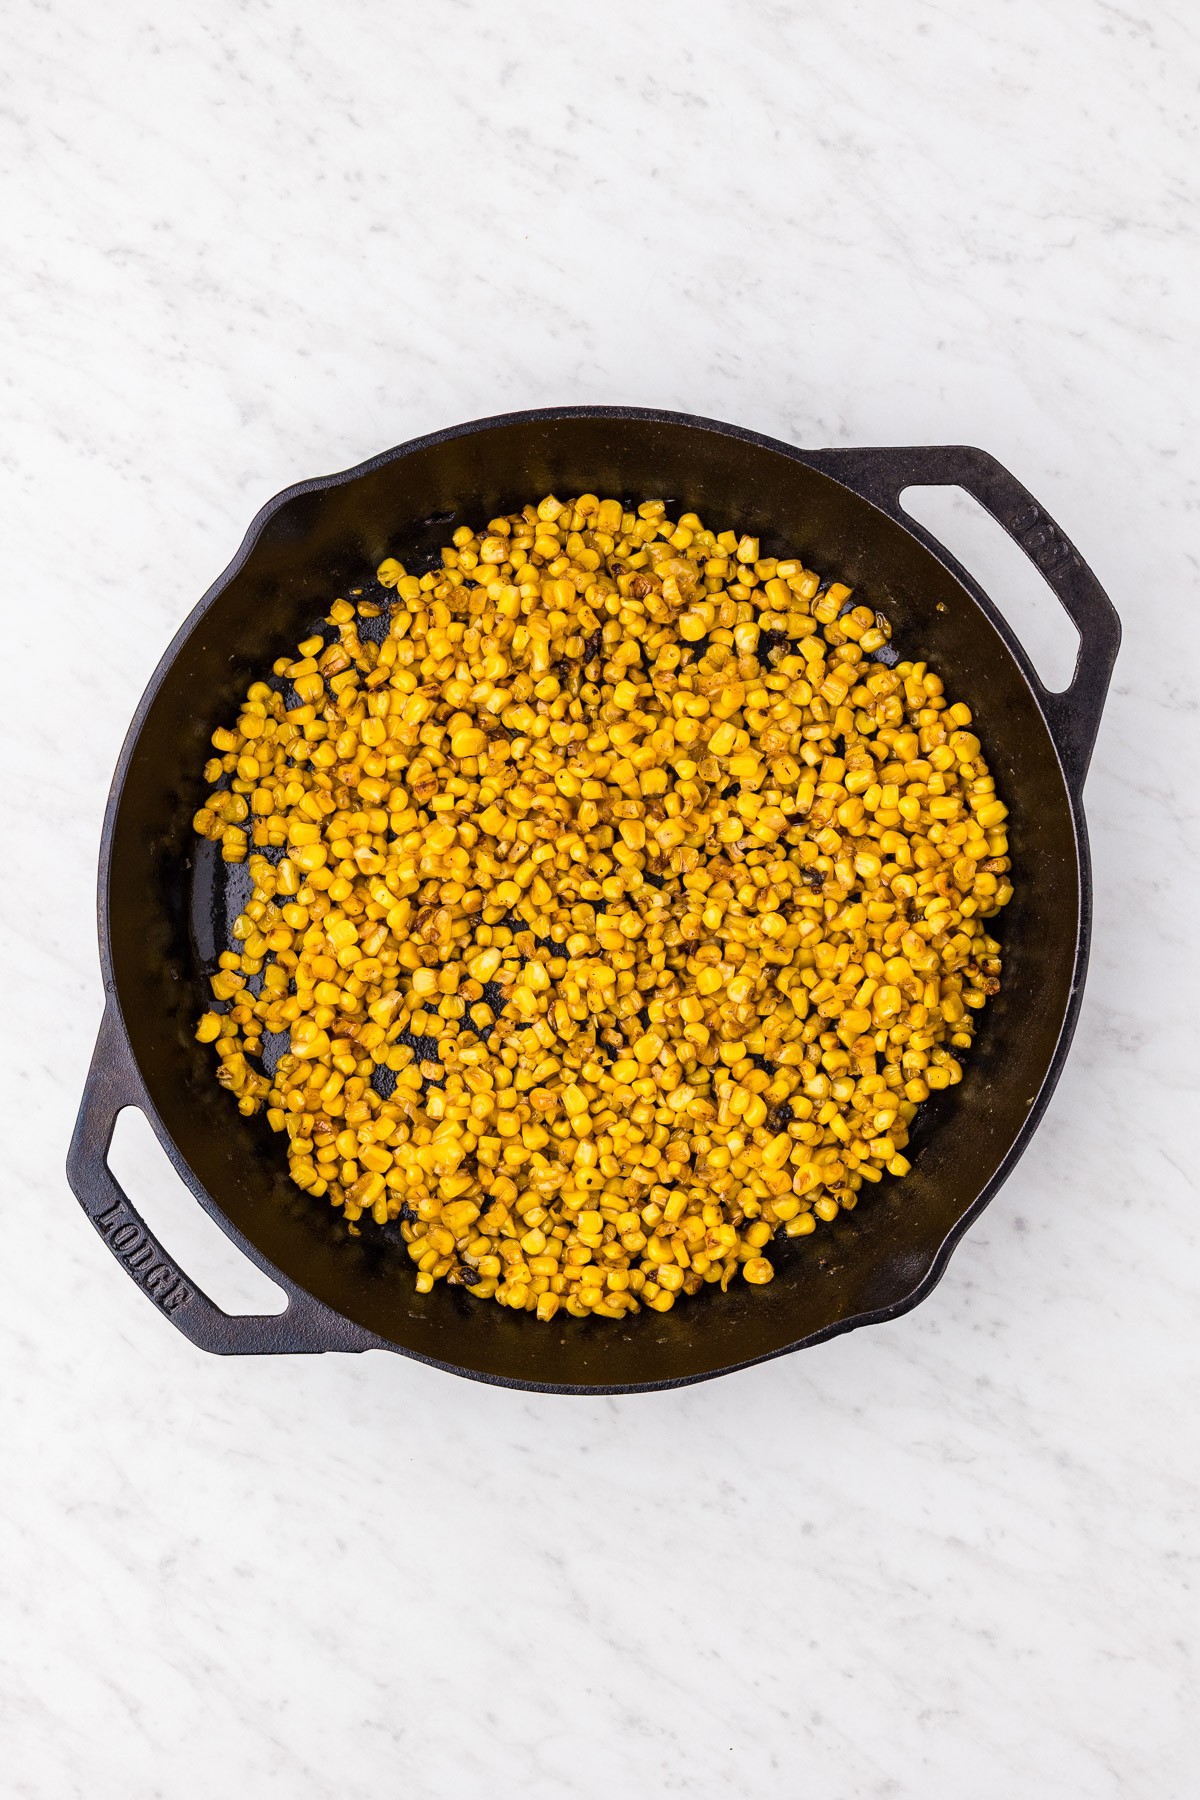
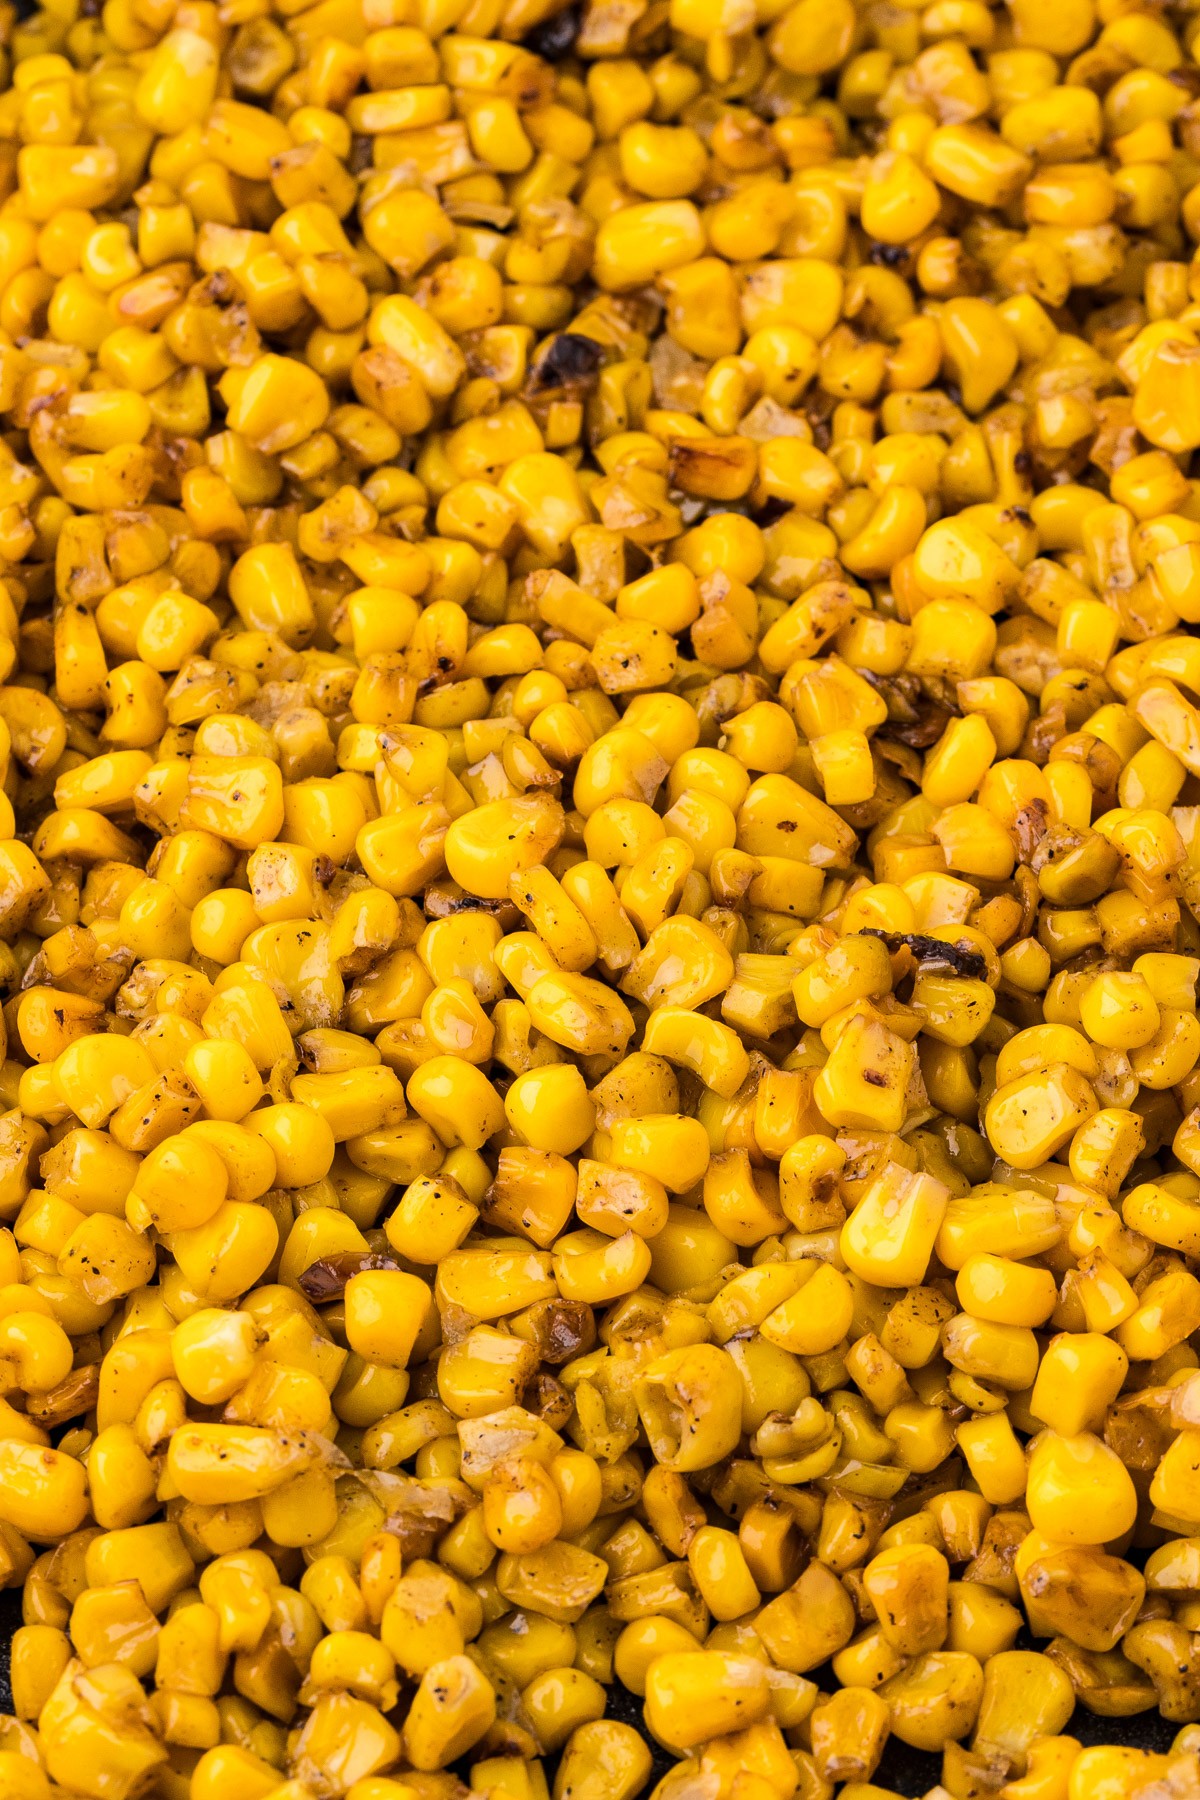
- Cast Iron Gives You Caramelization: A hot cast iron skillet creates golden, slightly charred spots on the kernels that add sweetness and depth you will not get from boiling or microwaving.
What Makes This Skillet Corn Different
If you already have the hot honey butter skillet corn in your rotation, think of this garlic butter corn as the stripped-down, no-fuss version. That recipe goes big with cream cheese, mayo, and hot honey. This one keeps it simple: just butter, garlic, and corn. It is the same idea as a plain cast iron burger versus one loaded with toppings. Sometimes you want all the extras, and sometimes you want the main ingredient to speak for itself.
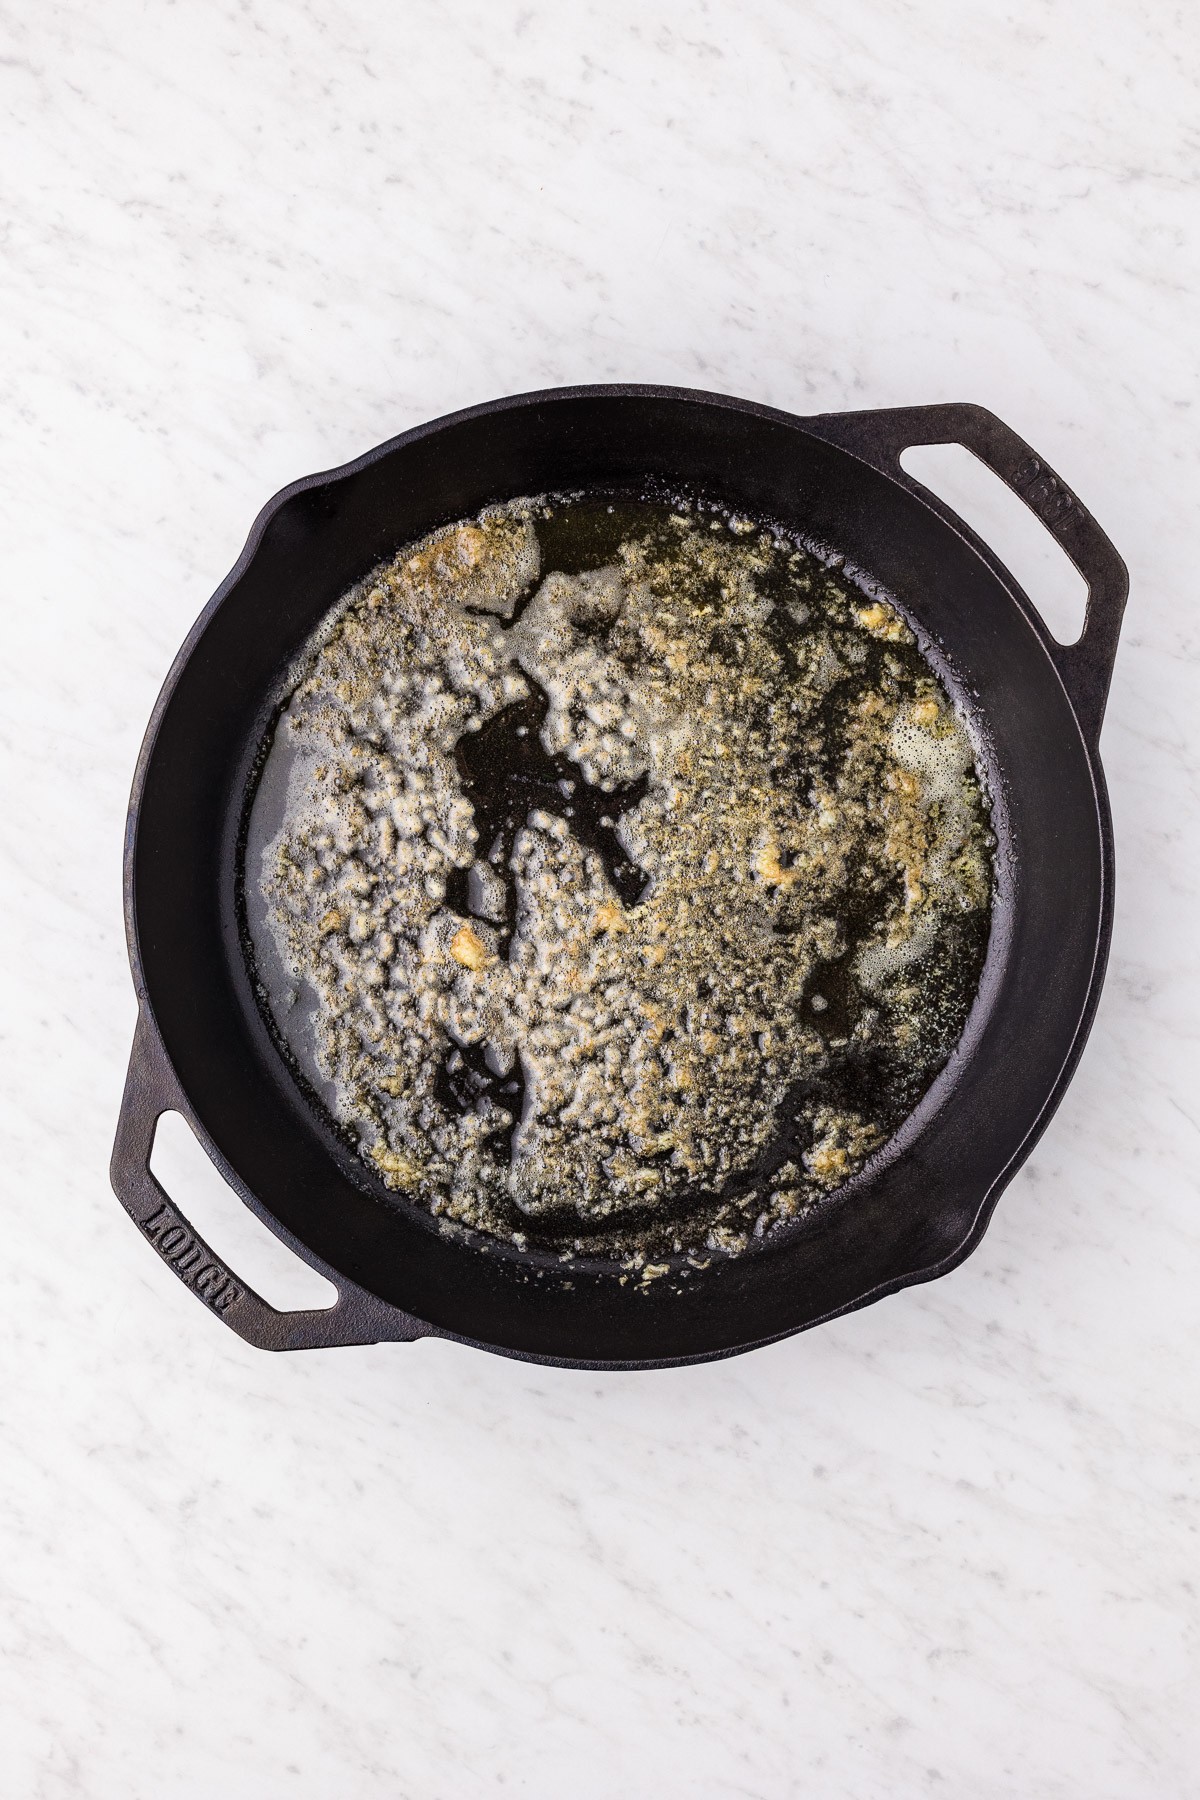
The key technique here is browning the butter before adding the garlic. You let the butter melt past the foamy stage until the milk solids on the bottom of the skillet start to turn golden and smell toasty. That gives you a nuttier, richer flavor without adding a single extra ingredient. It is a small step that makes a big difference, and it is something most skillet corn recipes skip entirely.
Ingredients for Garlic Butter Skillet Corn
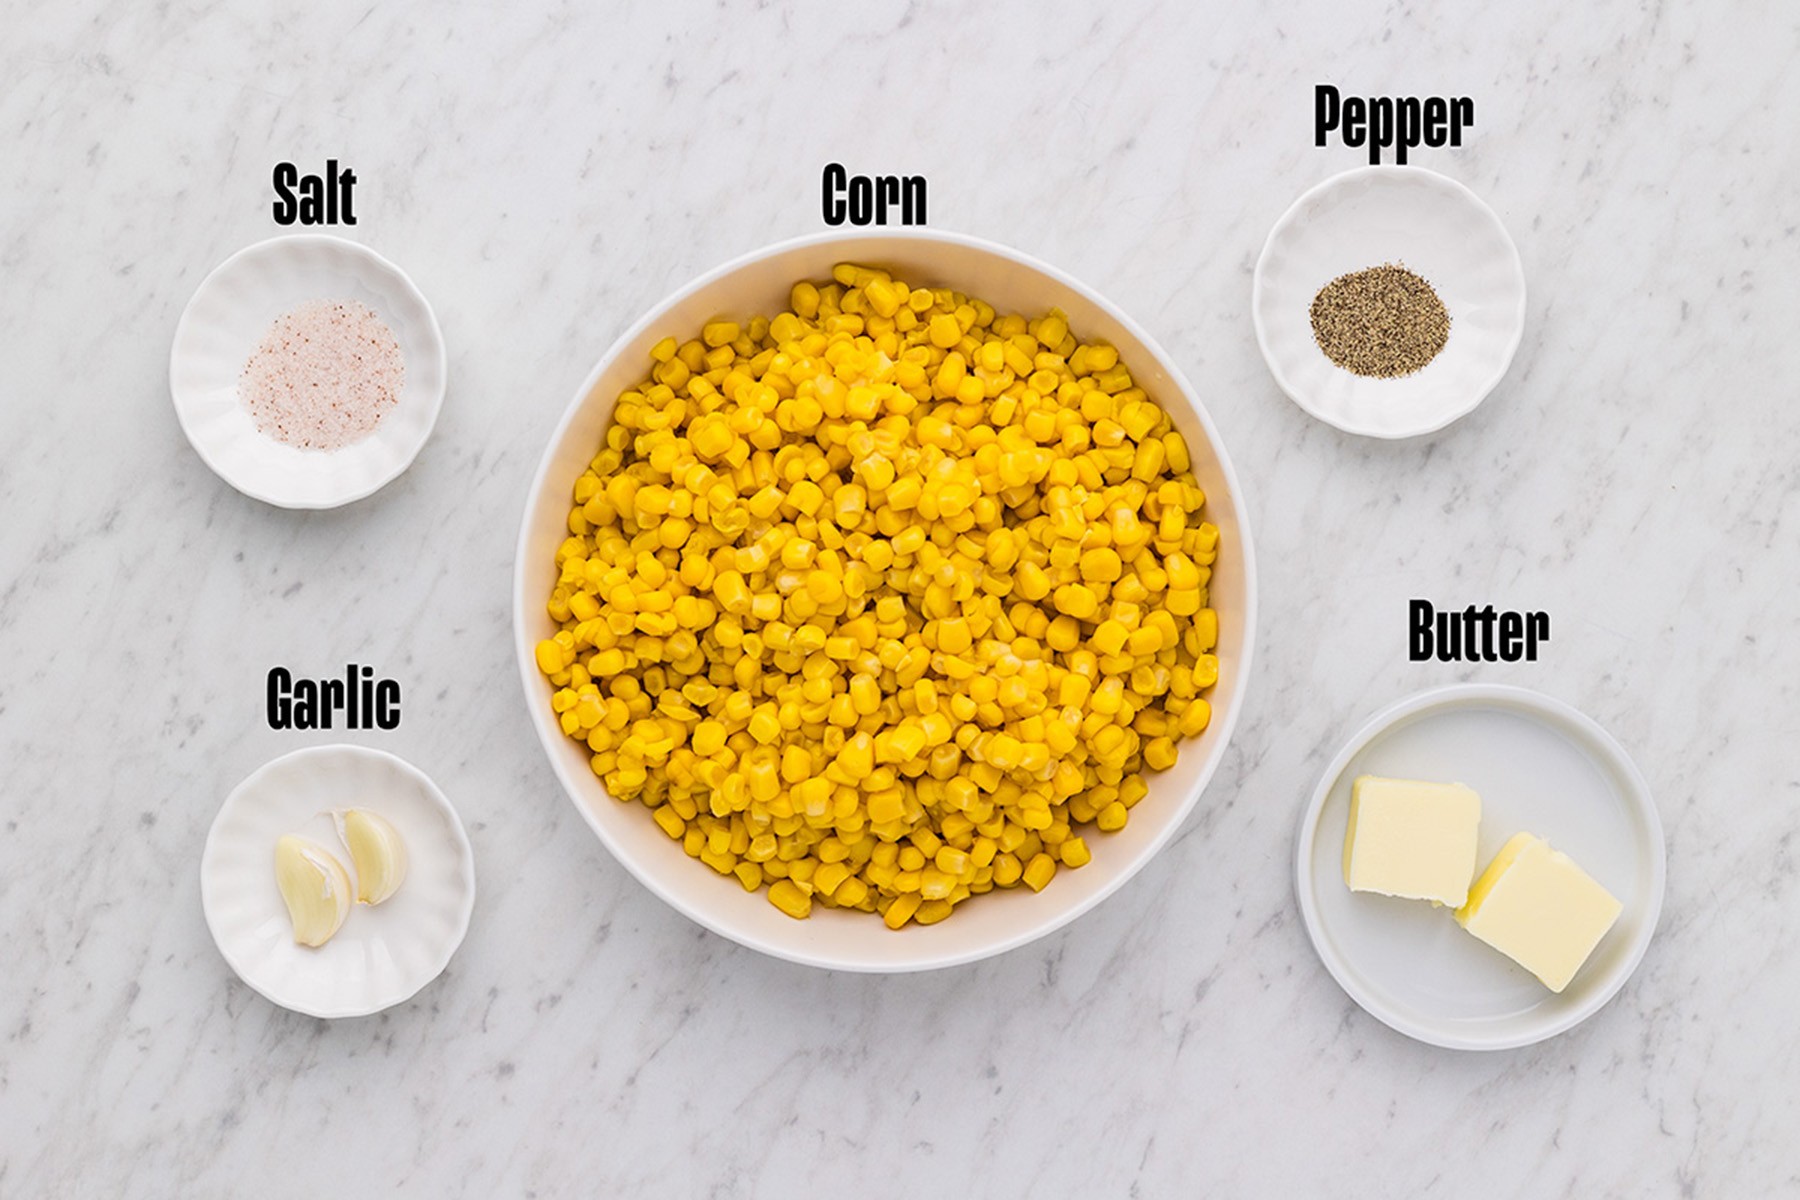
You only need five things, and most of them are probably in your kitchen right now.
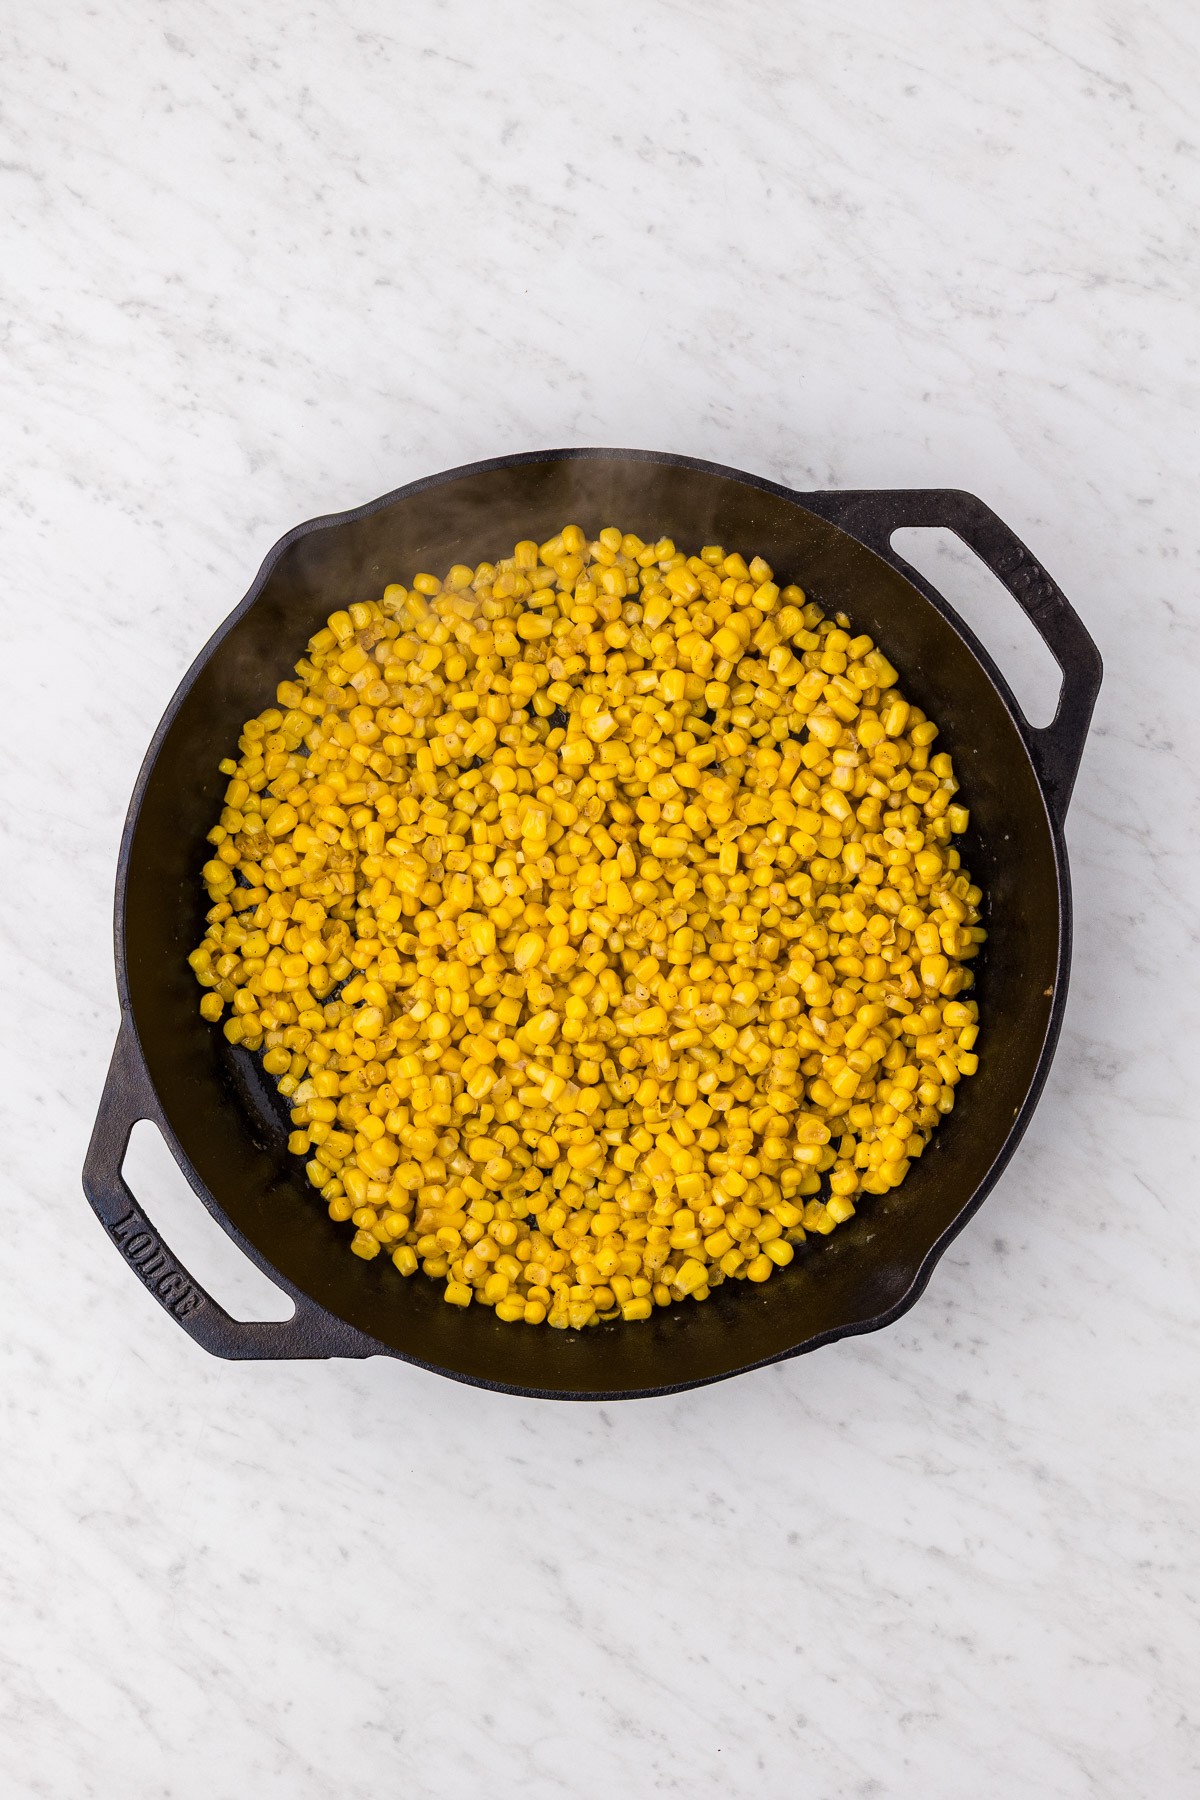
- Canned corn: Draining thoroughly is the make-or-break step. You want the kernels to saute, not steam. Spread them on a clean towel and pat them dry if you have an extra minute.
- Salted butter: Using salted butter makes sense here since the recipe has no other big seasoning sources. Browning it slightly before adding the garlic gives you a toasty, nutty depth.
- Fresh garlic: Cloves, minced or grated. Grating on a microplane releases more oils and creates a paste that melts right into the butter for a stronger, more aromatic flavor. Mincing gives you tiny pieces with a slightly milder garlic punch. Either way works great.
- Salt and pepper: Half a teaspoon of salt and a quarter teaspoon of black pepper, adjusted to taste.
Want to swap the corn type? Frozen corn works great. Just thaw and drain it first. Fresh corn cut from the cob is delicious when it is in season. You will need about 3 cups of kernels, which is roughly 4 to 5 ears.
See the recipe card below for the complete list with exact amounts.
Easy Variations and Add-Ins
The garlic butter base is a perfect starting point. Here are a few ways to change it up depending on what you are in the mood for.
- Parmesan skillet corn: Toss in 2 to 3 tablespoons of freshly grated parmesan right after removing the skillet from heat. The residual warmth melts it just enough.
- Bacon garlic corn: Cook 3 to 4 strips of chopped bacon first, set them aside, then use the drippings along with the butter. Crumble the bacon on top before serving.
- Spicy skillet corn: Add a quarter teaspoon of red pepper flakes with the garlic, or hit it with a squeeze of your favorite hot sauce at the end.
- Cajun corn: Sprinkle half a teaspoon of Cajun seasoning in with the salt and pepper for a Southern kick.
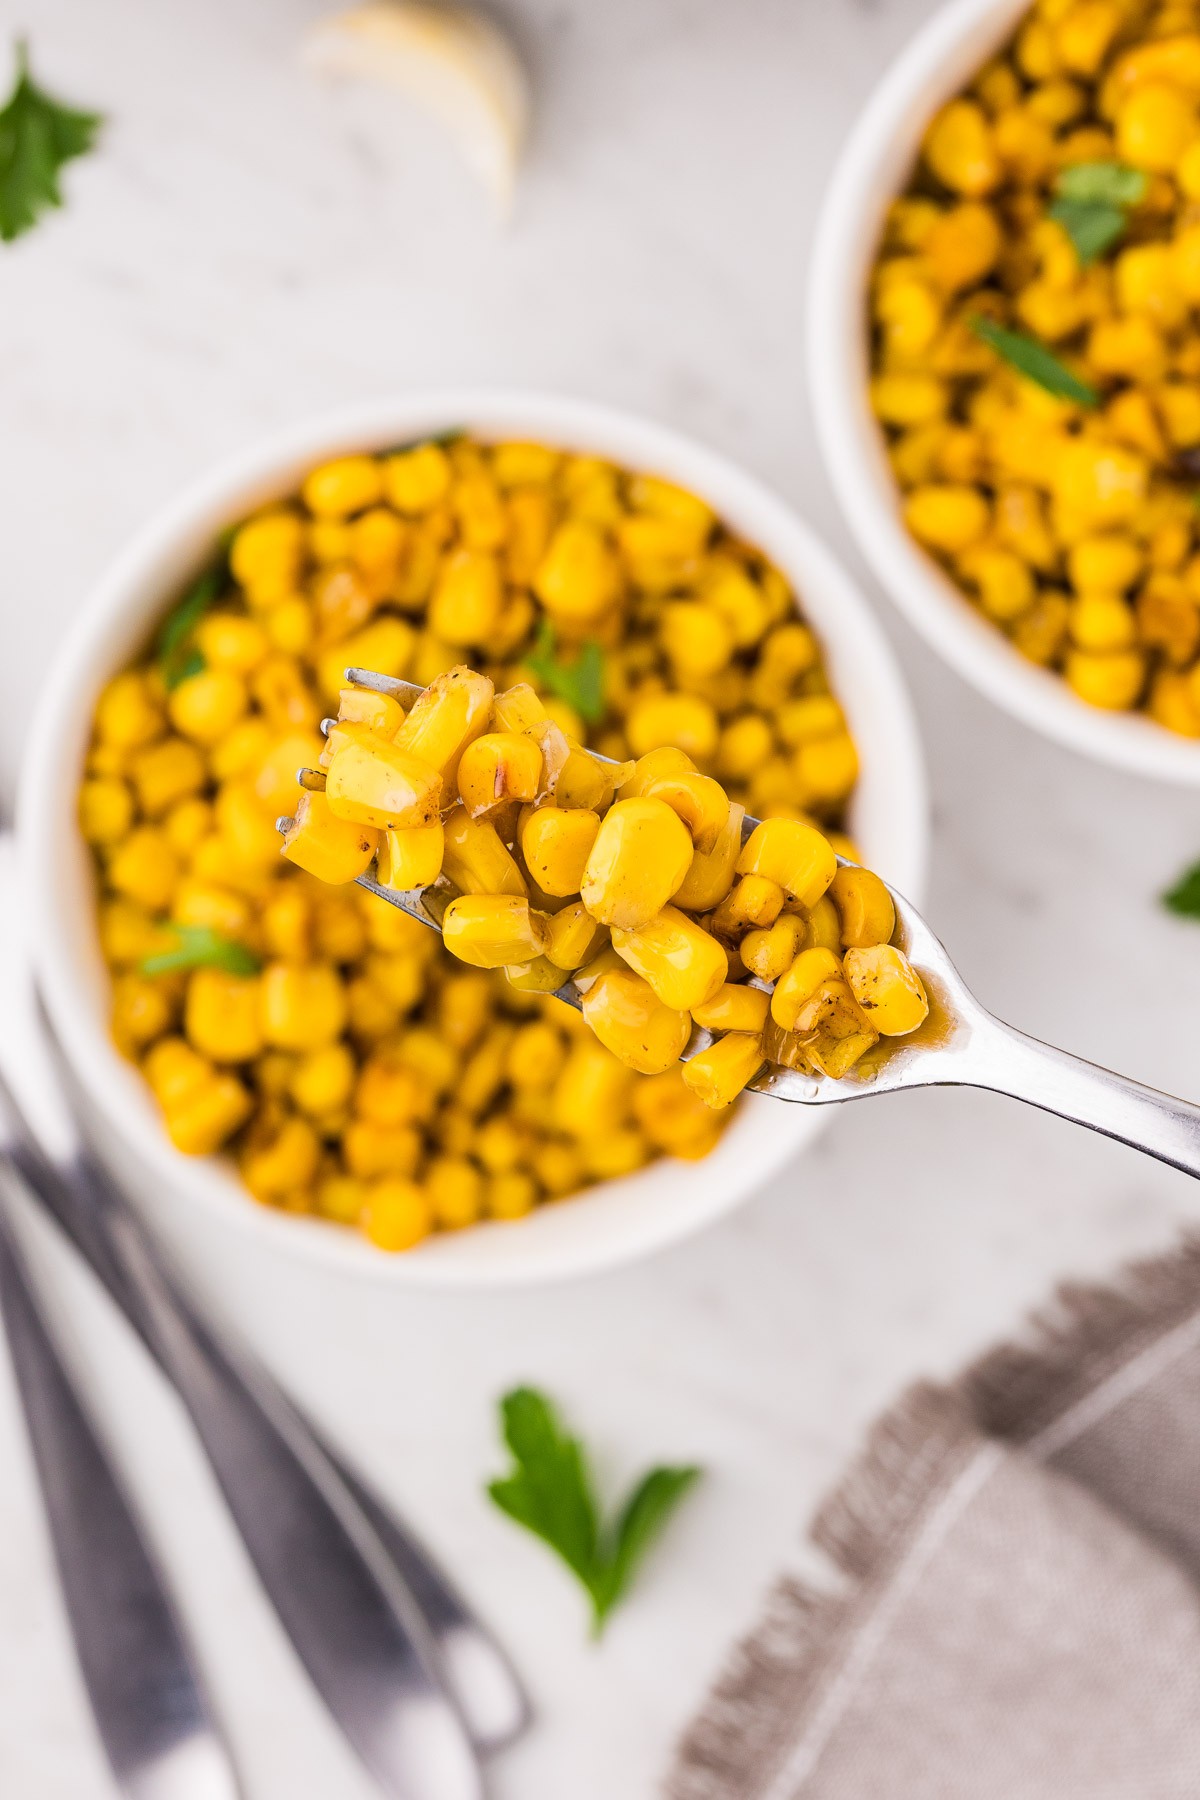
- Herb butter corn: Stir in a tablespoon of chopped fresh parsley or chives right before serving for a bright, fresh finish.
- Dairy-free version: Swap the butter for olive oil or avocado oil. You will lose the browned butter flavor, but the garlic and caramelization still carry the dish.
Expert Tips for the Best Skillet Corn
- Drain the corn twice: Dump the liquid from the cans, then spread the kernels on a paper towel or clean kitchen towel and pat them dry. Less moisture means better browning in the cast iron.
- Do not rush the butter: Let the butter melt and just start to turn golden before adding the garlic. Those toasted milk solids are free flavor, and it only takes an extra 30 seconds.
- Thirty seconds on the garlic, max: Garlic goes from fragrant to burnt in a hurry, especially in cast iron. Keep it moving and add the corn right after you smell it.
- Leave the corn alone: Once the corn is in the skillet, resist the urge to stir constantly. Let it sit for 2 to 3 minutes at a time. Contact with the hot cast iron is what creates those golden caramelized spots.
- Jarred garlic works in a pinch: Use about half a teaspoon for each clove the recipe calls for. Fresh garlic will always taste brighter, but jarred gets the job done on a busy Tuesday night.
- Season at the end: Adding salt and pepper after cooking keeps the seasoning from drawing out extra moisture too early in the process.
What to Serve with Skillet Corn
This corn goes with just about everything, but here are a few pairings that work especially well.
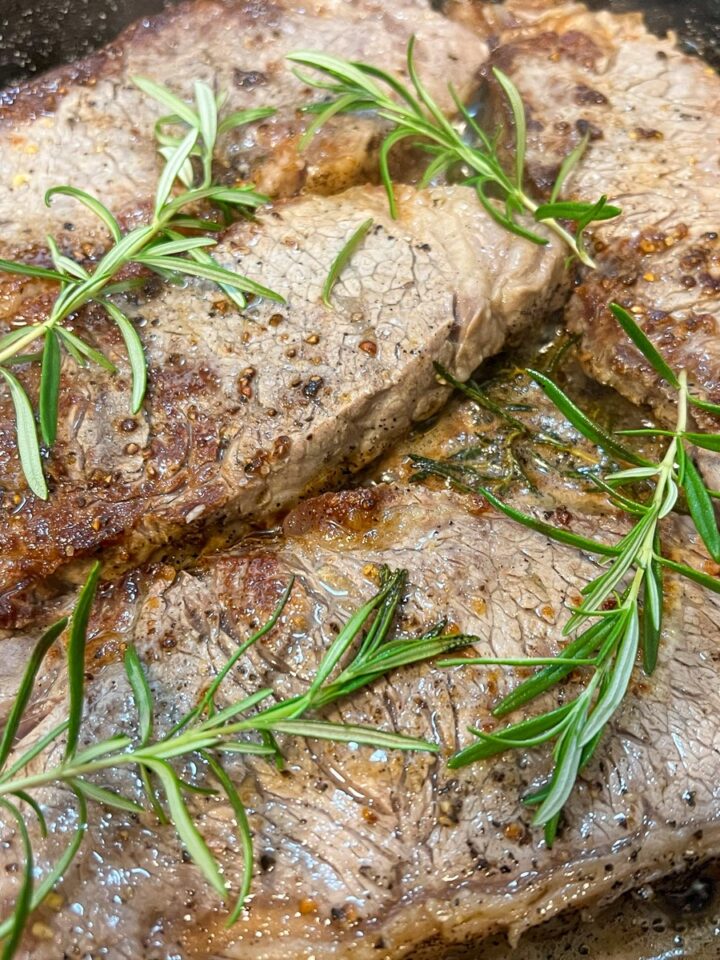
For cookout and grill nights, throw this next to cast iron skillet burgers or a cast iron steak and you have a restaurant-quality plate with almost no effort. It rounds out the meal without competing for attention.
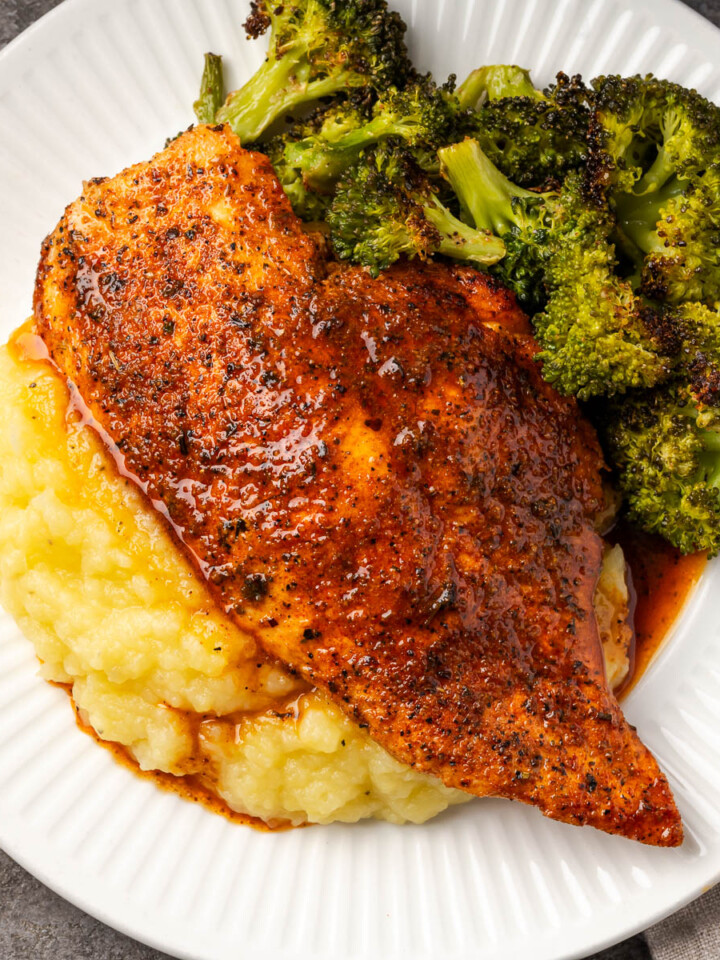
On weeknights, it is a great match alongside cast iron skillet chicken or a simple pork chop. The corn cooks so fast that it can be done while your main dish rests.
For holidays like Thanksgiving and Christmas, this is the simple vegetable side that does not fight for oven space. It stays on the stovetop the entire time. Add skillet roasted asparagus or pan-fried okra for a second veggie side that comes together just as quickly.
Cooking something special on the grill? This skillet corn is a natural match for a smoky Picanha Steak Recipe hot off the fire.
How to Store and Reheat Leftovers
Store leftover skillet corn in an airtight container in the refrigerator for up to 3 to 4 days. For longer storage, cool the corn completely, transfer it to a freezer bag or airtight container, and freeze for up to 2 to 3 months. The texture may soften slightly after thawing, but it still tastes great.
To reheat, warm it in a skillet over medium heat with a small pat of butter. This is the best method because it brings back some of that caramelized texture. You can also microwave it in short intervals, stirring between each one.
Here is a great trick for potlucks and parties: transfer the finished corn to a slow cooker on the warm setting. Add a couple extra tablespoons of butter to keep it from drying out, stir it occasionally, and it will hold beautifully for up to 2 hours. Do not go much longer than that or the corn starts getting mushy.
Frequently Asked Questions
Yes, frozen corn works great in this recipe. Thaw it first and drain off any excess moisture before adding it to the skillet. You will need about 3 cups to match two 15-ounce cans. The cook time stays the same.
Absolutely. Cut the kernels off the cob and you will need about 3 cups, which is roughly 4 to 5 ears depending on size. Fresh corn has more natural sweetness and a snappier texture, so it is worth it when corn is in season.
Reheat it in a skillet over medium heat with a small pat of butter until warmed through. This helps restore some of the caramelized texture. Microwave works too. Just heat in short intervals and stir between them.
Yes. Swap the butter for olive oil, avocado oil, or a plant-based butter. You will lose the browned butter flavor, but the garlic and caramelization still carry the dish.
Transfer the finished corn to a slow cooker set on the warm setting. Add an extra tablespoon or two of butter to keep it from drying out, and stir occasionally. It holds well for up to 2 hours. Beyond that, the texture starts to soften too much.
Fresh garlic gives a brighter, more aromatic flavor and is the better choice when you have it. Jarred minced garlic works fine for convenience. Use about half a teaspoon for each clove the recipe calls for.
More Delicious Recipes
If you tried this Garlic Butter Skillet Corn or any other recipe on my blog, please leave a 🌟 star rating and let me know how it went in the 📝 comments below. Thanks for visiting!
Get the Recipe
Skillet Corn
Equipment
- 1 12" Cast Iron Skillet
Ingredients
- 2 (15-ounce) cans whole kernel corn drained well
- 2 tablespoons salted butter
- 2 garlic cloves minced or grated
- ½ teaspoon salt or to taste
- ¼ teaspoon black pepper
Instructions
- Drain corn well and set aside. For best results, spread kernels on a clean kitchen towel or paper towel and pat dry.
- Mince or grate fresh garlic and set aside.
- Heat a cast iron skillet over medium heat. Add butter and let it melt until it just starts to brown and smell nutty.
- Add minced or grated garlic and cook about 30 seconds, stirring frequently, just until fragrant. Be careful not to let it burn.
- Stir in drained corn. Cook for 6 to 8 minutes, stirring occasionally, until the corn is heated through and lightly golden in spots. For more caramelization, cook an additional minute or two longer.
- Season with salt and pepper. Stir well to coat.
- Remove from heat and serve warm.
Notes
Nutrition
Dutch Oven Daddy is not a dietician or nutritionist, and any nutritional information shared is only an estimate. We recommend running the ingredients through an online nutritional calculator if you need to verify any information.
Maria says
I love how quick and easy this recipe is to pull together. The corn stays crisp and juicy while soaking up all that wonderful garlic butter goodness. It has become my favorite way to prepare corn because it takes so little time but tastes like it came from a fancy steakhouse.
Jason says
This is a fantastic side dish that works with almost any meal. The garlic and butter create such a rich flavor profile that really enhances the natural sweetness of the corn. Using the cast iron skillet gives it a slight char that you just can't get with boiling or steaming.