
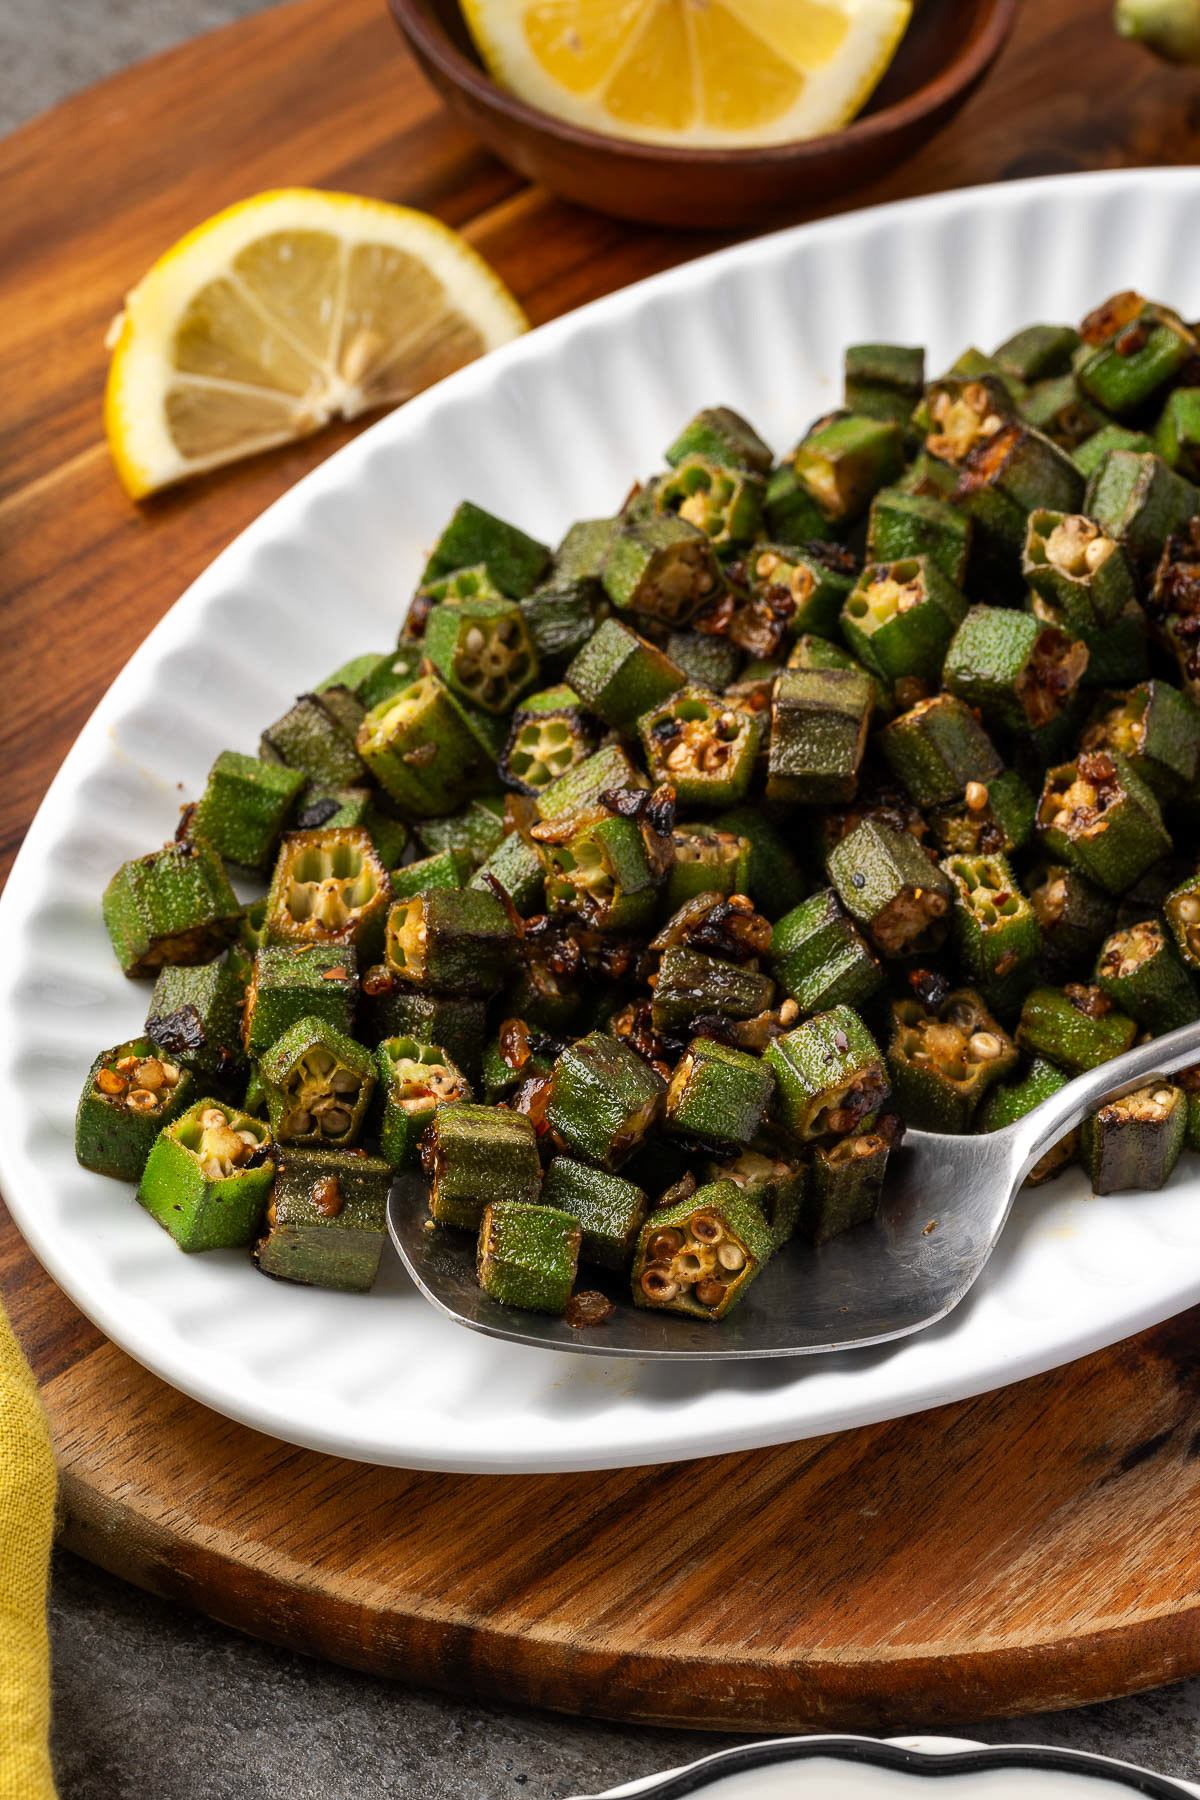
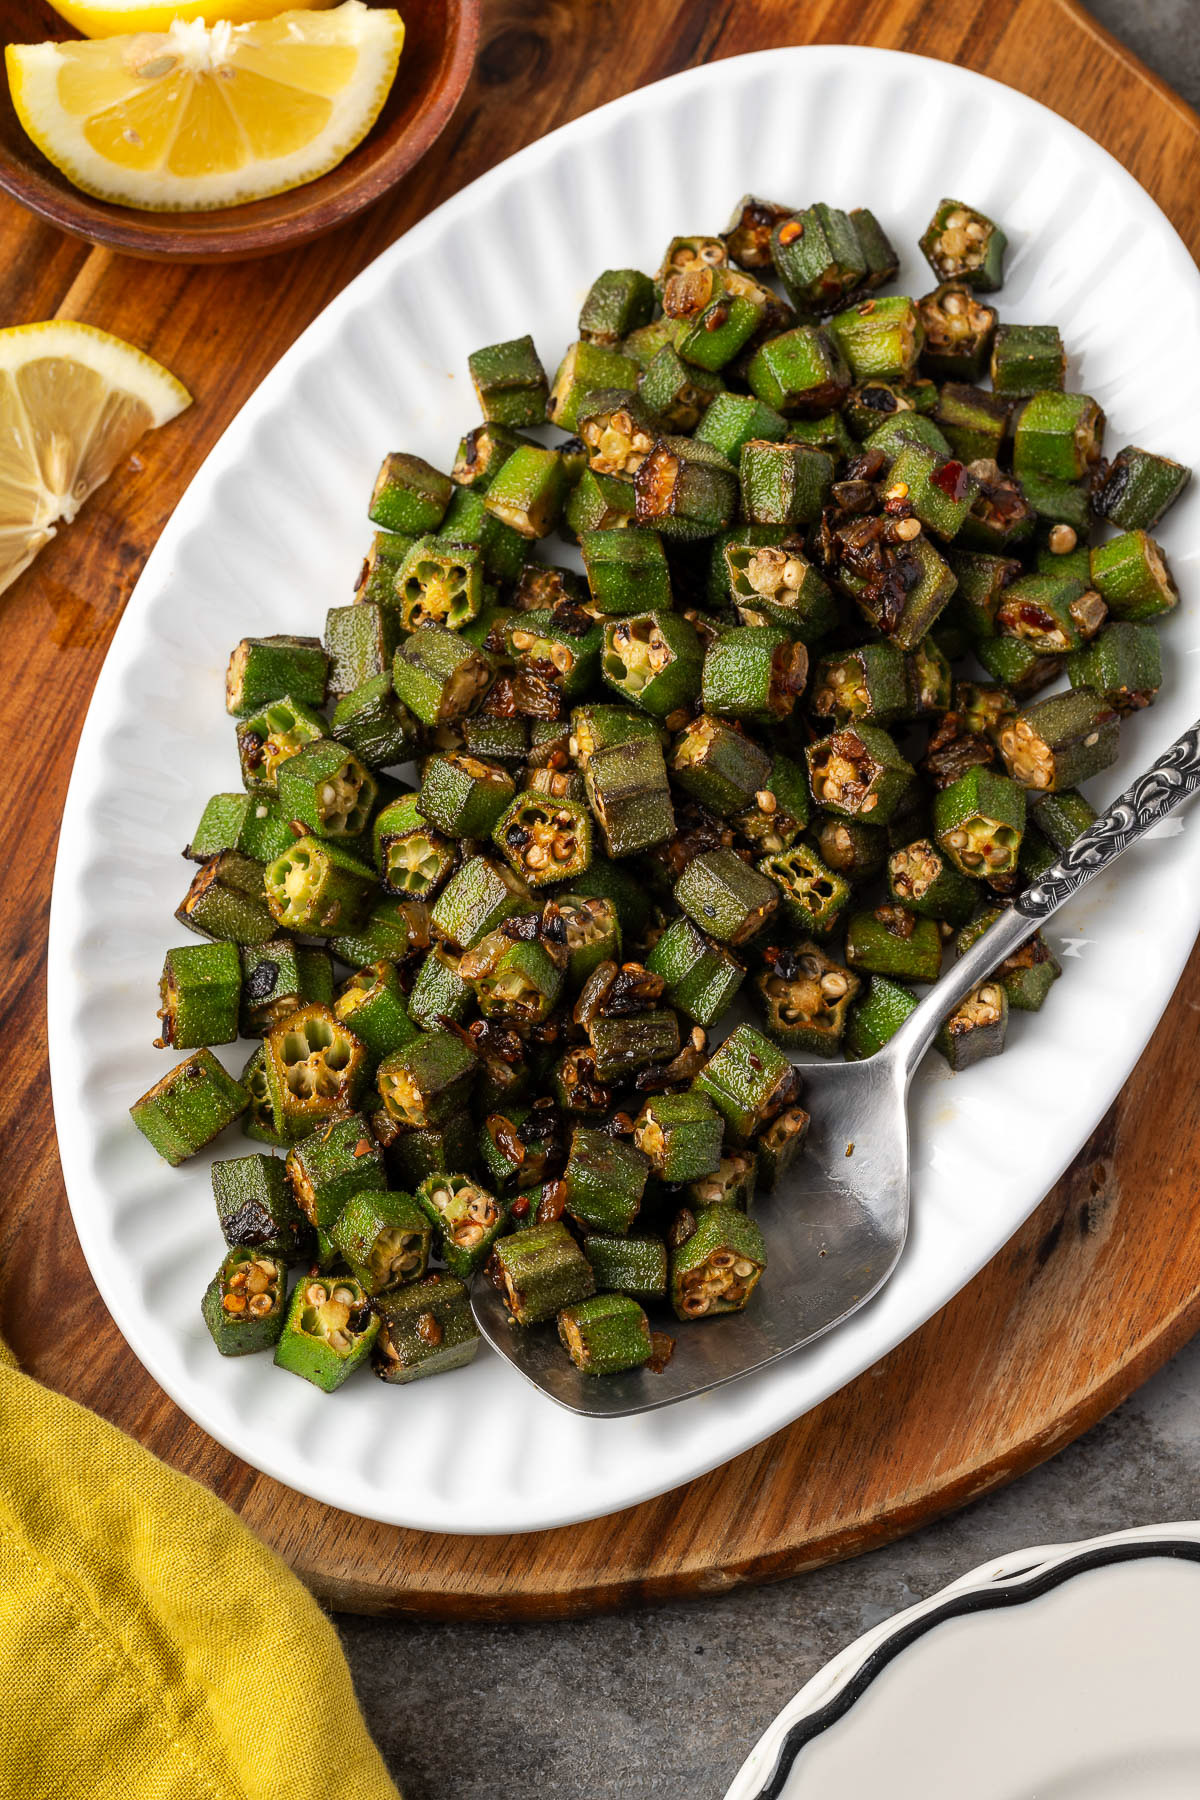
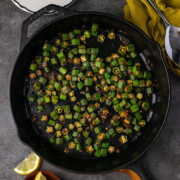
This Pan-Fried Okra skips the heavy cornmeal coating and keeps things simple with a quick skillet method that actually works. You get tender, lightly crisp okra with real flavor in every bite. Ready in about 25 minutes, with minimal cleanup, no slimy texture, and bold savory flavor, this is an easy side that holds its own on any table.
This skillet okra pairs perfectly with a hearty dinner, like my Mississippi pot roast, for a comforting, flavor-packed meal.
Quick Look at the Recipe
- ✅ Recipe Name: Pan-Fried Okra
- 🕒 Ready In: About 25 minutes
- 👪 Serves: 4
- 🥣 Main Ingredients: Fresh okra, olive oil, onion, garlic, red pepper flakes, lemon juice or vinegar
- 📖 Dietary Info: Vegan, gluten-free, low-calorie
- ⭐ Why You'll Love It: This skillet okra cooks up tender with lightly crisp edges and no slimy texture thanks to a simple high-heat method. A splash of acid at the end brightens the flavor and keeps it fresh and balanced.
Summarize and Save the Recipe
I’ll be honest, okra had to win me over. The first few times I made it, the texture just wasn’t there, but once I figured out this skillet method, everything changed.
Cooking it hot and giving it space in the pan makes all the difference. Now it’s a simple okra side dish I make on repeat, and it works just as well with fresh or frozen okra any time of year.
If you’re into easy, flavorful sides, you’ll love my roasted asparagus and Southern creamed corn for simple additions to any meal.
Why You’ll Love This Recipe
- No breading needed: This pan-fried okra has no breading, keeping things light while still delivering great texture.
- Quick and practical: Ready in under 30 minutes with minimal prep, one pan, and easy cleanup, making it a go-to weeknight side. For something just as fast to pair with it, try my seared blue marlin recipe.
- Big flavor, simple ingredients: Garlic, onion, and a touch of lemon or vinegar create a bold, savory flavor that really stands out.
- Versatile and reliable: Works just as well with fresh or frozen okra for a tasty side any time of year.
Ingredients
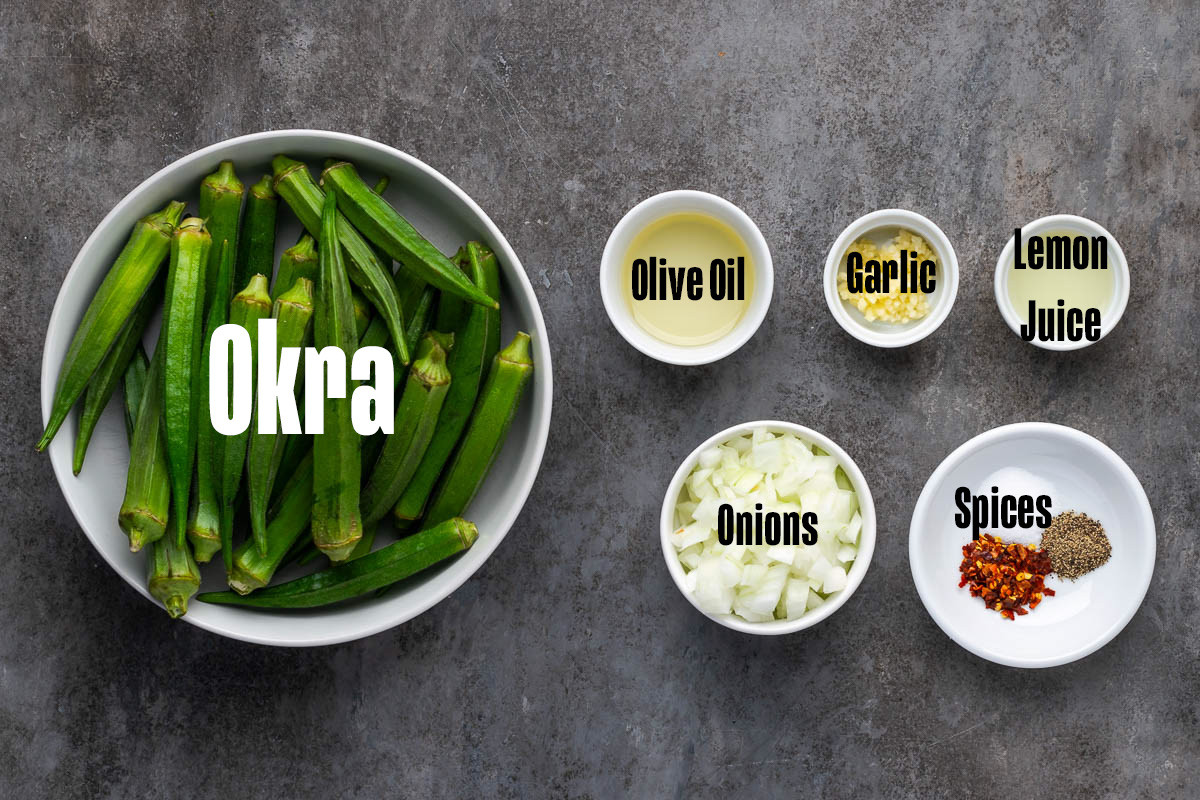
- Fresh okra: Look for bright green pods that are firm and not overly large. Smaller pods are more tender and less fibrous than large ones.
- Onion and garlic: These build the base flavor. Dice the onion small so it cooks quickly and evenly.
- Red pepper flakes: Bring a gentle kick of heat that you can easily adjust or leave out if you prefer a milder flavor.
- Lemon juice or apple cider vinegar: This is key for balancing flavor and helping cut down the natural sliminess.
See the recipe card below for exact ingredient amounts, nutritional information, and detailed instructions.
Variations
- Southern style: For a more southern style okra, add a bit of smoked paprika and finish with a small pat of butter.
- Garlic Butter: Finish with 1 tablespoon of butter and extra garlic for a rich, savory flavor that garlic lovers will enjoy.
- Spicy-Sweet: Drizzle with honey and add extra red pepper flakes for a sweet heat combination.
- Add tomatoes: Fold in a handful of diced tomatoes at the end for a bright, juicy pop that brings extra flavor to this sauteed okra.
Enjoy any version of skillet okra with these smoked crab legs!
How to Make Pan-Fried Okra
Learning how to cook okra on the stove doesn’t have to be tricky. With this simple skillet method, you’ll get tender, lightly browned okra that’s full of flavor and ready in no time.
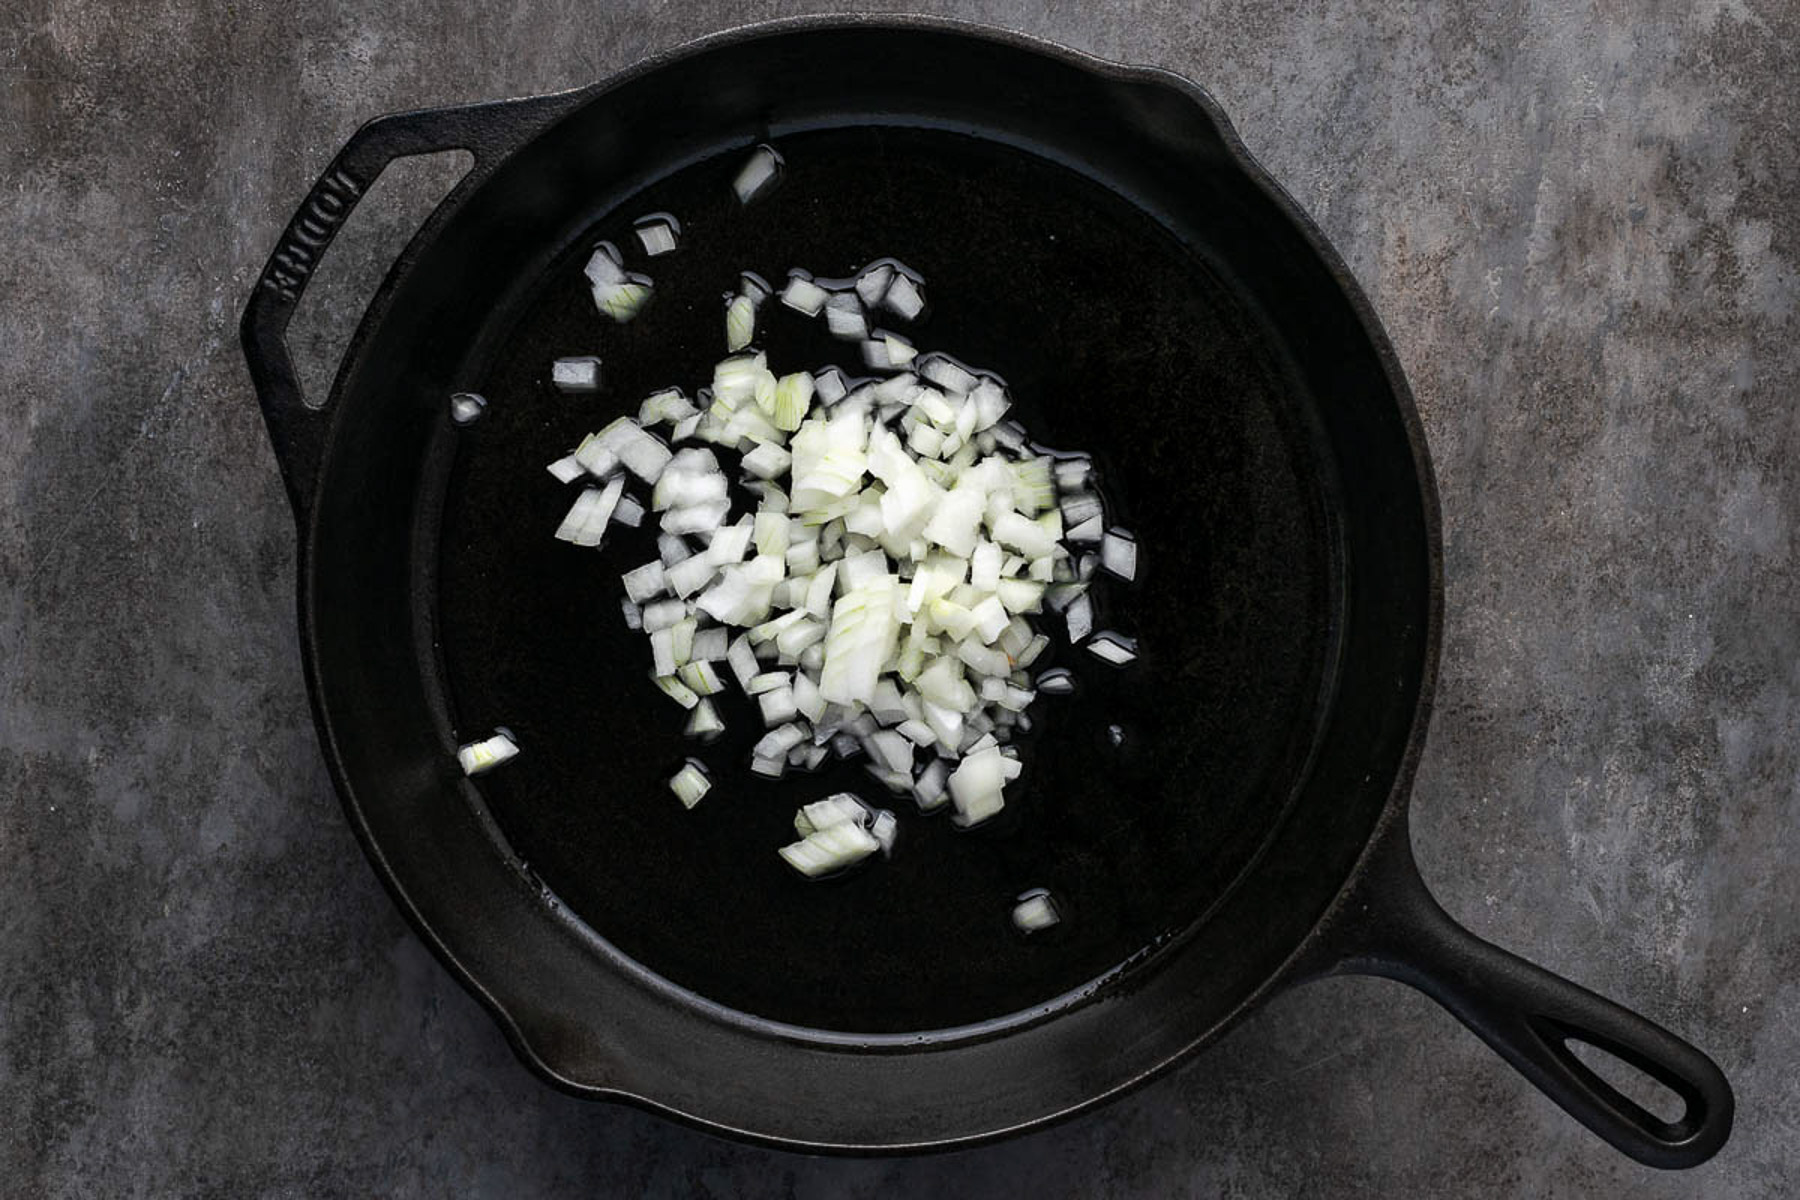
- Step 1: Cook the onion. Add the diced onion and cook until soft and slightly golden, about 3–4 minutes.
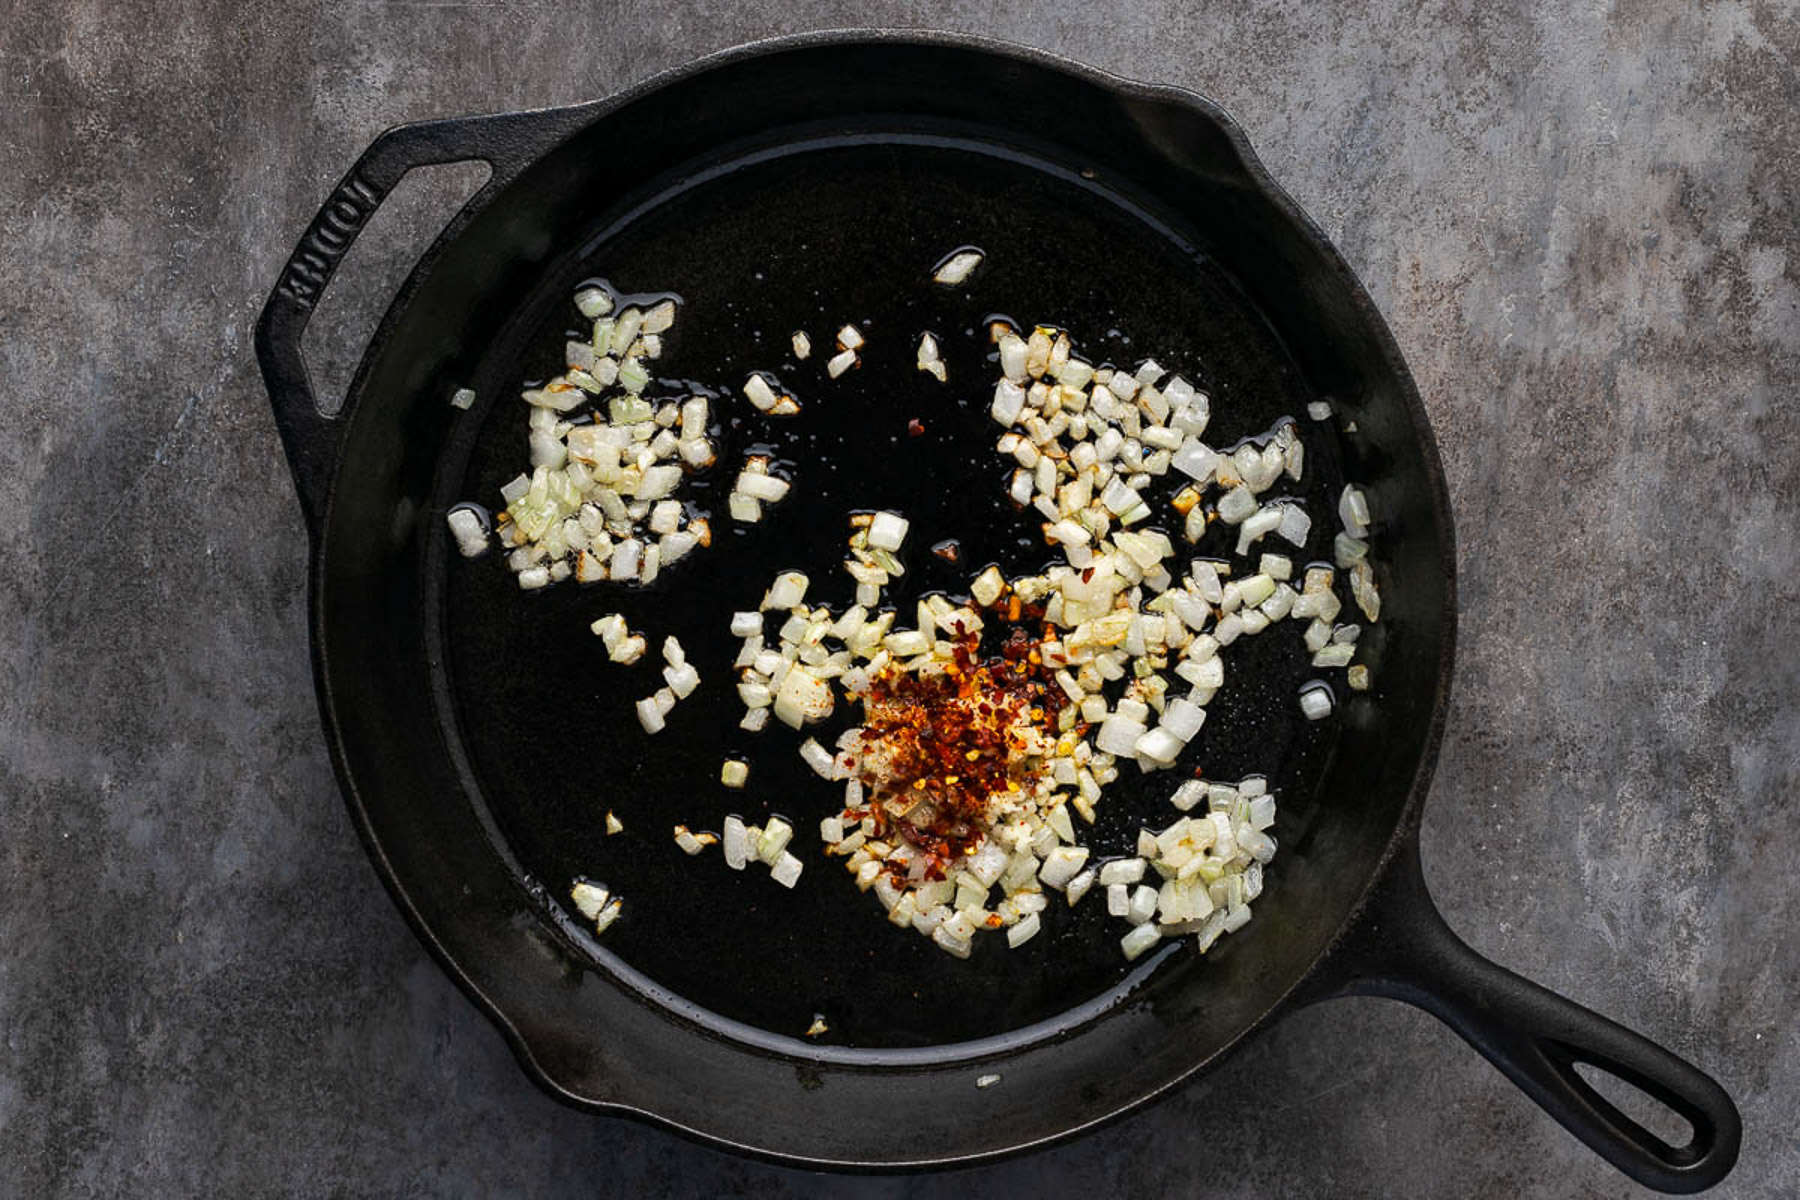
- Step 2: Add garlic and spice. Stir in the minced garlic and red pepper flakes, cooking just until fragrant, about 30 seconds.
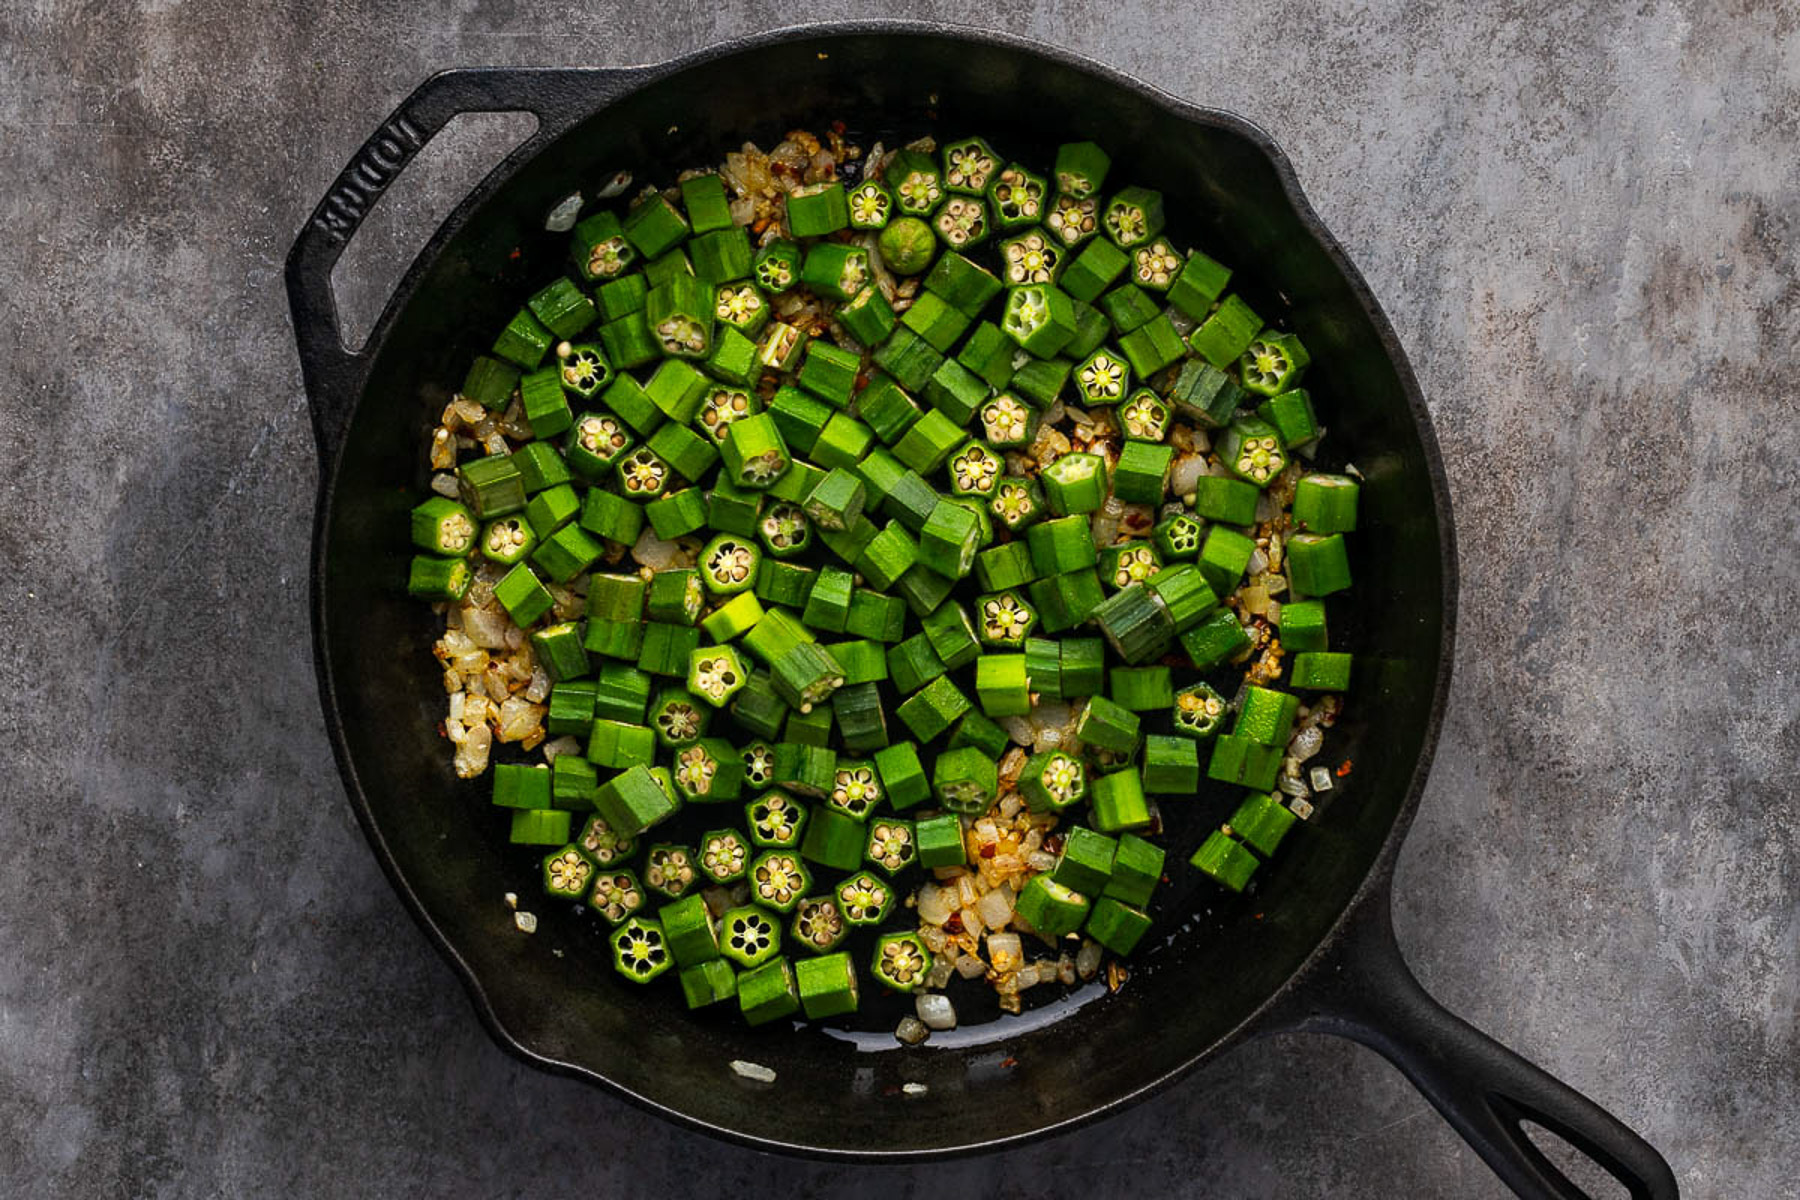
- Step 3: Cook the okra. Spread the sliced okra in a single layer. Let it cook undisturbed for a few minutes to reduce moisture, then stir and continue cooking until lightly browned and tender, about 5–7 more minutes.
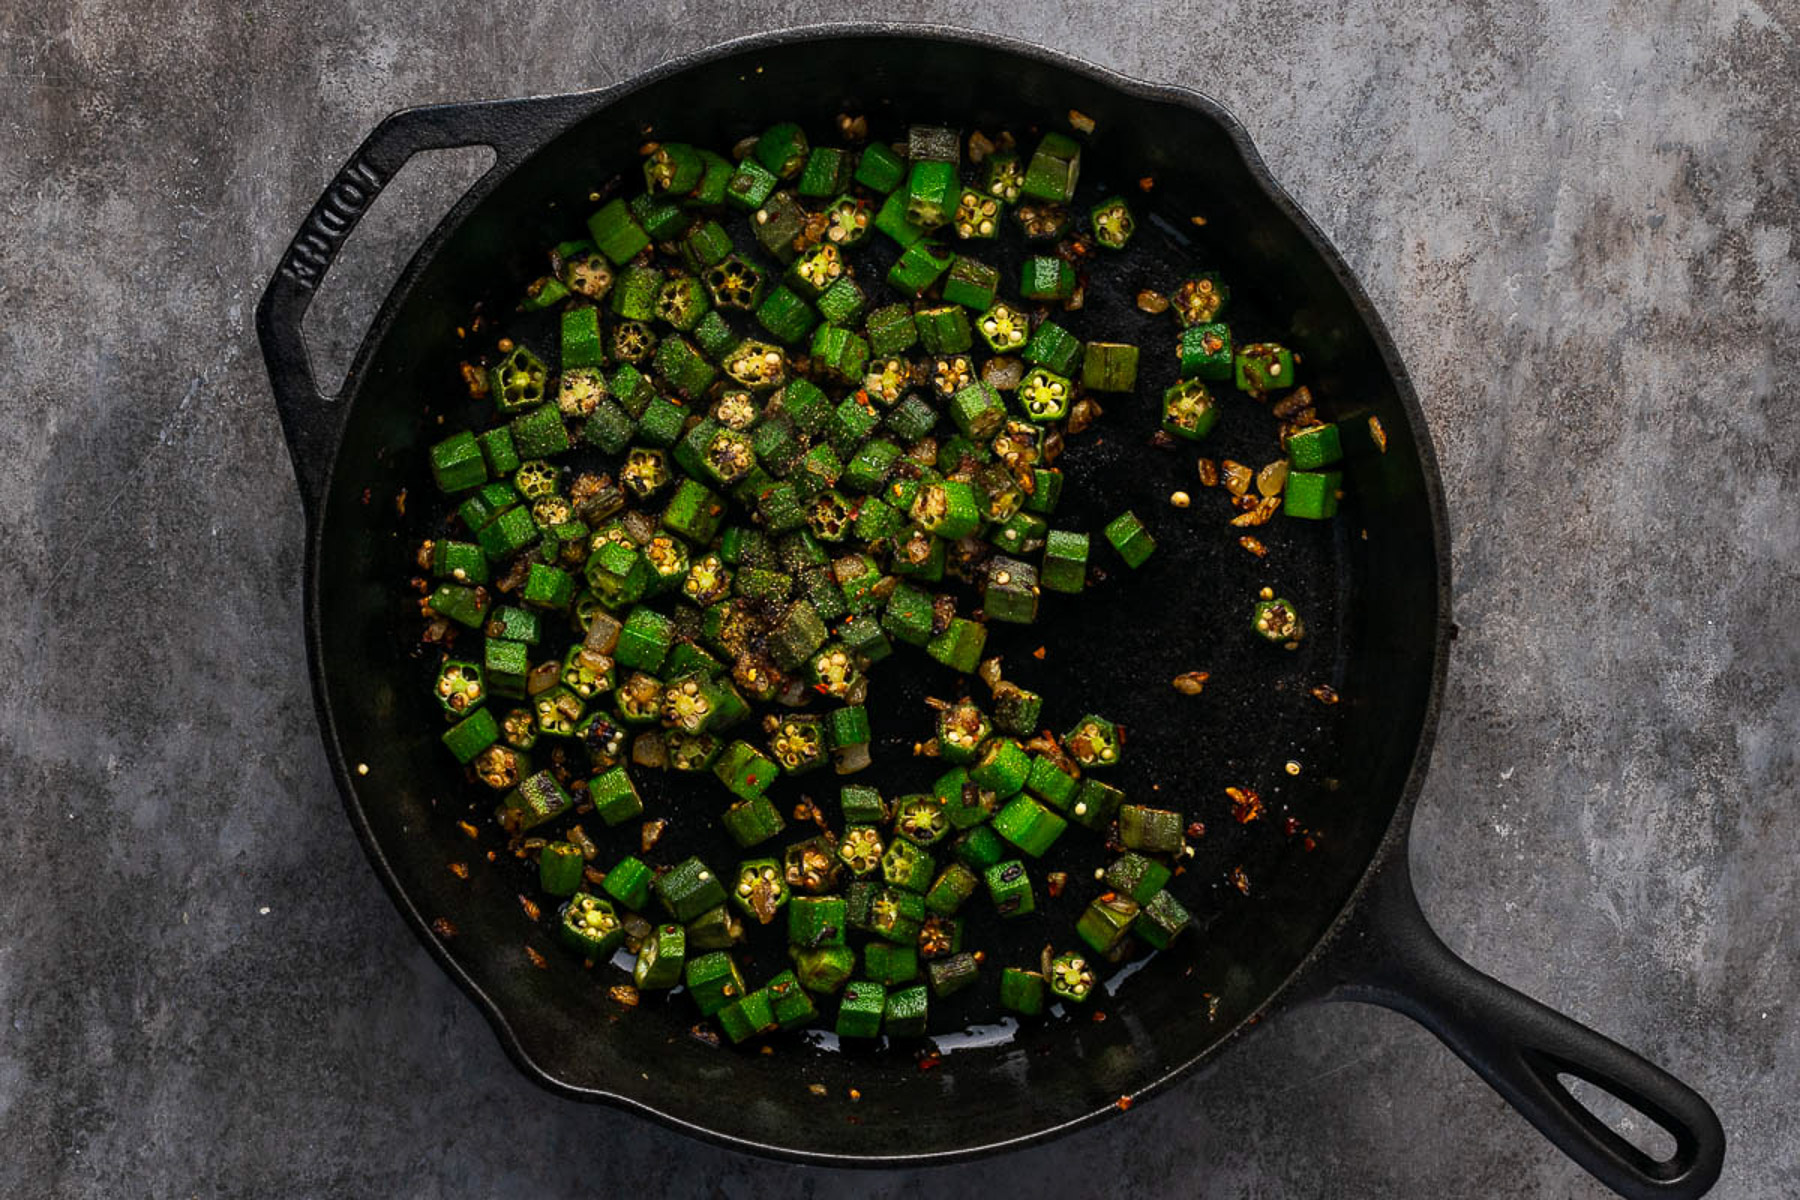
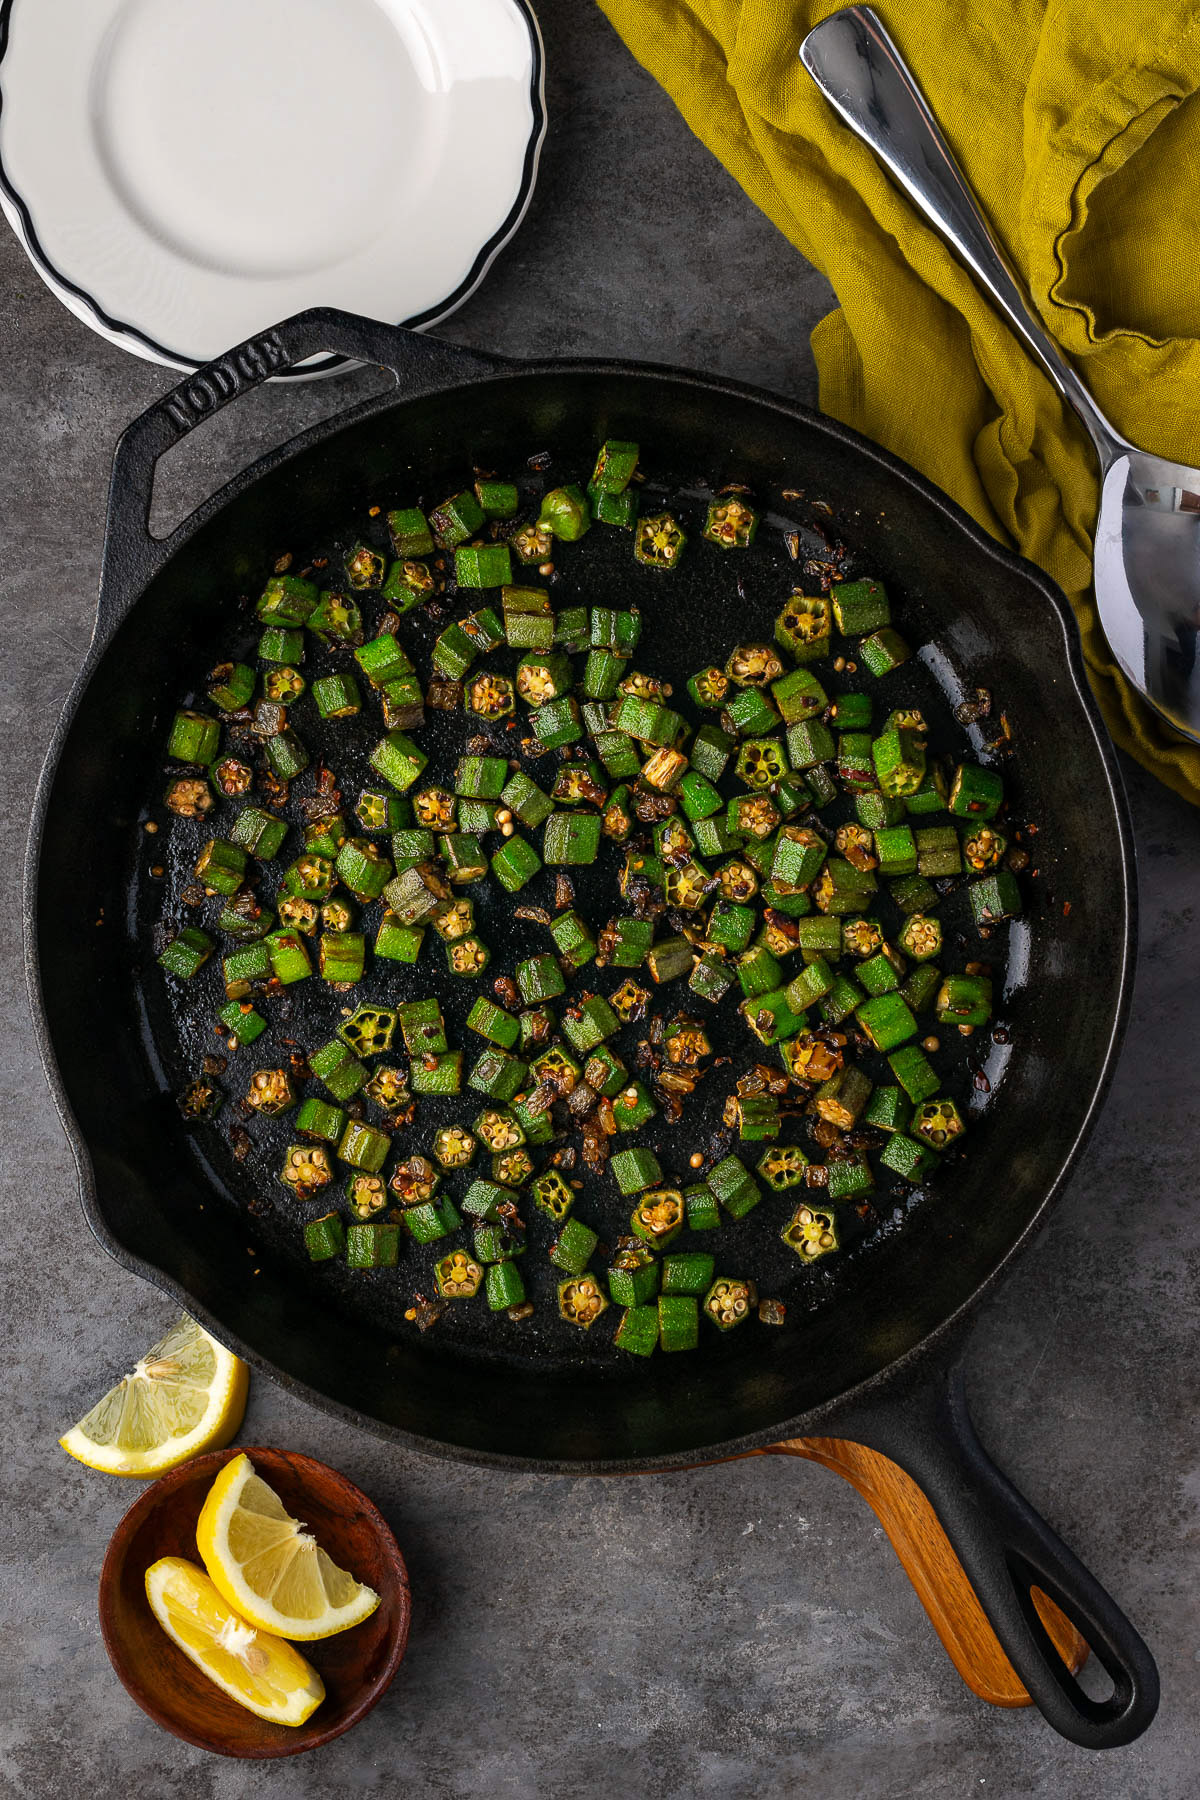
- Step 4: Season and serve. Sprinkle the cooked okra with salt and pepper, drizzle with lemon juice or vinegar, and give it a gentle stir to coat. Serve warm alongside a hearty main like my Dutch Oven beef brisket for a comforting, flavorful meal.
Expert Tips
- Dry your okra well: Excess moisture is the main cause of sliminess and prevents proper browning. Pat it dry thoroughly before cooking.
- Don’t overcrowd the pan: Okra needs space to brown evenly. If it’s piled up, it will steam instead of developing flavor.
- Let it sit: Resist the urge to stir right away. That first sear helps develop color and flavor while reducing sliminess.
- Use medium-high heat: If the heat is too low, the okra gets soft; if it’s too high, it can burn before becoming tender and golden.
- Store leftovers properly: Keep in an airtight container in the fridge for up to 4 days and reheat in a skillet for the best texture. Freezing isn’t recommended as it can make the okra watery and lose its crispness.
Serving Suggestions
- Weeknight or family dinner: Serve this pan-fried okra alongside a hearty main like Dutch oven ribs or cast-iron skillet steaks for a simple, satisfying meal.
- Special occasions or holidays: Pair with smoked crab legs for a crowd-pleasing seafood spread.
- Southern-inspired sides or casual gatherings: Add a slice of Southern cornbread to round out a classic plate, or bring it to potlucks as a flavorful side everyone will enjoy.
Pan-Fried Okra Recipe FAQs
Moisture, overcrowding, and low heat are the main culprits. Make sure the okra is in a single layer in the skillet, give it space to brown, and finish with a touch of lemon juice or vinegar to keep it tender and flavorful.
Yes, you can, but it needs some prep. Thaw the okra completely and pat it very dry to avoid excess moisture that can make it mushy.
Yes! This recipe works just as well in a Dutch oven or over a camp stove or campfire, making it a great option for outdoor cooking adventures.
The okra is ready when it’s tender and lightly browned, with a slight crisp on the edges. Taste a piece to make sure it’s cooked through but still holds its shape.
More Easy Side Dishes for Dinner

If you tried these Pan-Fried Okra or any other recipe on my blog, please leave a 🌟 star rating and let me know how it went in the 📝 comments below. Thanks for visiting!
Get the Recipe
Pan-Fried Okra
Ingredients
- 1 pound fresh okra sliced into ½-inch rounds (450 g)
- 2 tablespoons olive oil 30 ml
- ½ small onion finely diced (75 g)
- 2 garlic cloves minced (10 g)
- ½ teaspoon red pepper flakes 1 g
- ½ teaspoon salt 3 g
- ¼ teaspoon black pepper 1 g
- 1 tablespoon lemon juice or apple cider vinegar 15 ml
Instructions
- Heat olive oil in a large skillet over medium-high heat.
- Add diced onion and cook for 3–4 minutes until softened.
- Stir in garlic and chili (or red pepper flakes) and cook for 30 seconds until fragrant.
- Add sliced okra in a single layer. Cook without stirring for 3–4 minutes to help reduce moisture.
- Stir and continue cooking for another 5–7 minutes until lightly browned and tender.
- Season with salt and black pepper.
- Remove from heat and drizzle with lemon juice or vinegar.
- Serve warm
Video
Notes
- Pat the okra dry before cooking to reduce moisture.
- Give the okra space in the pan to brown evenly.
- Let the okra sit for a few minutes before stirring for a better sear.
- Cook over medium-high heat so it gets tender without burning.
Nutrition
Dutch Oven Daddy is not a dietician or nutritionist, and any nutritional information shared is only an estimate. We recommend running the ingredients through an online nutritional calculator if you need to verify any information.

Ronald says
I followed the tips for not overcrowding the pan and it made a huge difference. The okra didn't steam at all and instead got that beautiful crust that everyone loves. This has definitely become my favorite way to prepare okra from now on.
Deborah says
I love how simple the ingredient list is for this recipe. It lets the flavor of the fresh okra really shine through. It is a quick and delicious way to use up the harvest from my garden and my whole family enjoyed it.
Kevin says
The secret really is the cast iron skillet because it maintains such a steady heat. Every piece of okra came out golden brown and crunchy.
Sandra says
This is a classic Southern side dish done right. The instructions were very easy to follow and the results were exactly what I was looking for. It reminded me so much of the okra my grandmother used to make during the summer.
George says
I have always been a fan of okra but usually find it too slimy. This pan fried version in the cast iron skillet changed everything. The cornmeal coating stayed perfectly crisp and the okra was tender without any of the texture issues I usually have.