
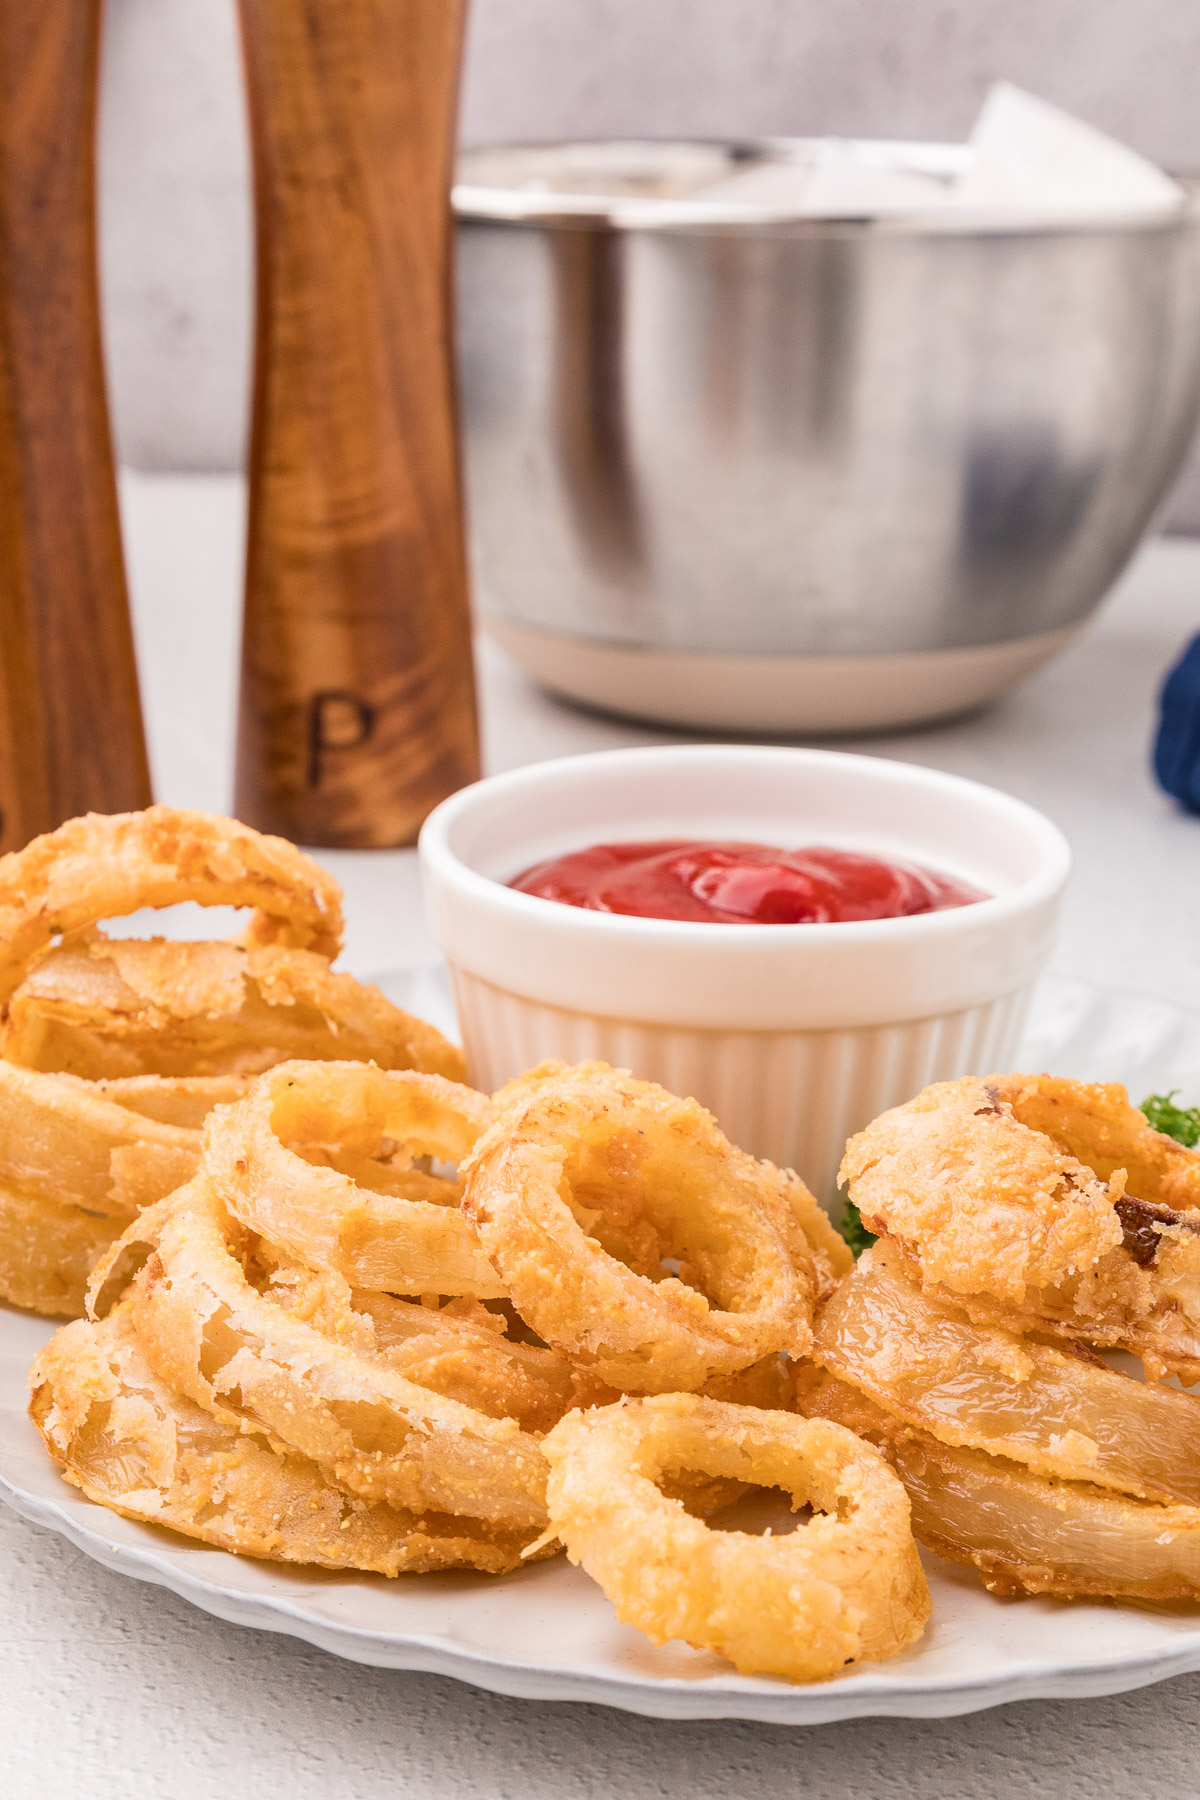
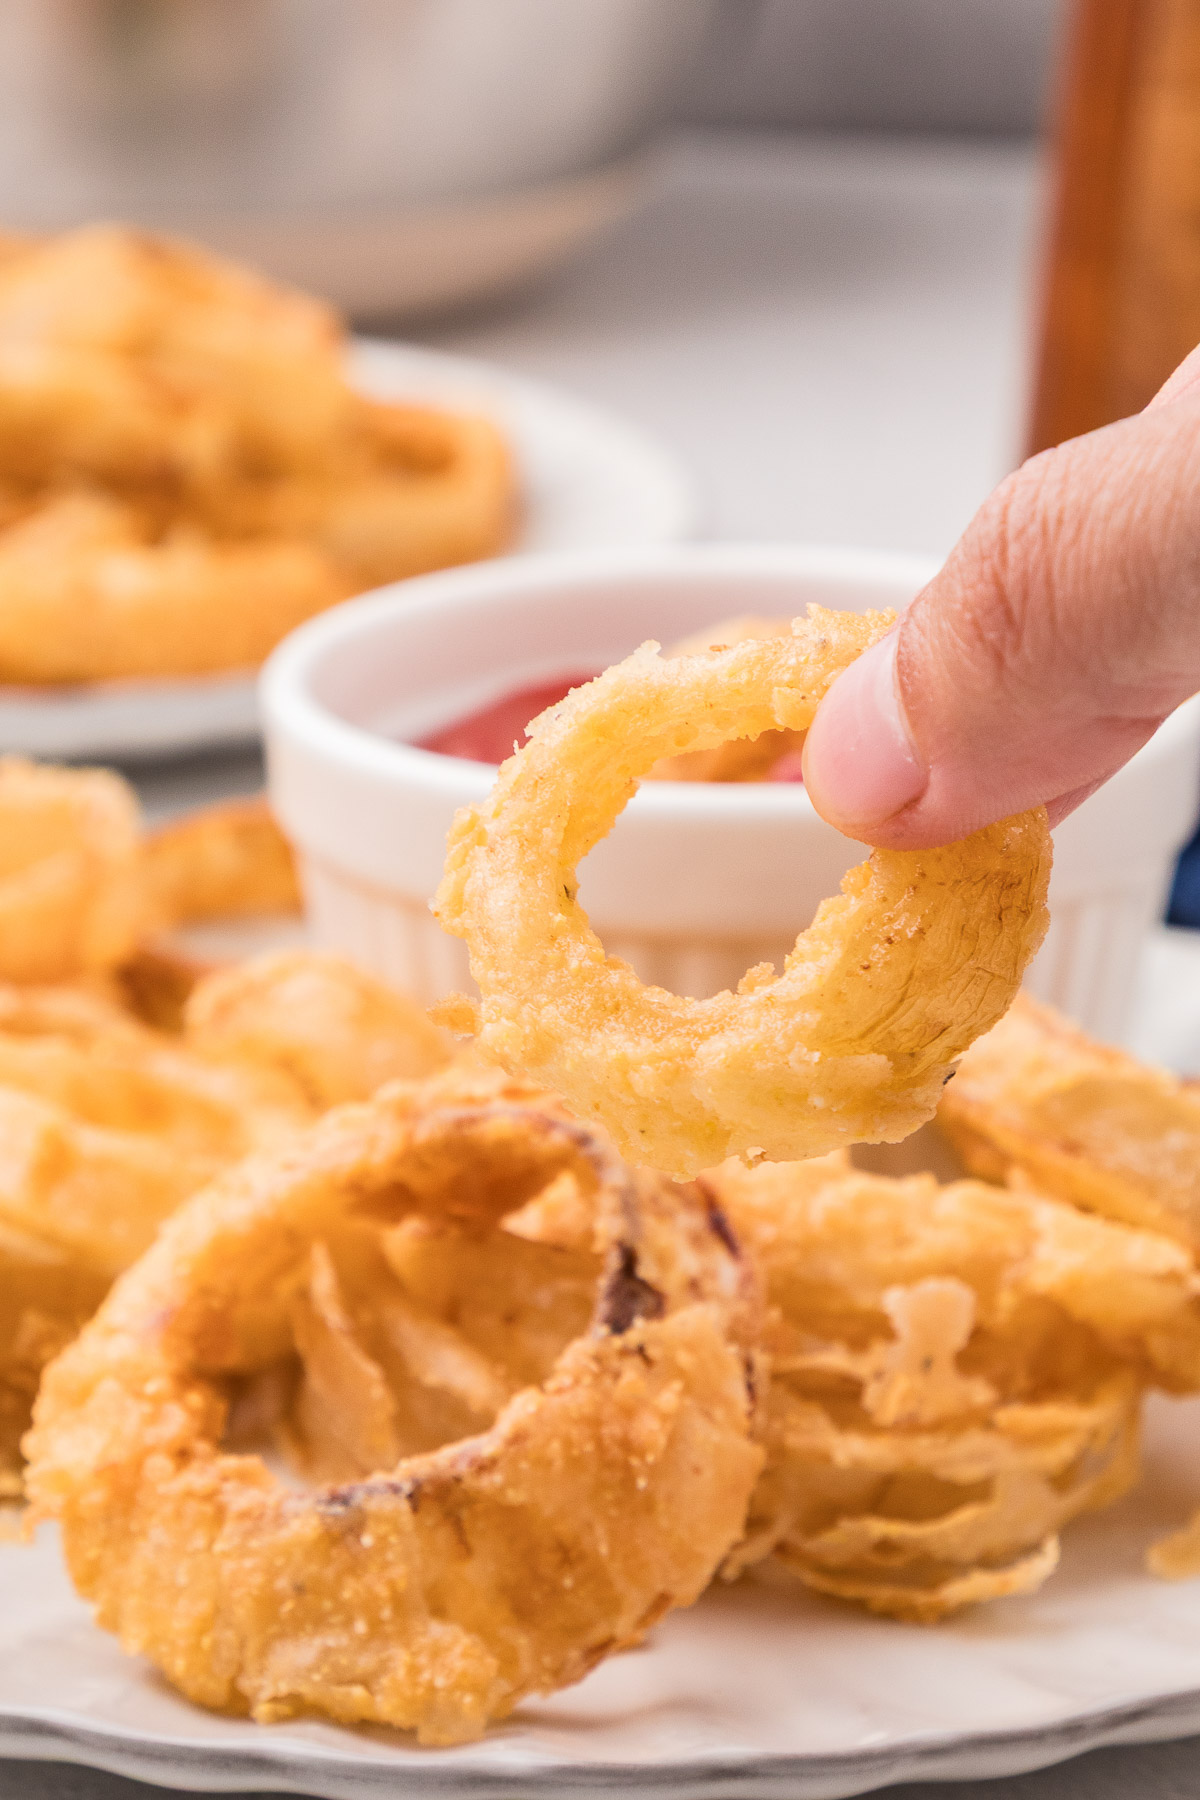
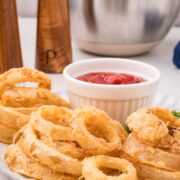
The first bite tells you everything. You crunch through a golden, cornmeal-crusted shell and hit a tender, tangy onion ring underneath. These Buttermilk Onion Rings get their flavor from a simple soak in seasoned buttermilk, and the coating stays crispy long after they come out of the oil. A flour-cornmeal dredge, a Dutch oven that holds oil temp steady batch after batch, and about 35 minutes is all it takes to make homemade onion rings that are better than anything from a drive-through window.
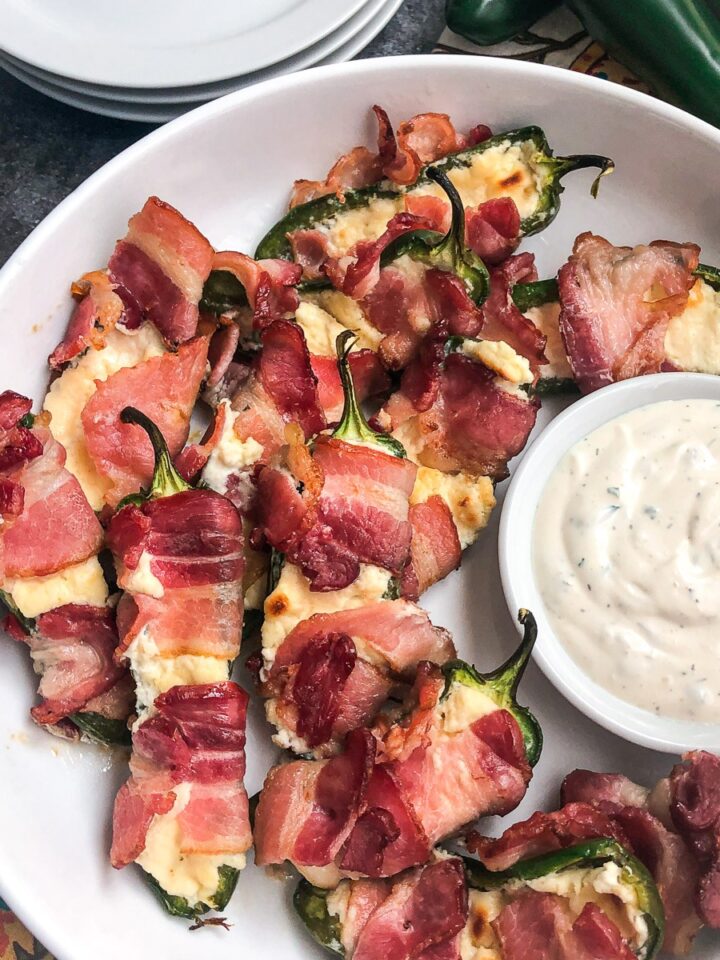
If you love crispy appetizers from your cast iron, you will also want to try my dutch oven jalapeño poppers or homemade corn dogs.
Quick Look at this Recipe
- ✅ Recipe Name: Buttermilk Onion Rings
- 🕒 Ready In: 35 minutes (20 min prep, 15 min cook)
- 👪 Serves: 4 to 6 people
- 🥣 Main Ingredients: yellow onions, buttermilk, flour, cornmeal
- 📖 Dietary Info: Contains dairy, gluten
- ⭐ Why You'll Love It: Tangy buttermilk soak and a cornmeal-flour coating create the crispiest homemade onion rings you have ever made.
Summarize and Save the Recipe
Jump to:
- Quick Look at this Recipe
- Why You'll Love Buttermilk Onion Rings
- What Makes These Onion Rings Different
- Ingredients You'll Need
- Expert Tips for the Crispiest Onion Rings
- Variations and Flavor Twists
- What to Serve with Onion Rings
- How to Store and Reheat Onion Rings
- Troubleshooting Common Onion Ring Problems
- Frequently Asked Questions
- More Delicious Recipes
- Get the Recipe
Why You'll Love Buttermilk Onion Rings
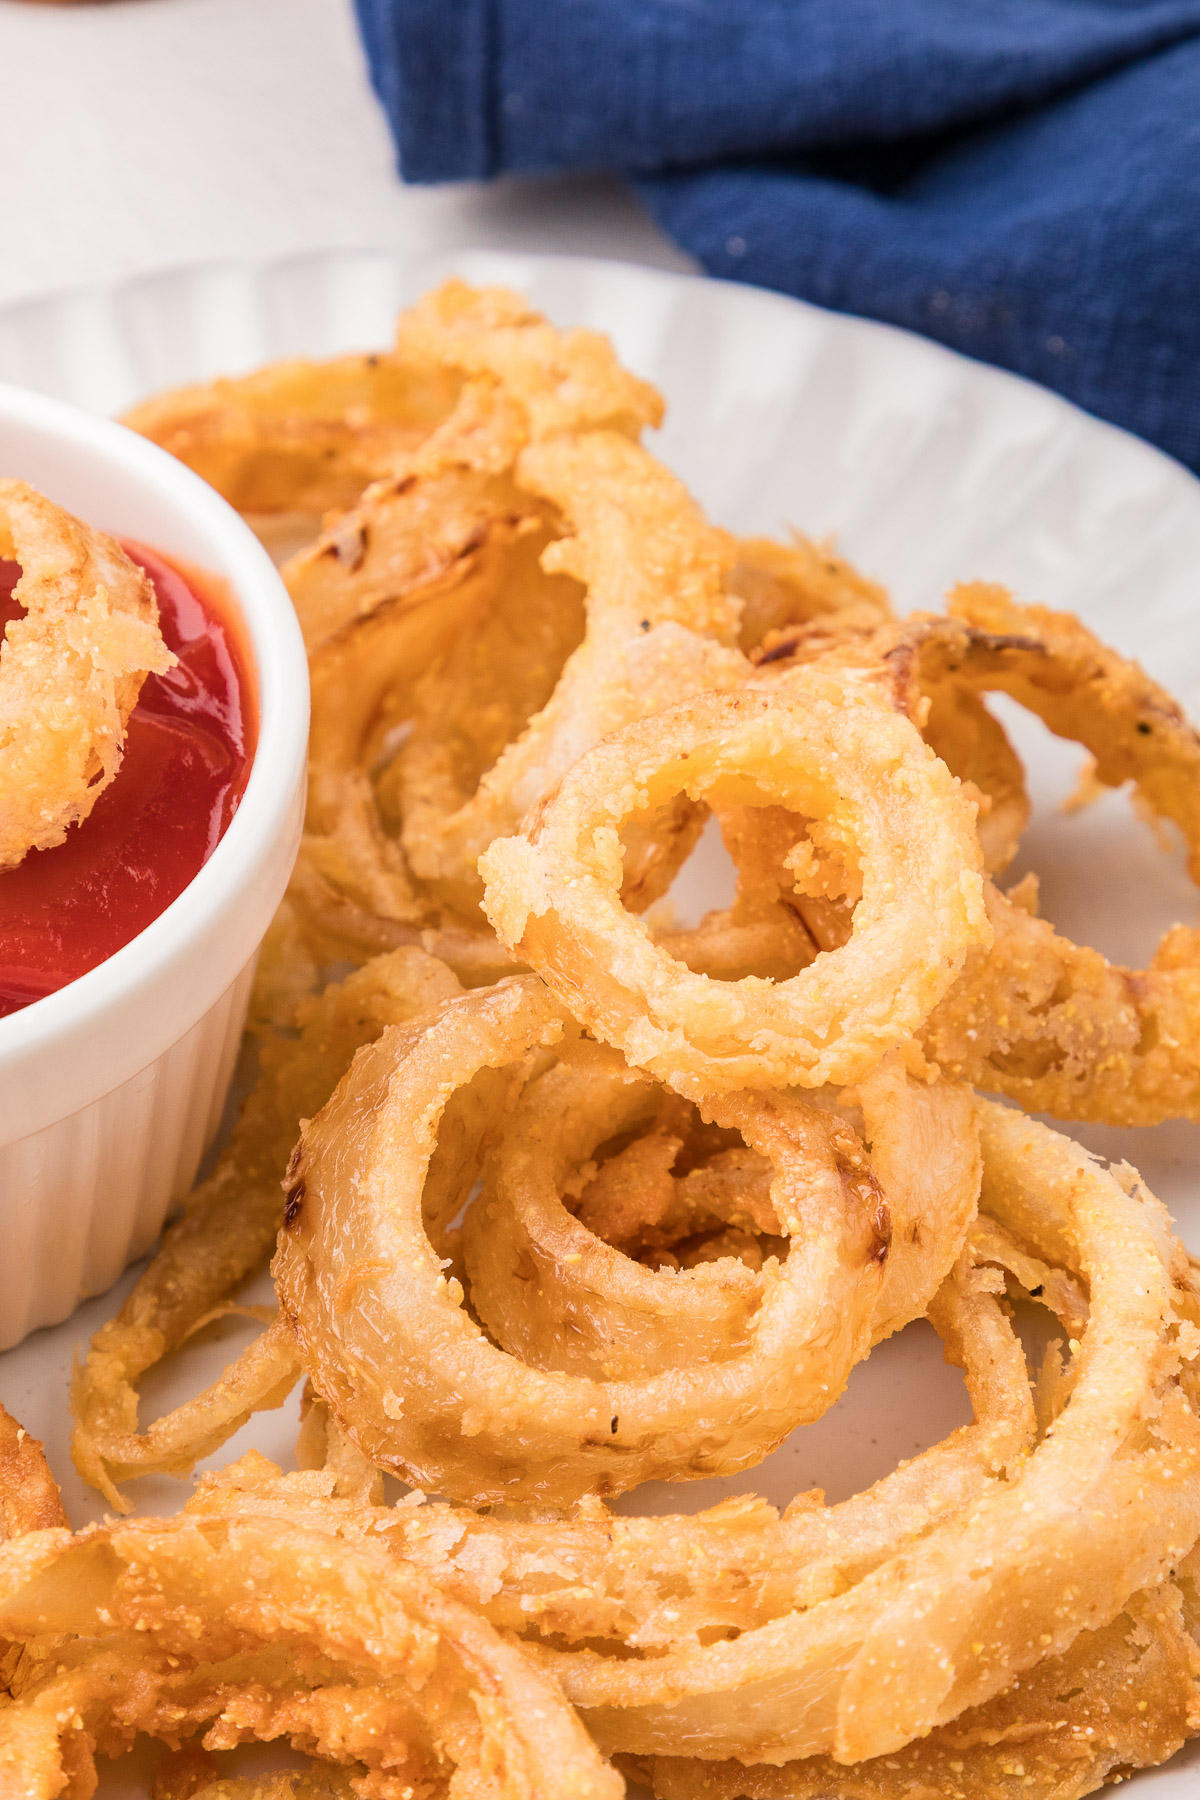
- Crispier than restaurant onion rings. The buttermilk-cornmeal combo creates a coating that stays crunchy even after a few minutes on the plate. Cornmeal adds a sandy, textural crunch that plain flour alone cannot match.
- The buttermilk soak does the heavy lifting. The lactic acid in buttermilk tenderizes the onion, mellows the sharp raw bite, and creates a tacky surface that helps the dry coating grip. You get flavor at every layer.
- Simple pantry ingredients. Six ingredients total, nothing specialty. Flour, cornmeal, buttermilk, onions, salt, pepper, and oil. That is it.
- A Dutch oven is the best tool for the job. Cast iron holds steady heat, the tall sides reduce splatter, and you use less oil than a traditional deep fryer. It is practical, not trendy.
What Makes These Onion Rings Different
Most homemade onion rings recipes use a quick dip in milk or eggs before tossing in plain flour. These buttermilk onion rings take a different approach. The extended buttermilk soak, at least 15 minutes, gives the acid time to tenderize the onion and build a tangy base flavor that you just cannot get from a quick dip.
Then there is the coating. Instead of flour alone or panko breadcrumbs, this recipe mixes all-purpose flour with medium-grind yellow cornmeal (the same stuff that makes cast iron cornbread so good). That cornmeal gives you a gritty, golden crunch that panko cannot replicate. You will hear the crunch before you taste it.
Finally, the Dutch oven advantage. A heavy Dutch oven holds oil temperature far more steadily than a thin stockpot. When you drop a batch of rings in, the thick walls help the oil recover to 350°F faster. That means less greasy, more crispy results from the first batch to the last. Too low and the coating absorbs oil. Too hot and the outside burns before the onion softens. The Dutch oven keeps you in that sweet spot.
Ingredients You'll Need
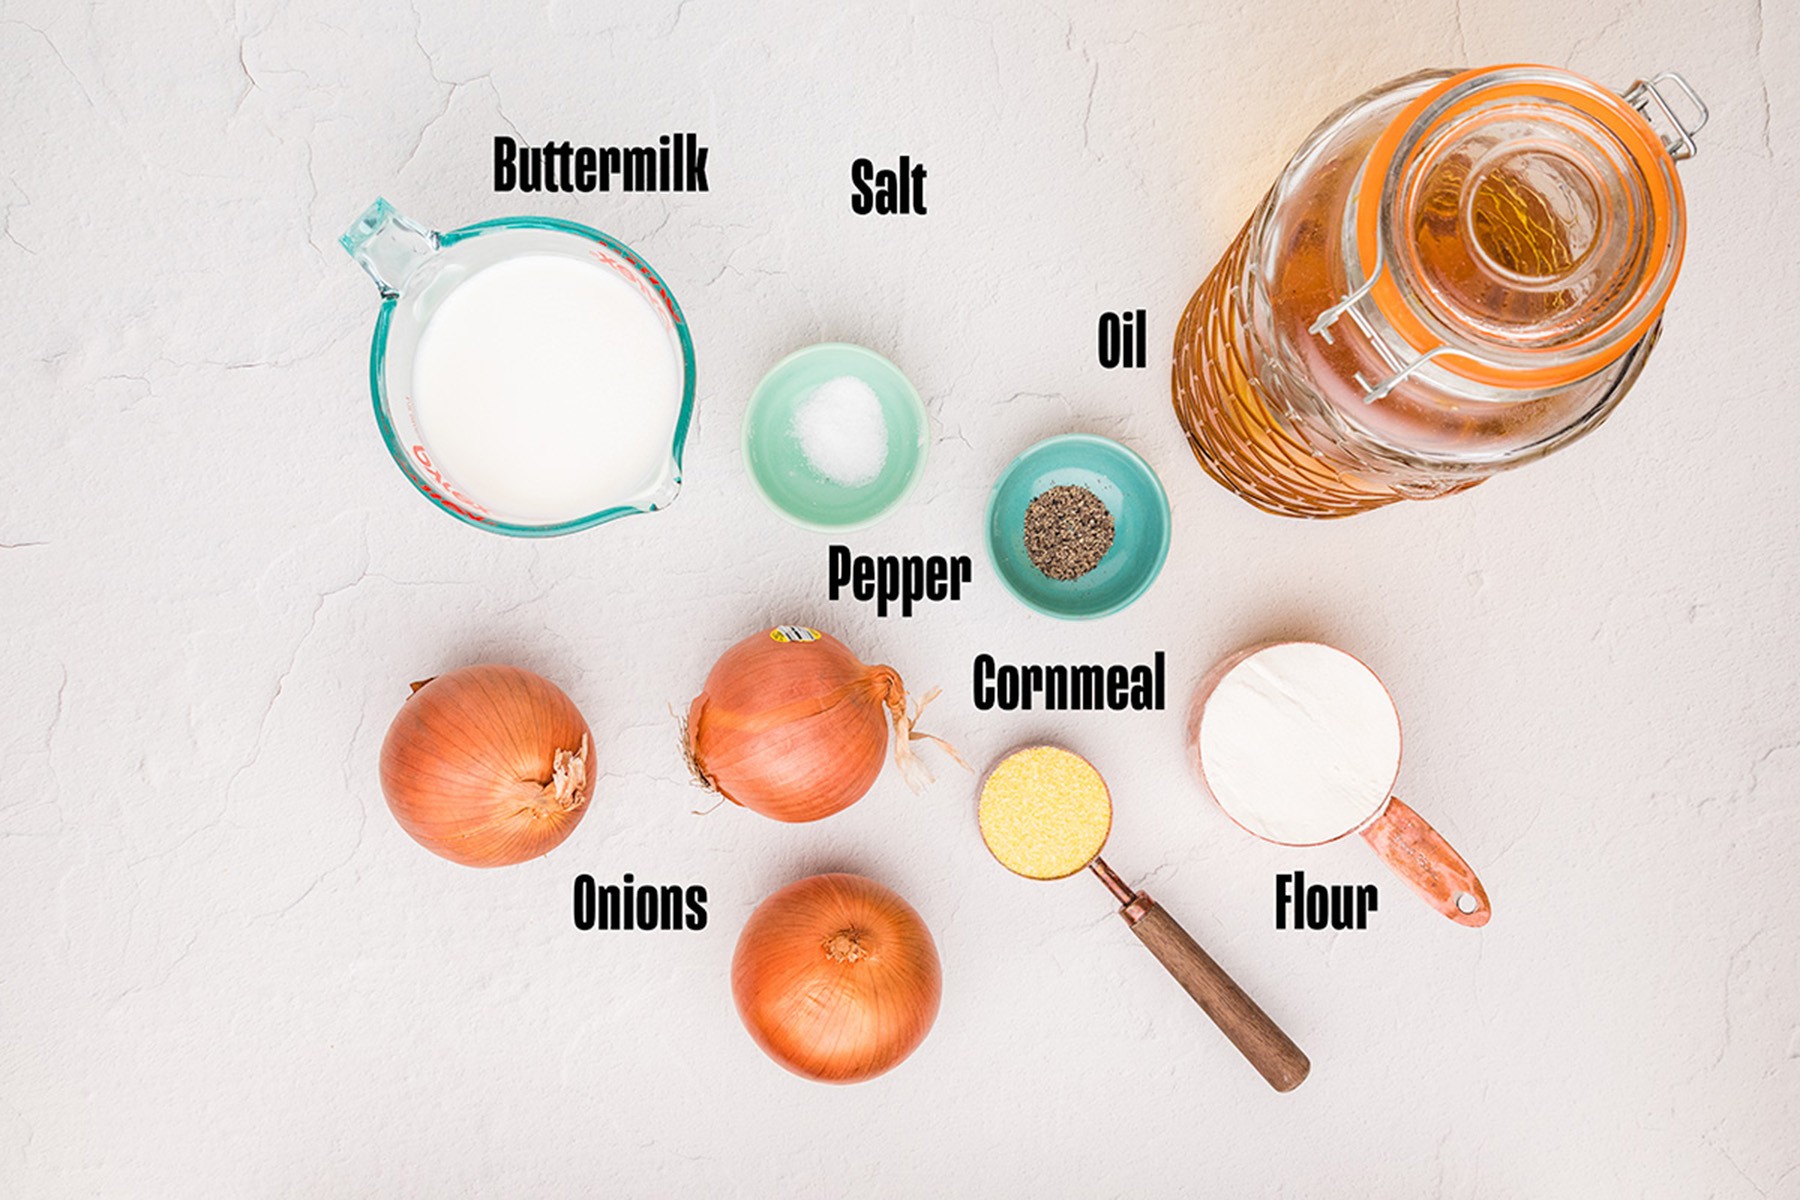
Here is what goes into these buttermilk onion rings, and why each ingredient matters:
- Yellow onions: Sweet enough to balance the tangy buttermilk, sturdy enough to hold their shape during frying. Vidalia or Walla Walla onions work great if you want a sweeter ring.
- Buttermilk: The soak does three things at once: it tenderizes the onion, adds tangy flavor, and creates a tacky surface for the coating to grip. You can substitute 1 tablespoon of white vinegar stirred into 1 cup of regular milk in a pinch, but real buttermilk is worth it.
- All-purpose flour: The base of the dry coating. No need for self-rising or cake flour here.
- Yellow cornmeal (medium-grind): This is the crunch factor. It is what sets these apart from most recipes. Fine-grind works but gives less texture.
- Kosher salt and black pepper: Divided between the soak and the coating so you get seasoning at every layer.
- Vegetable oil: Neutral flavor and a high smoke point. Canola, peanut, or sunflower all work. Do not use olive oil for deep frying.
For the full ingredient amounts and step-by-step instructions, see the recipe card below.
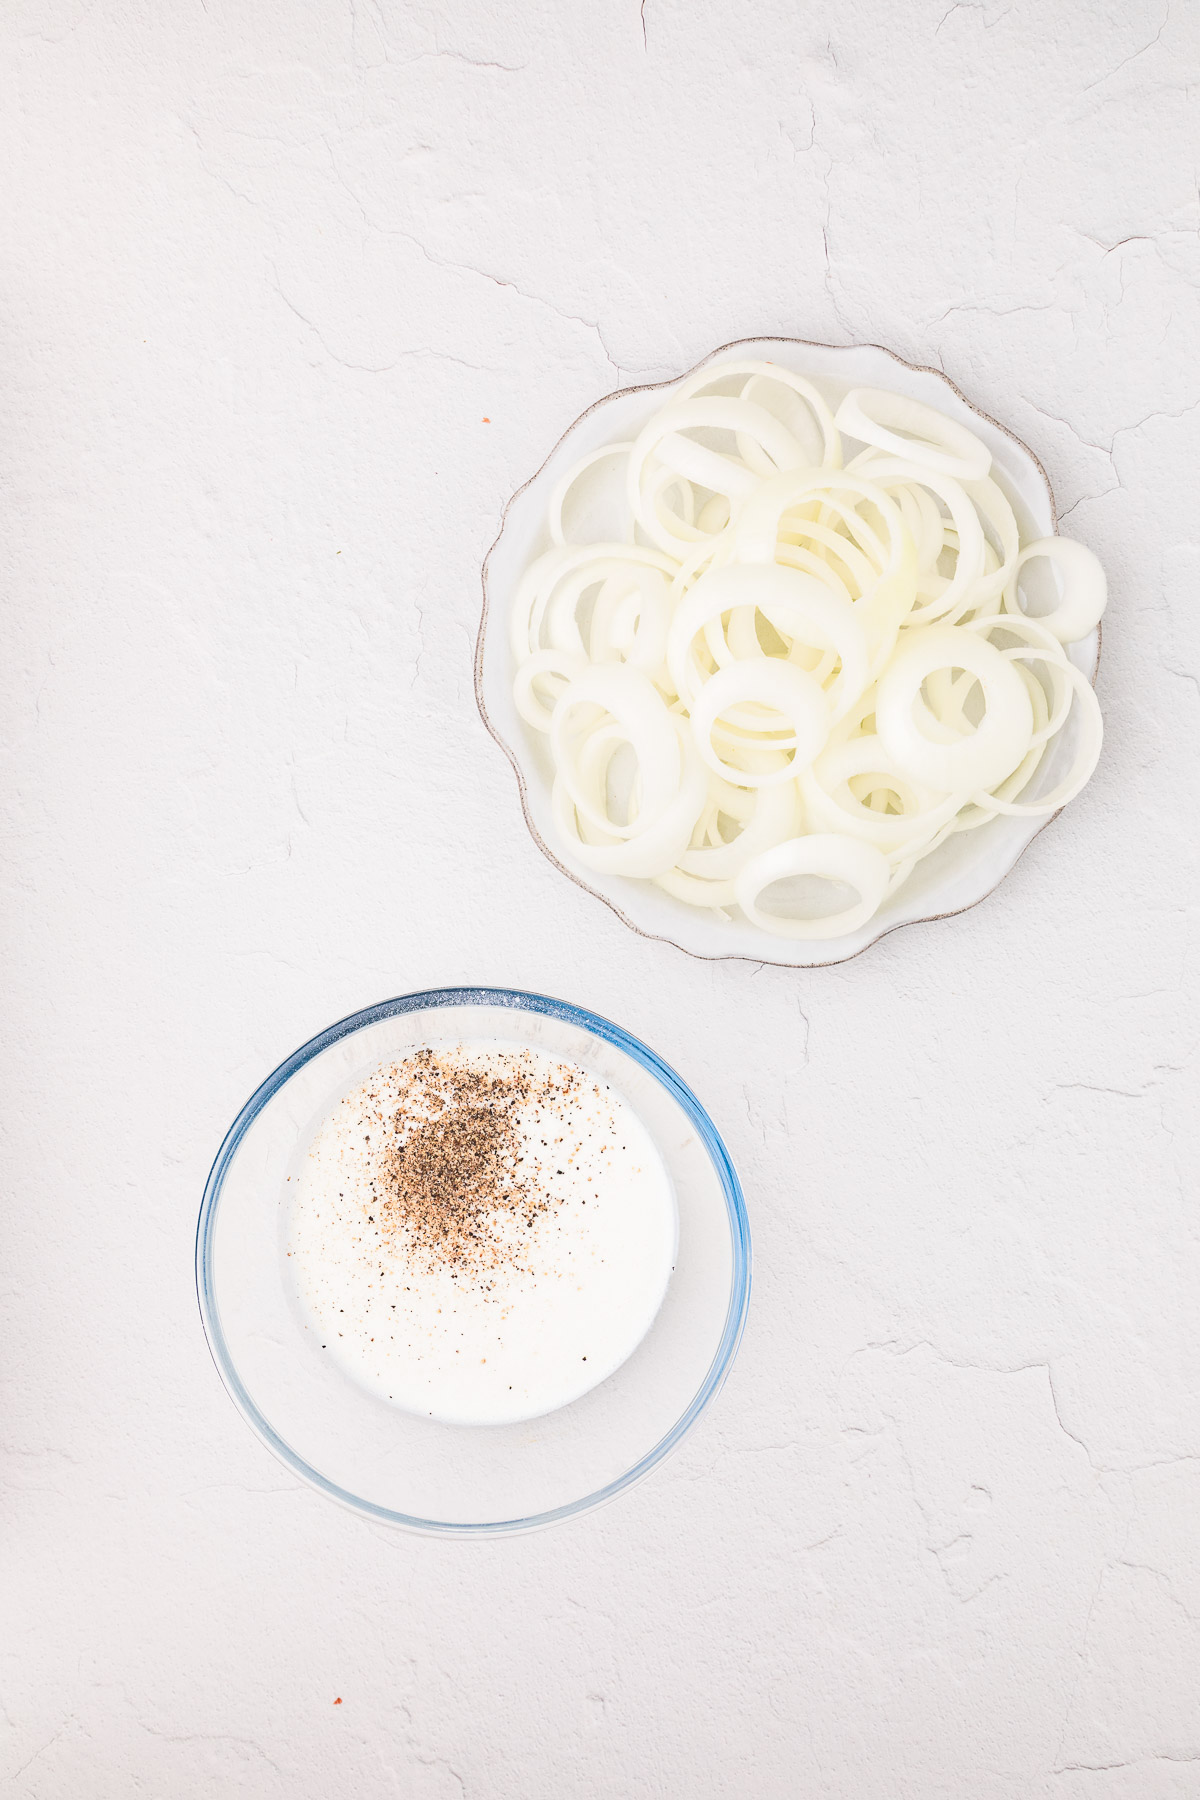
- Step 1: Soak in buttermilk. Separate onion slices into rings and submerge them in buttermilk for at least 15 minutes. This tenderizes the onion and helps the coating stick.
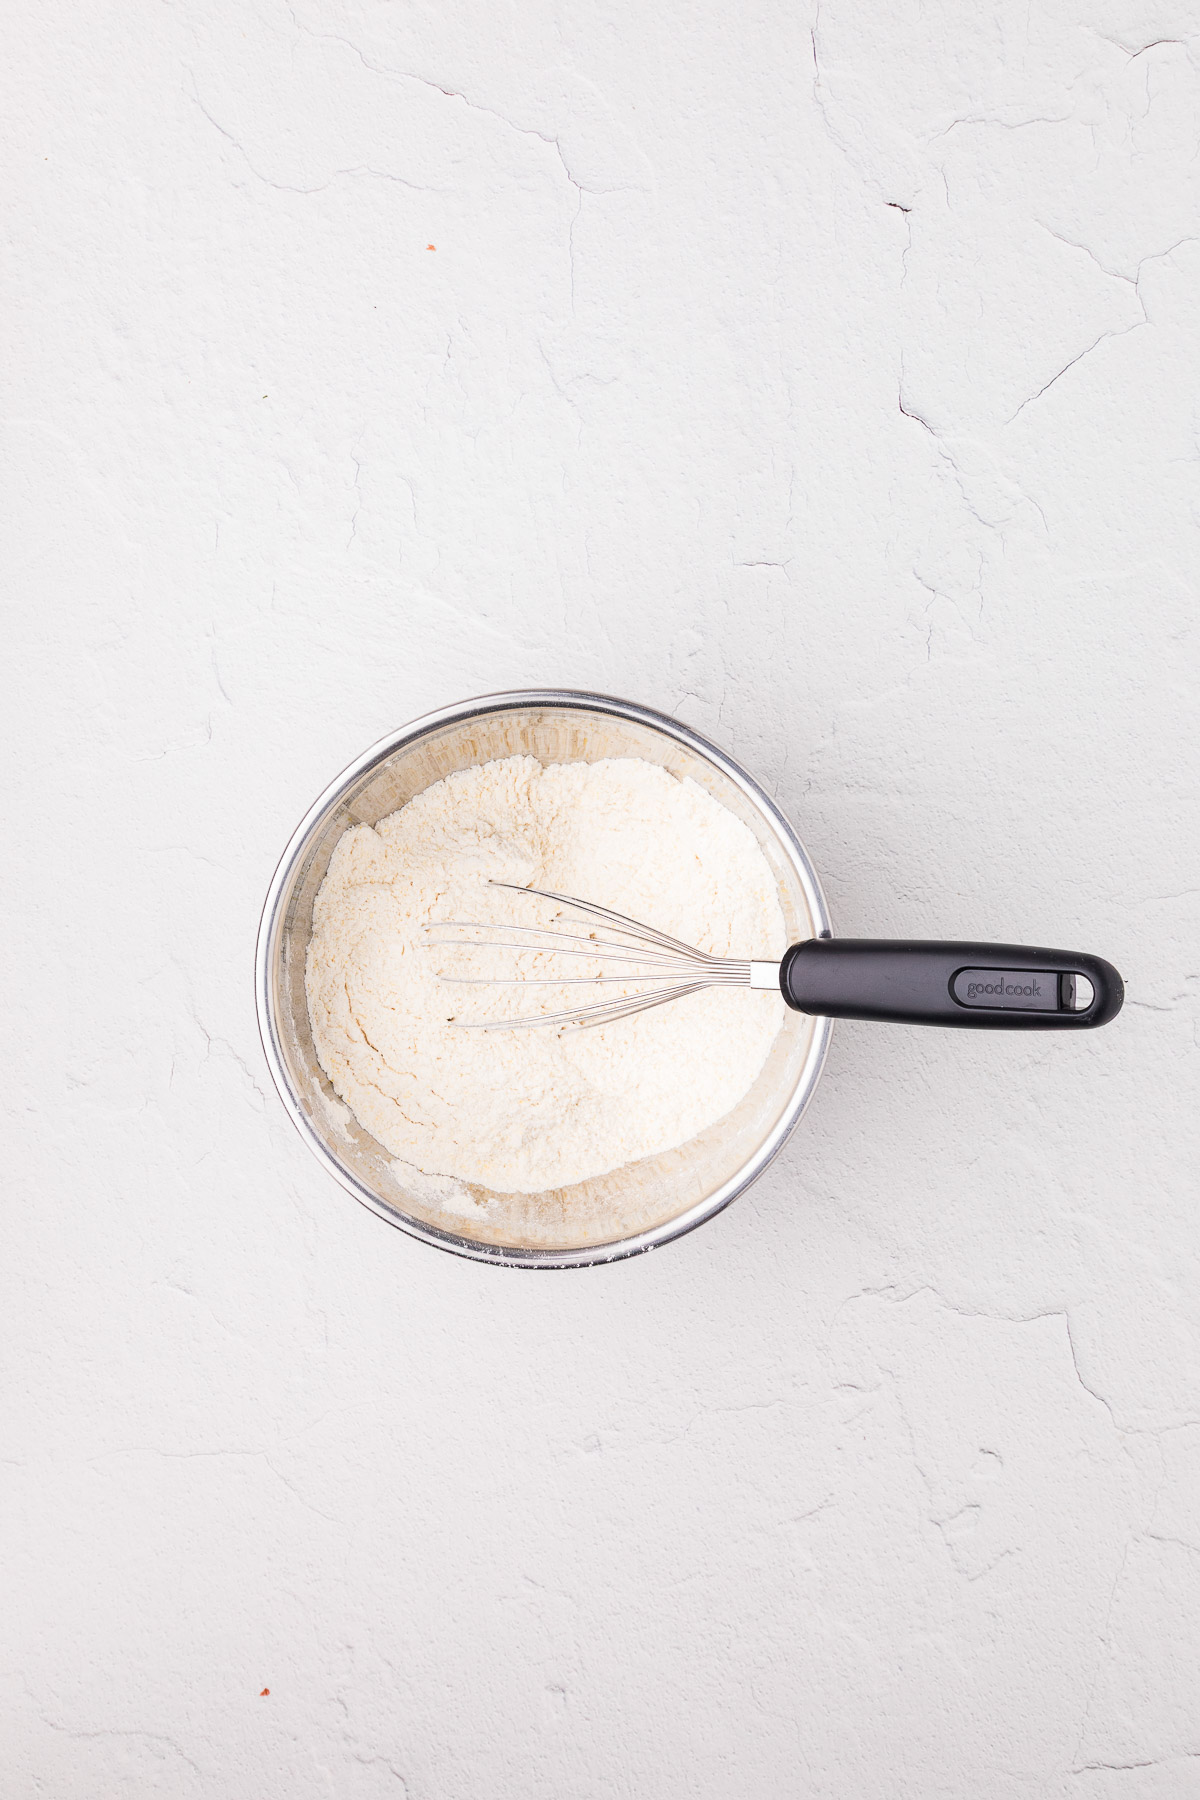
- Step 2: Mix the dry coating and heat your oil. Whisk together flour, cornmeal, garlic powder, paprika, salt, and pepper. Fill your Dutch oven with oil and heat to 350°F.
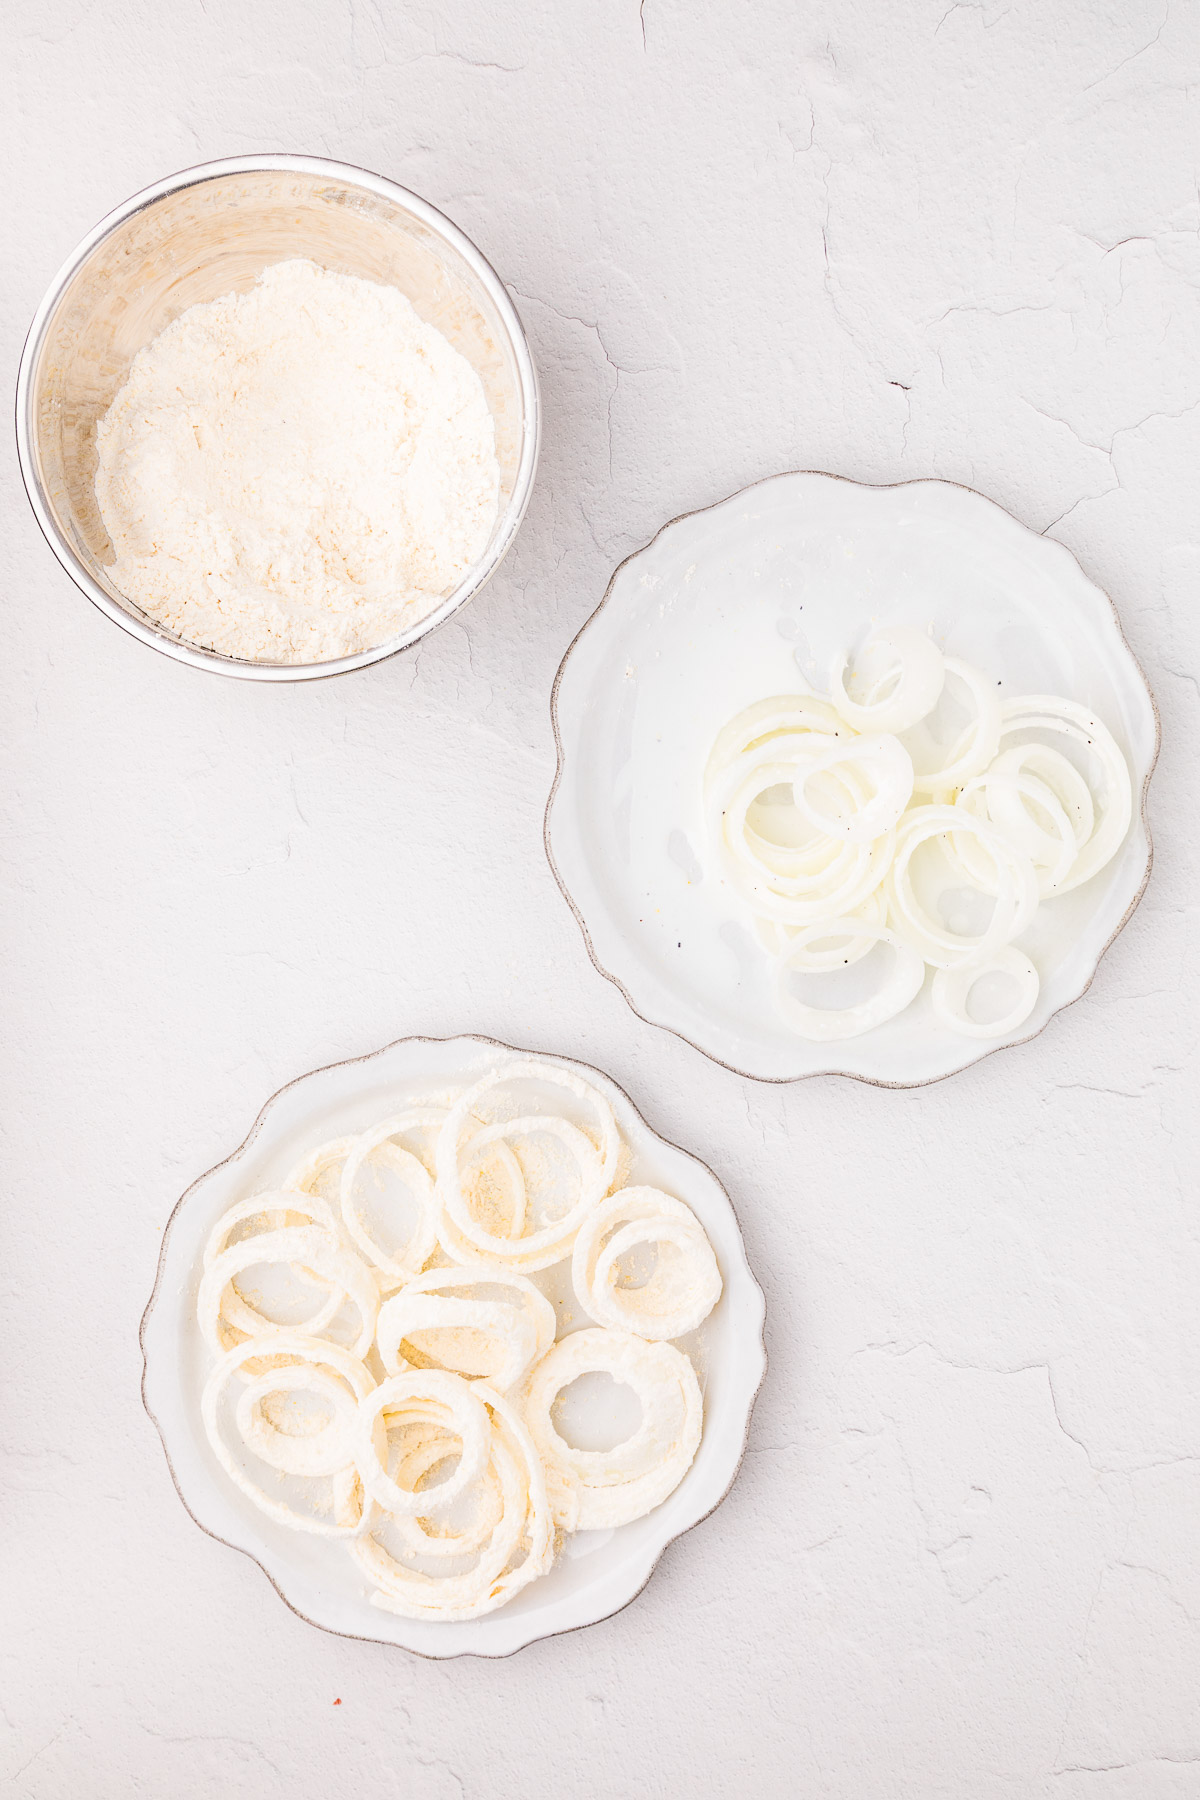
- Step 3: Coat the rings. Pull each ring from the buttermilk, let excess drip off, then toss it through the flour-cornmeal mixture until fully coated. Shake off extra flour gently.
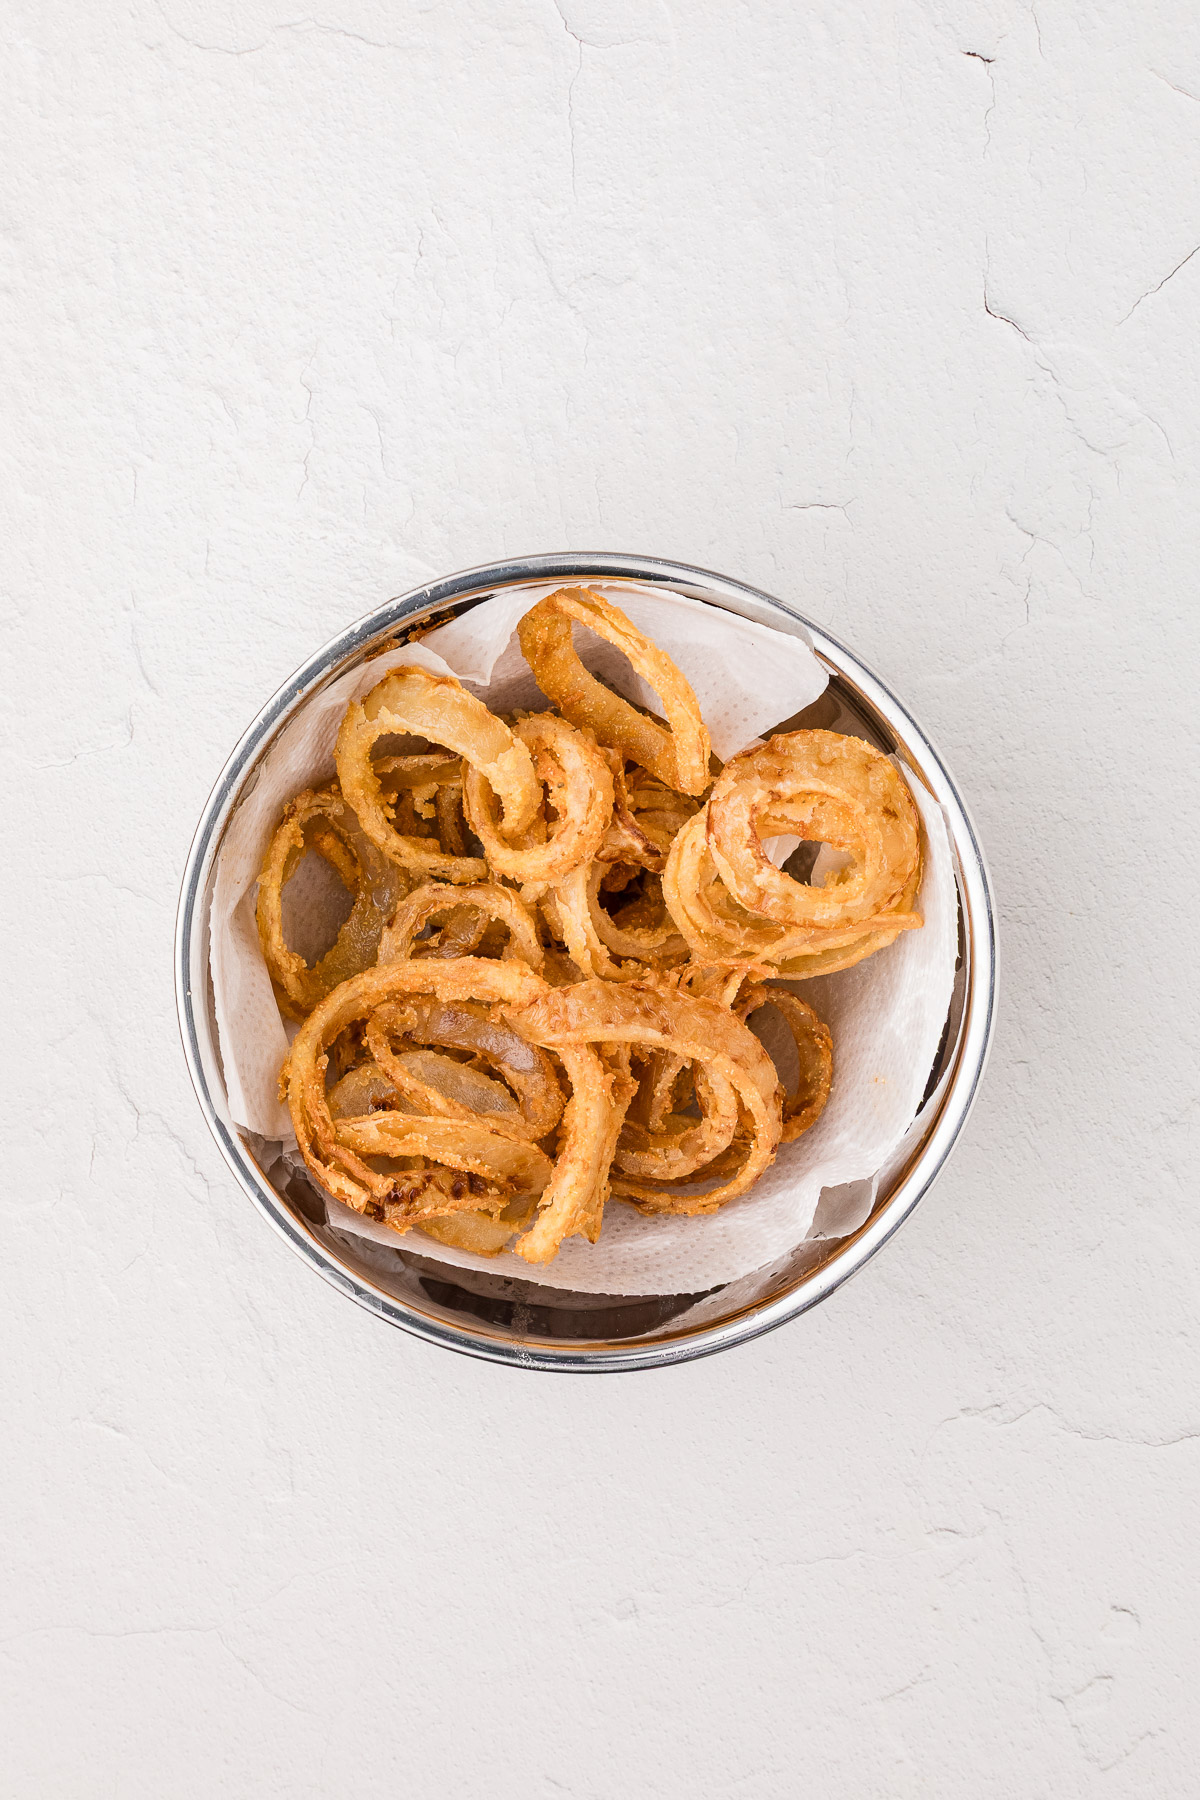
- Step 4: Fry and drain. Working in batches of 4 to 5 rings, fry for about 2 minutes until golden brown. Transfer to a wire rack set over a sheet pan and season with a pinch of salt immediately.
Expert Tips for the Crispiest Onion Rings
- Keep the oil at 350°F. Use a clip-on thermometer. The temperature drops when you add a batch, so let it recover before adding more.
- Fry in small batches. 4 to 5 rings at a time. Overcrowding drops the oil temp and causes soggy, greasy results.
- Let excess buttermilk drip off. Hold each ring over the bowl for a few seconds. Too much liquid makes the flour clump instead of coating evenly.
- Use one dry hand and one wet hand. Keeps the coating from building up on your fingers and falling off in chunks.
- Double-dip for extra crunch. After the first flour coat, dip back into the buttermilk and coat again. This builds a thicker, crispier shell.
- Do not skip the cornmeal. It is the difference between good and great. That sandy texture is what gives you the audible crunch.
- Drain on a wire rack, not paper towels. (Same technique works for skillet fried potatoes.) A wire rack set over a sheet pan keeps the bottom from getting soggy. Paper towels trap steam.
- Season immediately after frying. A light sprinkle of salt sticks best while the coating is still hot and slightly oily.
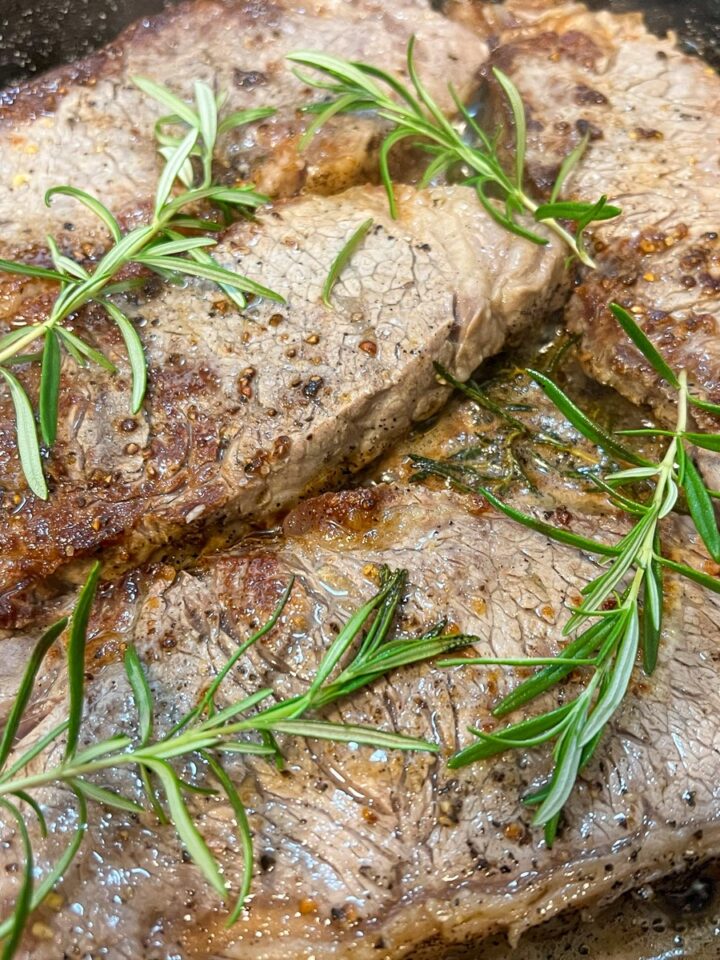
These crispy onion rings are the perfect steakhouse-worthy side. Pile them next to a cast iron steak and you have a restaurant-quality dinner at home.
Variations and Flavor Twists
- Cajun onion rings: Add 1 teaspoon cayenne and 1 teaspoon garlic powder to the flour mixture for a spicy kick.
- Beer batter swap: Replace half the buttermilk with a light lager for a puffier, more airy coating.
- Panko-crusted version: Add 1 cup panko to the flour-cornmeal mixture for an even crunchier exterior.
- Spicy dipping sauce: Pair with a sriracha mayo or a comeback sauce for extra heat.
- Onion type swaps: Sweet onions (Vidalia, Walla Walla) for sweeter rings. Red onions for a sharper bite and striking color.
If you love the deep-frying method, try homemade corn dogs or pan-fried okra using the same Dutch oven setup.
What to Serve with Onion Rings
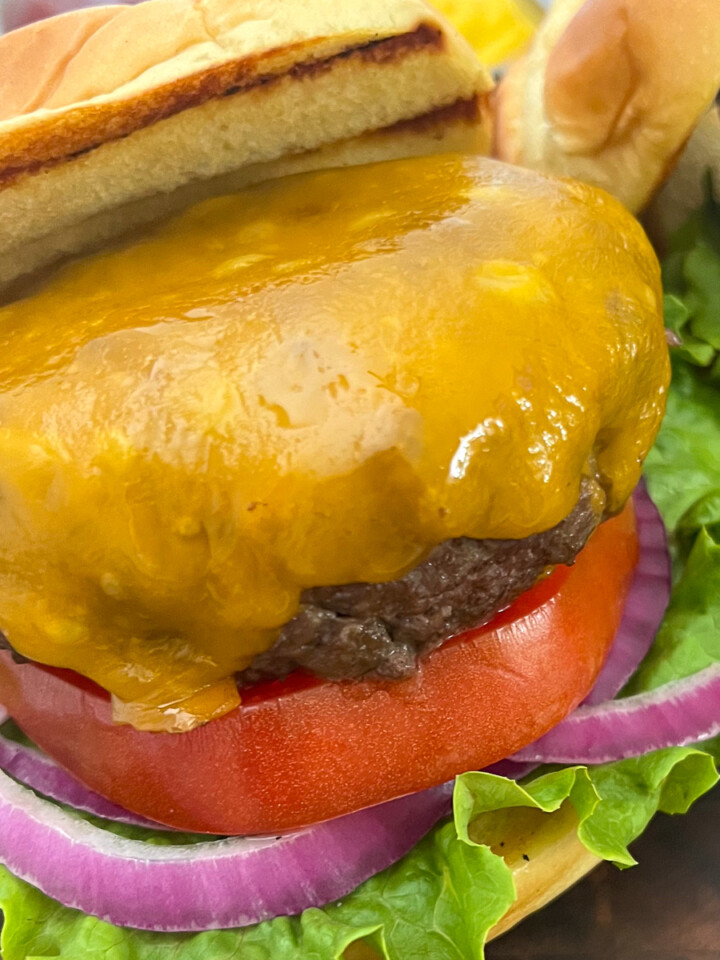
This onion rings recipe is the kind of side that makes everything else on the plate better. Stack them next to a pile of cast iron skillet burgers with all the fixings for a classic burger night.
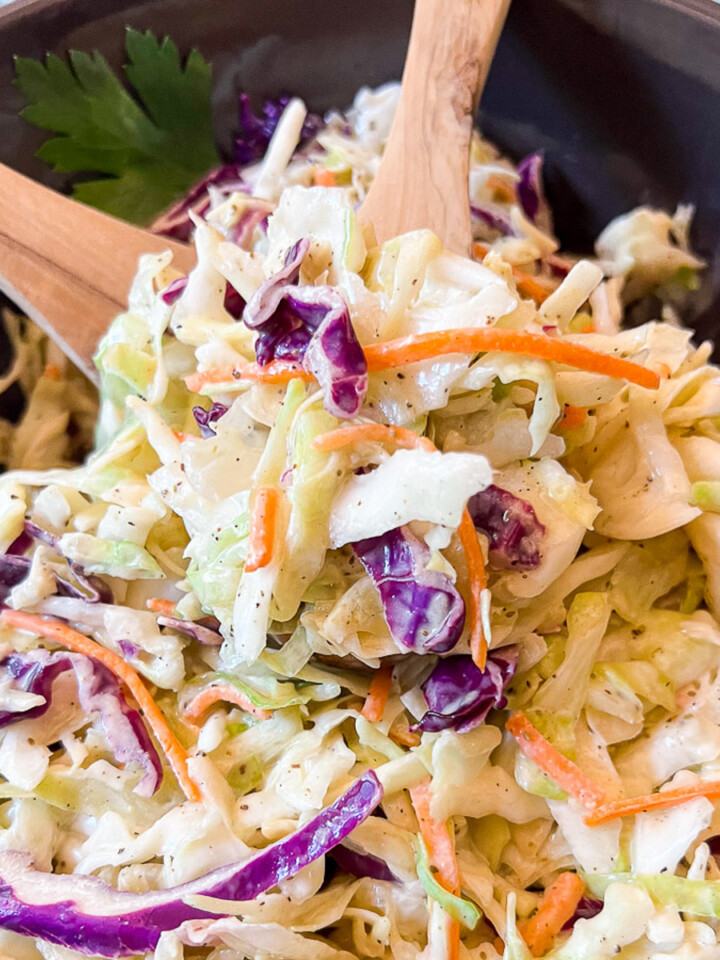
They are just as good alongside a cast iron steak for that steakhouse-at-home experience. Or set out a full appetizer spread with jalapeño poppers, bacon wrapped pickles, and a batch of simple coleslaw for game day.
For dipping sauces, you really cannot go wrong with ketchup, ranch, hot honey, honey mustard, or a comeback sauce. Whether you are feeding the family on a weeknight or hosting a backyard cookout, these are the kind of onion rings that disappear before the burgers are even off the grill.
For the ultimate burger-night plate, pile these crispy rings high next to an ultimate burger.
How to Store and Reheat Onion Rings
Store leftover onion rings in an airtight container in the refrigerator for up to 2 days. Separate layers with parchment paper to keep them from sticking together.
To reheat, spread them on a baking sheet and bake at 375°F for 5 to 8 minutes until crispy again. An air fryer at 375°F for 3 to 4 minutes works even better. Avoid the microwave. It makes them rubbery.
You can also freeze coated but unfried rings on a sheet pan, then transfer to a freezer bag once frozen. Fry them straight from frozen, adding about 30 seconds to the cook time. For make-ahead convenience, soak the onions in buttermilk for up to 4 hours in the fridge, then coat and fry right before serving.
Troubleshooting Common Onion Ring Problems
- Coating falls off during frying: The buttermilk did not drip off enough, or the oil was not hot enough. Make sure the oil is at 350°F and shake off excess liquid before dredging.
- Onion slides out of the coating: The rings were too thick. Slice to ½-inch max. Letting the coated rings rest for 2 to 3 minutes before frying also helps the coating set.
- Greasy, soggy results: Oil temperature was too low, or too many rings in the pot at once. Fry in batches of 4 to 5 and let the oil recover between batches.
- Coating is too pale: Oil is slightly too cool, or the rings were not fried long enough. Golden brown takes about 2 minutes per batch, turning once.
- Burnt outside, raw onion inside: Oil is too hot. Bring it down to 350°F. The thick walls of a Dutch oven help maintain steady temp, which is another reason it is the right tool for the job.
Frequently Asked Questions
You can, but the results will not be the same. Buttermilk's acidity tenderizes the onion and creates a tangy flavor that regular milk lacks. If you do not have buttermilk on hand, stir 1 tablespoon of white vinegar or lemon juice into 1 cup of regular milk and let it sit for 5 minutes. This homemade buttermilk substitute works in a pinch, though the flavor will be milder.
Yellow onions are the best all-around choice. They have a mild sweetness that becomes even sweeter when fried, and their firm structure holds up well during coating and frying. Sweet onion varieties like Vidalia or Walla Walla work great if you prefer a sweeter ring. Avoid white onions as they tend to be sharper and less forgiving when fried.
Three common causes. First, draining on paper towels instead of a wire rack traps steam underneath. Second, stacking too many rings on top of each other before they cool slightly. Third, the oil temperature was too low during frying, which causes the coating to absorb oil rather than crisp up. Keep the oil at 350°F and drain on a wire rack in a single layer.
You can air fry coated onion rings at 375°F for about 8 to 10 minutes, flipping halfway through. They will not be as crispy as deep-fried, but they are a lighter alternative. Spray the coated rings lightly with cooking spray before air frying for better browning.
About 5 cups, or enough to fill your Dutch oven to a depth of 2 to 3 inches. The oil should come no more than halfway up the sides of the pot to leave room for bubbling when you add the rings. A 5-quart Dutch oven is ideal. You can strain and reuse the oil once or twice if you store it in a sealed container.
A clip-on or instant-read thermometer is highly recommended. Guessing oil temperature is the number one cause of greasy or burnt onion rings. A simple clip-on candy or fry thermometer costs a few dollars and takes all the guesswork out of deep frying.
More Delicious Recipes
If you tried this Buttermilk Onion Rings recipe, please give it a 🌟 star rating and leave a 📝 comment below. Your feedback helps other readers find the recipe too.
Get the Recipe
Buttermilk Onion Rings
Equipment
- Dutch Oven
- Clip-on thermometer
Ingredients
Buttermilk Soak
- 2 cups buttermilk
- 1 ½ teaspoons kosher salt
- 1 teaspoon black pepper
Onion Rings
- 3 yellow onions peeled and sliced into ½-inch thick rounds, separated into rings
Coating
- 1 ½ cups all-purpose flour
- ¼ cup medium-grind yellow cornmeal
- 1 teaspoon kosher salt
- ½ teaspoon black pepper
For Frying
- 5 cups vegetable oil for frying
Instructions
- In a large bowl, whisk together the buttermilk, 1 ½ teaspoons kosher salt, and 1 teaspoon black pepper.
- Peel the onions and slice into ½- to ¾-inch thick rounds. Separate into individual rings. Add the onion rings to the buttermilk mixture and toss to coat. Let soak for at least 15 minutes, or up to 4 hours in the refrigerator.
- In a separate bowl, whisk together the flour, cornmeal, remaining 1 teaspoon kosher salt, and remaining ½ teaspoon black pepper.
- Pour the vegetable oil into a Dutch oven or large heavy-bottomed pot. Heat over medium-high heat until the oil reaches 350°F (175°C). Use a clip-on thermometer to monitor the temperature.
- Working in small batches of 4 to 5 rings, remove the onion rings from the buttermilk and let the excess drip off for a few seconds. Toss in the flour-cornmeal mixture until fully coated, shaking off any excess. Carefully place the coated rings into the hot oil.
- Fry for about 2 minutes per batch, turning once halfway through, until golden brown. Do not overcrowd the pot.
- Transfer the fried onion rings to a wire rack set over a baking sheet. Sprinkle lightly with salt while still hot. Repeat with remaining rings, letting the oil return to 350°F between batches. Serve immediately.
Notes
Nutrition
Dutch Oven Daddy is not a dietician or nutritionist, and any nutritional information shared is only an estimate. We recommend running the ingredients through an online nutritional calculator if you need to verify any information.
Spencer Adams says
I love these onion rings so much!
Chris says
This recipe is a total crowd pleaser. The instructions were easy to follow and the tip about the buttermilk really makes a difference in the final texture. They stayed crispy even after sitting out for a bit, making them the perfect side dish for our weekend burger night.
Laura says
The flavor of the batter is outstanding and has just the right amount of seasoning. I loved how light and airy the coating turned out while still providing a massive amount of crunch. It is a fantastic recipe that tastes much better than anything you can get at a fast food restaurant.
Paul says
These are the crunchiest onion rings I have ever made at home. The buttermilk soak makes the onions tender and helps the batter stick perfectly so it doesn't just slide off when you take a bite. Frying them in the cast iron kept the oil temperature steady, resulting in a beautiful golden brown finish every time.