

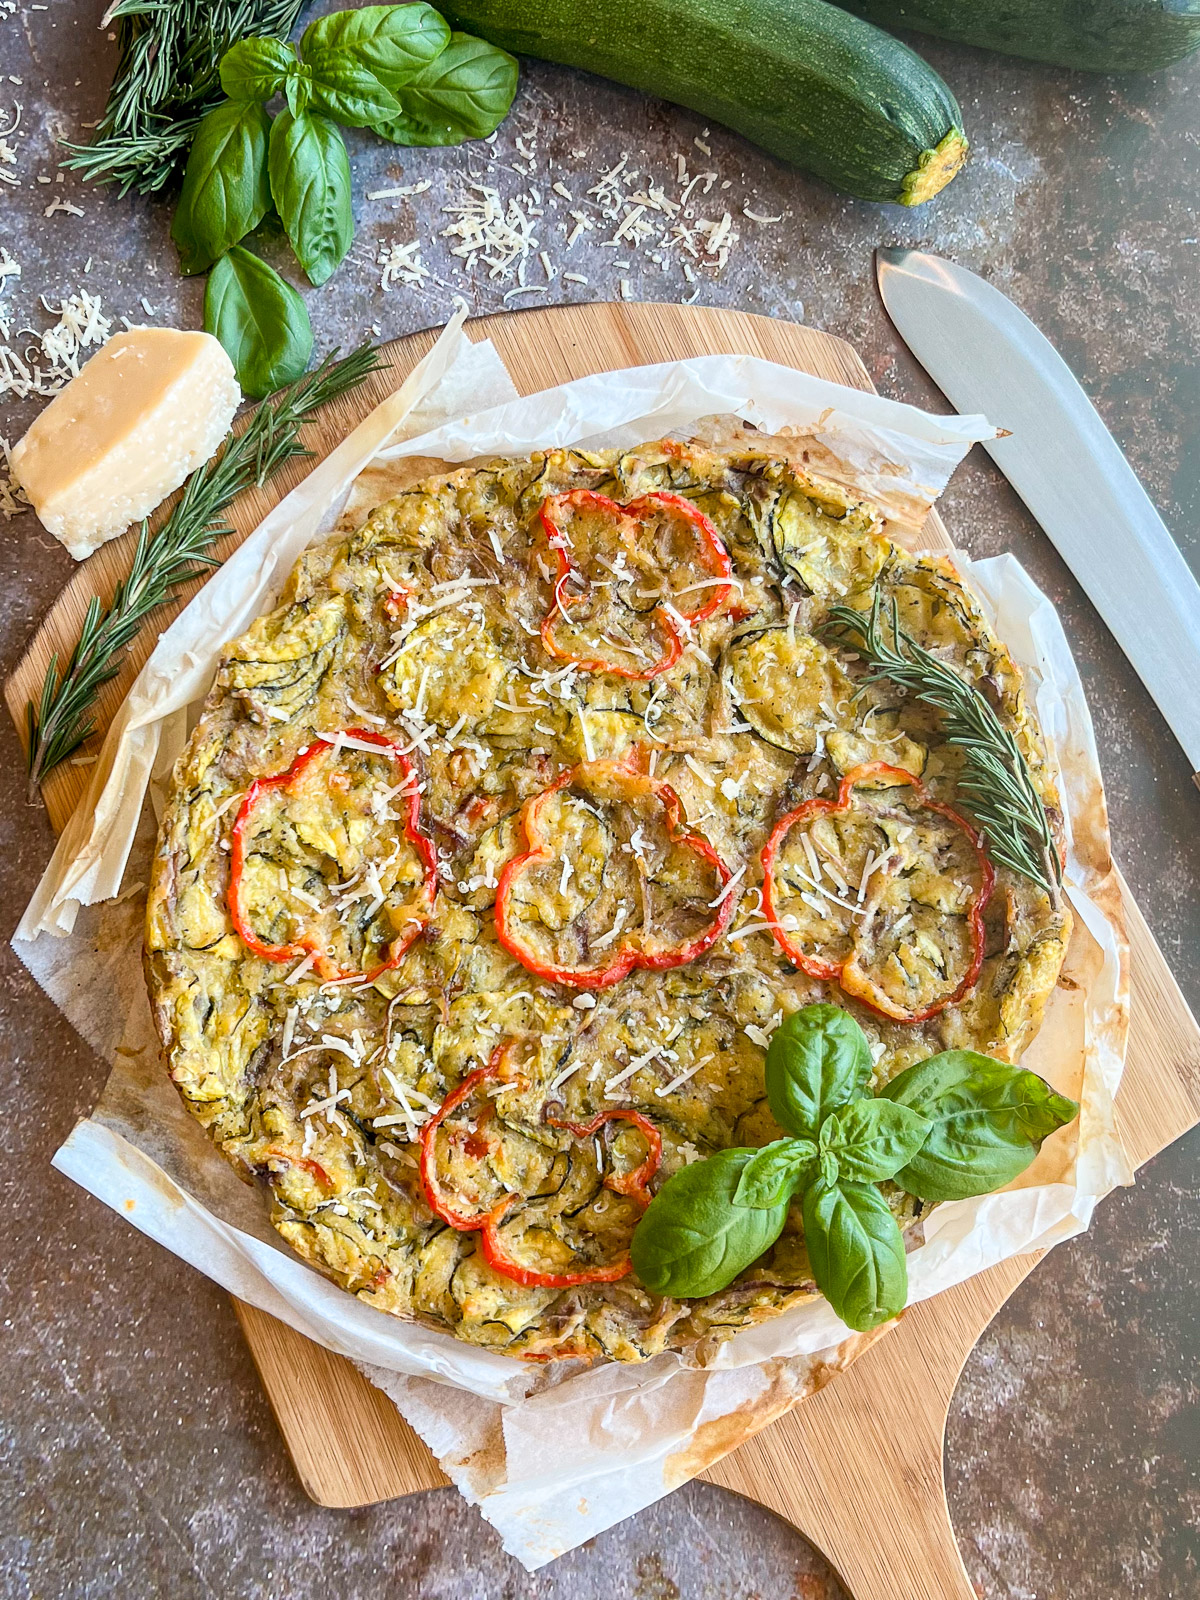
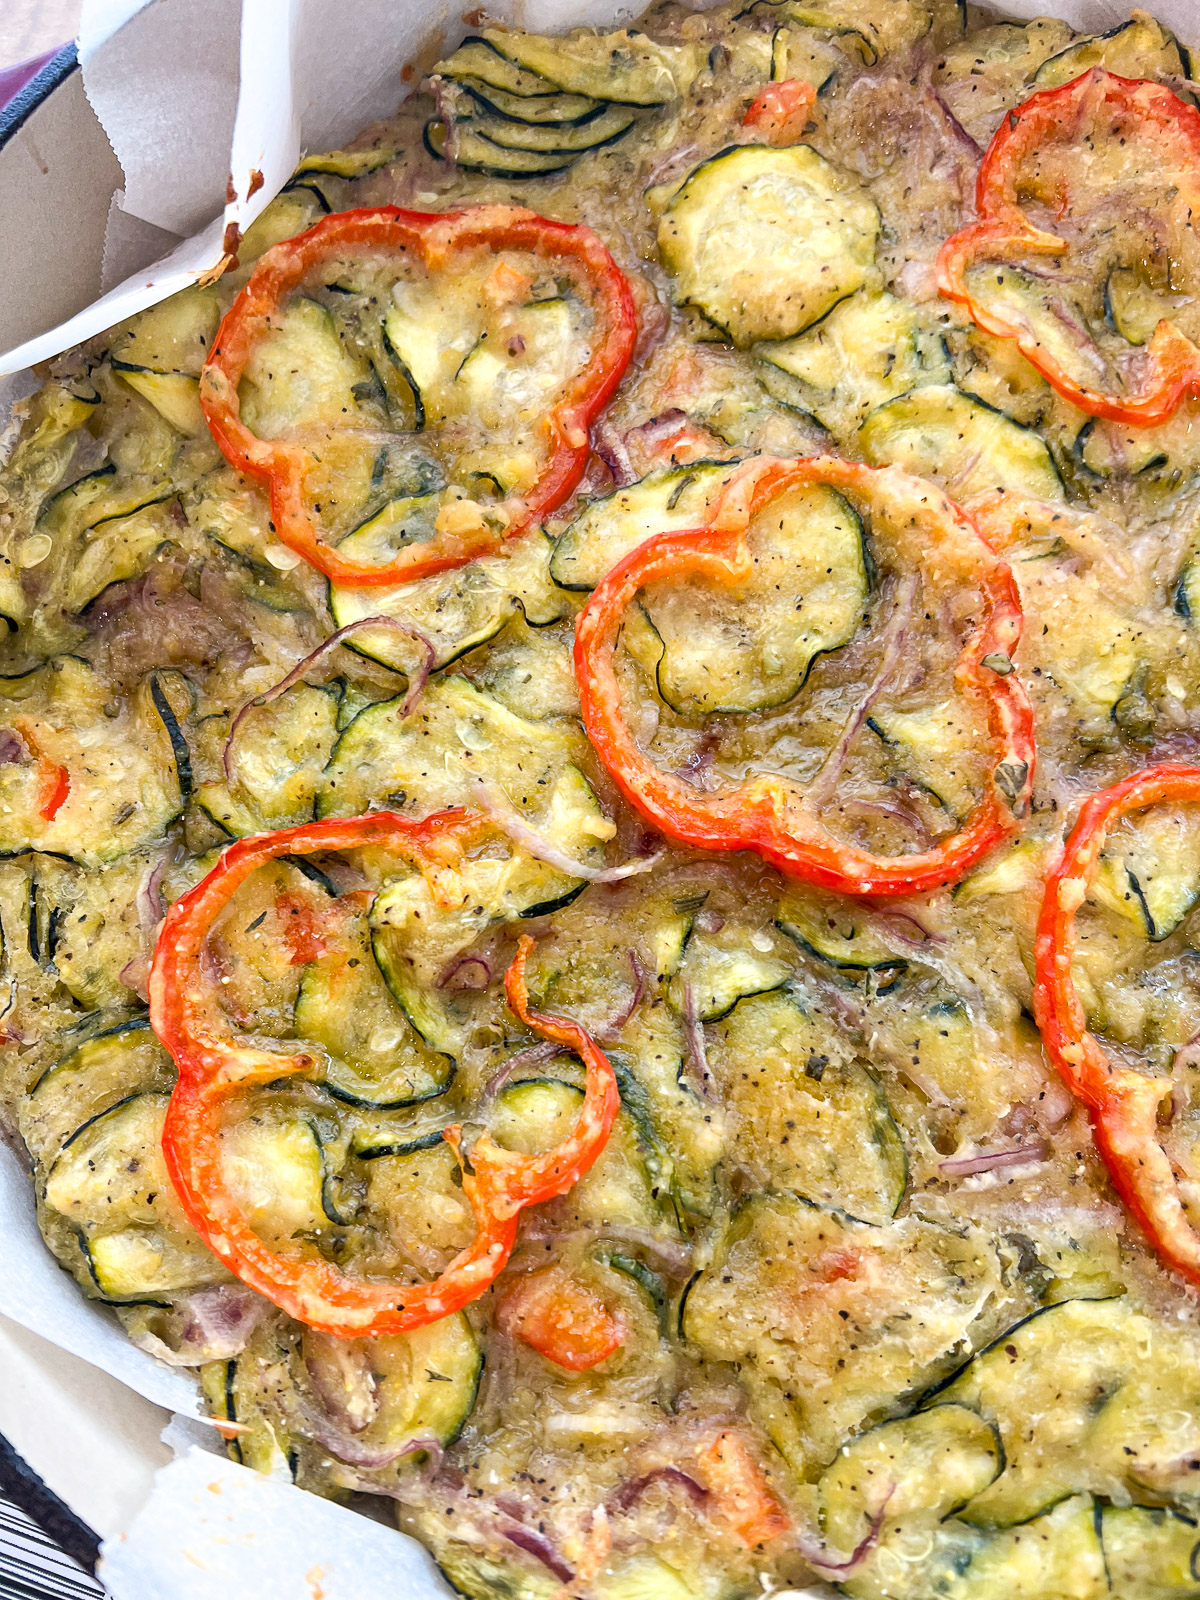
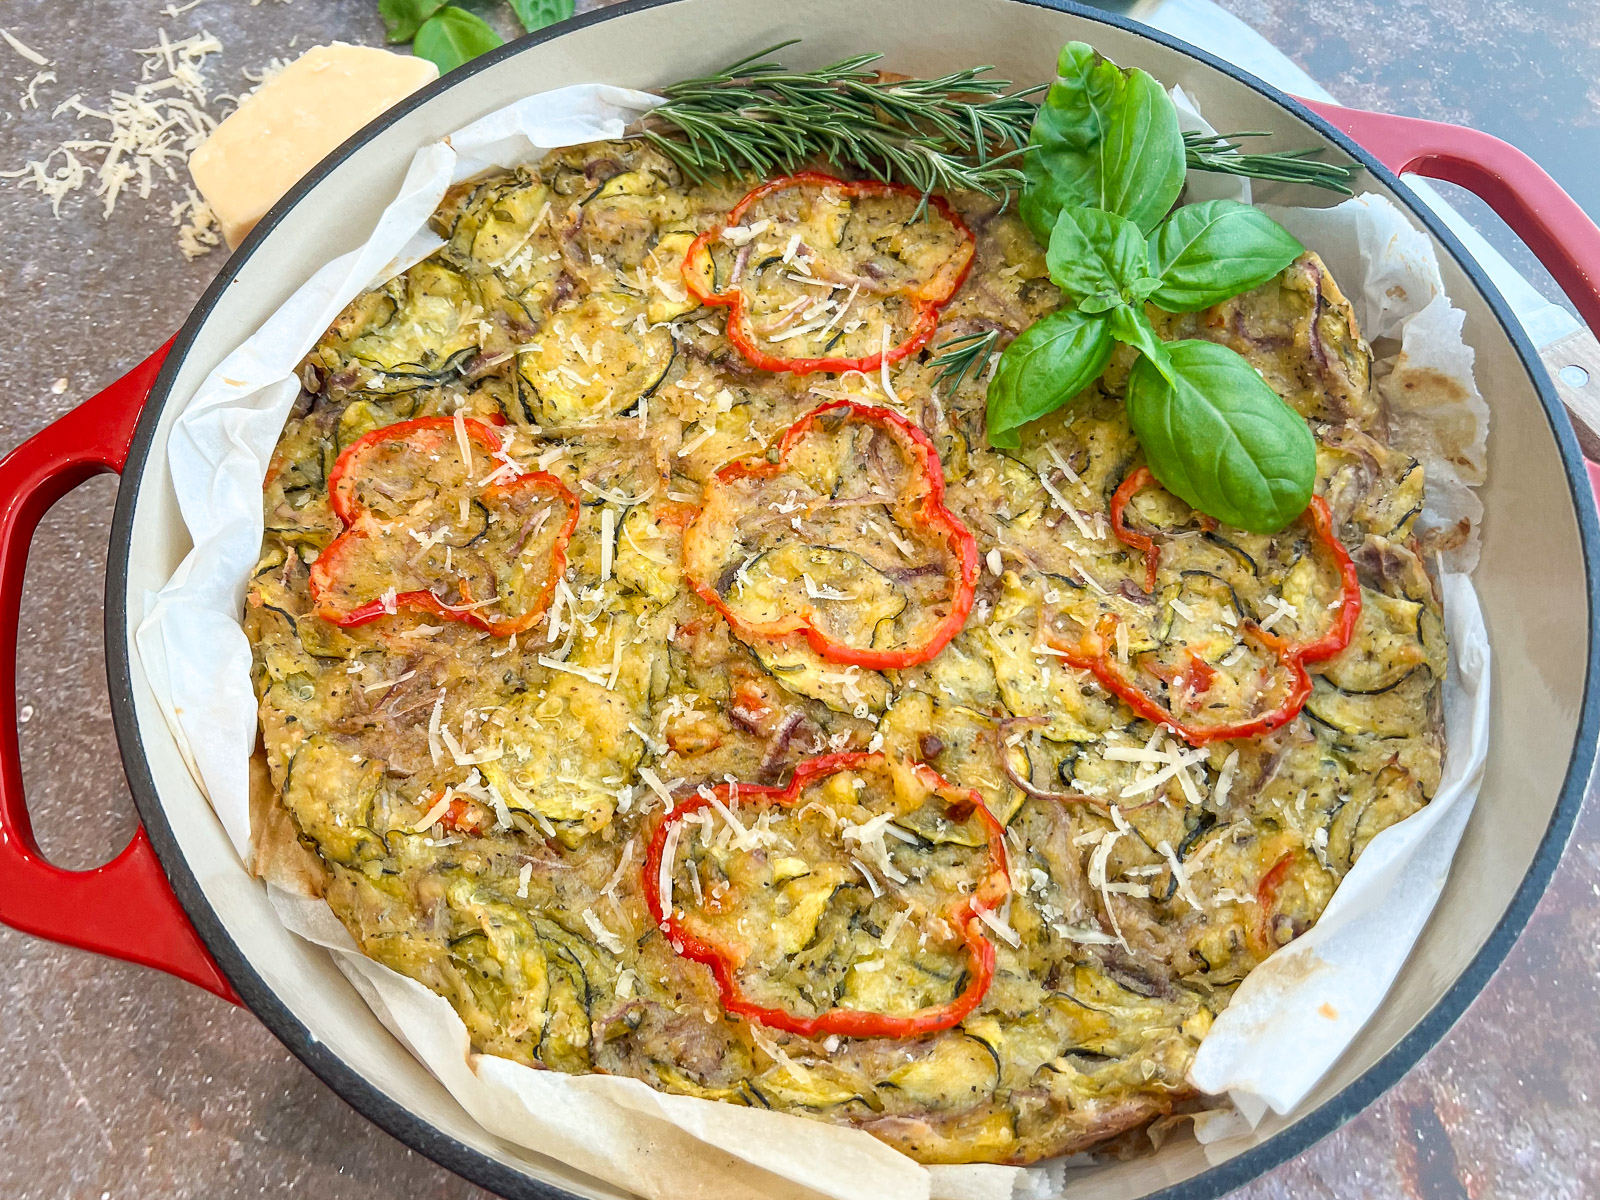
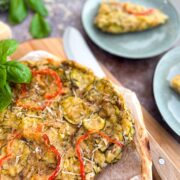
The golden-brown crust pulls away from the parchment as you lift this Scarpaccia out of the cast iron, and the smell of rosemary and Parmesan hits you before you even set it on the cutting board. This rustic Italian zucchini tart turns a pile of garden zucchini into something people fight over, and the cast iron gives it a crispy bottom you will never get from a regular baking pan.
Still have extra zucchini? Try our Parmesan Zucchini Chips for a crispy snack or toss it into Teriyaki Beef Udon Noodles for a quick weeknight dinner.
Quick Look at this Recipe
- ✅ Recipe Name: Scarpaccia (Italian Zucchini Tart)
- 🕒 Ready In: About 1 hour active (15 min prep, 30-35 min bake) plus 1-2 hours zucchini draining
- 👪 Serves: 6-8 people
- 🥣 Main Ingredients: zucchini, red onion, Parmesan cheese, flour, cornmeal, fresh basil, rosemary
- 📖 Dietary Info: Vegetarian, egg-free
- ⭐ Why You'll Love It: A crispy, golden Tuscan tart that turns garden zucchini into the star of any Italian meal
Summarize and Save the Recipe
Jump to:
- Quick Look at this Recipe
- Why You'll Love This Scarpaccia
- What Is Scarpaccia?
- Recipe Ingredients
- How to Remove Moisture from Zucchini (The Most Important Step)
- How to Make Scarpaccia (Process Overview)
- Why Cast Iron Is the Best Pan for Scarpaccia
- Adaptations and Variations
- Expert Tips for the Best Scarpaccia
- What to Serve with Scarpaccia
- How to Store and Reheat Scarpaccia
- Frequently Asked Questions
- More Delicious Recipes
- Get the Recipe
Why You'll Love This Scarpaccia
- Uses up garden zucchini like nothing else. Two large zucchini become a golden, Parmesan-crusted tart that serves 6-8 people. This is the recipe you reach for when the garden is producing faster than you can keep up.
- Crispy outside, tender inside. The flour-and-cornmeal batter bakes into a crust that crunches when you cut through it, while the zucchini stays soft and almost creamy underneath.
- Cast iron makes it better. A Dutch oven or skillet gives you even heat and a crispier bottom than a standard baking pan. Plus, you can go from oven to table.
- Simple pantry ingredients. No eggs, no milk, no complicated steps. Flour, cornmeal, water, olive oil, Parmesan, and whatever herbs you have on hand.
What Is Scarpaccia?
Scarpaccia translates loosely to "old shoe" or "bad shoe" in Italian dialect. It is a playful Tuscan name for this rustic, flat zucchini tart from the Viareggio area of Tuscany. Despite the name, this Italian zucchini tart is anything but rough. Two traditional versions exist: a savory scarpaccia viareggina loaded with zucchini, and a sweet version. This scarpaccia recipe is a savory adaptation that stays true to the Tuscan roots while adding the cast iron advantage.
What makes scarpaccia work is the cornmeal. It provides structure and crunch that all-purpose flour alone cannot achieve. The thin layer of batter means more surface area contacts the hot pan, creating a higher crust-to-filling ratio. That is what separates this from a soggy zucchini casserole.
Traditional scarpaccia is naturally egg-free and dairy-light (just Parmesan). This is not a quiche or a frittata. The batter is flour-based, which gives it that distinctive crispy texture that keeps people coming back for another slice.
Recipe Ingredients
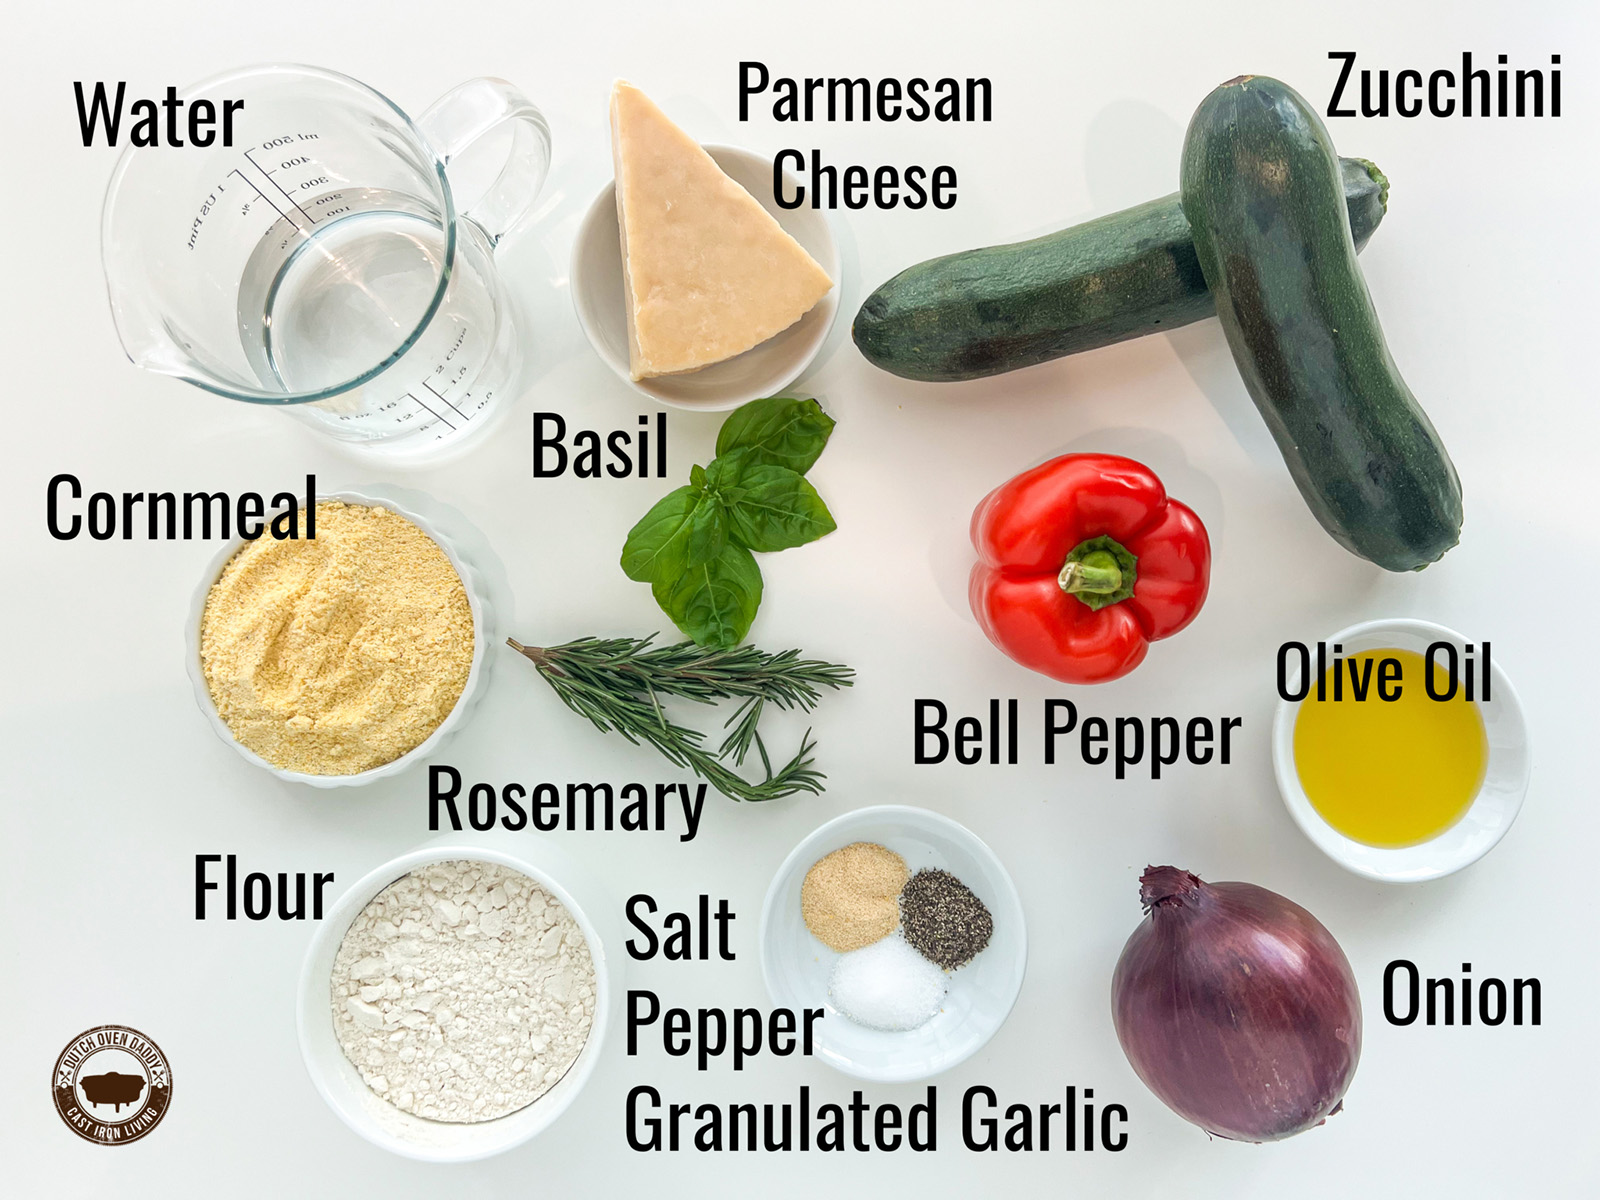
This scarpaccia comes together with simple pantry staples. Here is what you need and a few notes on each:
- Zucchini: Two medium-to-large zucchini, roughly 6 cups thinly sliced. Firm, smaller zucchini have fewer seeds and less water. Avoid overgrown zucchini.
- Red onion: Adds color and a slight sweetness. Yellow onion works if that is what you have.
- Bell pepper: Red bell pepper for both dicing into the batter and slicing decorative rings for the top. This is optional but adds a pop of color and flavor.
- Flour and cornmeal: The base of the batter. All-purpose flour for structure, cornmeal for that distinctive crunch.
- Parmesan cheese: Freshly grated is best. For another recipe that makes great use of Parmesan, check out our Skillet Artichoke Dip. Substitution options: Pecorino Romano, Asiago, or Manchego.
- Herbs: Fresh basil and rosemary. Dried works in a pinch (use ⅓ the amount).
- Seasonings: Salt, pepper, granulated garlic.
- Liquids: Water for the batter, olive oil for brushing the top before baking.
For detailed measurements and quantities, see the recipe card below.
How to Remove Moisture from Zucchini (The Most Important Step)
This is the step that separates a crispy scarpaccia from a soggy one. Zucchini is about 95% water. If that moisture stays in the batter, the tart steams instead of crisping. Salting draws water out through osmosis, and physical squeezing removes what gravity alone cannot reach.
Three methods work well, depending on how much time you have:
- Overnight colander method (best results, least effort): Slice, salt, place in a colander inside a bowl, cover, and refrigerate overnight. Maximum water release with zero active work.
- Weighted compression method (2+ hours): Slice, salt, place in a bowl, cover with a plate, and add weight (cans, Dutch oven lid). At least 45 minutes minimum, 2 hours recommended.
- Cooling rack method (1-2 hours): Slice, salt, lay flat on a cooling rack over a baking sheet. Flip once. Works on the counter or overnight in the fridge.
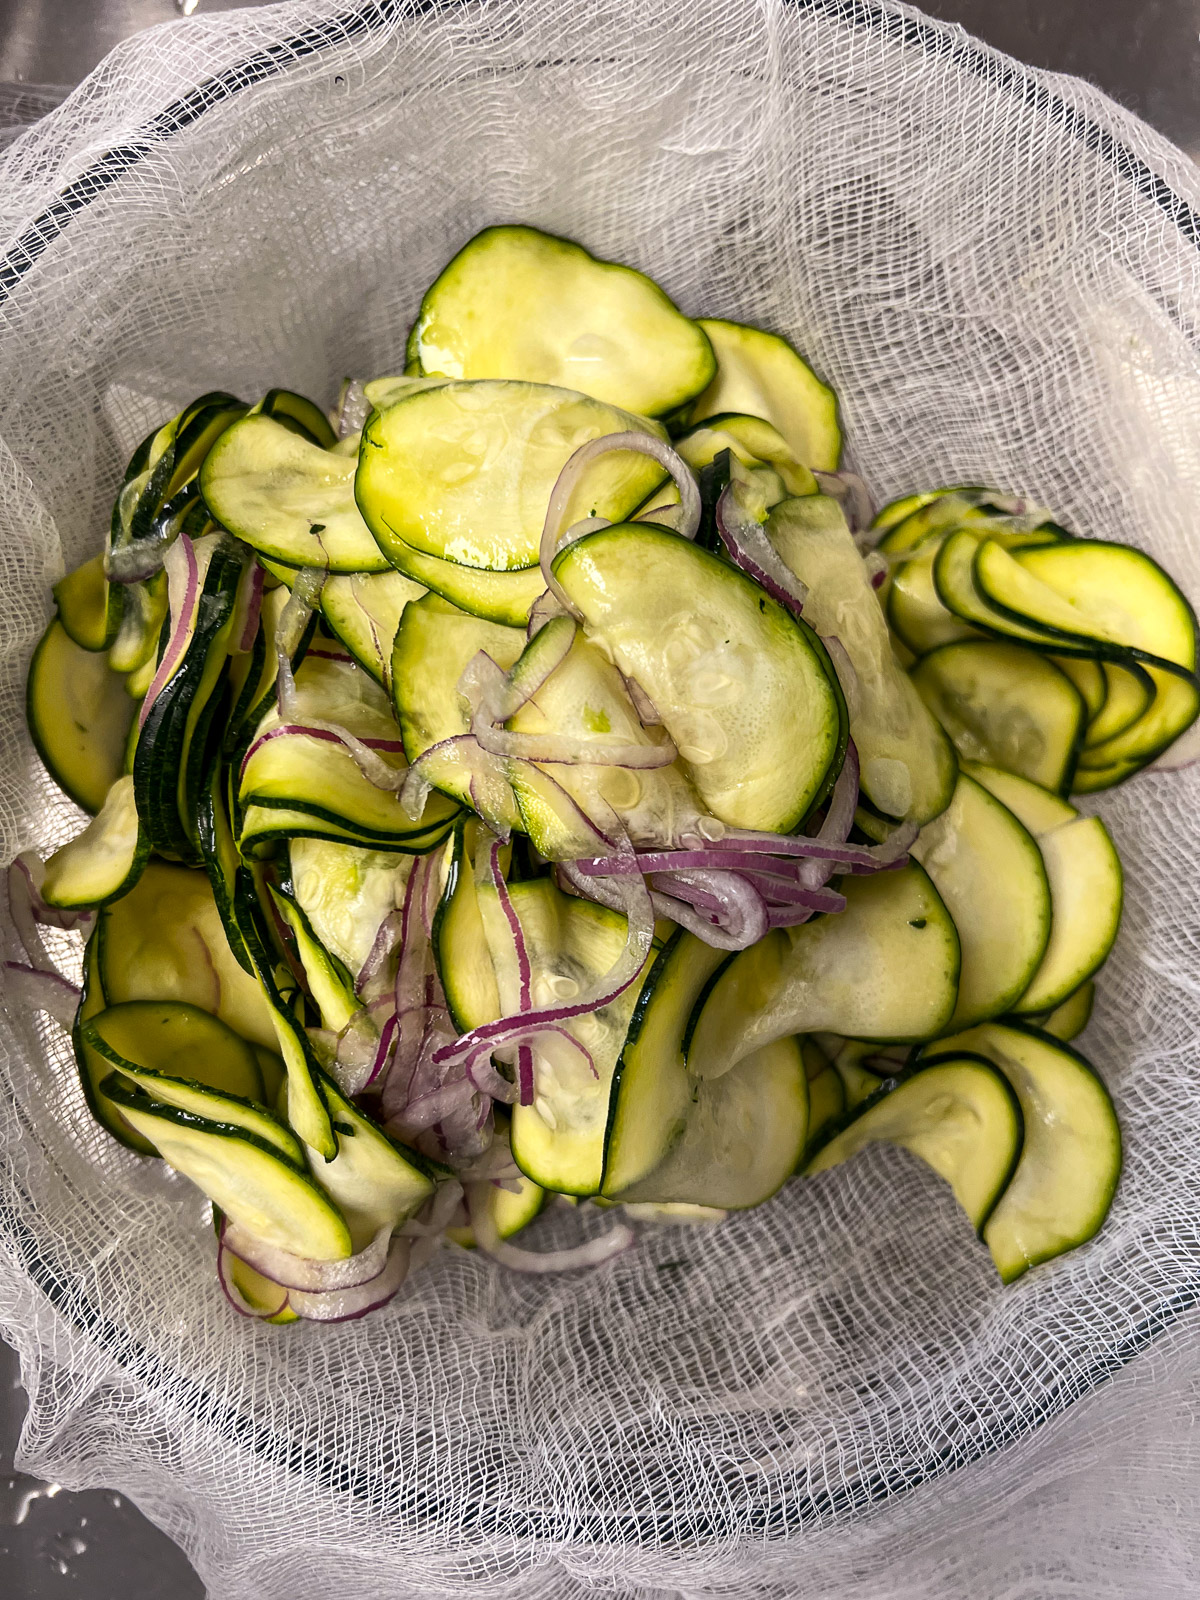
- Step 1: Wrap in cheesecloth. After draining, gather the zucchini and onion into a clean flour sack towel or cheesecloth.
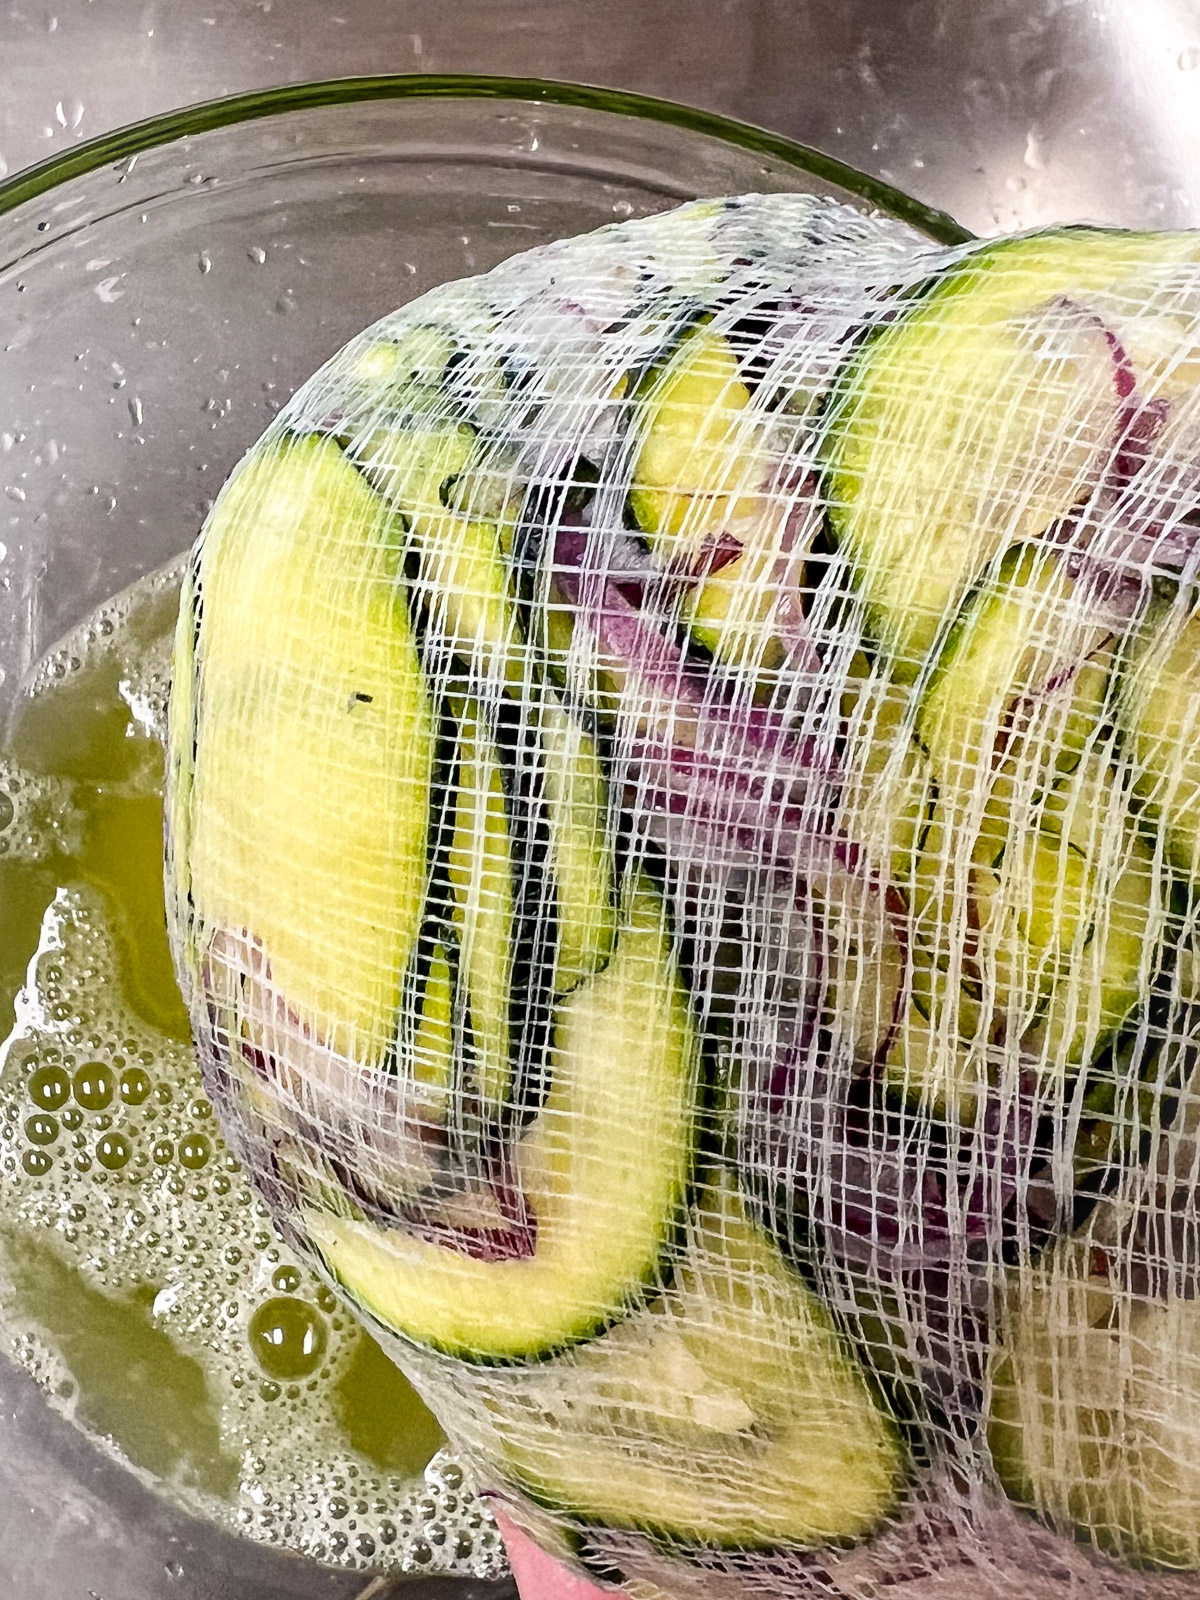
- Step 2: Squeeze hard. Twist and squeeze the bundle over a bowl until barely any liquid comes out. The drier the zucchini, the crispier the scarpaccia.
Pro tip: Save the drained zucchini liquid. It is loaded with flavor and can replace the water called for in the batter. This is what traditional Tuscan cooks do.
How to Make Scarpaccia (Process Overview)
Here is a quick visual walkthrough of the key stages for this scarpaccia recipe. Full step-by-step instructions are in the recipe card below.
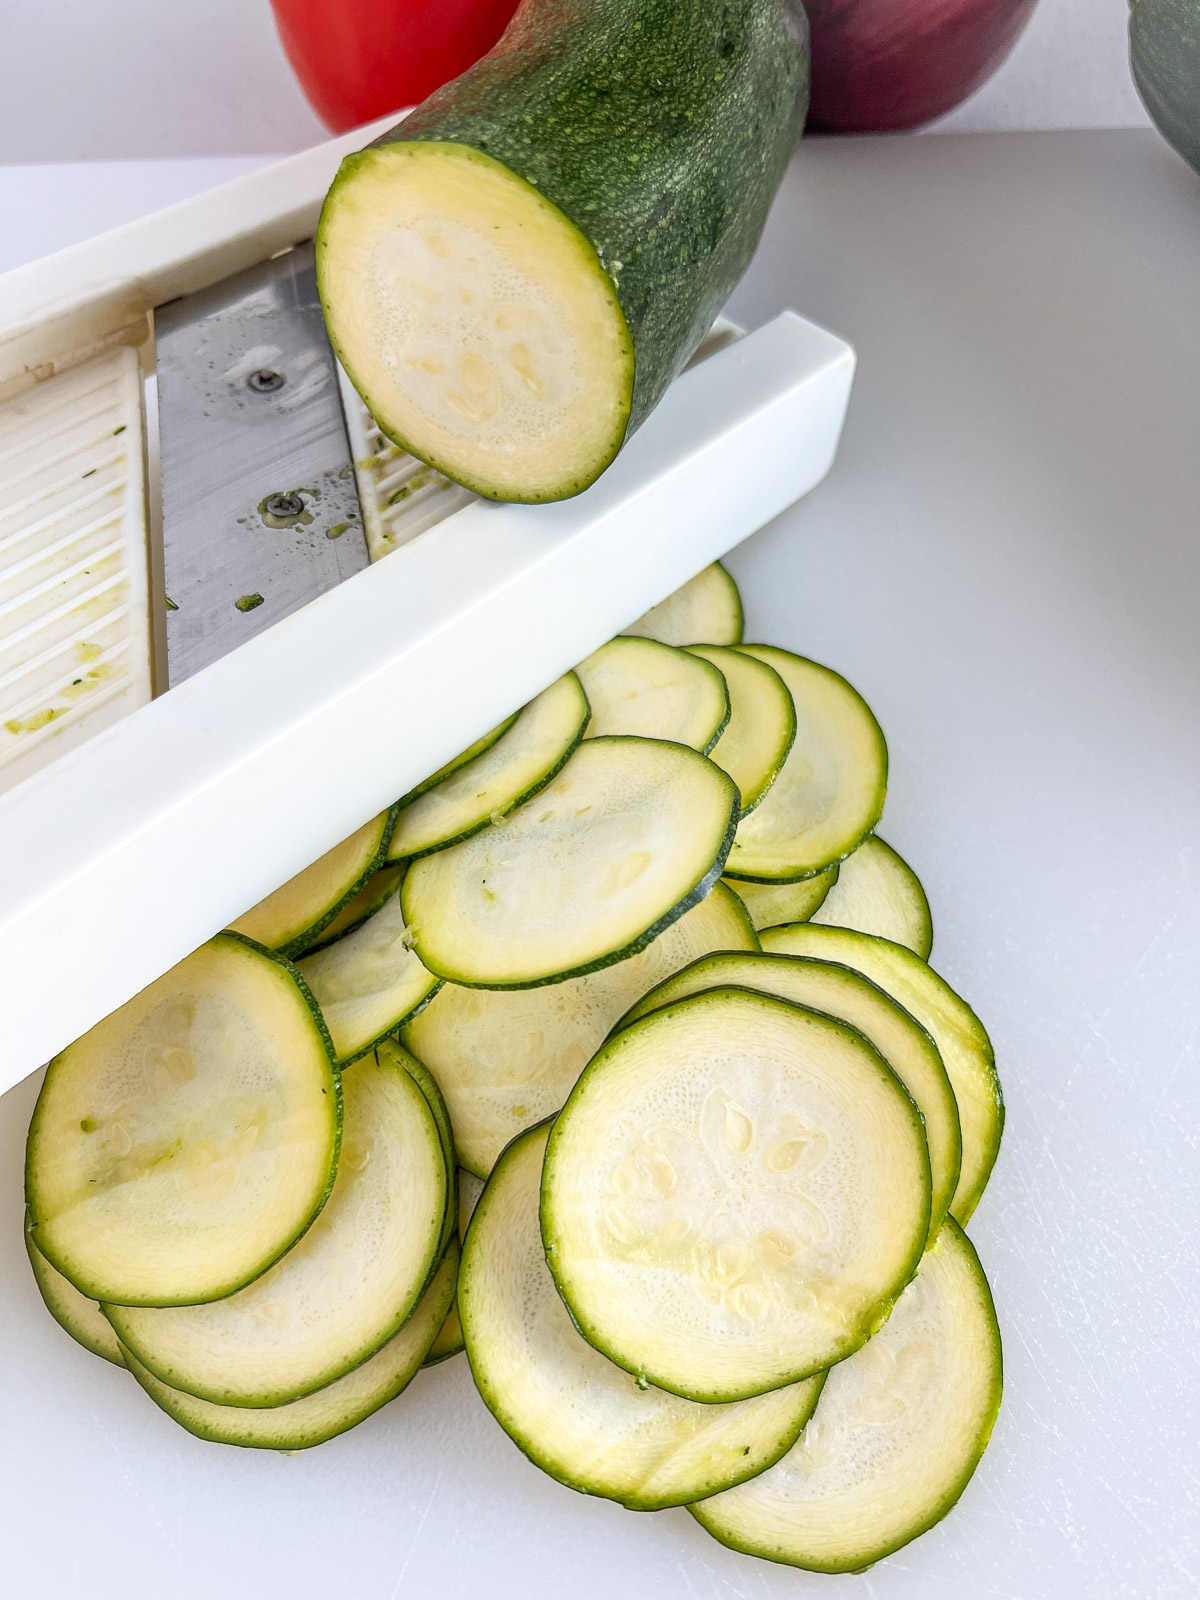
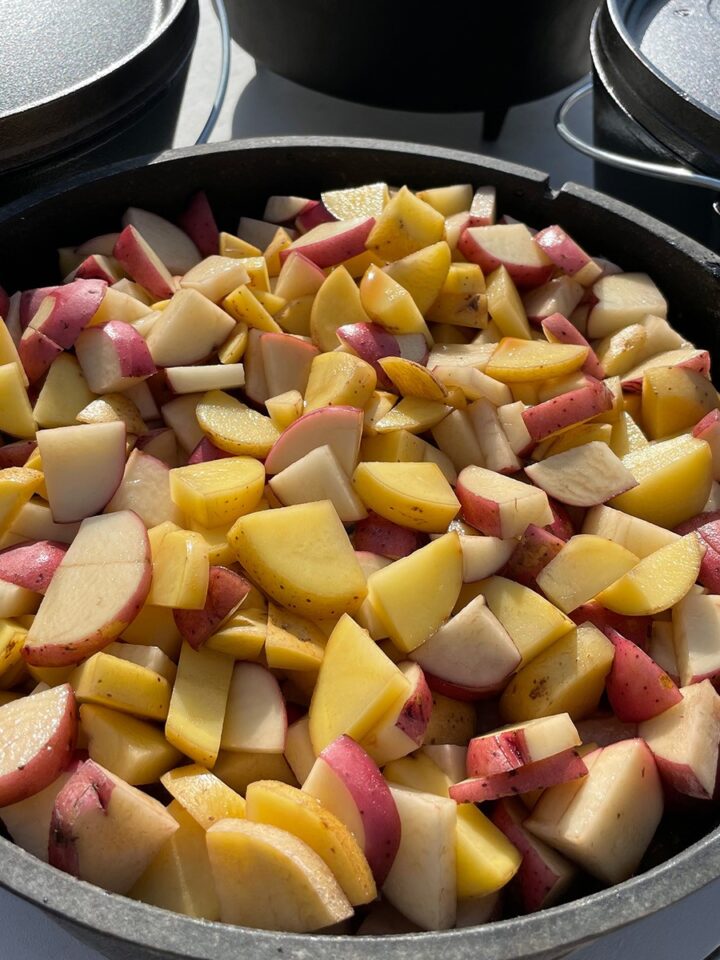
- Step 1: Slice the zucchini. Use a mandolin for paper-thin, uniform slices

- Step 2: Add the onion. Toss with salt and let drain using your preferred method
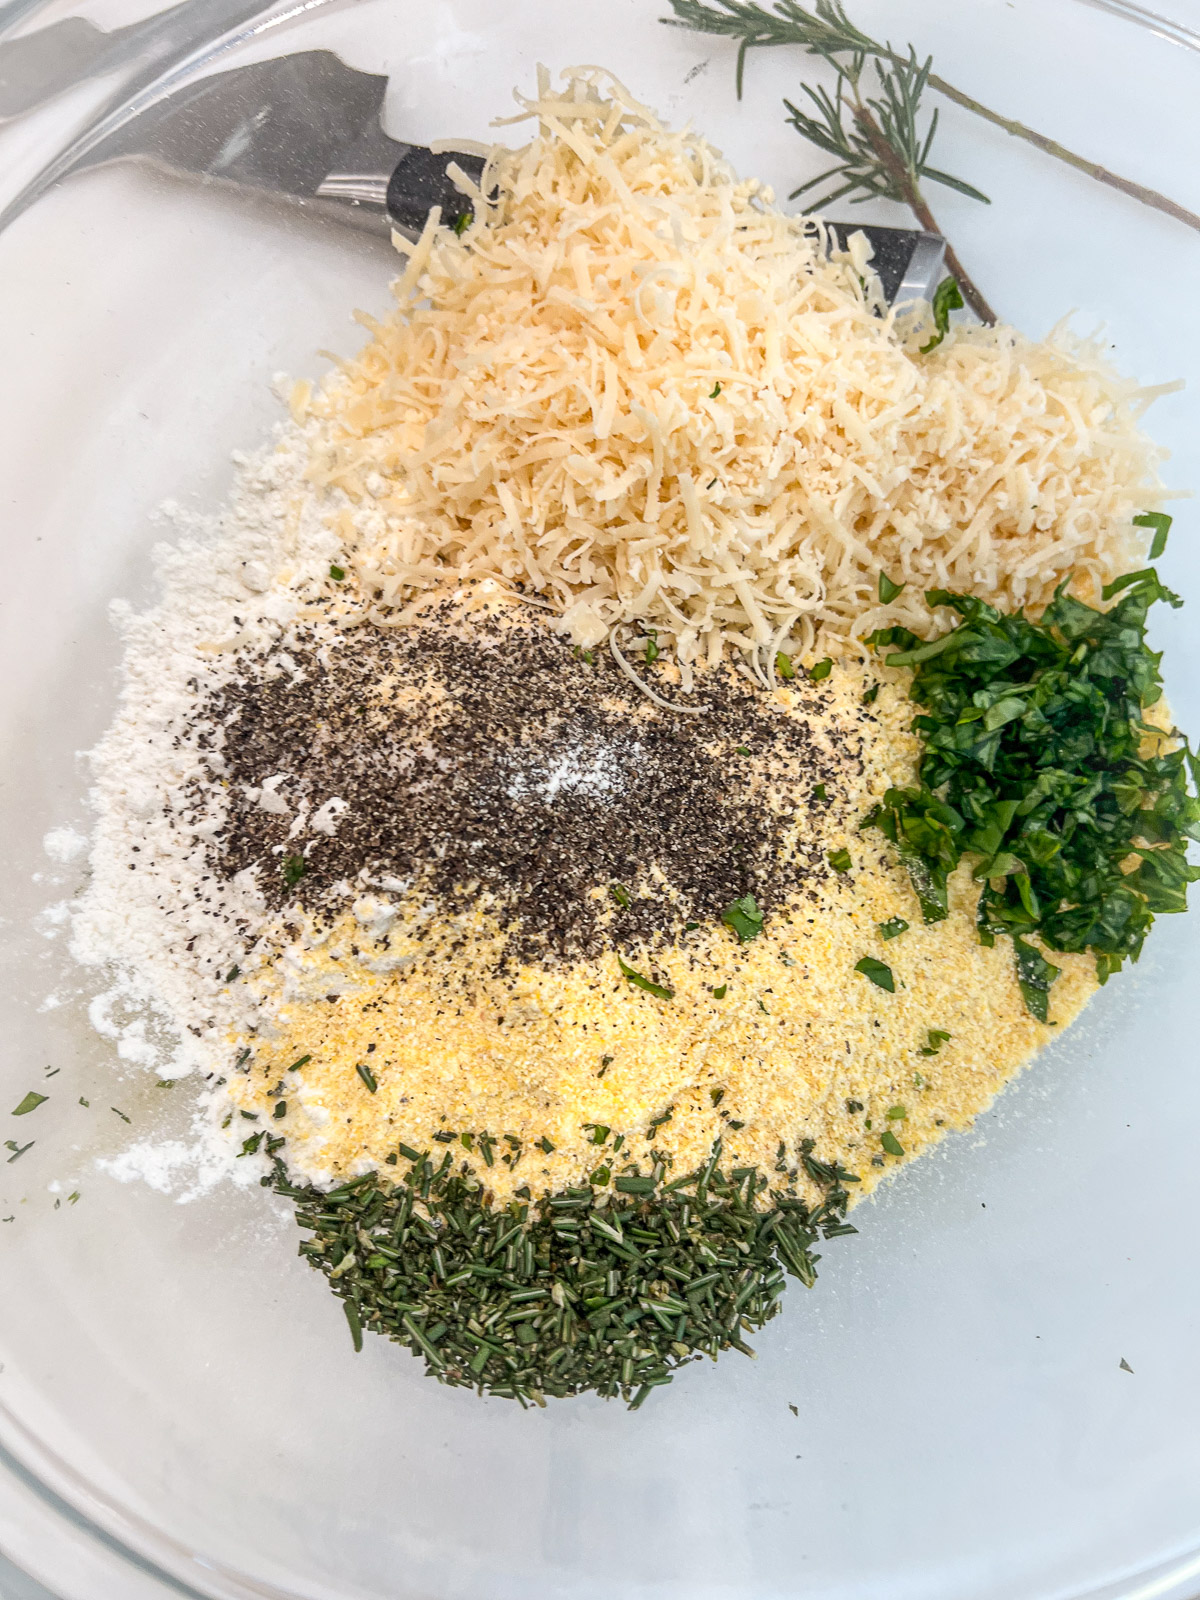
- Step 3: Mix the dry ingredients. Flour, cornmeal, Parmesan, herbs, and seasonings go into a large bowl
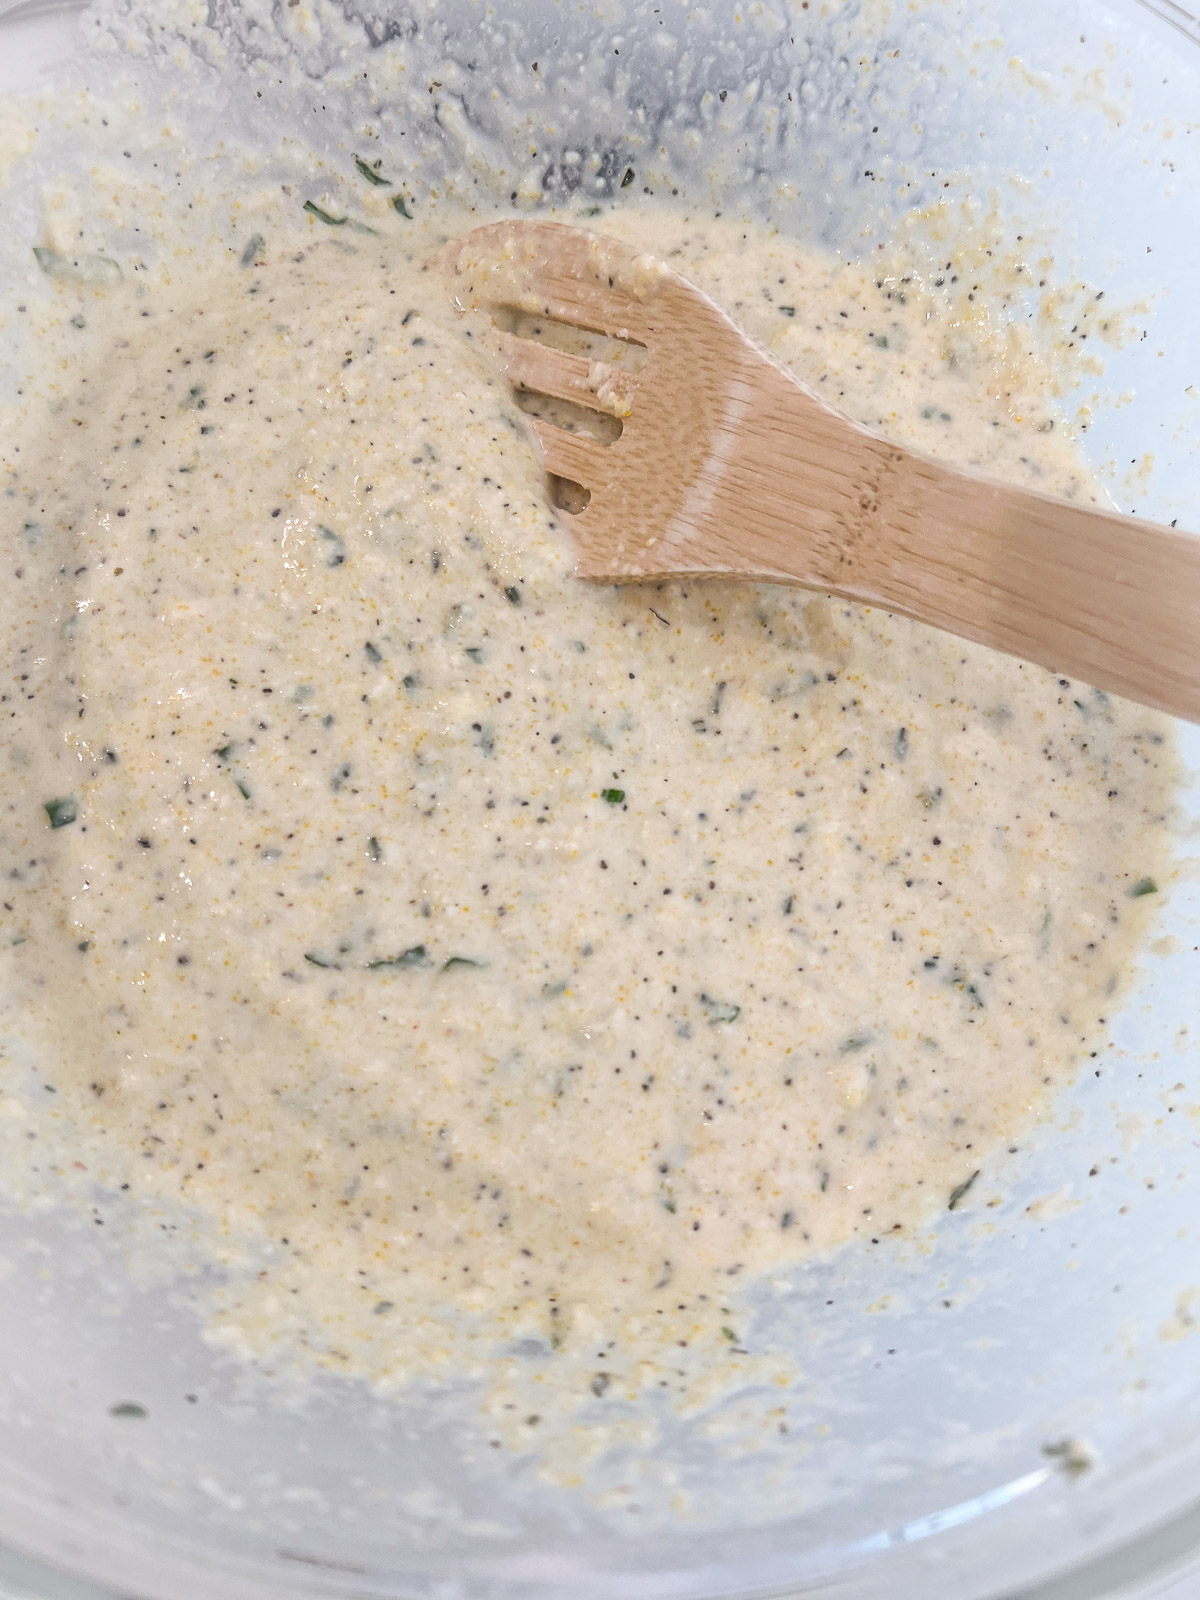
- Step 4: Add water to form the batter. You want roughly pancake batter consistency
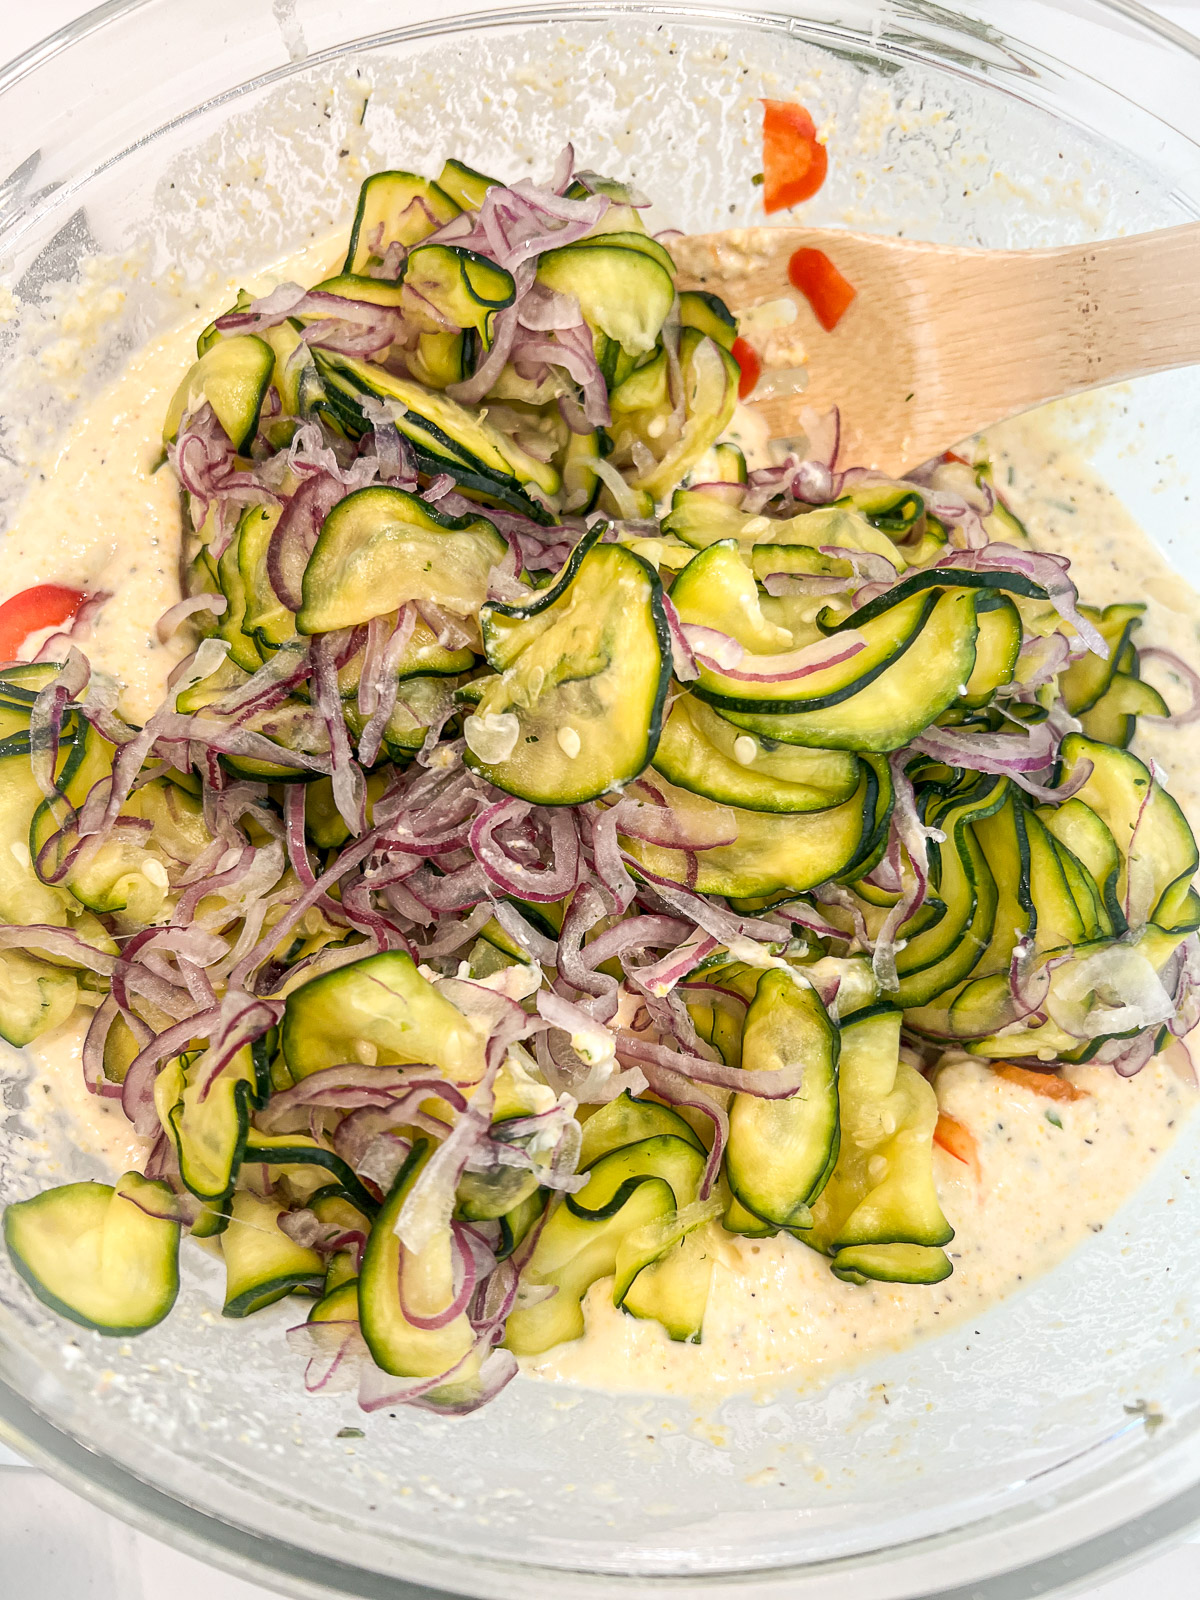
- Step 5: Fold in the drained vegetables. Stir until every slice is coated
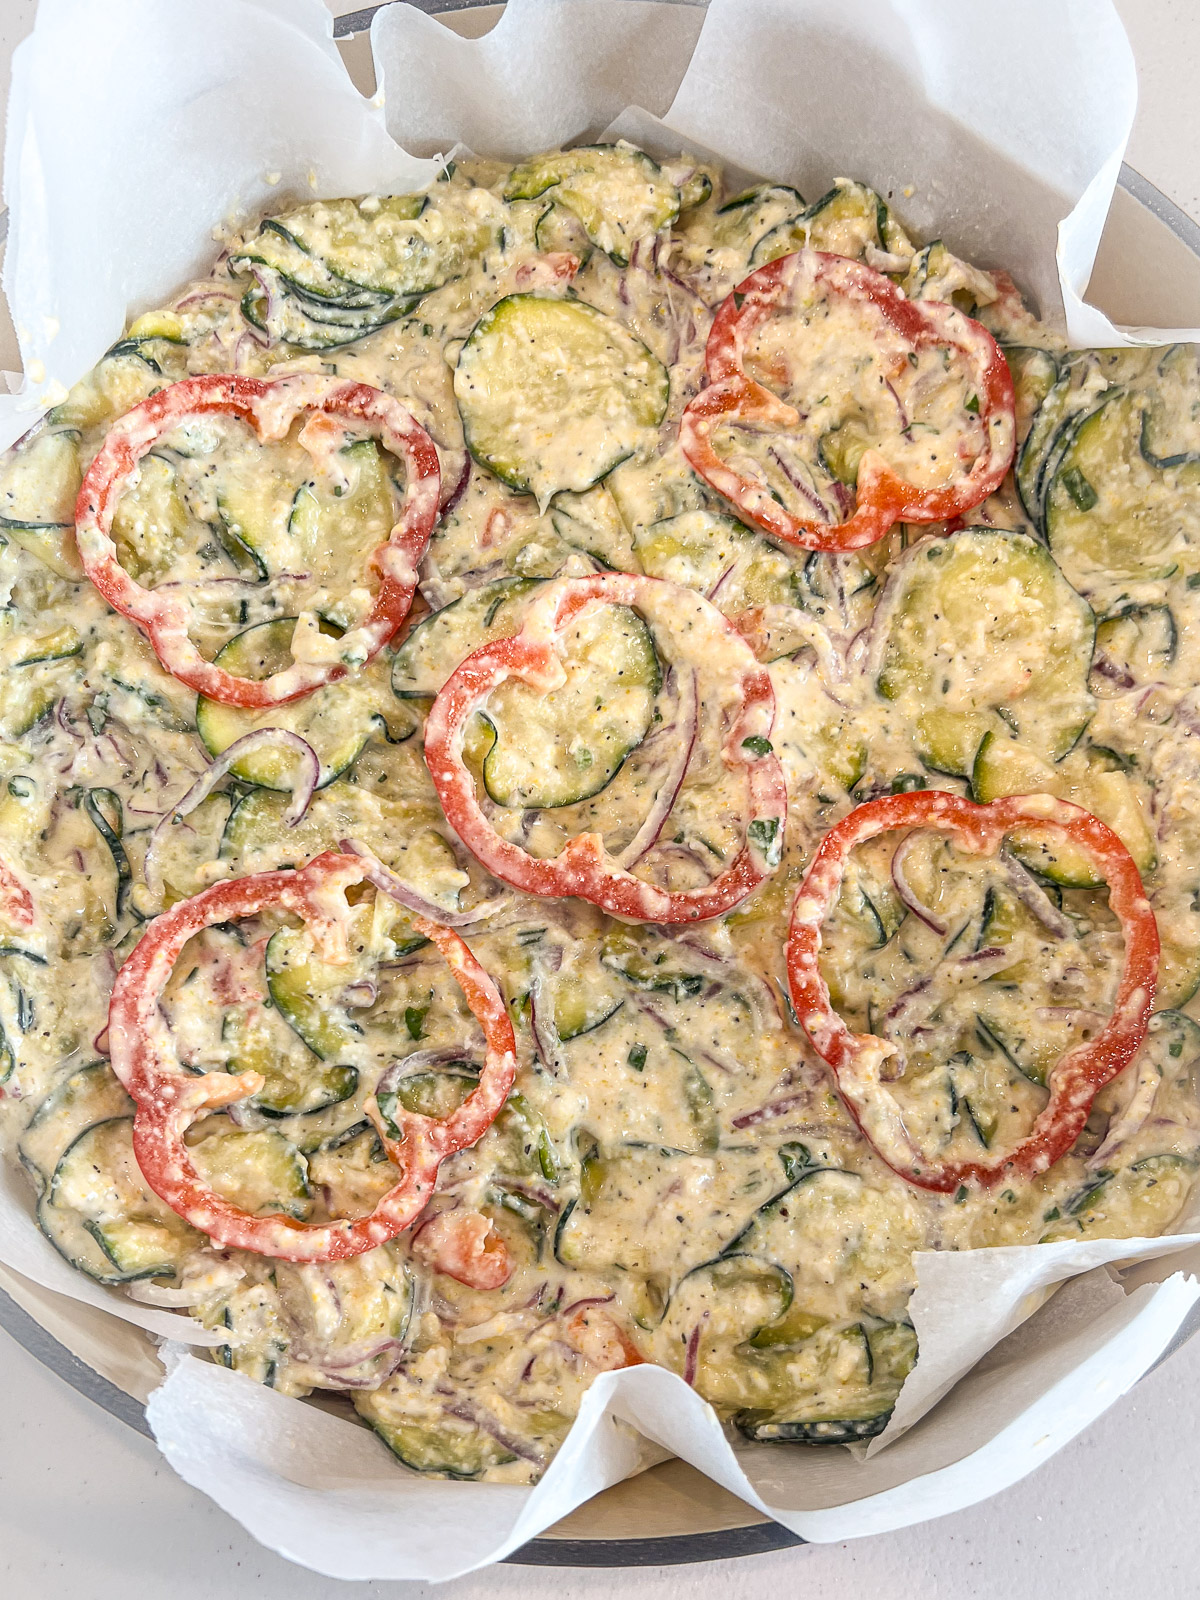
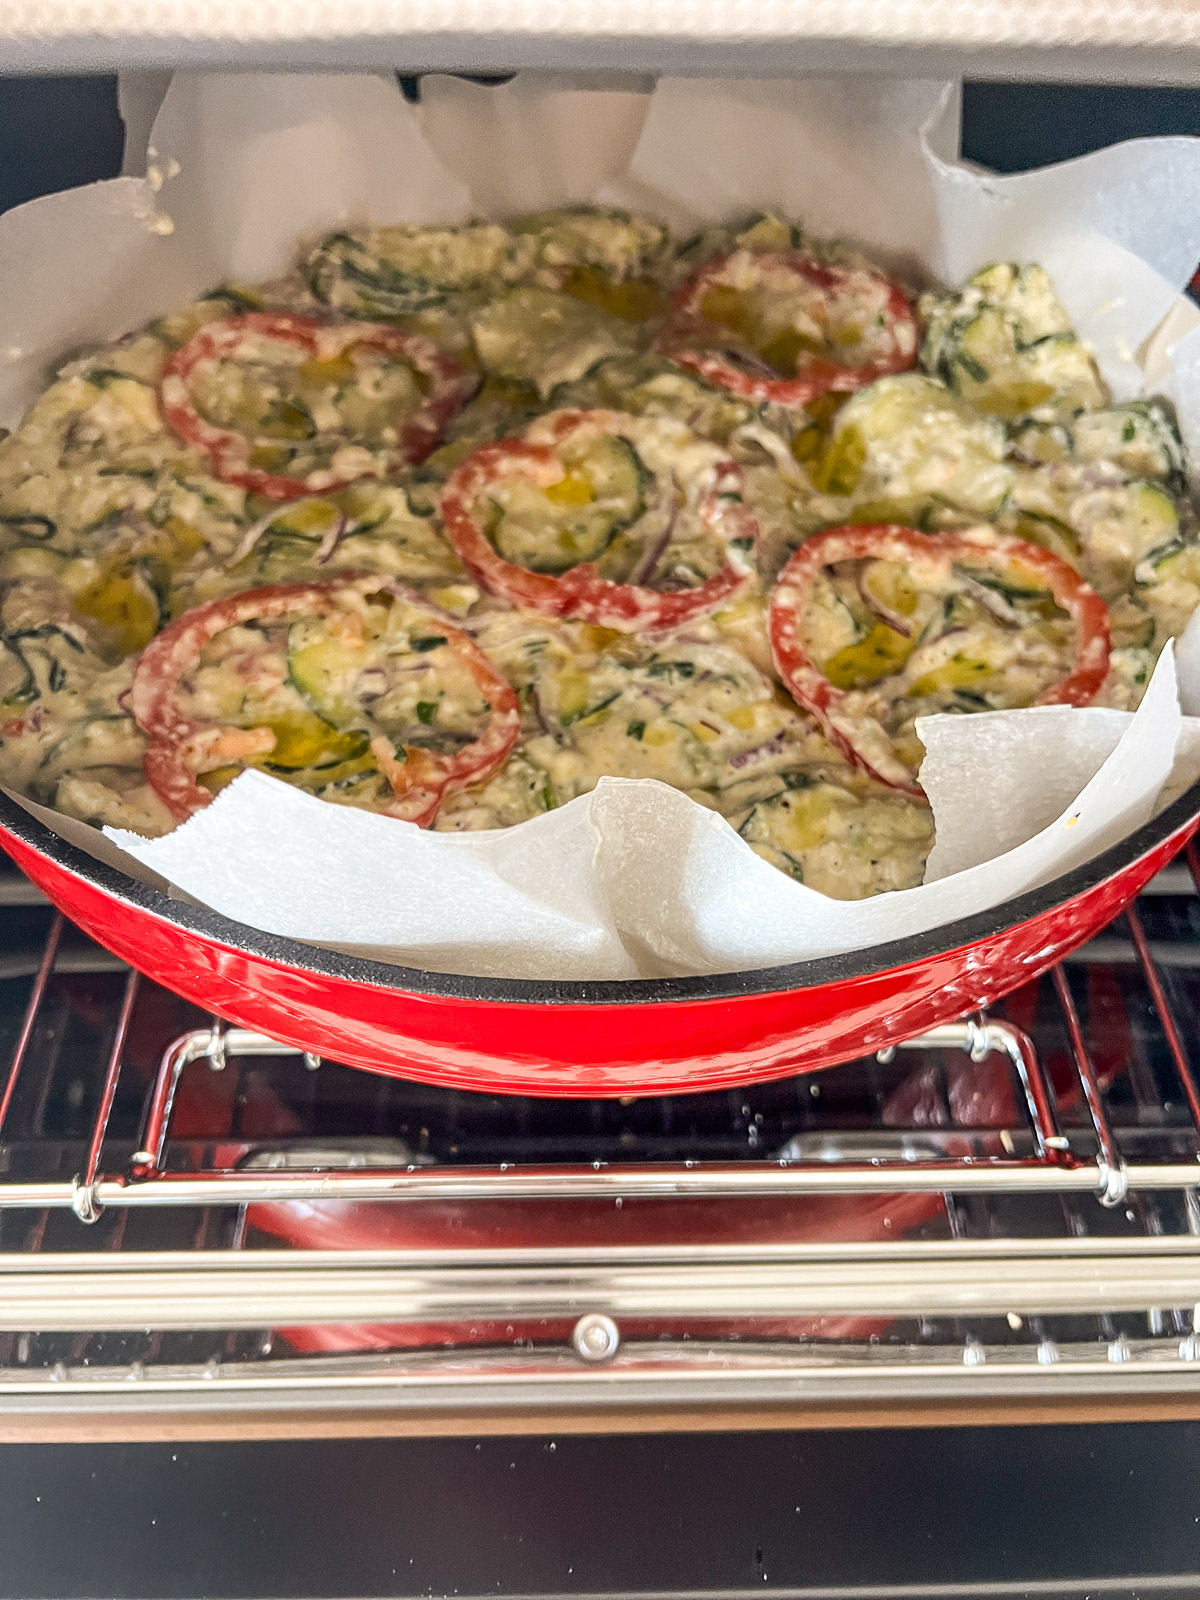
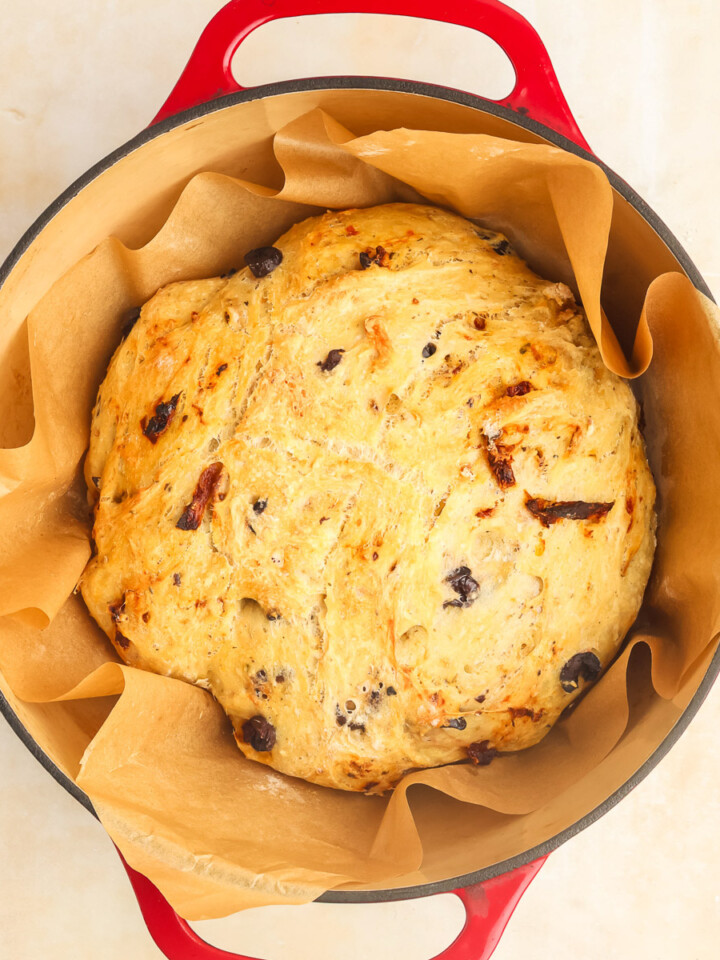
- Step 6: Press into cast iron and bake. Line with parchment, top with pepper rings, brush with olive oil, and bake uncovered at 400 degrees F
Why Cast Iron Is the Best Pan for Scarpaccia
Cast iron gives you something no standard baking pan can match: even heat distribution from bottom to edge. That means the scarpaccia bottom crisps uniformly with no hot spots and no soggy center. The heat retention keeps the tart warm at the table, so you can go straight from oven to serving without transferring to a platter.
A 3.6-quart Dutch oven is the ideal size. A 12-inch skillet also works well. A 9x13 baking pan will get the job done if that is all you have, but you lose the cast iron advantage. For a thinner, crispier result, try a cast iron baking sheet. The thinner the layer, the crisper the tart.
Adaptations and Variations
This Italian zucchini tart is flexible. Here are some ways to make it your own:
- Vegetables: Summer squash, asparagus (trimmed and halved), mushrooms, eggplant, or sun-dried tomatoes all work well. For an authentic Tuscan presentation, top with zucchini flowers dredged in batter.
- Cheese swaps: Pecorino Romano, Asiago, Manchego, or feta. Drier cheeses produce a crispier scarpaccia. For vegan, use nutritional yeast or soy Parmesan.
- Gluten-free: Swap all-purpose flour for rice flour. The cornmeal is already gluten-free.
- Pan options: Dutch oven, skillet, 9x13 pan, or cast iron baking sheet. Thinner layer equals crispier result.
- Add heat: Red pepper flakes or a pinch of cayenne in the batter.
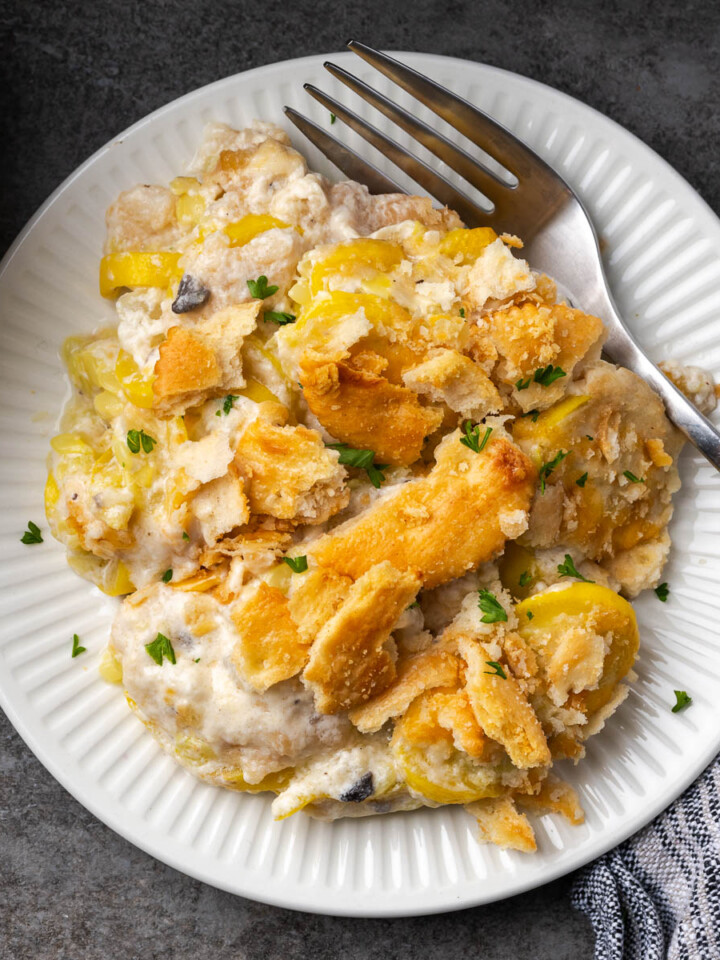
If you love the zucchini-and-cast-iron combination, our Summer Squash Casserole takes a completely different approach with a creamy, cheesy bake.
Expert Tips for the Best Scarpaccia
- Slice thin or go home. A mandolin is the best tool here. If using a knife, aim for 1/16-inch slices. Thick slices will not cook through and will release moisture during baking.
- Do not skip the squeeze. After draining, wring the zucchini in a towel until barely any liquid comes out. This is the single biggest factor in getting a crispy tart vs. a soggy one.
- Adjust the water. The recipe gives a starting amount, but your batter consistency depends on how much moisture your zucchini released. Add water gradually. You want pancake batter, not cake batter.
- Brush the top with olive oil. This promotes browning and adds a layer of crispiness to the surface.
- Let it rest before cutting. Give it 10-15 minutes out of the oven. Cutting too soon lets steam escape and the slices fall apart.
- Parchment paper is your friend. Line the cast iron with parchment for easy removal and clean slicing.
What to Serve with Scarpaccia
Scarpaccia works as a side dish, appetizer, or light main. Here are some ways to serve it:
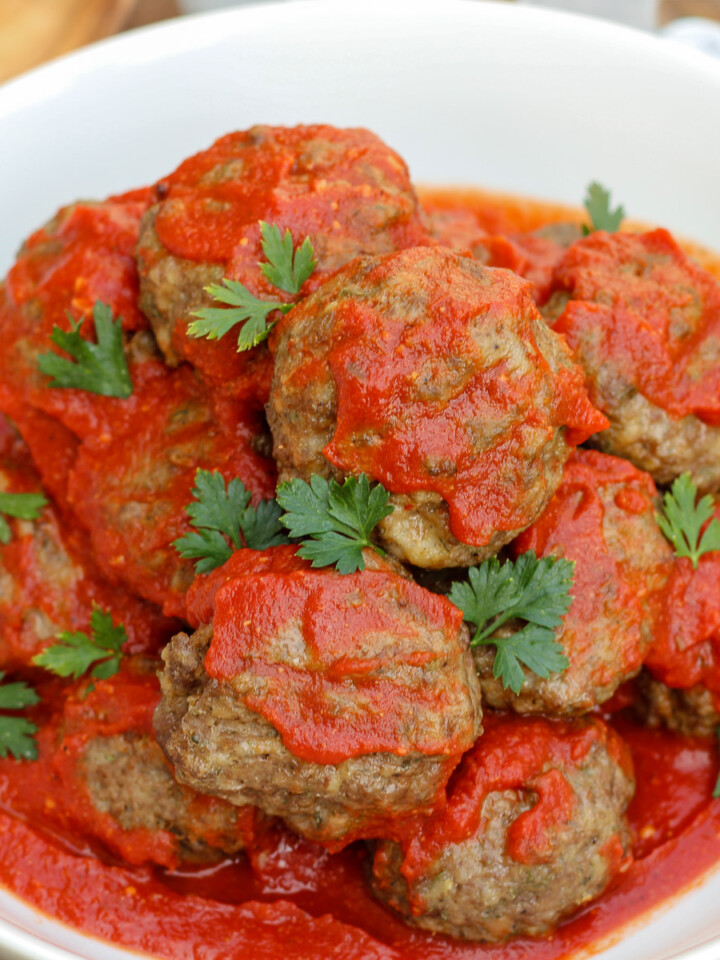
- As a side dish for Italian mains: Serve alongside cast iron meatballs or a traditional pork ragu with pasta.
- As an appetizer: Cut into small squares and serve with a bowl of marinara or a Greek yogurt dip (lemon, olive oil, fresh herbs).
- As a light main: Pair with a simple arugula salad dressed with lemon and olive oil.
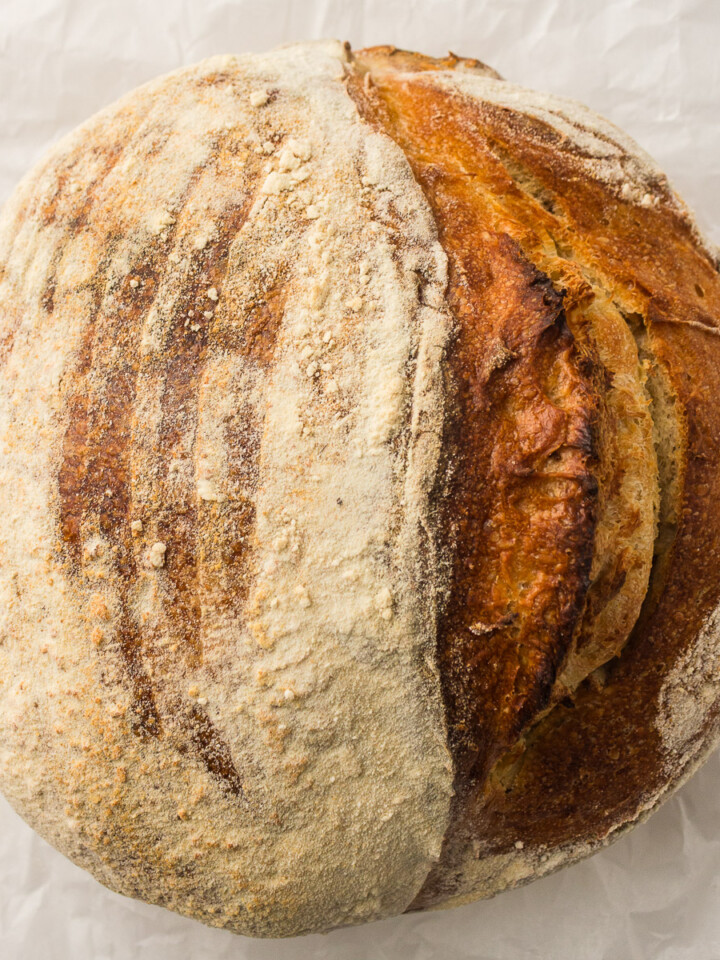
- With bread: Serve alongside Dutch oven sourdough bread for an Italian-inspired spread.
How to Store and Reheat Scarpaccia
- Refrigerator: Store in an airtight container for up to 3-4 days.
- Freezer: Wrap individual portions in plastic wrap, then foil. Freeze for up to 2 months. Thaw overnight in the fridge before reheating.
- Reheating: Air fryer at 350 degrees F for 2-3 minutes is the best method (recrisps beautifully). Oven at 350 degrees F on a baking sheet for about 10 minutes. Microwave works but sacrifices crispiness.
Frequently Asked Questions
Scarpaccia translates loosely to \"old shoe\" or \"bad shoe\" in Italian. It is a playful Tuscan name for this rustic, flat zucchini tart from the Viareggio area. Despite the name, scarpaccia is anything but rough. When made well, it has a crispy golden crust and a tender, flavorful interior.
Olive oil adds the most authentic flavor, but avocado oil or safflower oil work as neutral alternatives. Avoid strongly flavored oils like sesame or peanut oil, which would clash with the Italian herb profile. Regular vegetable oil will also work.
The traditional recipe uses all-purpose flour, so it is not gluten free as written. However, you can substitute rice flour or your favorite gluten-free flour blend. The cornmeal in the recipe is naturally gluten free, so only the flour needs swapping.
Yes. This scarpaccia recipe is naturally egg-free. The batter uses flour, cornmeal, and water, which holds together without eggs. This also makes it easier to adapt for vegan diets (just swap the Parmesan for nutritional yeast).
Store leftovers in an airtight container in the refrigerator for up to 3-4 days. Reheat in an air fryer at 350 degrees F for 2-3 minutes for the crispiest results, or in the oven at 350 degrees F for about 10 minutes.
You can slice and drain the zucchini up to a day in advance (refrigerate the drained zucchini in a covered bowl). The batter is best mixed and baked fresh, as it loses its structure if it sits too long. For the crispiest results, serve within an hour of baking.
More Delicious Recipes

If you tried this Scarpaccia or any other recipe on my blog, please leave a 🌟 star rating and let me know how it went in the 📝 comments below. Thanks for visiting!
Get the Recipe
Scarpaccia
Equipment
- 3.6 quart Dutch oven Or cast iron baking tray
Ingredients
- 2 medium zucchinis thinly sliced
- 1 cup red onion thinly sliced
- 1 red bell pepper diced and sliced
- 1 cup all purpose flour
- ½ cup cornmeal
- 1 teaspoon salt
- 1 teaspoon black pepper
- 1 tablespoon granulated garlic
- 1 tablespoon fresh basil chopped
- 1 tablespoon fresh rosemary chopped
- 1 cup Parmesan cheese grated
- 1 ½ cups water +/- to desired consistency
Instructions
- Slice the zucchini and onion in very thin slices using a sharp knife or mandolin slicer. Place them in a large bowl, sprinkle with a little bit of salt, and mix.
- See notes section on removing moisture from the zucchini, select method and allot the time needed before resuming the recipe for best results.
- Place the zucchini and onions into a clean, thin kitchen towel (like a flour sack towel) or into cheesecloth and WRING it, squeezing out as much water as possible. (If desired, reserve the released water replacing water in the recipe.)
- Preheat oven to 400°F. Add the flour, cornmeal, salt, pepper, granulated garlic, basil, rosemary, and Parmesan cheese into another large bowl; mix it all together.
- Slowly add the water to the dry goods to make the batter to the consistency of pancake batter.
- If using decorative bell pepper rings for the topping, quickly dredge them into the batter, removing any excess batter, and set them aside. By the handful, stir in the zucchini, onions, and bell pepper into the batter.
- Line the cast iron with parchment paper (this makes for easy removal for serving.)
- Pour in the battered zucchini, pressing it firmly down and smoothing it across the top. Place the reserved bell pepper rings on top.
- Brush the entire top with the olive oil.
- Place it in the oven, UNCOVERED, and bake for 30-35 minutes or until the top begins to brown.
Notes
- Slice thin or go home. Use a mandolin for paper-thin, uniform slices. Thick slices release moisture during baking and will not cook through.
- Do not skip the squeeze. After draining, wring the zucchini in a towel until barely any liquid comes out. This is the single biggest factor in getting a crispy tart.
- Adjust the water. Add water gradually to the batter. Your zucchini may have released more or less moisture. Aim for pancake batter consistency.
- Brush the top with olive oil. This promotes browning and adds crispiness to the surface.
- Let it rest 10-15 minutes before cutting. Cutting too soon lets steam escape and slices fall apart.
- Parchment paper is your friend. Line the cast iron with parchment for easy removal and clean slicing.
Nutrition
Dutch Oven Daddy is not a dietician or nutritionist, and any nutritional information shared is only an estimate. We recommend running the ingredients through an online nutritional calculator if you need to verify any information.
Angela says
Ned this is an amazing recipe, so easy to make, and it just pops with flavor! My family is Italian/Irish, and I tripled up the recipe and made it for a recent dinner party. Fabulous, thank you!
Mahy says
I've got to say, this is one tart that I have never tried. Can't wait to give it a try now!
Harriet Young says
ABSOLUTELY DELICIOUS! What a great way to use up a glut of zucchinis. Thanks for this recipe
Kathleen says
Wow! I have never had anything like this Italian zucchini tart. It looks incredibly delicious!
veenaazmanov says
Never tried the combination of a Zucchini tart ever. The burst of Herb flavors, healthy veggies and the cheesy topping is surely a treat, Thanks for sharing such a lovely recipe.
Heather says
Absolutely delicious tart and such a great way to use up zucchini too! Beautiful flavors and so easy to make, thanks so much!
Katherine says
Loved the flavors of the rosemary parmesan and cornmeal along with all the fresh veggies!
rebecca says
This is such a great recipe to use up garden zucchini! love the herbs and spices in it, and the bell pepper! such a great addition
Vicky says
I'd never heard of Scarpaccia before, but this was so fresh and delicious! I loved the combination of zucchini and the crispy crust. The perfect appetizer!
Sara Welch says
This was everything a gourmet meal should be, and then some! Easy, hearty and delicious; definitely, a new favorite recipe!
Paula says
Loved this dish! Such cheesy perfection, I want to make it again and again!
DK says
Wow this zucchini tart was so good! Flavors were amazing and your directions made it so easy for me to make!
Janie says
Now this was super delicious. Loved the flavor of this tart and prepped this for my lunch throughout the week!
Dina and Bruce says
Ned, not only was this dish amazing, but your recipes are so easy to follow with step by step photos and instructions. We love your website!!
Ned Adams says
Thank you so much for your kind words! I'm truly grateful that you are enjoying my site and the recipes. Thank you again and I hope you have a fantastic day!