


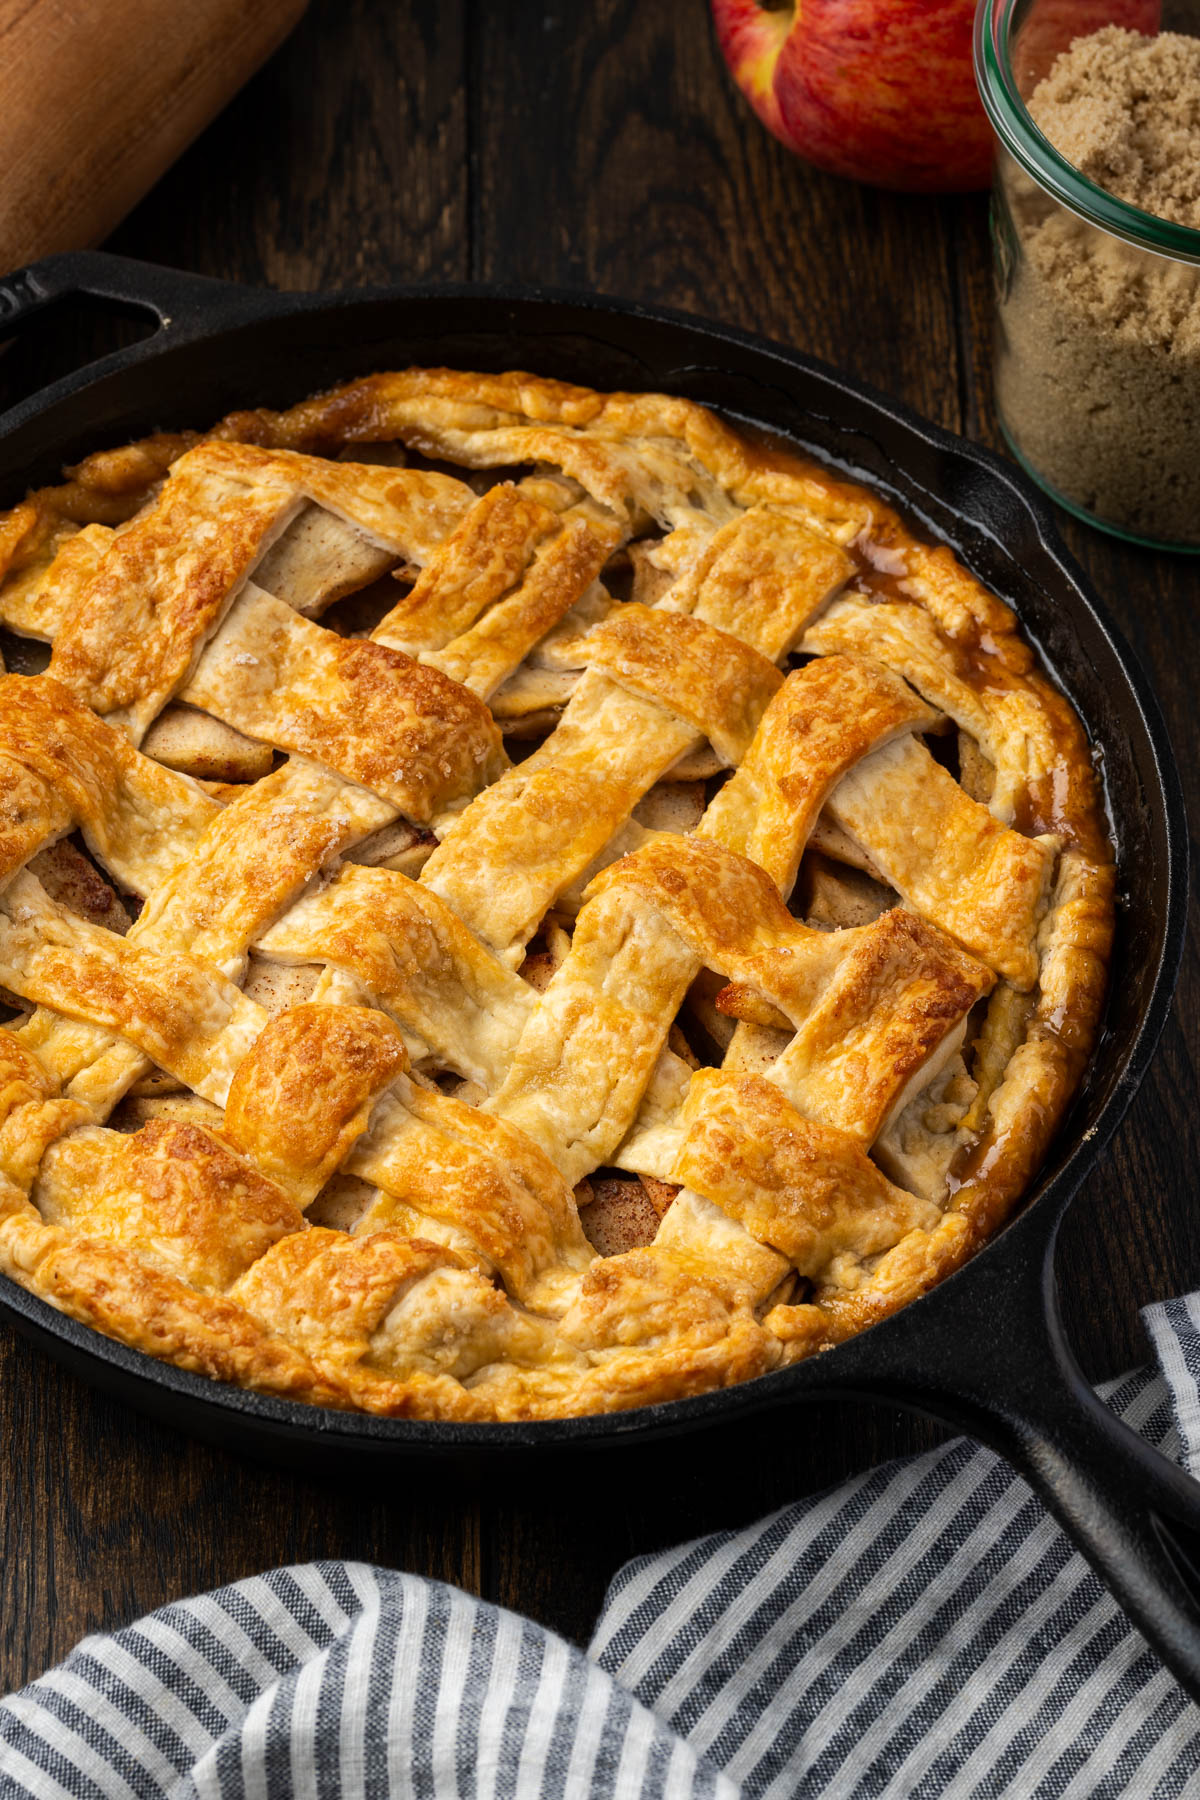
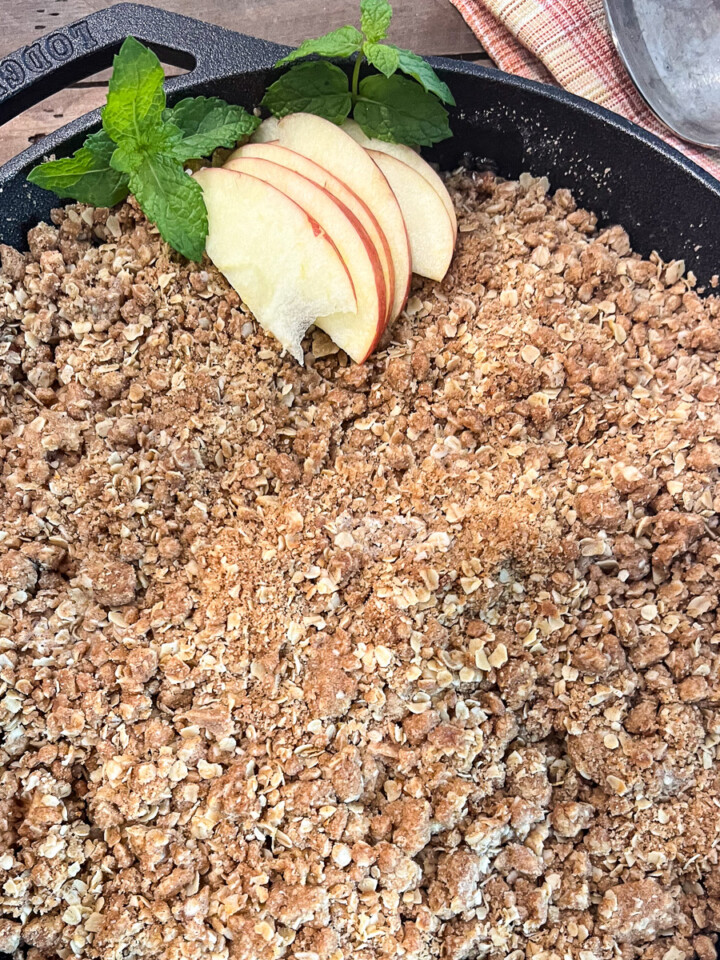
Got a simple twist on a classic for you! When nothing beats a slice of apple pie, this Cast Iron Apple Pie takes it up a notch with a golden, melt-in-your-mouth crust, warm spiced apples, and an irresistible caramelized edge—only achievable in a cast iron skillet. It’s rustic, easy, and always a crowd-pleaser.
Jump to:
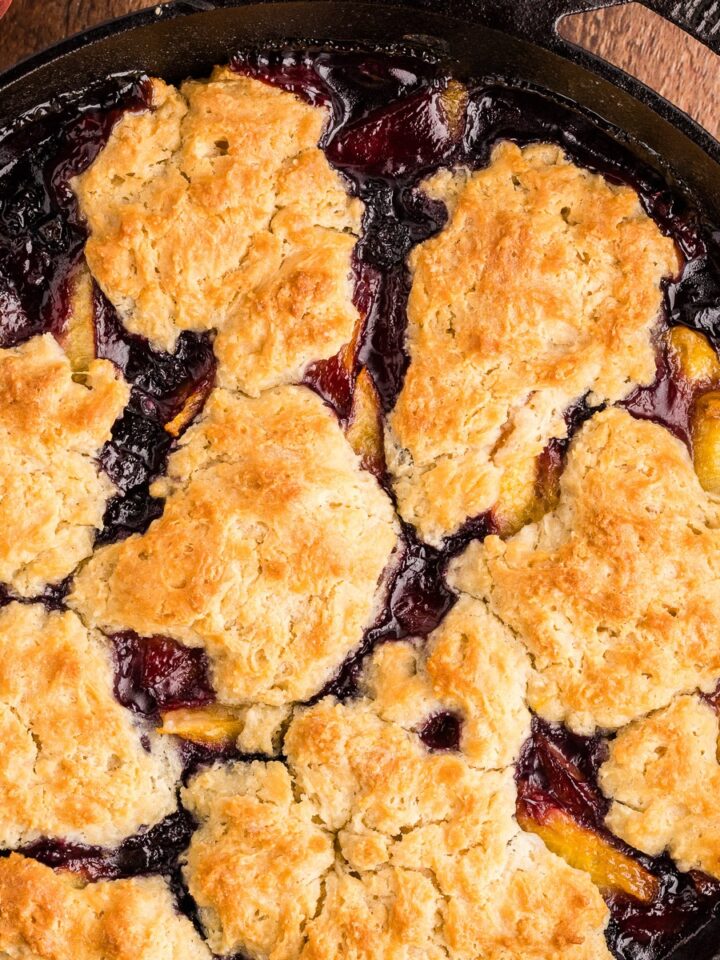
Looking for an apple pie upgrade? This Cast Iron Apple Pie is a game-changer. Each apple slice is perfectly tender, coated in warm spices, and caramelized with brown sugar, all tucked into a buttery, crisp crust.
The cast iron skillet ensures an even bake with signature caramelized edge you won’t get from a regular pie dish. Serve it simply with a scoop of ice cream or dress it up for a show stopping dessert—either way, this easy skillet apple pie delivers all the cozy comfort of a classic apple pie.
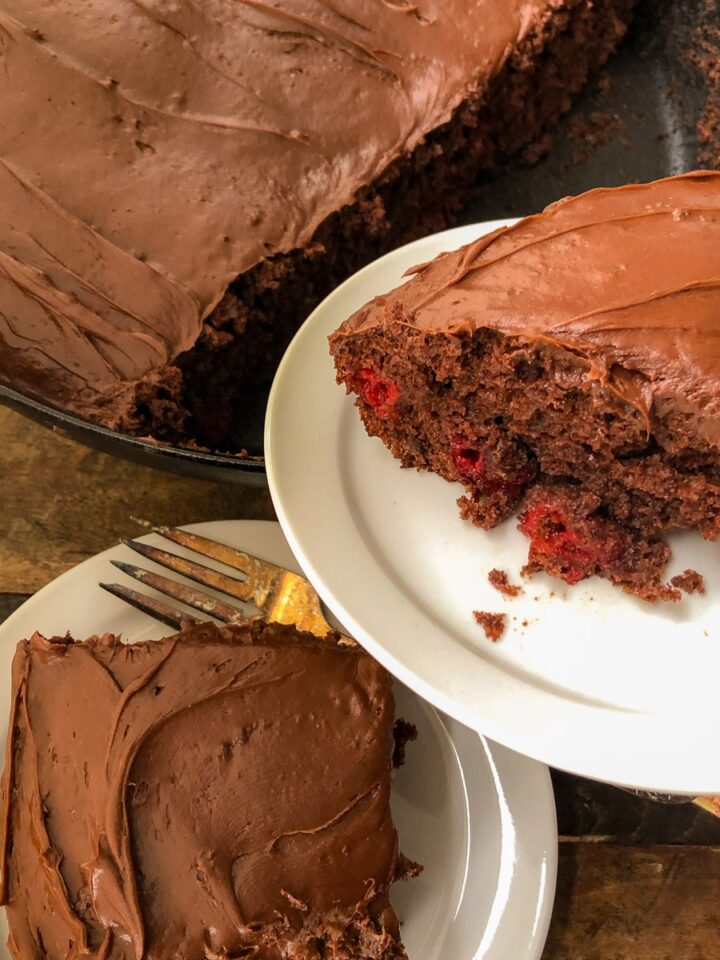
If you like apple desserts, try this Dutch Oven Apple Cake, Skillet Apple Crisp, or Apple Skillet Cake next!
Why You’ll Love This Recipe
- Effortless and Quick: This recipe keeps things simple! Using a store-bought pie crust saves time, while the filling comes together in minutes with just apples, butter, sugar, and one spice blend.
- A Guaranteed Crowd-Pleaser: Whether you're enjoying it at home, at a family gathering, or even eaten cold still out of the fridge, this apple pie in a cast iron skillet never disappoints.
- Better in a Skillet: Cast iron holds heat well, ensuring even baking, a delicate crust, and a bubbling, caramelized apple filling—no soggy bottoms here!
Skillet Apple Pie Ingredients

- Pie Crusts: A flaky crust is the foundation of a great skillet apple pie. Store-bought crusts keep things simple, but homemade works if you’re feeling ambitious!
- Apples: A mix of Granny Smith and Honeycrisp apples provides the perfect balance of tart and sweet flavors while holding their shape for that classic texture.
- Sweeteners: Maple syrup, brown sugar, and vanilla create deep caramelized sweetness with a touch of natural warmth.
- Butter: Cubed butter melts into the filling, creating a rich, velvety sauce that coats every apple slice.
- Topping: Brushing beaten egg and sprinkling brown sugar over the crust before baking gives it that irresistible glossy finish.
- Spices: Apple pie spice brings everything together with a comforting blend of cinnamon, nutmeg, allspice, and hints of ginger, cardamom, or cloves. It’s a simple way to get that classic, spiced flavor without measuring out multiple spices.
See the recipe card below for exact ingredient amounts, nutritional information, and detailed instructions.
Variations
- Add Dried Fruit: To change up the classic apple filling, mix in raisins or dried cranberries.
- A Splash of Booze: Pour a splash of rum or bourbon into the filling for a warm, smoky depth that enhances the spices and aromatics.
- Crunchy Contrast: Mix in chopped pecans, walnuts, almonds, or pistachios for a satisfying crunch. Toasting them first brings out even more nutty flavor!
- For Caramel Lovers: Drizzle your favorite caramel sauce over the apple filling before adding the top crust for extra gooeyness. Or, mix in caramel bits for melty pockets of sweetness in every bite.
How to Make Cast Iron Apple Pie
Ready to elevate your apple pie game? Let’s get started! Preheat your oven to 350°F, then grab your 10” skillet and all the ingredients for this homestyle apple pie masterpiece!
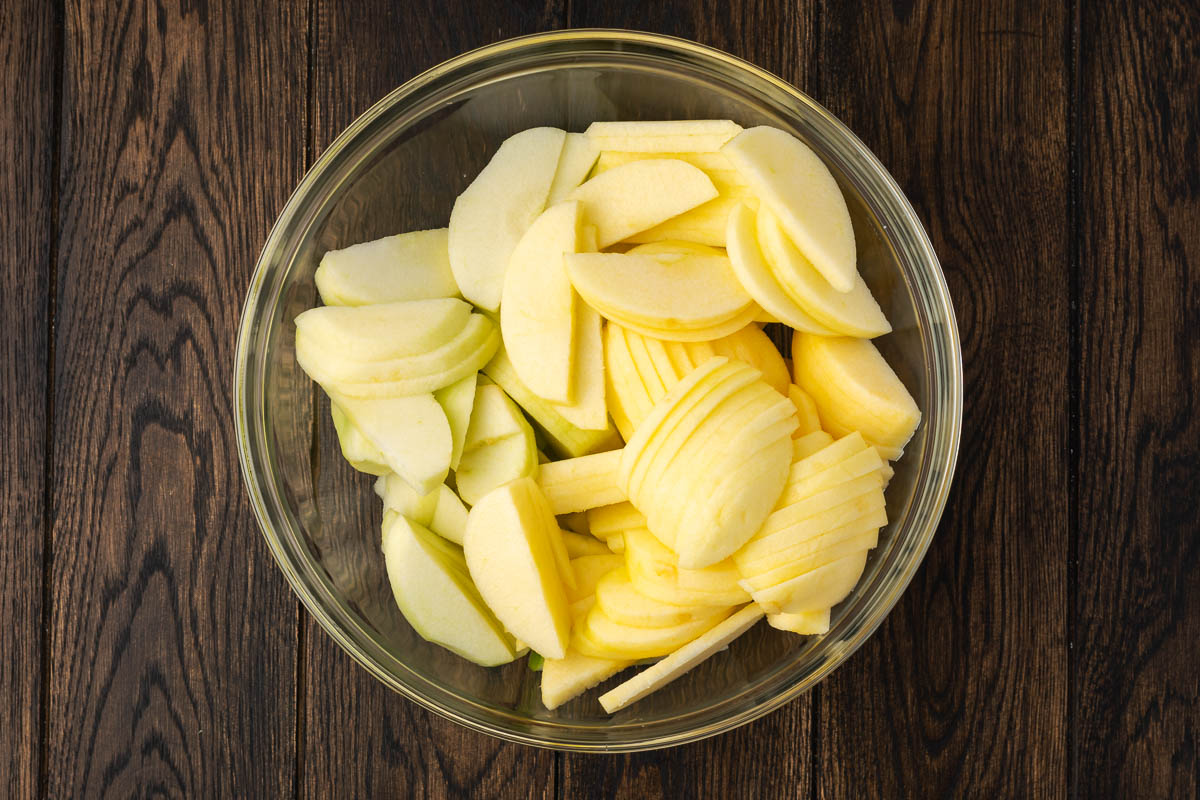
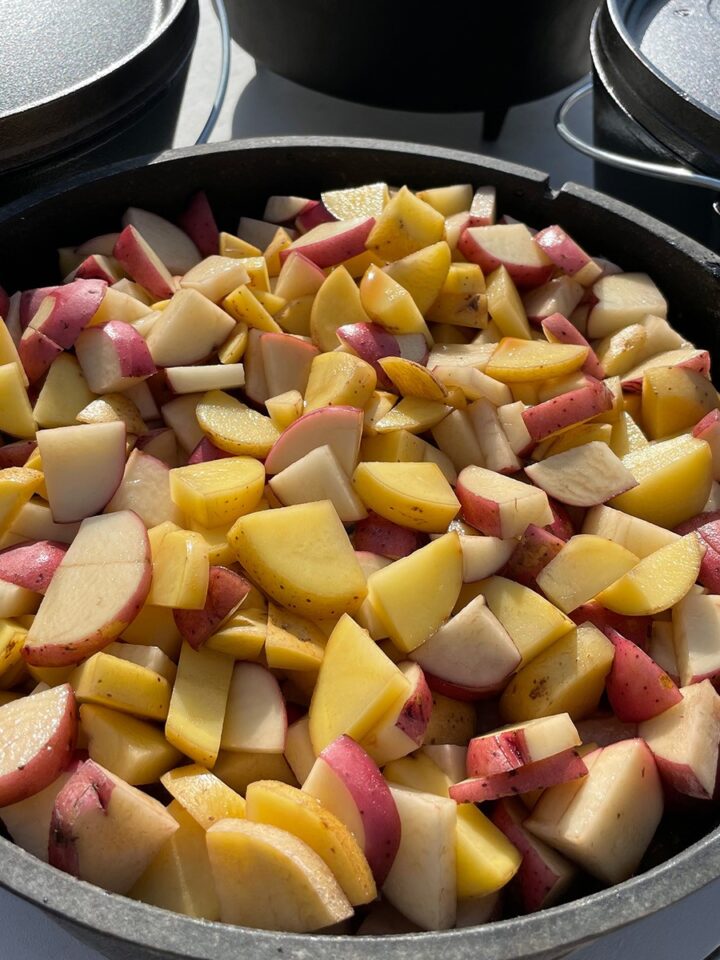
Step 1: Prep the apples. Peel and slice your apples into ¼-inch slices and place them in a bowl.
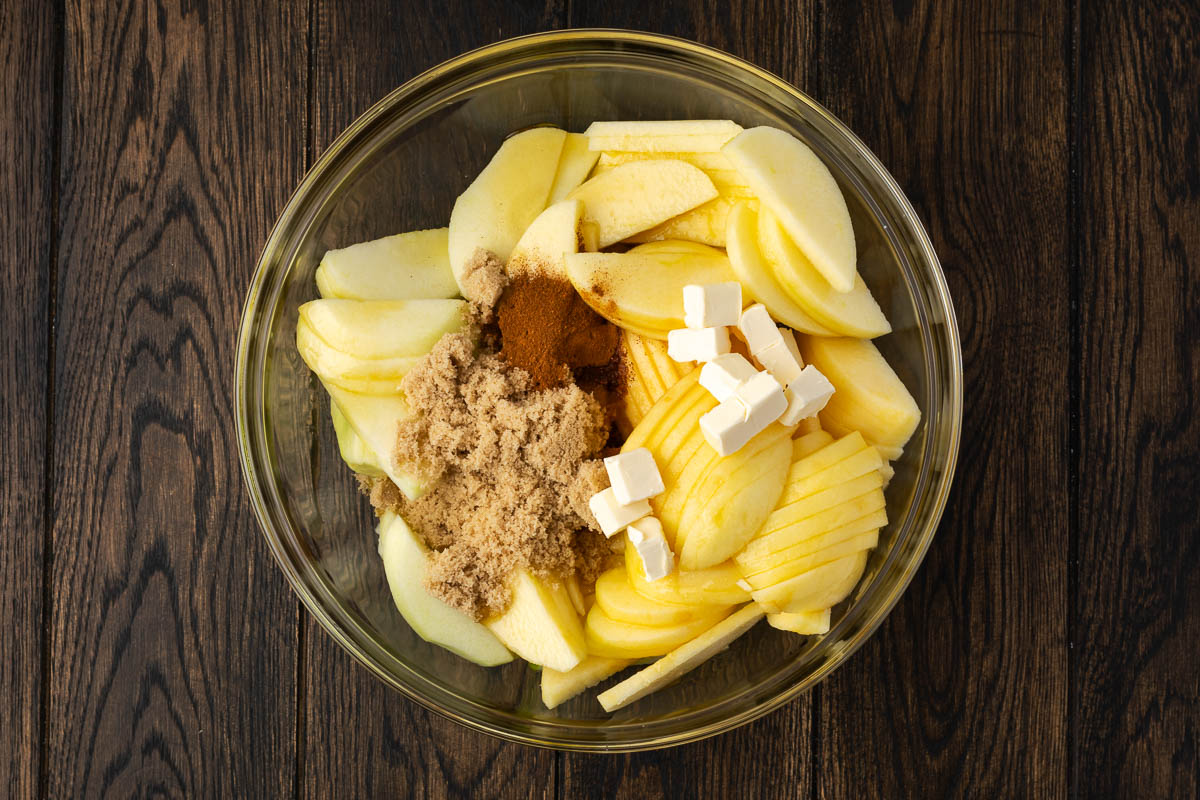
Step 2: Make the Filling. Add the maple syrup, brown sugar, apple pie spice, vanilla and butter to a medium mixing bowl. Combine well and set aside.
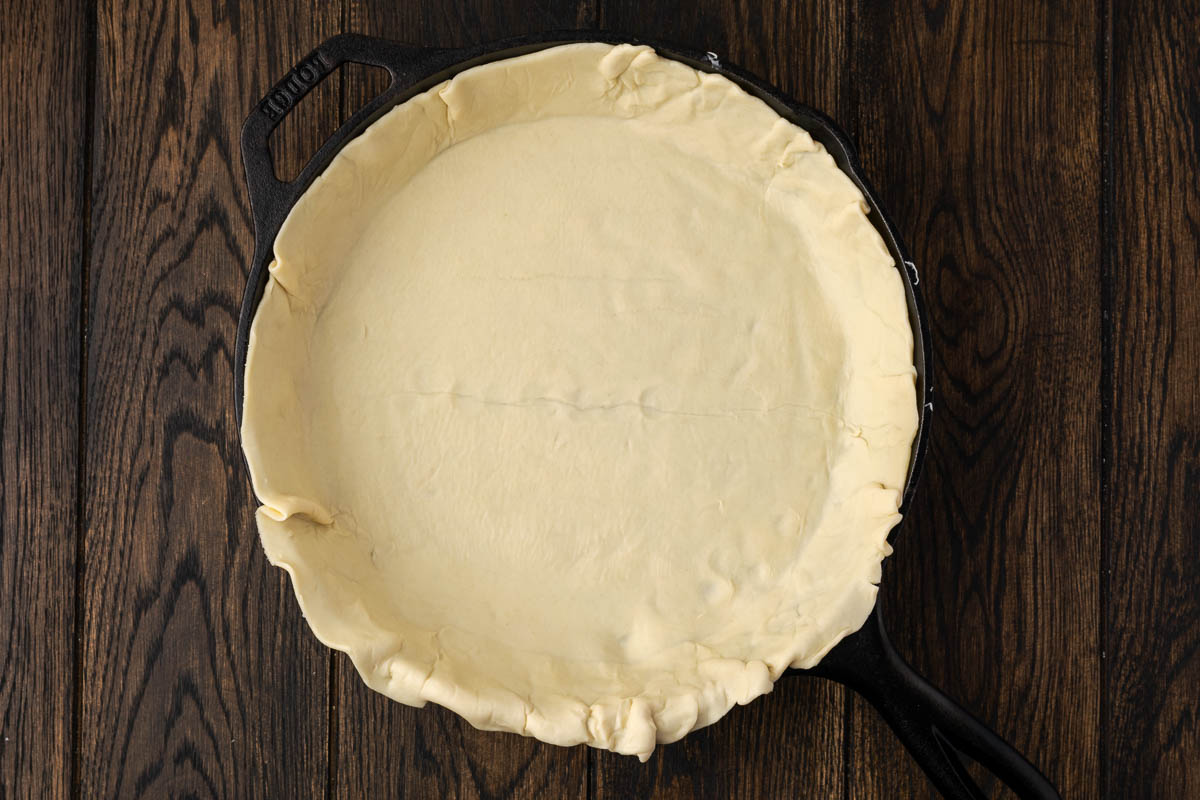
Step 3: Add bottom crust. Place one pie crust in the bottom of the 10” cast iron skillet.
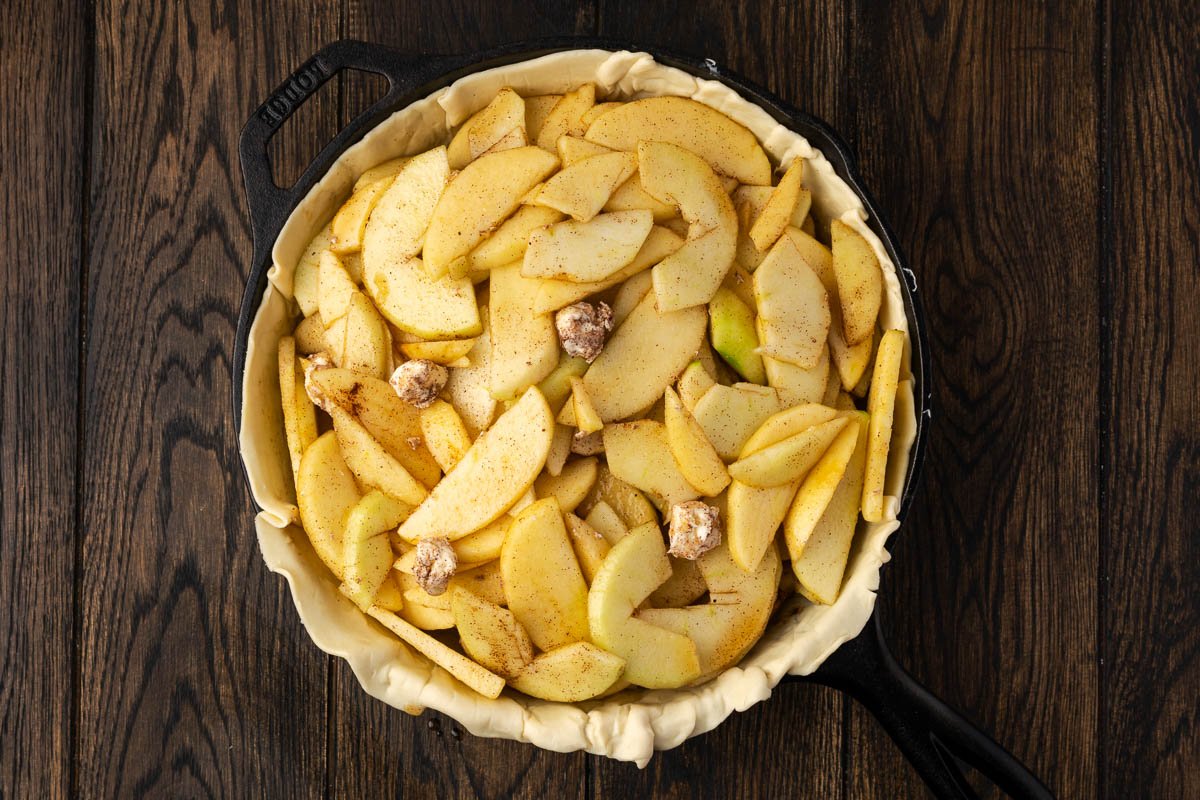
Step 4: Add the filling. Spoon the apple mixture into the pie crust.
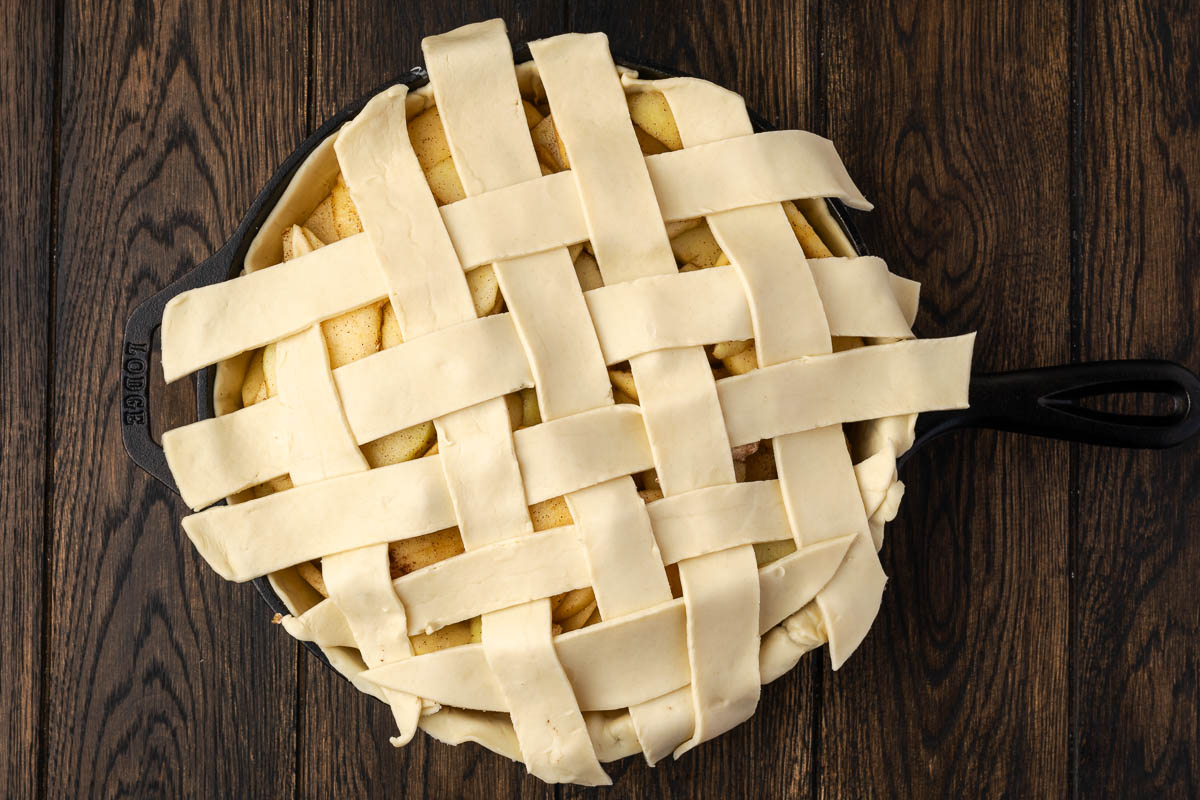
Step 5: Make the lattice crust. Cut one pie crust into eight strips. Lay the first one down on one edge of the skillet. Lay another atop that one going the opposite direction. Repeat the up and down pattern, interlacing the pie crust strips to create a basket or lattice pattern.
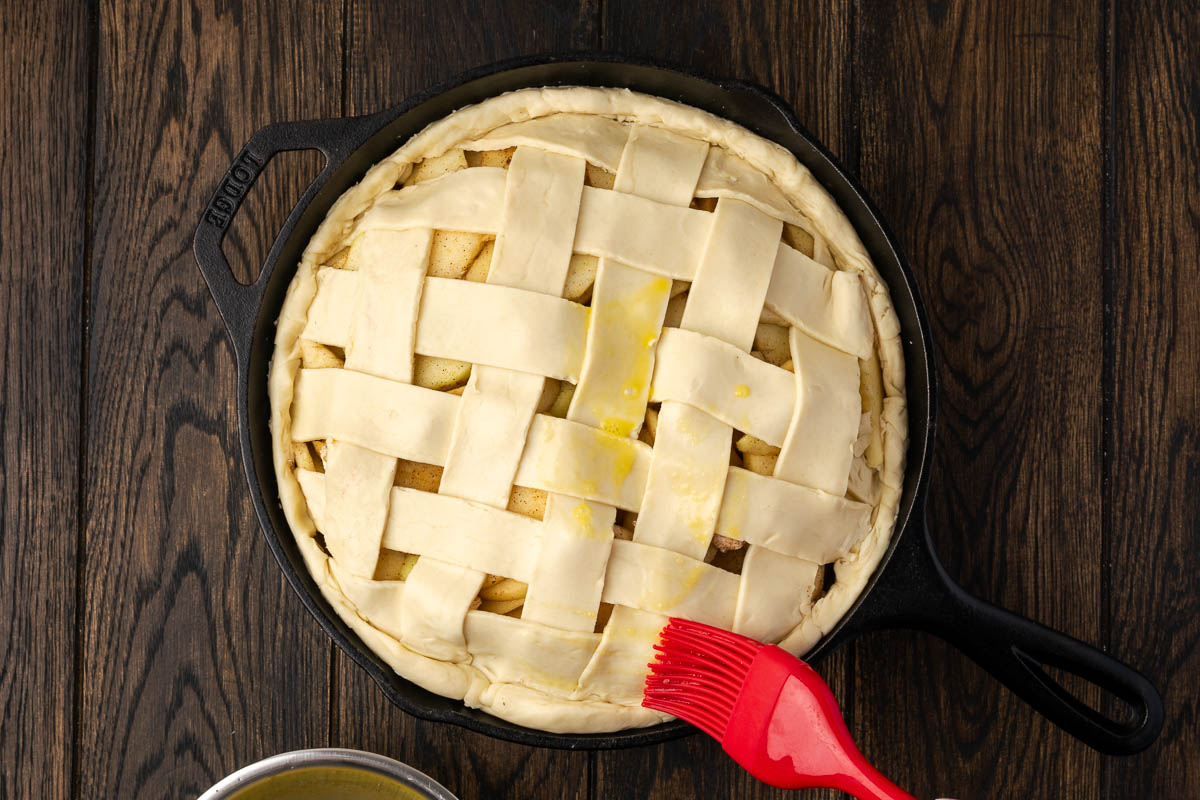
Step 6: Add egg wash. Pinch the edges of the top and bottom crust to seal and brush the egg wash on the top crust.

Step 7: Add the sugar. Sprinkling the remaining brown sugar over the top of the pie crust.

Step 8: Bake and enjoy. Bake for 60-70 minutes until golden brown, let it rest for 10 minutes and serve!
⭐️ Hint: If you don't make the lattice crust, cut a few small slits in the top crust before baking to allow steam to escape. This helps prevent a soggy crust and ensures your pie bakes up golden and perfectly flaky!
Serving Suggestions
This rustic skillet apple pie is a showstopper on any table or enjoyed just on its own, but the right pairing can really take it up a notch. Here are some delicious ways to enjoy it:
- Top your warm skillet pie with a scoop of vanilla ice cream, a drizzle of caramel or maple syrup, and a sprinkle of cinnamon for a dessert that’s both eye-catching and tasty.
- Pair it with skillet burgers or Sonoran style hotdogs for an all American-style meal.
- Serve it with hearty pork dishes like honey mustard glazed ham or Dutch oven ribs to create a comforting meal from start to finish.

Expert Tips
- Make Ahead: Save time by prepping the filling up to 24 hours in advance and storing it in the fridge. When ready to bake, simply assemble and pop it in the oven.
- Storing and Reheating: Keep leftovers in an airtight container in the fridge for up to 5 days. For longer storage, freeze cooled slices in a freezer-safe container for up to 3 months. Thaw overnight in the fridge, then reheat in the oven or microwave.
- Watch the Bake: Keep an eye on your apple pie in cast iron as it bakes—you're looking for a golden brown crust and bubbly filling. Overbaking can dry out the apples, so pull it out when it’s just right!
- Apple Texture: Cut the apples at least ½-inch thick so they hold their shape while baking. They soften as they cook, and a hearty apple pie is always best!
Recipe FAQs
Absolutely! A cast iron skillet is a great alternative to a traditional pie pan. It distributes heat evenly for a perfectly cooked filling and helps achieve that tender crust. Plus, it gives your pie that homemade touch!
Make sure the steam can escape as the pie cooks. Cutting slits in the top crust or using the lattice style top crust, allows the steam to escape.
Granny Smith, Honeycrisp, and Braeburn apples are all excellent choices. They hold their shape well and provide the perfect balance of sweetness and tartness.
Not necessarily! Baking them raw preserves a firmer texture, while pre-cooking helps control moisture and prevents a soggy crust. It all depends on your texture preference.

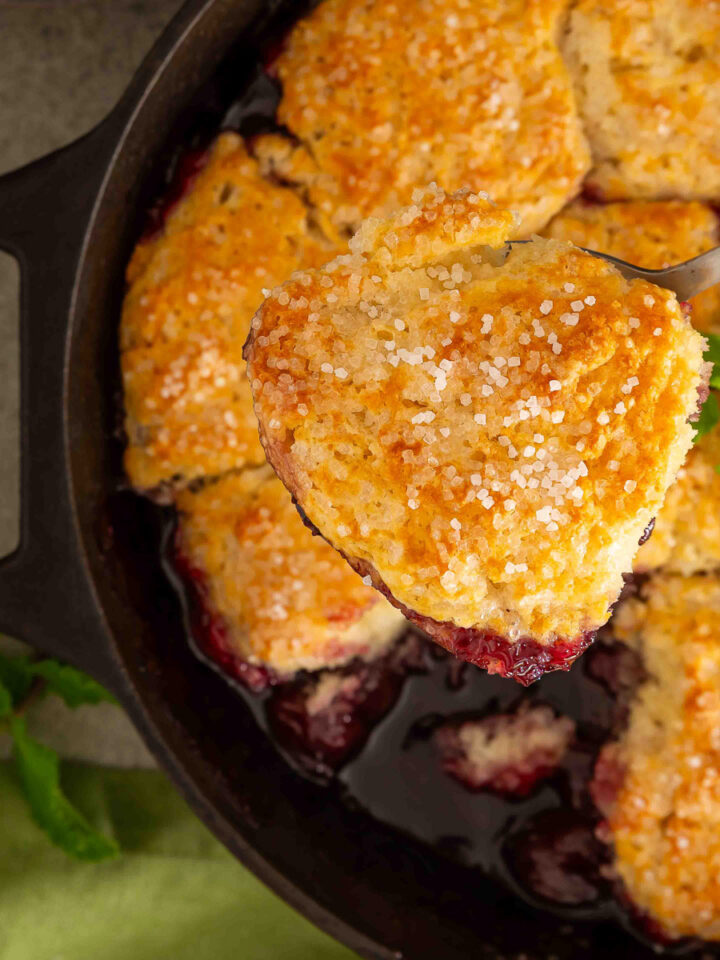
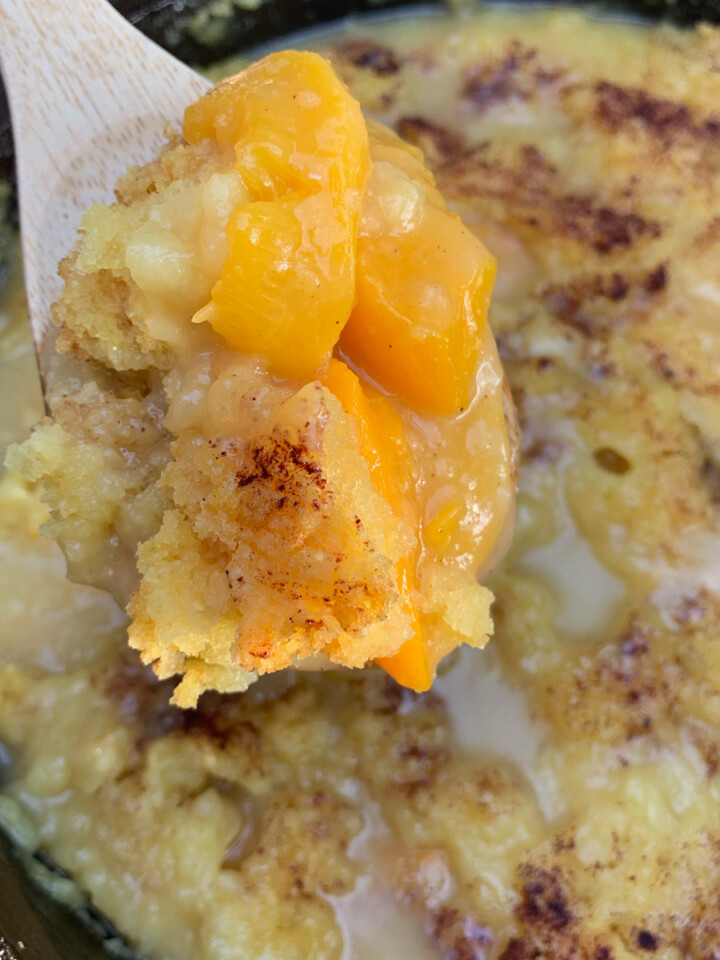
More Delicious Cast Iron Skillet Desserts

If you tried this apple pie recipe or any other recipe on my blog, please leave a 🌟 star rating and let me know how it went in the 📝 comments below. Thanks for visiting!

Skillet Apple Pie
Equipment
- 10" cast iron skillet
Materials
- 2 pie crusts homemade or store bought
- 2 Granny Smith apples peeled and sliced into ¼-inch slices
- 3 Honeycrisp apples peeled and sliced into ¼-inch slices
- 2 tablespoons butter cubed
- ½ cup maple syrup
- 4 tablespoons brown sugar divided
- 1 teaspoon apple pie spice
- 2 teaspoons vanilla
- 1 egg beaten
- 1 tablespoon brown sugar to top on crust
Instructions
- Preheat oven to 350°F.
- Add apples to medium mixing bowl.
- Add to apples, maple syrup, 3 tablespoons brown sugar, apple pie spice, and vanilla and butter cubes and mix well.
- Place bottom pie crust in 10" cast iron skillet, pressing it into the shape of the skillet.
- Spoon apple mixture inside the pie crust. Make sure the pie has enough room to vent.
- Cut one pie crust into eight strips. Lay the first one down on one edge of the skillet. Lay another atop that one going the opposite direction. Repeat the up and down pattern, interlacing the pie crust strips to create a basket or lattice pattern.
- Pinch edges of the top and bottom crust together to seal. Brush top crust with egg wash and sprinkle with the remaining 1 tablespoon brown sugar.
- Bake for 60-70 minutes or until crust is golden brown.
- Let rest for 10 minutes to setup before serving.
Notes
- Skip the Lattice Pattern: Cover with the remaining crust rolled out in a circle. Place 4 small decorative slits in the center of the top crust for venting.
- Crisper Apples in Your Pie? Slice apples ½-inch thick to help them hold their shape while baking. It makes a pie with hearty apple slices!
- Watch the Bake: Keep an eye on the crust—it should be golden brown with bubbling caramelized filling. Overbaking dries out the apples, so pull it when just right!
Dina Miller says
Oh boy! The maple syrup made this so tasty! And was easy using store bought crust!!
Tiffany says
My family loved this!
Dina says
My son loved this pie!
D says
You can never go wrong with this apple pie!!
Edward says
What an incredible homemade apple pie! My whole family loved it!
Casey says
Amazing