
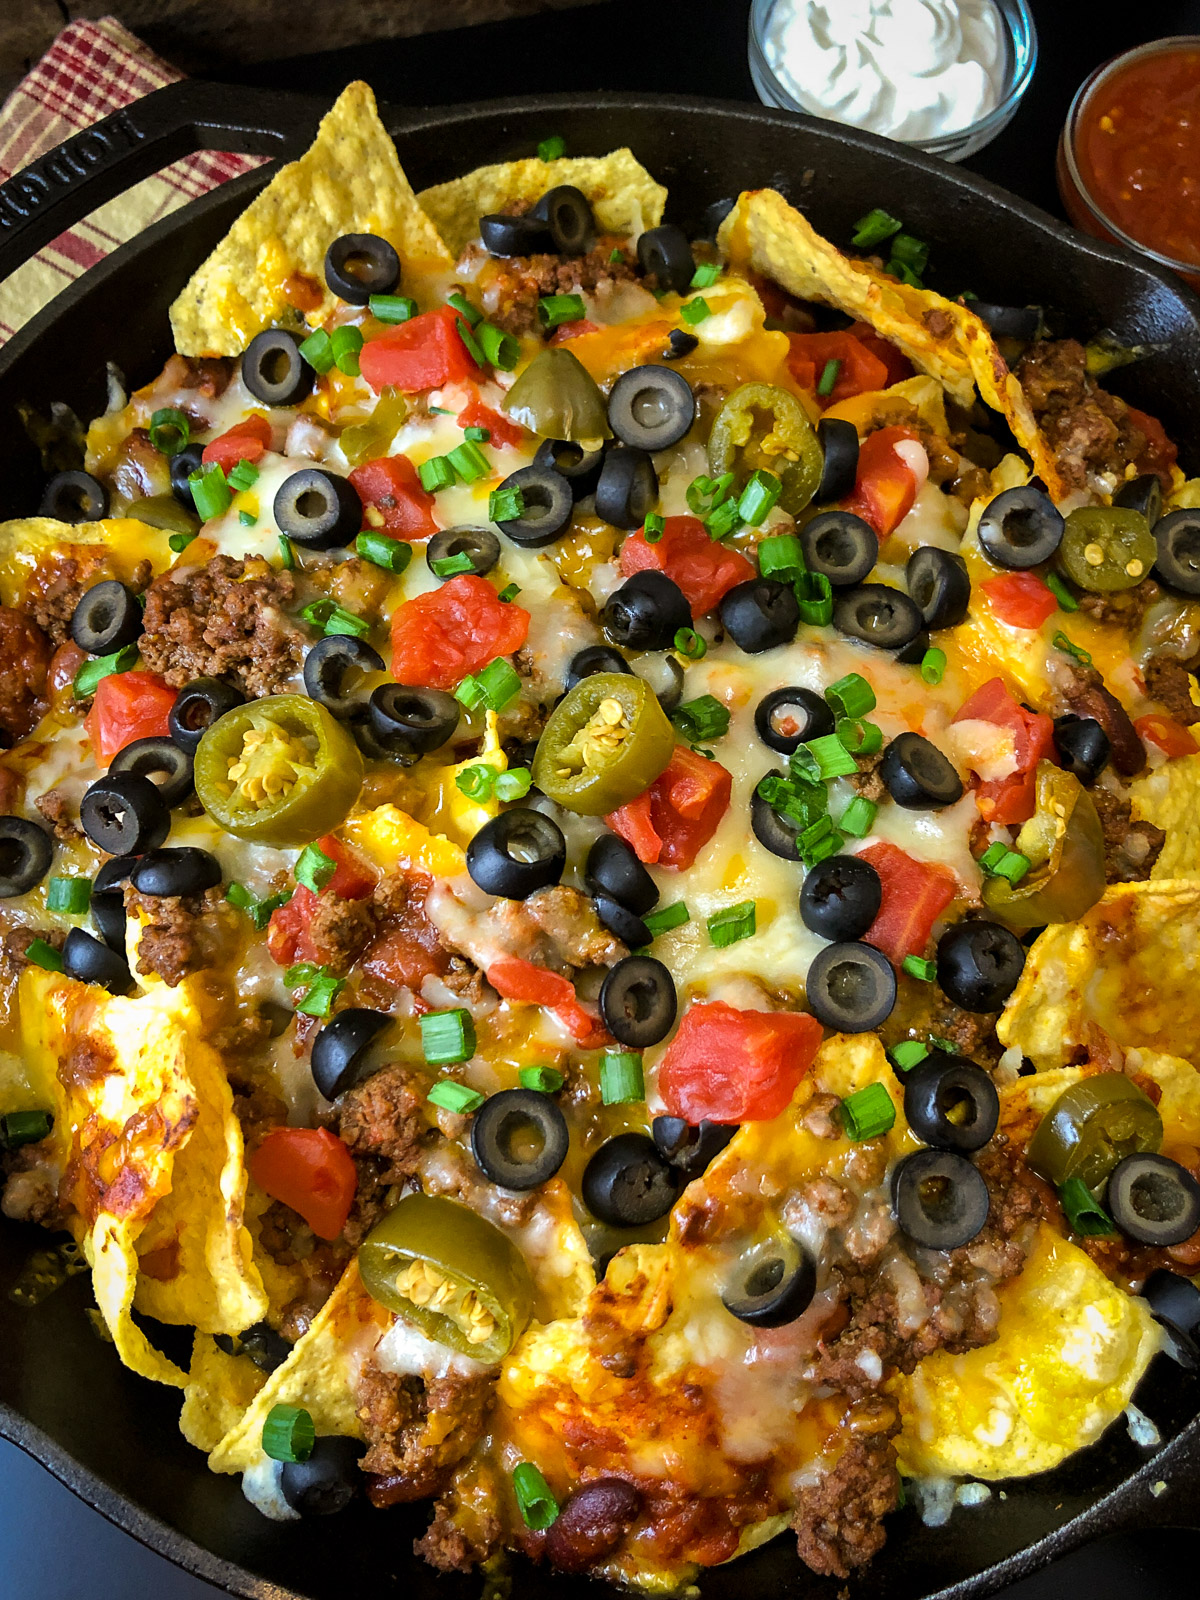
Who doesn't love nachos? These Cast Iron Skillet Nachos are loaded with taco-seasoned ground beef, canned chili, two gooey cheeses, and every topping you can pile on. Cast iron is the move here because it holds heat like nothing else, so your cheese stays melty and stretchy all the way to the last chip. This is the kind of appetizer that disappears before halftime. Whether you're hosting game day or just need an easy weeknight dinner the whole family will love, this one delivers.
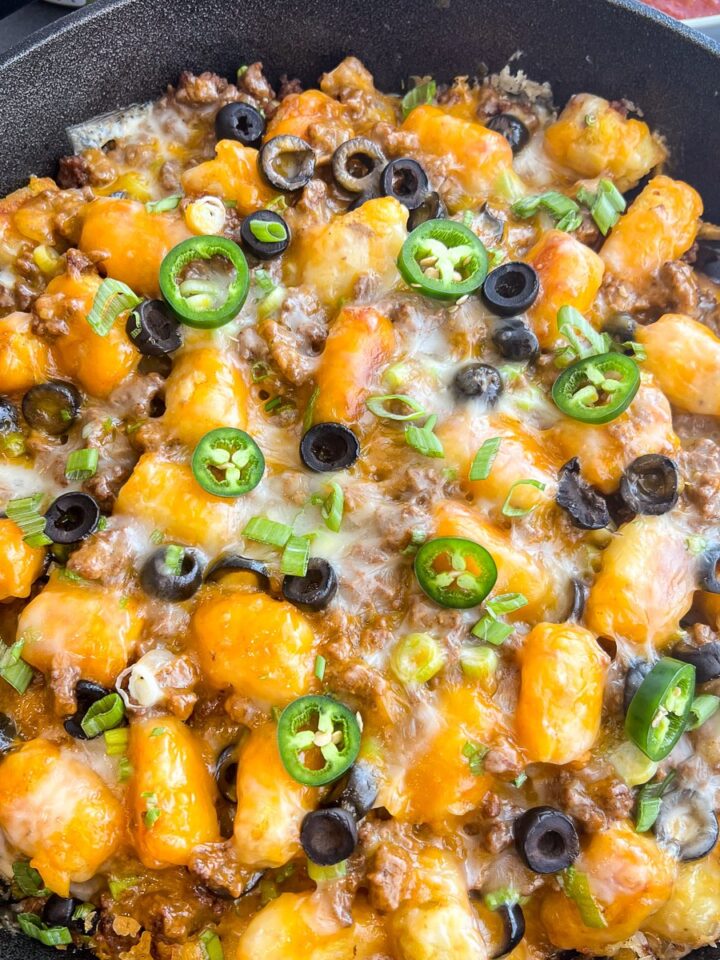
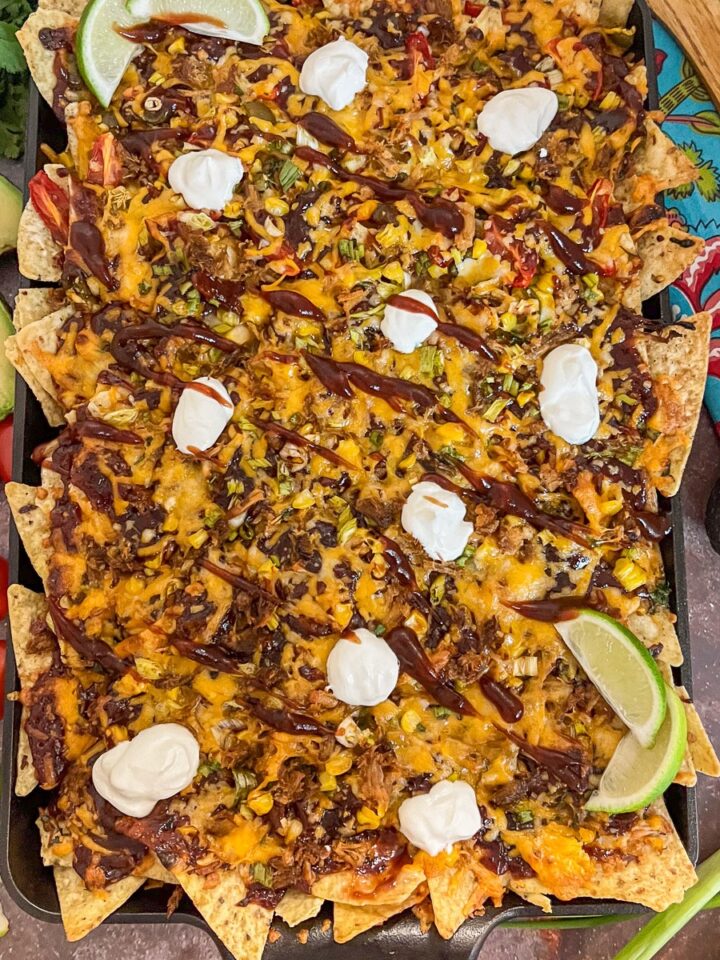
Love nacho night? Try my Tater Tot Nachos for a fun twist, or go all in with my Pulled Pork Nachos next.
Quick Look at the Recipe
- ✅ Recipe Name: Cast Iron Skillet Nachos
- 🕒 Ready In: 30 minutes (10 min prep, 20 min cook)
- 👪 Serves: 4 as a main dish, 6-8 as an appetizer
- 🥣 Main Ingredients: Ground beef, tortilla chips, cheddar cheese, Monterey Jack cheese, canned chili, taco seasoning
- 📖 Dietary Info: Gluten-free (with gluten-free tortilla chips and chili)
- ⭐ Why You'll Love It: Two-layer construction means every chip gets loaded, and the cast iron keeps everything hot from first bite to last.
Summarize and Save the Recipe
Why You'll Love Cast Iron Skillet Nachos
- Totally Customizable: Swap in chicken, pulled pork, or skip the meat entirely. This is a judgement-free zone, friends.
- Cast Iron Keeps Everything Hot: Cast iron holds onto heat, so your cheese stays gooey and stretchy all the way through. No more racing to eat before everything cools off.
- Two Layers, Zero Bare Chips: We build two full layers with meat, cheese, and toppings in each one. Every chip gets the full treatment.
- Ready in Just 30 Minutes: Perfect for busy weeknights or game day when you need food fast.
What Are Nachos?
Nachos are a Tex-Mex appetizer built on corn tortilla chips, melted cheese, and whatever toppings you want to pile on. The story goes that a man named Ignacio Anaya created them out of necessity in Northern Mexico. He fried fresh tortillas, layered them with cheese and pickled jalapenos, and his guests couldn't get enough. From there they crossed into Texas and the rest is history.
Why cast iron? Because cast iron gives you serious heat control. The cheese melts evenly from edge to center, and the skillet holds that heat so your last chip is just as warm as your first.
Cast Iron Skillet Nachos Ingredients
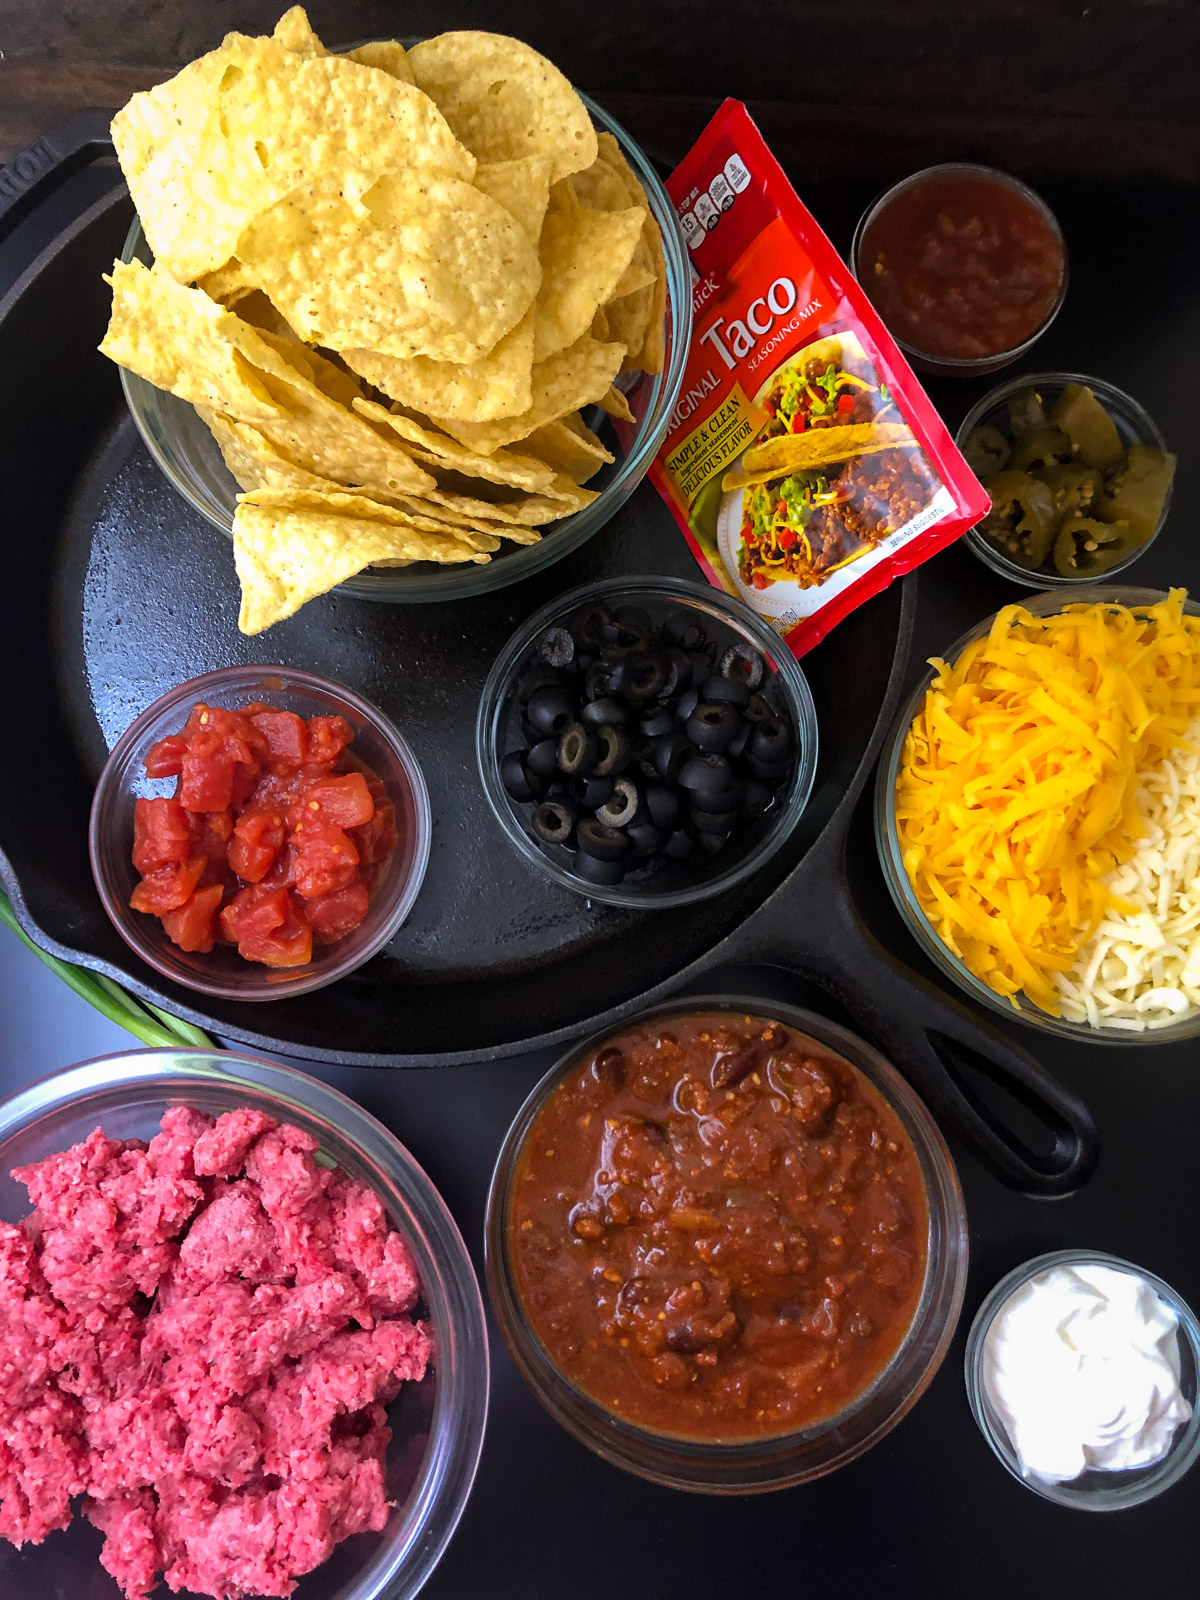
- Ground Beef: One pound of 80/20, drained after browning. The extra fat keeps the meat juicy without making the chips soggy.
- Taco Seasoning: I'm a fan of shortcuts, so a standard packet works great. If you prefer homemade, use about 2 tablespoons of your blend with ¾ cup water. I've found ½ cup tomato sauce with ¼ cup water really gives the meat a lovely depth of flavor.
- Tortilla Chips: Use sturdy, thick-cut chips that can hold the weight. Thin chips crack and crumble under the toppings.
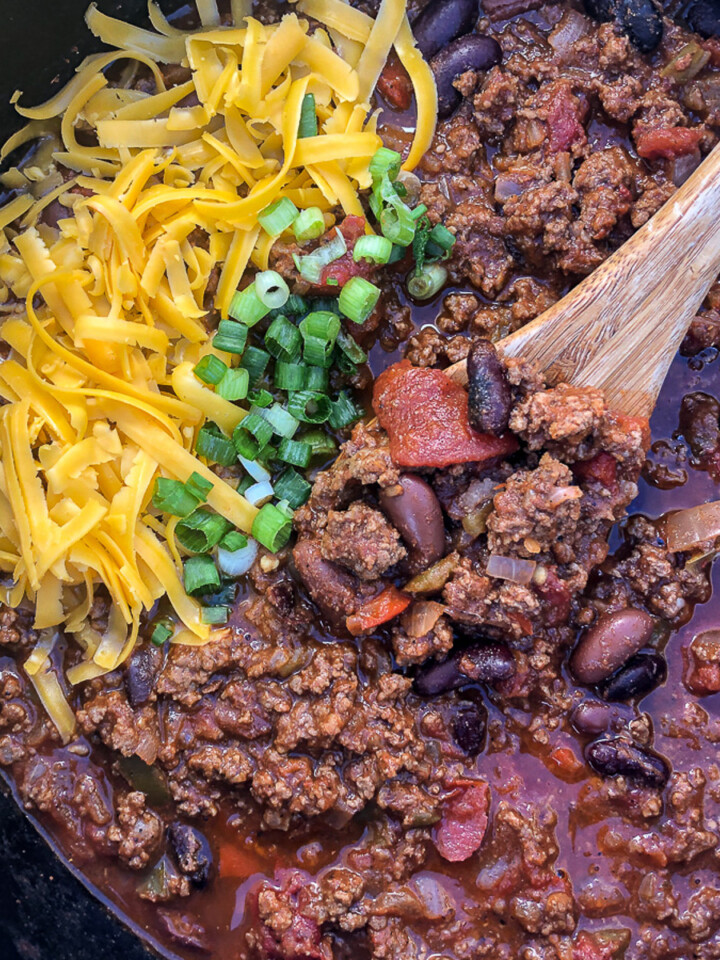
- Canned Chili: One 15-ounce can of your favorite brand. Don't want to use canned? My Awesome Chili is a perfect substitute.
- Cheddar and Monterey Jack Cheese: A cup and a half of each, freshly grated from the block. I do not recommend pre-shredded cheese. The anti-caking agents leave a funny taste and prevent that gooey melt you want. Pepper Jack is a great swap for extra heat.
- Toppings: Grape tomatoes (halved), black olives (sliced), pickled jalapenos (sliced), and green onions. I found it easier to buy already sliced olives and jalapenos. Like I said, fan of shortcuts. If fresh tomatoes are out of season, drained canned diced tomatoes work like a peach.
See the recipe card below for exact amounts and full instructions.
Nacho Variations
- Chicken Nachos: Swap the ground beef for shredded rotisserie chicken tossed with taco seasoning and a splash of water. Great shortcut for busy weeknights.
- Vegetarian Nachos: Drop the beef and spread a can of refried beans in thin layers instead. Add black beans, corn, diced bell peppers, and extra cheese.
- BBQ Pulled Pork Nachos: Use leftover pulled pork (or try my Pulled Pork Nachos) and swap the chili for BBQ sauce. Ridiculously good.
- Breakfast Nachos: Scrambled eggs, crumbled breakfast sausage, pepper jack cheese, pico de gallo, and hot sauce. We've done this for Saturday brunch more than once.
- Supreme Nachos: Go all out. Ground beef, refried beans, corn, bell peppers, three cheeses, and finish with guacamole, sour cream, and fresh cilantro. This is the version you make when you want to show off.
How to Make Cast Iron Skillet Nachos
Nachos come together really quickly. Brown the beef, build two layers, bake, and serve.
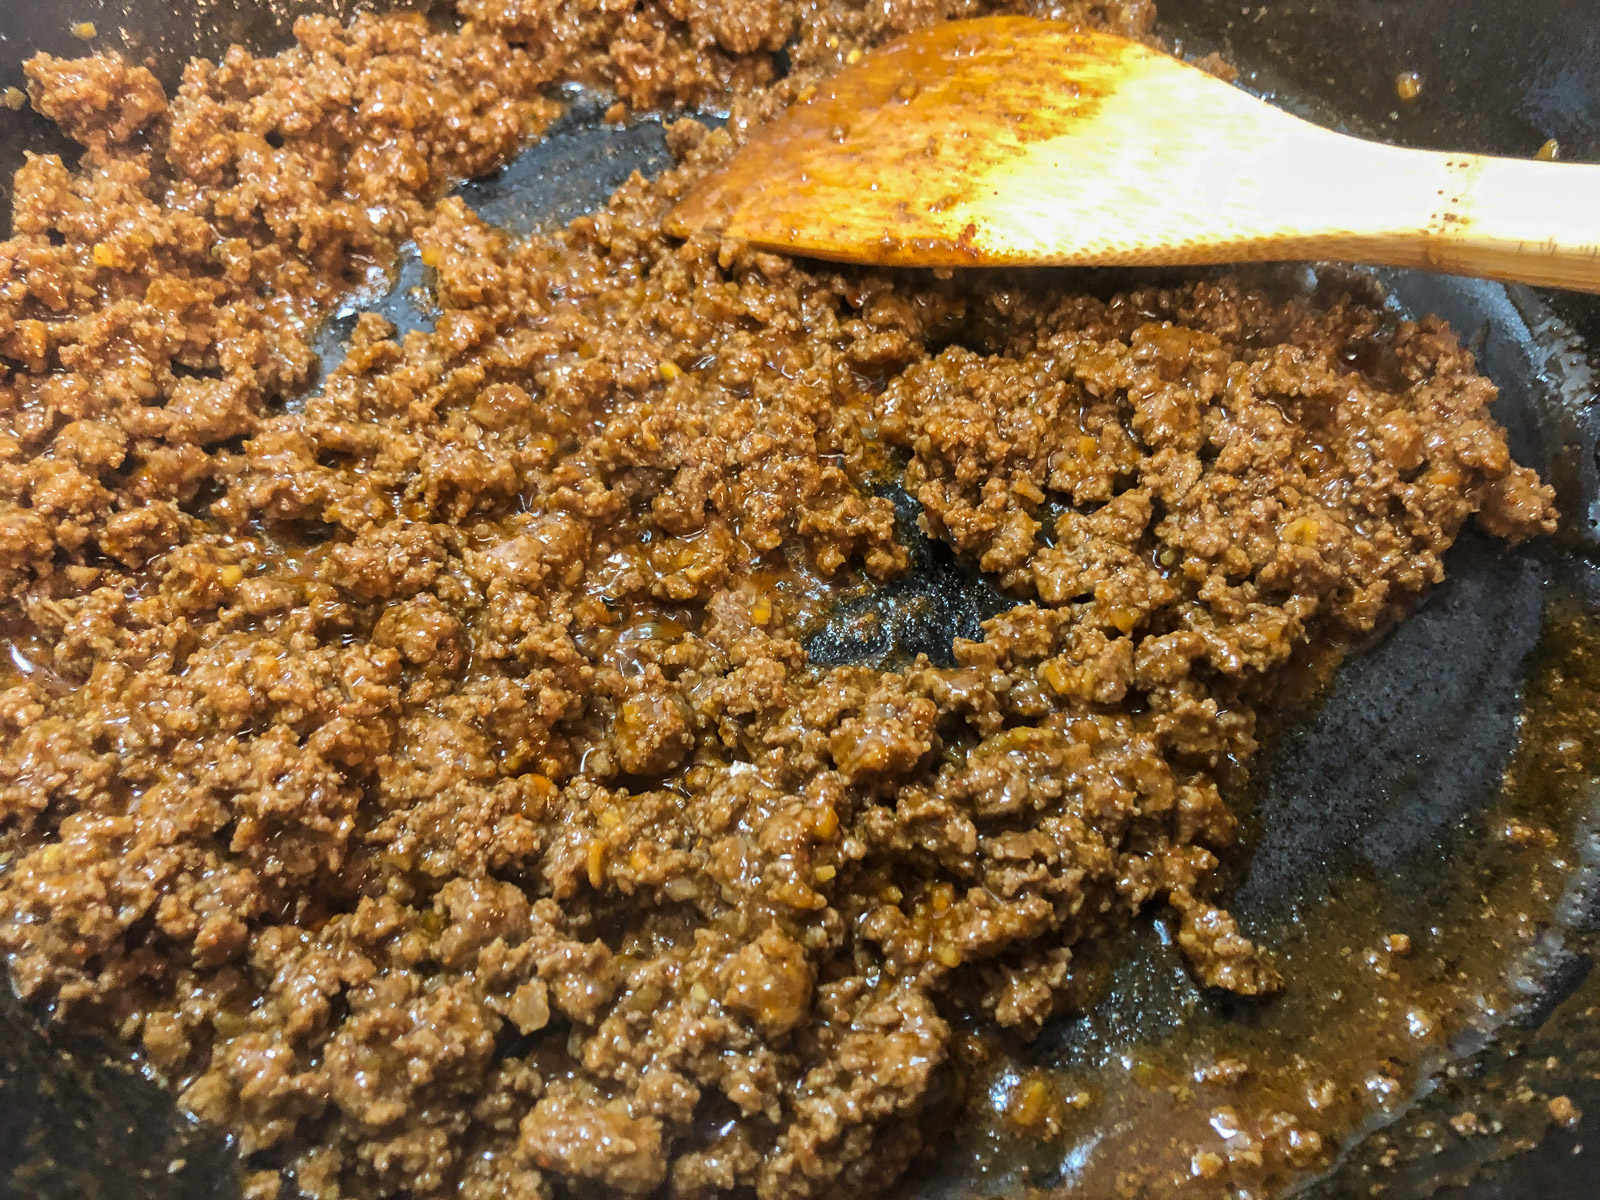
- Step 1: Brown the Beef. Preheat the oven to 400F. Brown the ground beef in the skillet over medium-high, about 5 minutes. Drain the fat, add taco seasoning and water per packet directions, cook until thickened. Transfer to a bowl and wipe the skillet clean.
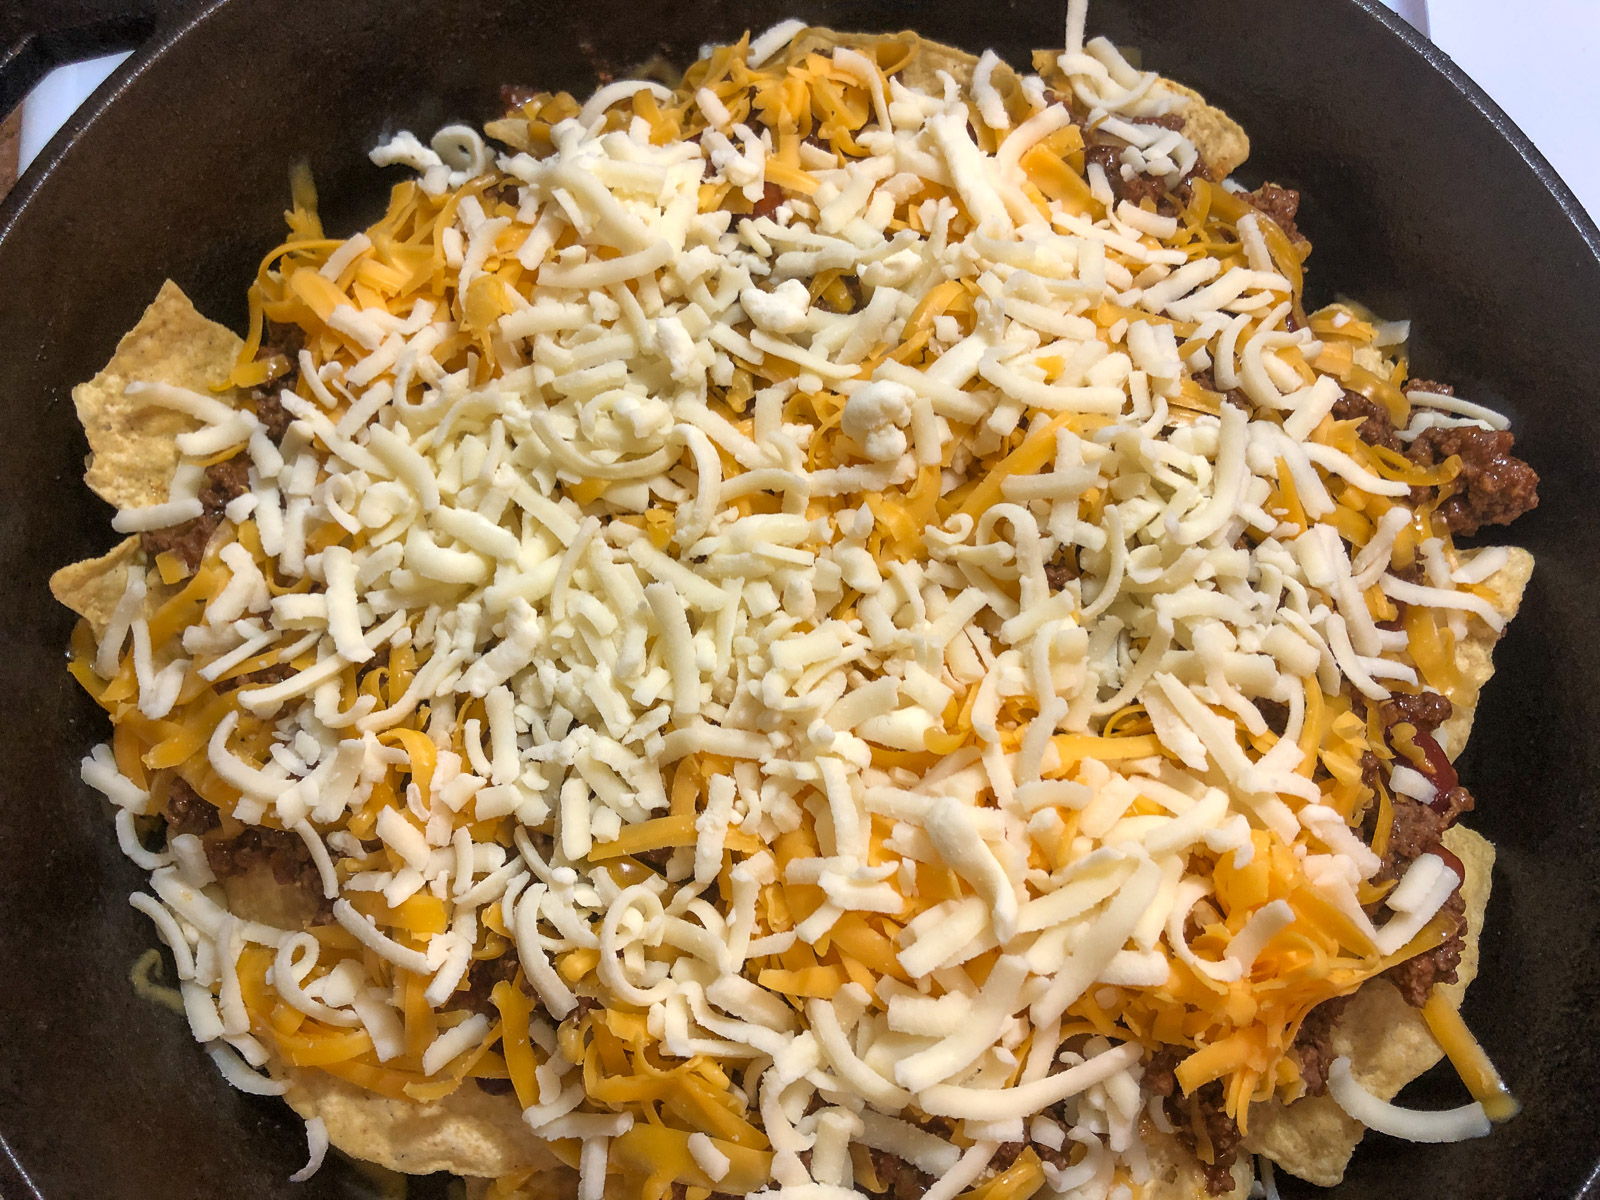
- Step 2: Build the First Layer. Layer half the chips in the skillet. Spoon over half the chili and taco meat, sprinkle half of both cheeses (work some shreds to the edges), and add half the toppings.
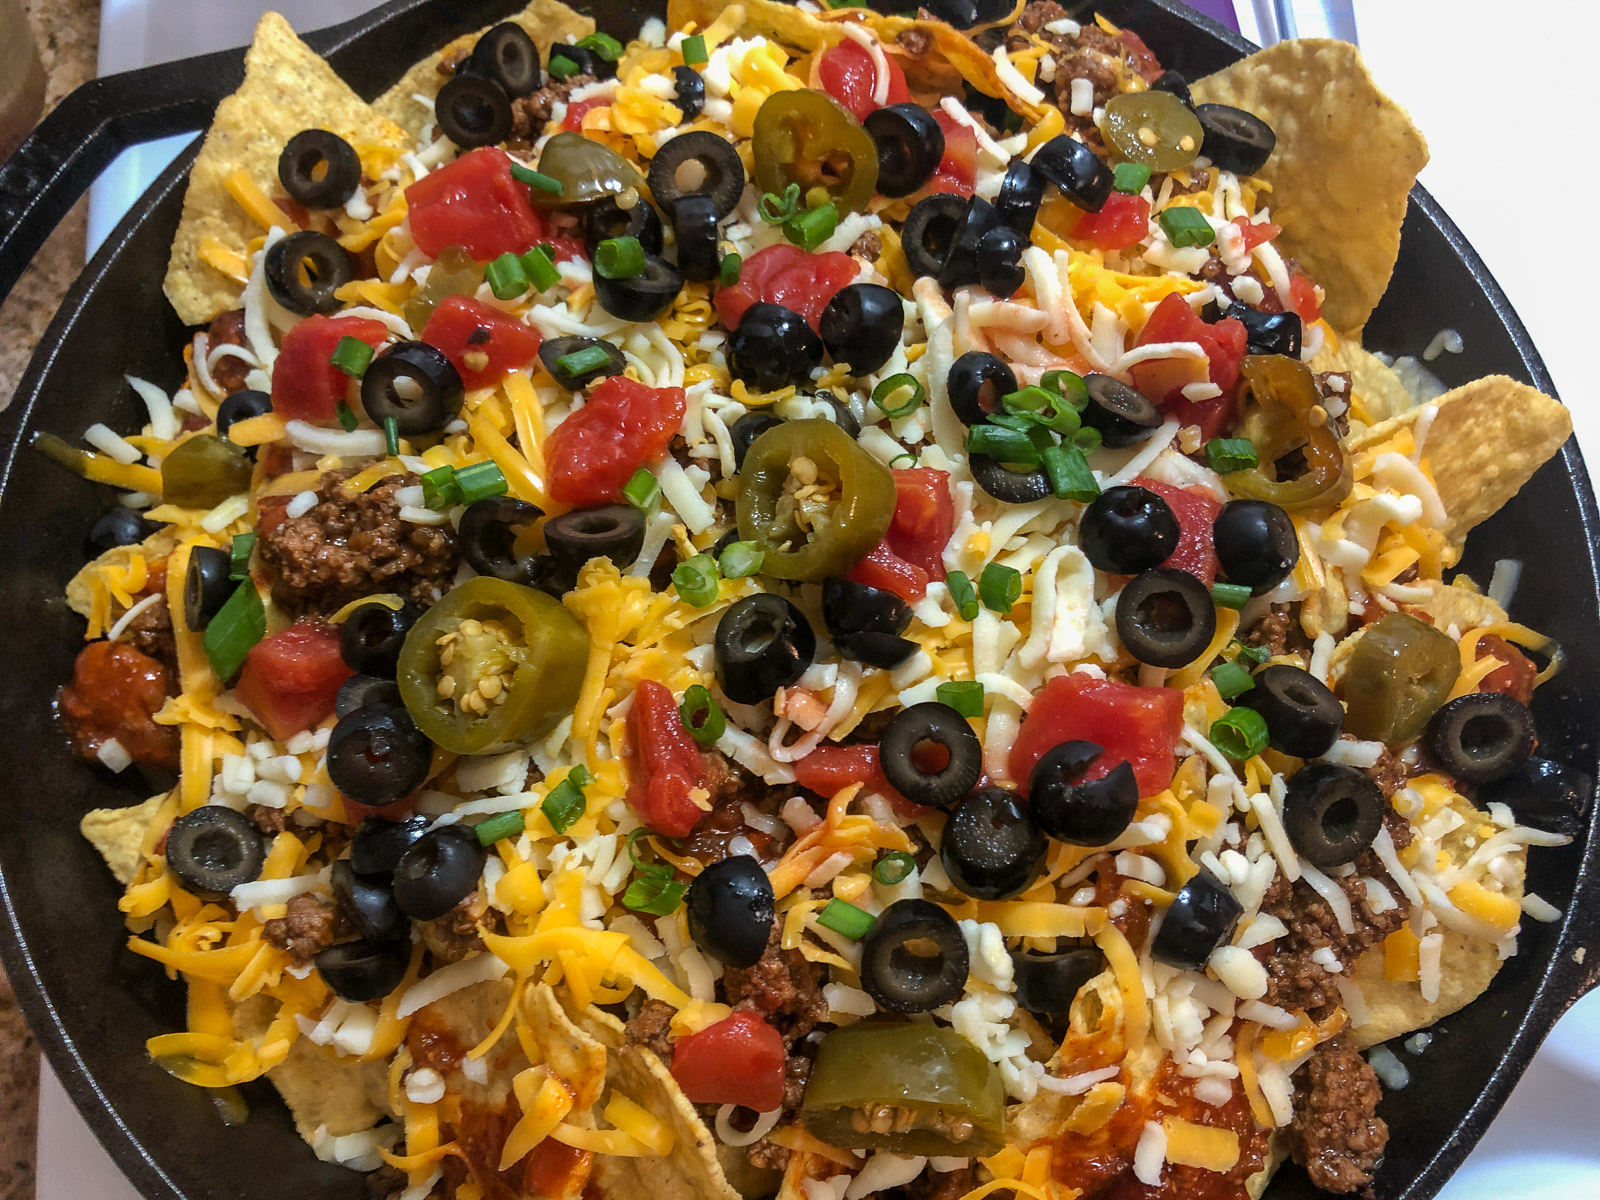
- Step 3: Build the Second Layer. Now we start all over again. Remaining chips, chili, taco meat, cheese, and toppings. Fill those nooks and crannies. Nobody likes a plain chip when they're after a bite of nacho.
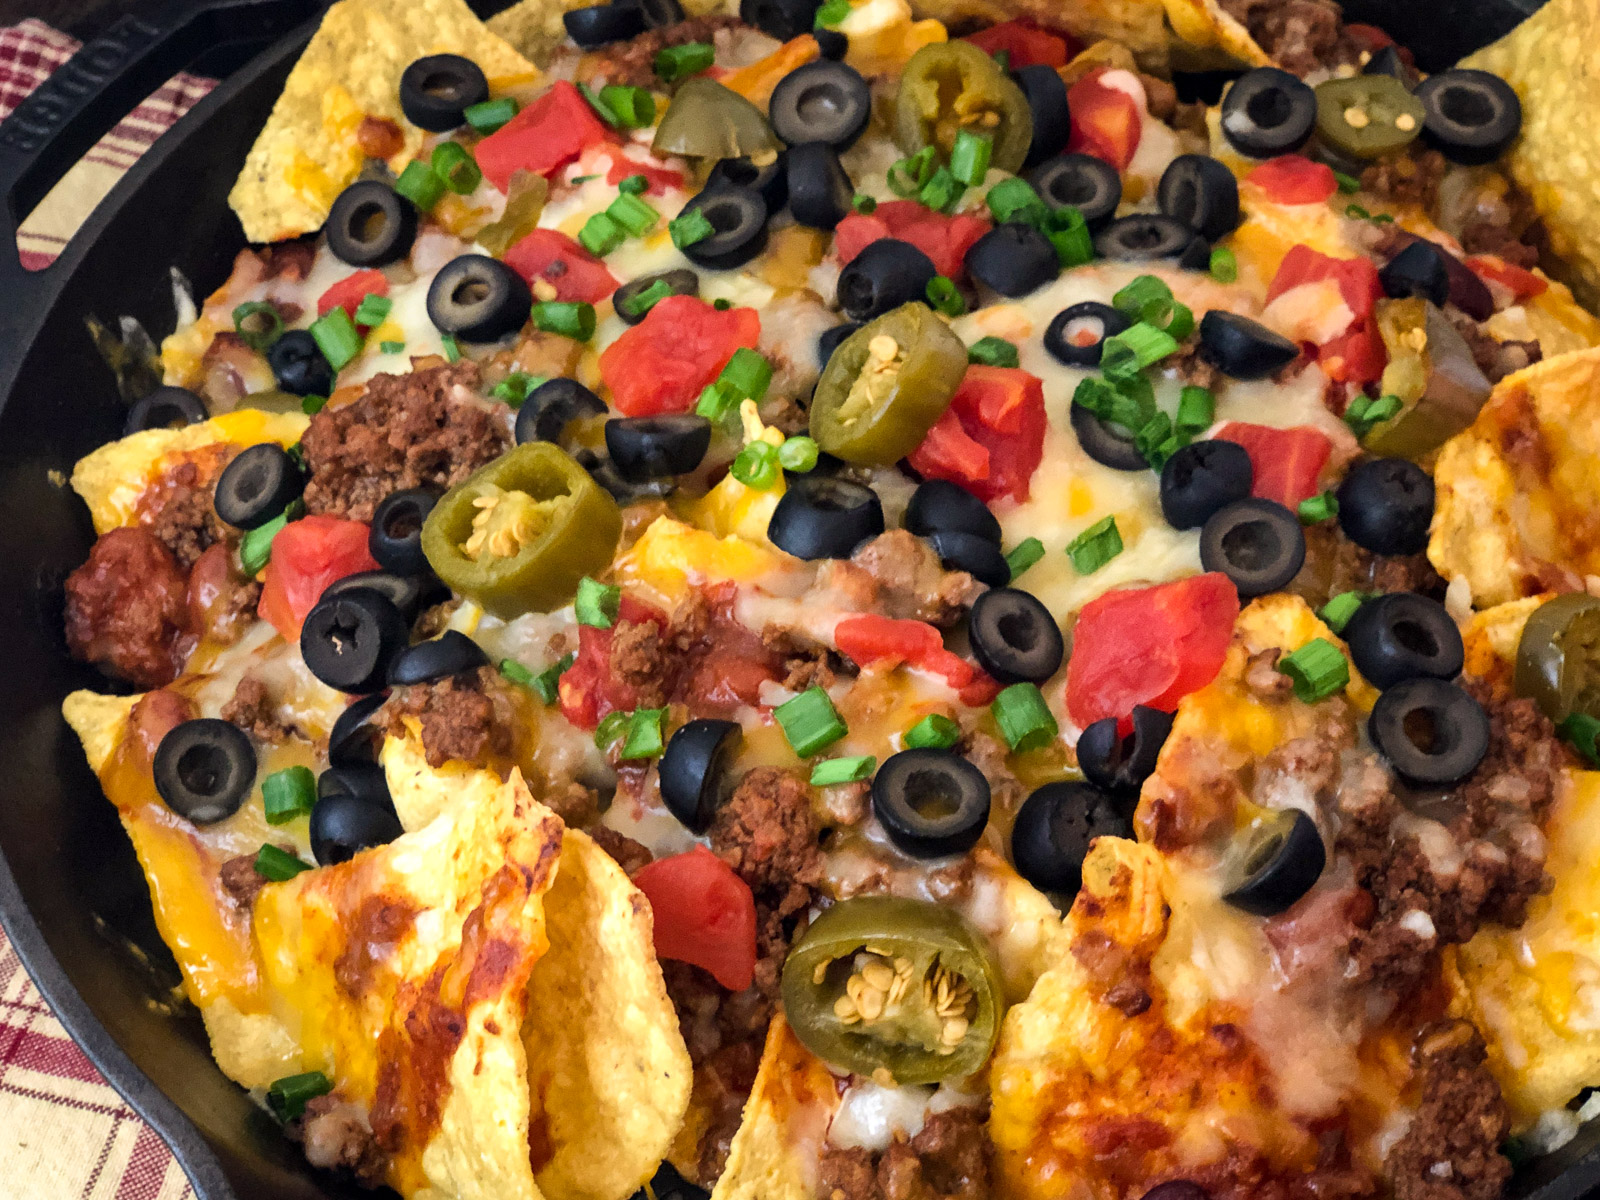
- Step 4: Bake and Serve. Pop the skillet in the oven for 7-10 minutes until the cheese is bubbly and golden. Serve straight from the cast iron with sour cream and salsa.
Expert Tips for the Best Nachos
- Grate your own cheese. Pre-shredded cheese has anti-caking agents that prevent that smooth, stretchy melt. Two minutes with a box grater makes all the difference.
- Segment for picky eaters. Have someone who hates an ingredient? Leave a section of the skillet free of it so they don't have to pick it off.
- Add wet toppings after baking. Sour cream, guacamole, and salsa go on after the nachos come out. Adding them before baking makes everything soggy.
What to Serve with Nachos
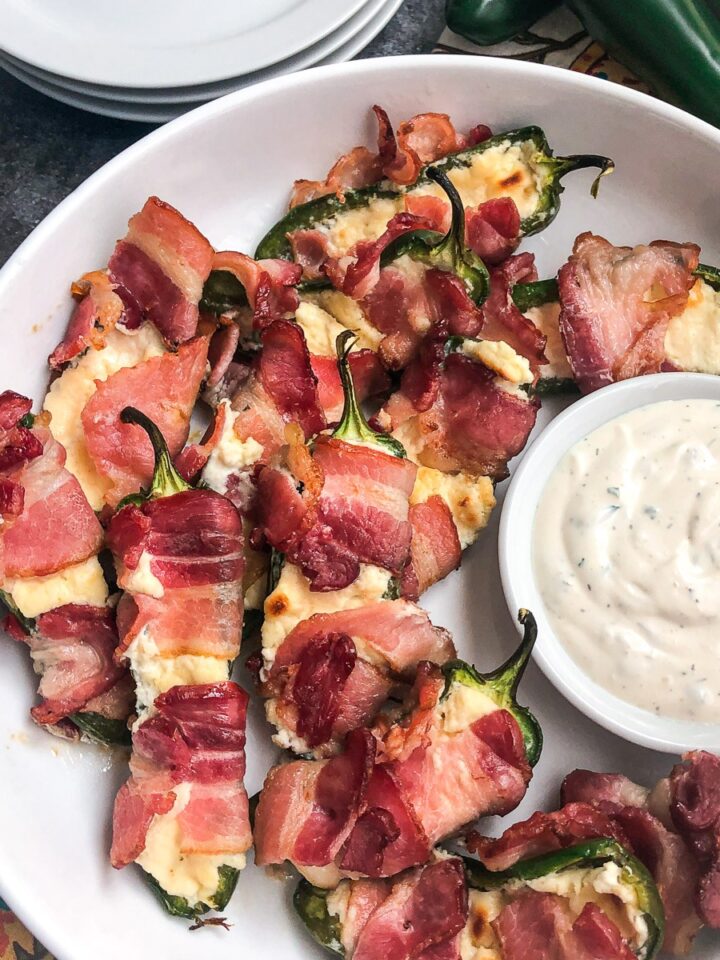
- Game Day: Set out bowls of salsa, guacamole, and sour cream alongside the skillet and let everyone dig in. If you enjoy cast iron appetizers, you will also love my Dutch Oven Jalapeno Poppers and Skillet Bacon Wrapped Smokies.
- Weeknight Dinner: These nachos work as a main dish for 4 with a side salad. Perfect for busy weeknights when you don't feel like a big production.
- Cinco de Mayo: Build a taco bar with nachos as the headliner. Check out my Cinco de Mayo recipes for the full spread.
To drink, pour a pitcher of Tropical Sangria and let the fruity, boozy punch cool down all that spice.
Cast Iron Skillet Nachos FAQs
You sure can, and it's the best way to make them at home. Cast iron holds heat far longer than a sheet pan, so your nachos stay hot and melty while you eat.
At 400F, about 7-10 minutes. You're just melting the cheese and warming everything through. Watch for the cheese to get bubbly and golden around the edges.
Cheddar and Monterey Jack together. The cheddar brings sharp flavor and the Jack melts smooth and creamy. Always grate from a block. Pre-shredded has anti-caking agents that give it a funny taste and prevent smooth melting.
Usually it's pre-shredded cheese, not draining the beef, or adding wet toppings before baking. Drain your meat, grate your own cheese, and add sour cream and salsa after the nachos come out of the oven.
Anything and everything. Ground beef, chili, refried beans, tomatoes, jalapenos, olives, green onions, corn, bell peppers, sour cream, guacamole, salsa, cilantro. Load them up with whatever you love.
For most situations, yes. Cast iron holds heat longer and the round shape concentrates toppings for a better topping-to-chip ratio. Sheet pans make a bigger batch though, so use those for 10+ people.
More Delicious Recipes
If you tried these Cast Iron Skillet Nachos or any other recipe on my blog, please leave a 🌟 star rating and let me know how it went in the 📝 comments below. Thanks for visiting!
Get the Recipe
Cast Iron Skillet Nachos
Equipment
- 12-inch cast iron skillet
Ingredients
- 1 lb. ground beef
- 1 oz. taco seasoning 1 packet
- 8 oz tortilla chips give or take
- 15 oz. chili 1 favorite brand can
- 1½ cups cheddar cheese grated
- 1½ cups Monterey Jack cheese grated; or pepper jack
- ½ cup grape tomatoes halved; or 1-15 oz can diced, drained
- ½ cup black olives sliced
- ½ cup pickled jalapeños sliced
- ¼ cup green onions 2; diced, green and white divided
- ¾ cup sour cream
- 1 cup salsa

Instructions
- Preheat the oven to 400°F.
- On medium-high, heat the skillet.
- Crumble the ground beef into the skillet, breaking up any large chunks and cook until done; about 5 minutes.
- Drain the ground beef.
- Add the taco seasoning and water per packet directions and cook as directed. (see notes)
- Once cooked, remove beef from skillet and set aside in a bowl.
- Wipe the skillet clean with a paper towel.
- Layer half the alloted tortilla chips into the bottom of the skillet.
- Spoon over half of the chili and taco meat.
- Sprinkle half of both cheeses evenly over the chili and taco meat.
- Spoon half of the tomatoes, olives, and jalapeños over the cheese.
- Sprinkle the majority of the white parts of the green onions.
- Evenly layer the remaining tortilla chips in the skillet.
- Spoon the remaining chili and taco meat over the chips.
- Sprinkle the remaining cheeses over the beef and chili.
- Spoon over the remaining tomatoes, olives, and jalapeños over the cheese.
- Sprinkle the remaining white parts of the green onions and most of the green, reserving a few for fresh garnishing.
- Bake for 7-10 minutes, or until the cheese is melted and everything is heated through.
- Garnish with the remaining green onions.
- Serve hot with sour cream and salsa.
Notes
- This recipe serves 4 as a main dish or 6-8 as an appetizer.
- Canned diced tomatoes (fully drained) can be substituted for fresh grape tomatoes.
- Refried beans can be substituted for canned chili.
- For homemade taco seasoning: use up to 2 tablespoons of your blend with ¾ to 1 cup water. Adding ½ cup tomato sauce with ¼ cup water gives the meat a deeper flavor.
- Always grate cheese from a block. Pre-shredded cheese contains anti-caking agents that prevent smooth melting.
- Add sour cream, guacamole, and salsa after baking to prevent soggy nachos.
- Use a trivet or hot pad when serving. The cast iron skillet will be extremely hot.
Nutrition
Dutch Oven Daddy is not a dietician or nutritionist, and any nutritional information shared is only an estimate. We recommend running the ingredients through an online nutritional calculator if you need to verify any information.
Savita says
I tried it last weekend, it turned out amazing. Easy to make yet delicious.
Rachna says
These loaded nachos look so bright and delicious. Love how cheesy and satisfying they are.
Andrea says
These nachos look amazing! I'm ready to get to snacking, yummy!
Dana says
We absolutely LOVED these nachos! They're beautifully loaded with all the right toppings/textures/flavors. Better than any nacho platter I've had at a restaurant, where they seem to be lacking. Will totally be making this over the weekend for game day!
Liz says
I usually do sheet pan nachos but I didn't want to heat up the oven so these skillet nachos were perfect!
Tara says
Oooh definitely the perfect appetizer for get-togethers. I love how easily these nachos come together and with so much flavor too.
Tayler says
I made these nachos for dinner last night (totally acceptable, right?) and they were a hit with the entire family!
Phil Maynard says
I've made these 3 or 4 times so far this year and going to make them again this week. I don't fix anything I don't like more than once. I use a #14 skillet.
Dave says
What size skillet are you using. I typically use a 12” skillet.
Ned Adams says
Great question. This recipe is using a 12" cast iron skillet.
Robin D Spitzer says
I can't believe I have not rated this recipe. We love this and have it quite often. The cast iron Skillet I think adds to it.
Thank you for an awesome recipe!
Robin,
#ImJustSayen
John Morgan says
I just discovered this blog and love it!
This nachos dish looks incredibly delicious! My wife thinks so too so I’m hoping we’ll be trying it very soon. I’m a terrible cook but with these detailed instructions and illustrations I may try it myself if my wife doesn’t do so soon.
We’re pretty new at cast iron cooking so I’m wondering about preheating the skillet in the oven. How long do you pre heat the skillet? How do you know when it’s at the right temperature?
I don’t know if questions can be asked on this venue and this is the first time I’ve ever commented on a blog but thought it wouldn’t hurt to ask just in case.
Thanks!
Ned Adams says
Thank you so much for discovering DutchOvenDaddy.com! These nachos are one of my family's favorite and are so versatile because you can alter the toppings. This recipe does not require preheating the skillet in the oven. Just layer it up and you will be set. Happy to help answer any questions you may have along your cast iron journey!