
The garlic and ginger go into the pan and the whole kitchen starts smelling like your favorite takeout spot. These Asian green beans are what I make when dinner needs something green and nobody feels like waiting around for it. Five minutes of prep, about ten in the skillet, and they are done.
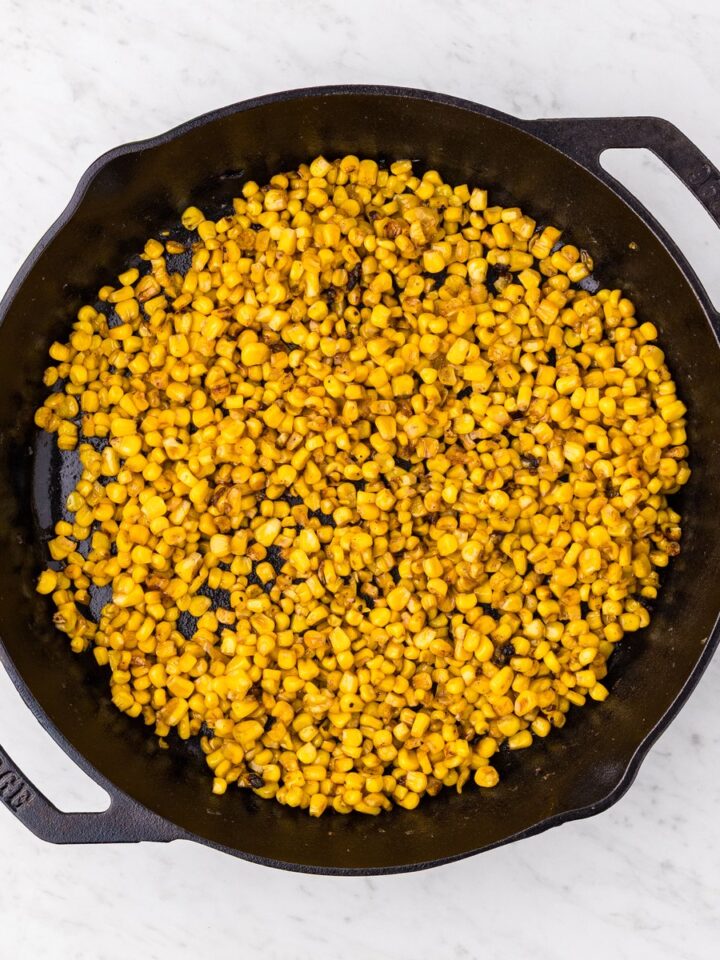
What keeps these from turning into the sad, limp green beans you have had at a hundred potlucks is the order of operations. The beans steam under a lid first, then the pan goes dry and hot again before the sauce ever touches them. If you enjoy quick cast iron sides, you will also love my garlic butter skillet corn and my honey glazed carrots.
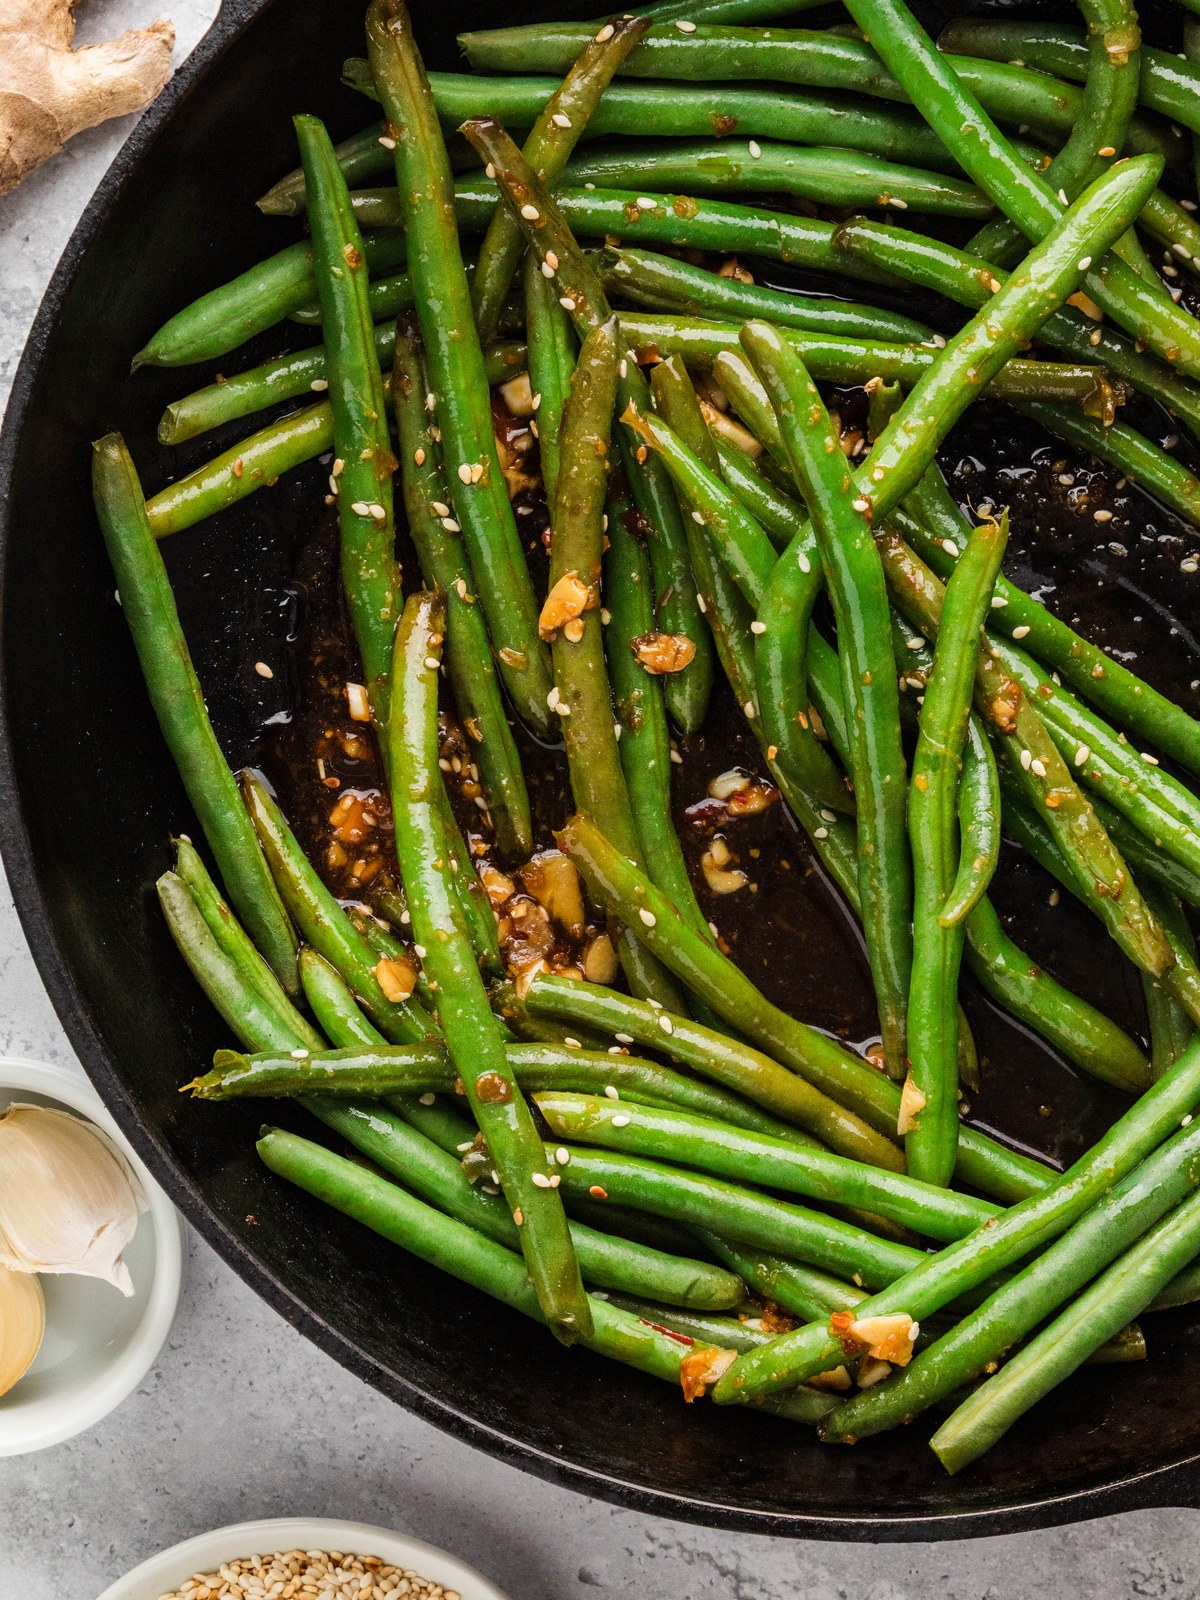
Quick Look at this Recipe
- ✅ Recipe Name: Asian Green Beans
- 🕒 Ready In: 15 minutes (5 minutes prep, 8-10 minutes cook)
- 👪 Serves: 4 people
- 🥣 Main Ingredients: Green beans, soy sauce, rice wine vinegar, honey, chili garlic sauce, garlic, ginger, sesame oil
- 📖 Dietary Info: Dairy free. Easily gluten free with tamari or coconut aminos.
- ⭐ Why You'll Love It: Takeout-style green beans that stay snappy instead of soggy, in one skillet in about 15 minutes.
Summarize and Save the Recipe
Jump to:
Why You'll Love These Asian Green Beans
- Faster Than Delivery: Five minutes of prep and eight to ten minutes in the pan. You will have these on the table before anyone finishes deciding what to order.
- They Actually Stay Snappy: The lid does the cooking and the open pan does the flavor. That order is the whole difference between tender-crisp and mushy.
- The Sauce Is All Pantry: Soy sauce, rice wine vinegar, honey, chili garlic sauce, garlic, and ginger. Nothing here sends you on a special trip to the store.
- One Pan and One Bowl: The skillet does double duty as the steamer and the sauté pan, so cleanup is a skillet, a bowl, and a whisk.
What Makes These Green Beans Different
Most green bean recipes pick a side. Either you steam them, which gets them cooked through but leaves them a little flat, or you sear them hard in a hot pan, which gets you color and blistering but a raw crunch in the middle. This recipe does both, in that order, in the same skillet.
Two tablespoons of water and a lid steam the beans through in a few minutes. Then the lid comes off, the last of the water cooks away, and the pan is dry and screaming hot again by the time the sauce goes in. You get the tender interior from the steam and the browning from the dry pan, without the half cup of oil the restaurant version leans on.
Here is the part almost nobody explains. Water on the surface of a green bean has to evaporate before that bean can brown, and while it is evaporating it pins the pan surface near the boiling point. That is why a crowded pan steams instead of sears, and it is why wet beans never get color. It is also why beans slide from bright green to drab olive when they sit on the heat too long, since prolonged heat breaks down the chlorophyll. Getting the interior cooked fast under a lid means the beans spend less total time over the flame.
This is also where cast iron earns its keep. Drop a pound of cold green beans into a thin pan and the temperature crashes, and what you get is a gray simmer instead of a sear. Cast iron holds enough heat to recover almost immediately, so the pan is still hot when the beans hit it. I reach for my Smithey No. 11 Deep Skillet for this one, since the taller sides keep the beans in the pan when you toss them. A carbon steel wok does the same job if that is what you have.
One question worth answering up front, since acid and cast iron come up a lot: the rice vinegar and soy sauce go in at the very end and are in the pan for under a minute. That is nowhere near long enough to bother a well-seasoned skillet.
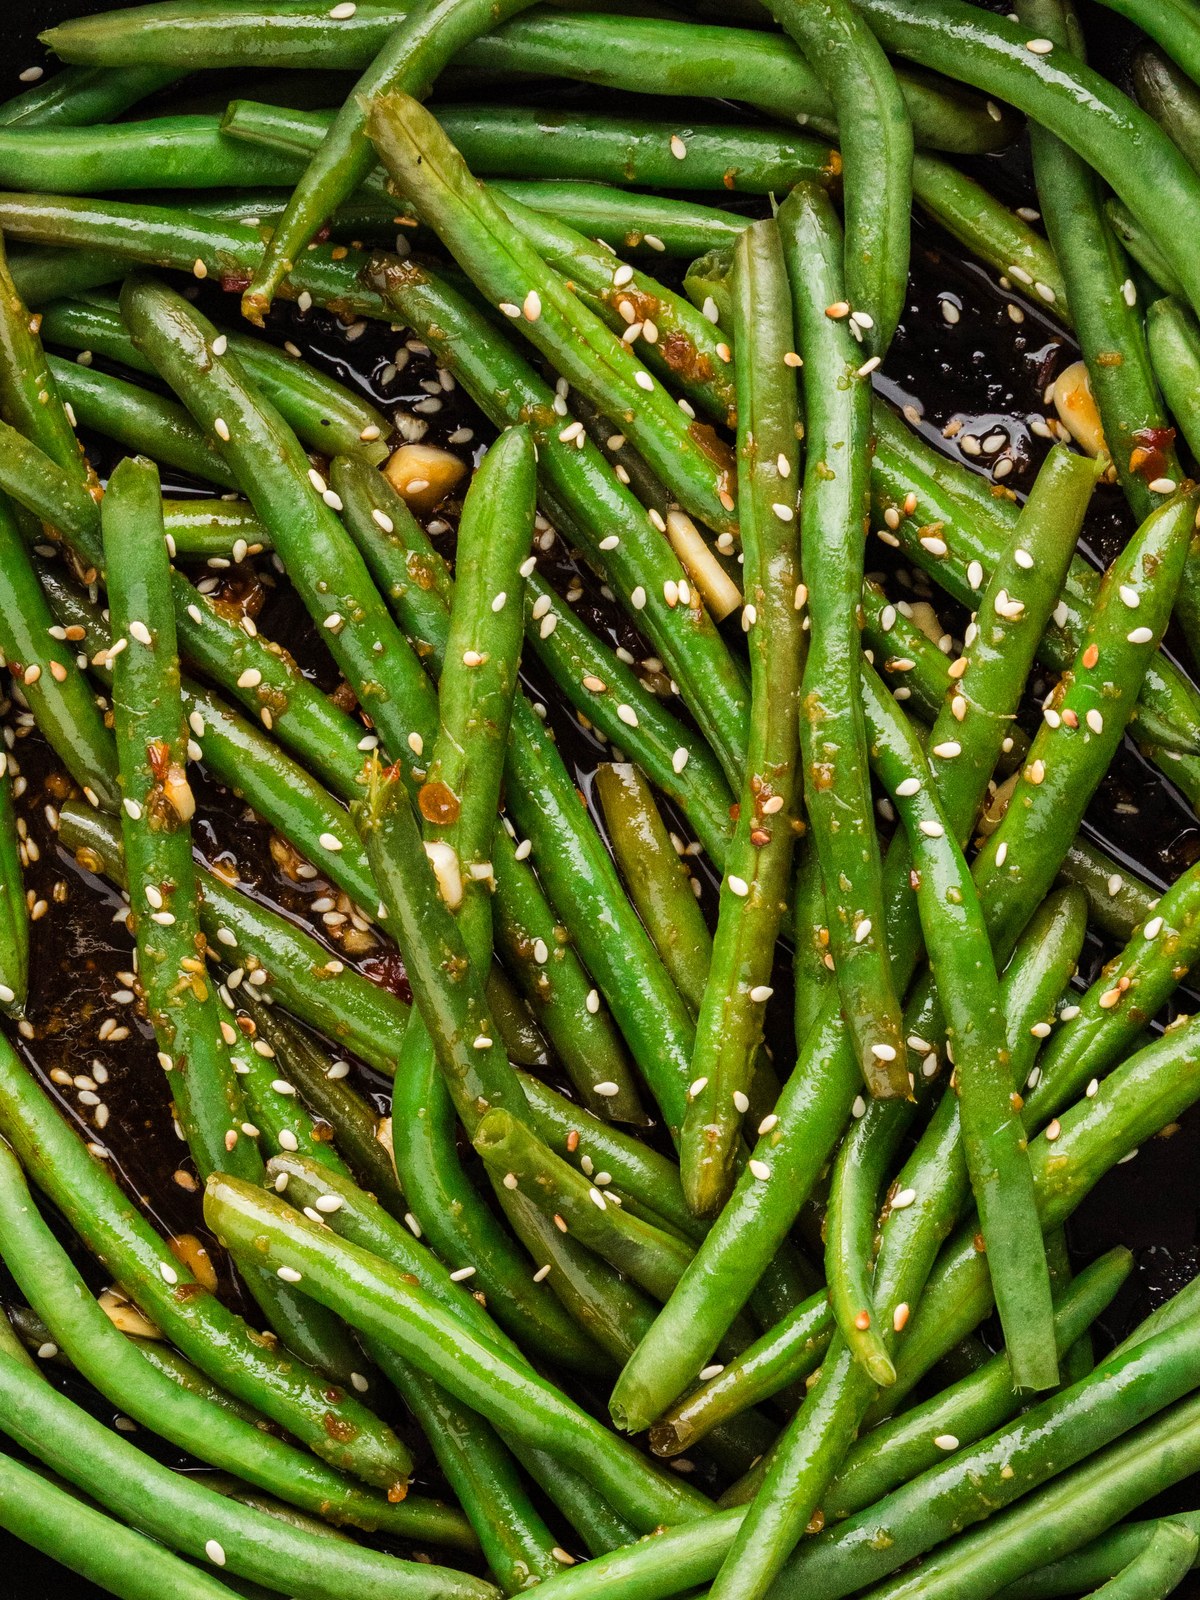
Ingredients You'll Need
Here is what goes into these Asian green beans and why. Exact measurements are in the recipe card at the bottom of the post.
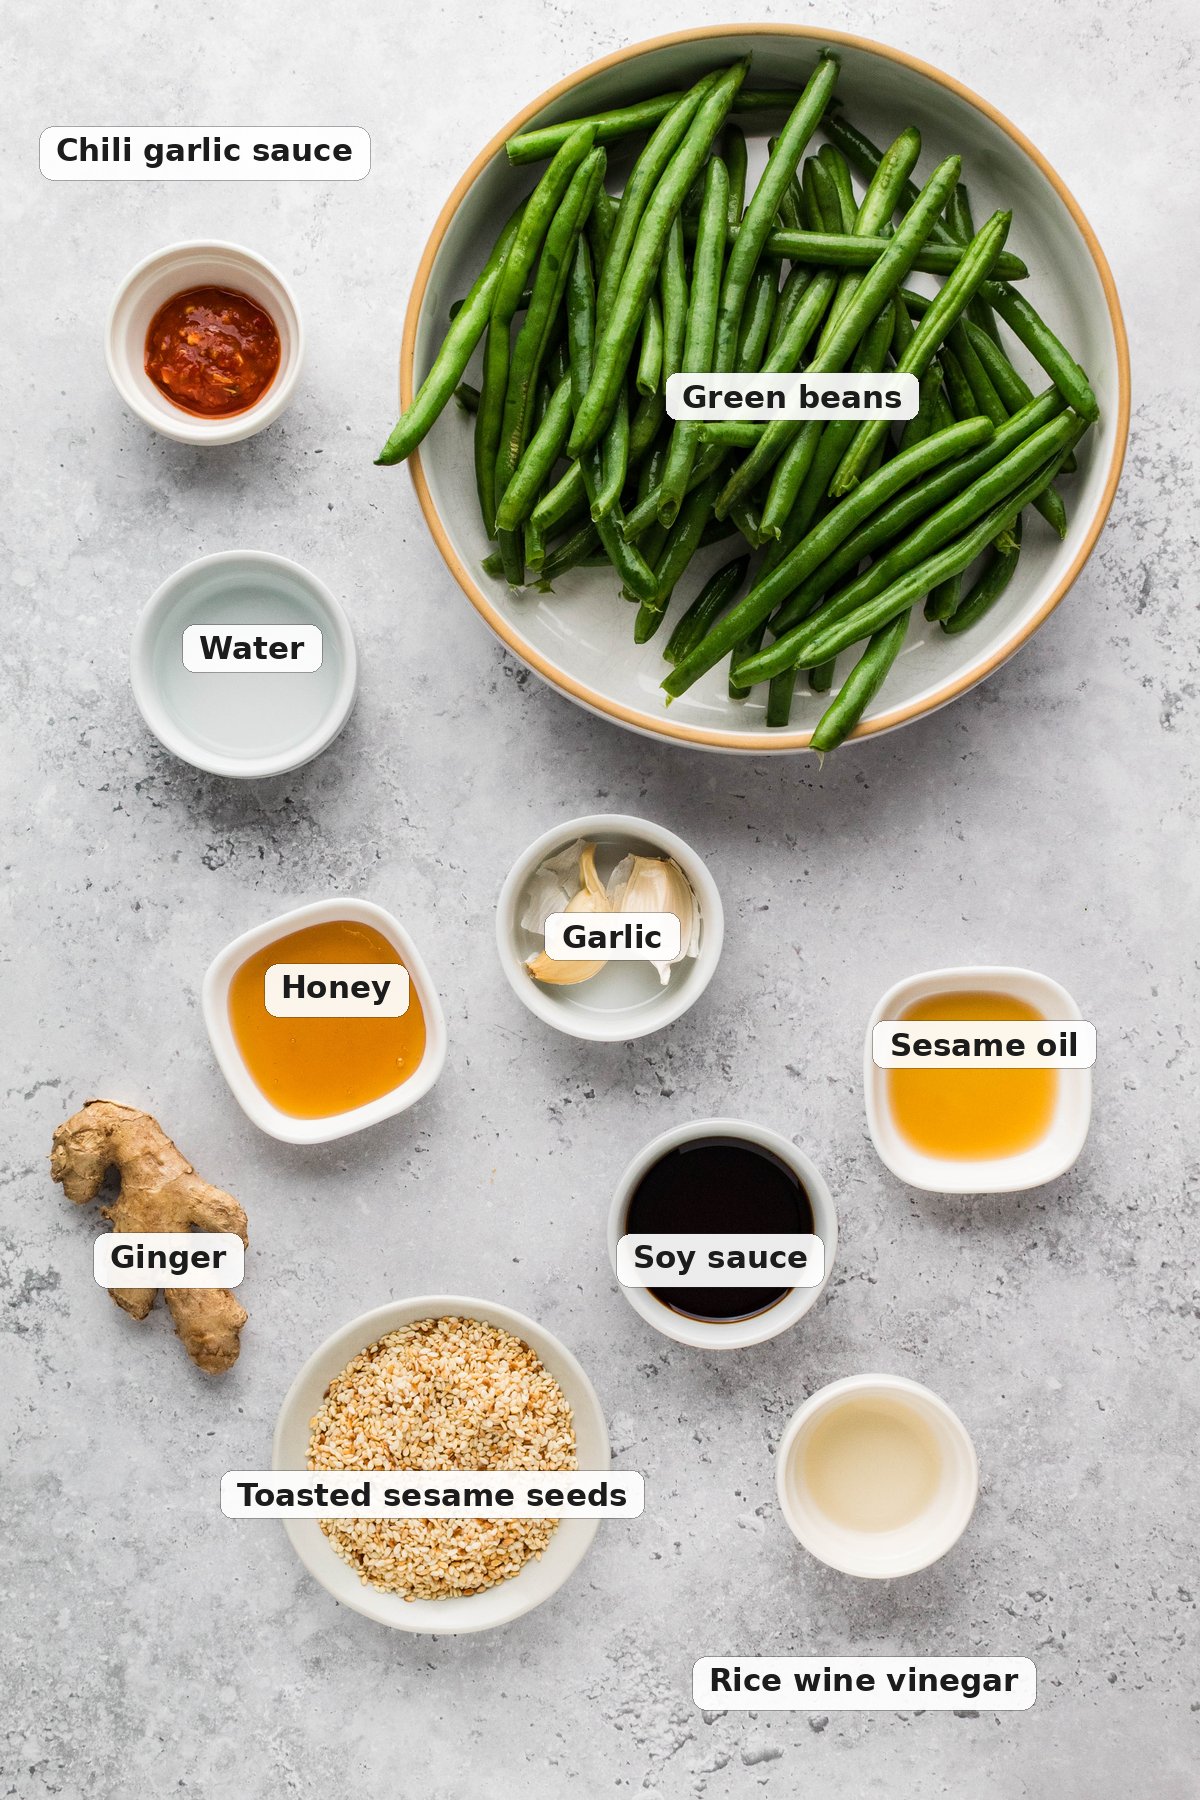
- Green beans. Fresh is best here. This same sauce is excellent on broccoli or Brussels sprouts if that is what you have.
- Water. This is the steaming liquid and it is the entire trick. Do not skip it.
- Soy sauce. Tamari or coconut aminos both work for a gluten free version, but they are not straight swaps. Tamari runs saltier and less sweet, while coconut aminos are noticeably sweeter and lower in sodium, so pull the honey back a little if you go that route.
- Rice wine vinegar. A little acid keeps the sauce from tasting heavy and flat.
- Honey. Just enough sweetness to balance the salt. Maple syrup or brown sugar both work.
- Chili garlic sauce. If your store does not carry it, use red pepper flakes plus a little hot sauce and some extra garlic. Leave it out entirely if you would rather have no heat. Worth noting that many chili garlic sauces contain wheat, which matters if you are building a gluten free version.
- Garlic. Sliced, not minced. Minced garlic scorches in a pan this hot.
- Ginger. Fresh grated is better, but a half teaspoon of ground ginger will do in a pinch.
- Sesame oil. Technically optional, realistically this is what makes them taste like takeout.
- Toasted sesame seeds or everything bagel seasoning. For garnish, and for a little crunch on top.
How to Pick and Trim Green Beans
Look for pods that are smooth, firm, and bright green. Pass on anything soft, bruised, or going yellow at the edges. A fresh bean snaps clean when you bend it, and if it just folds over, it has been sitting too long. Wash and dry them before you trim, then snap the stem ends off, so water does not soak into the cut ends. If you want more on getting a cast iron pan properly preheated before food goes in, I walk through it in my cast iron skillet chicken.
How to Make Asian Green Beans
Full instructions are in the recipe card below. Here is the visual walkthrough.
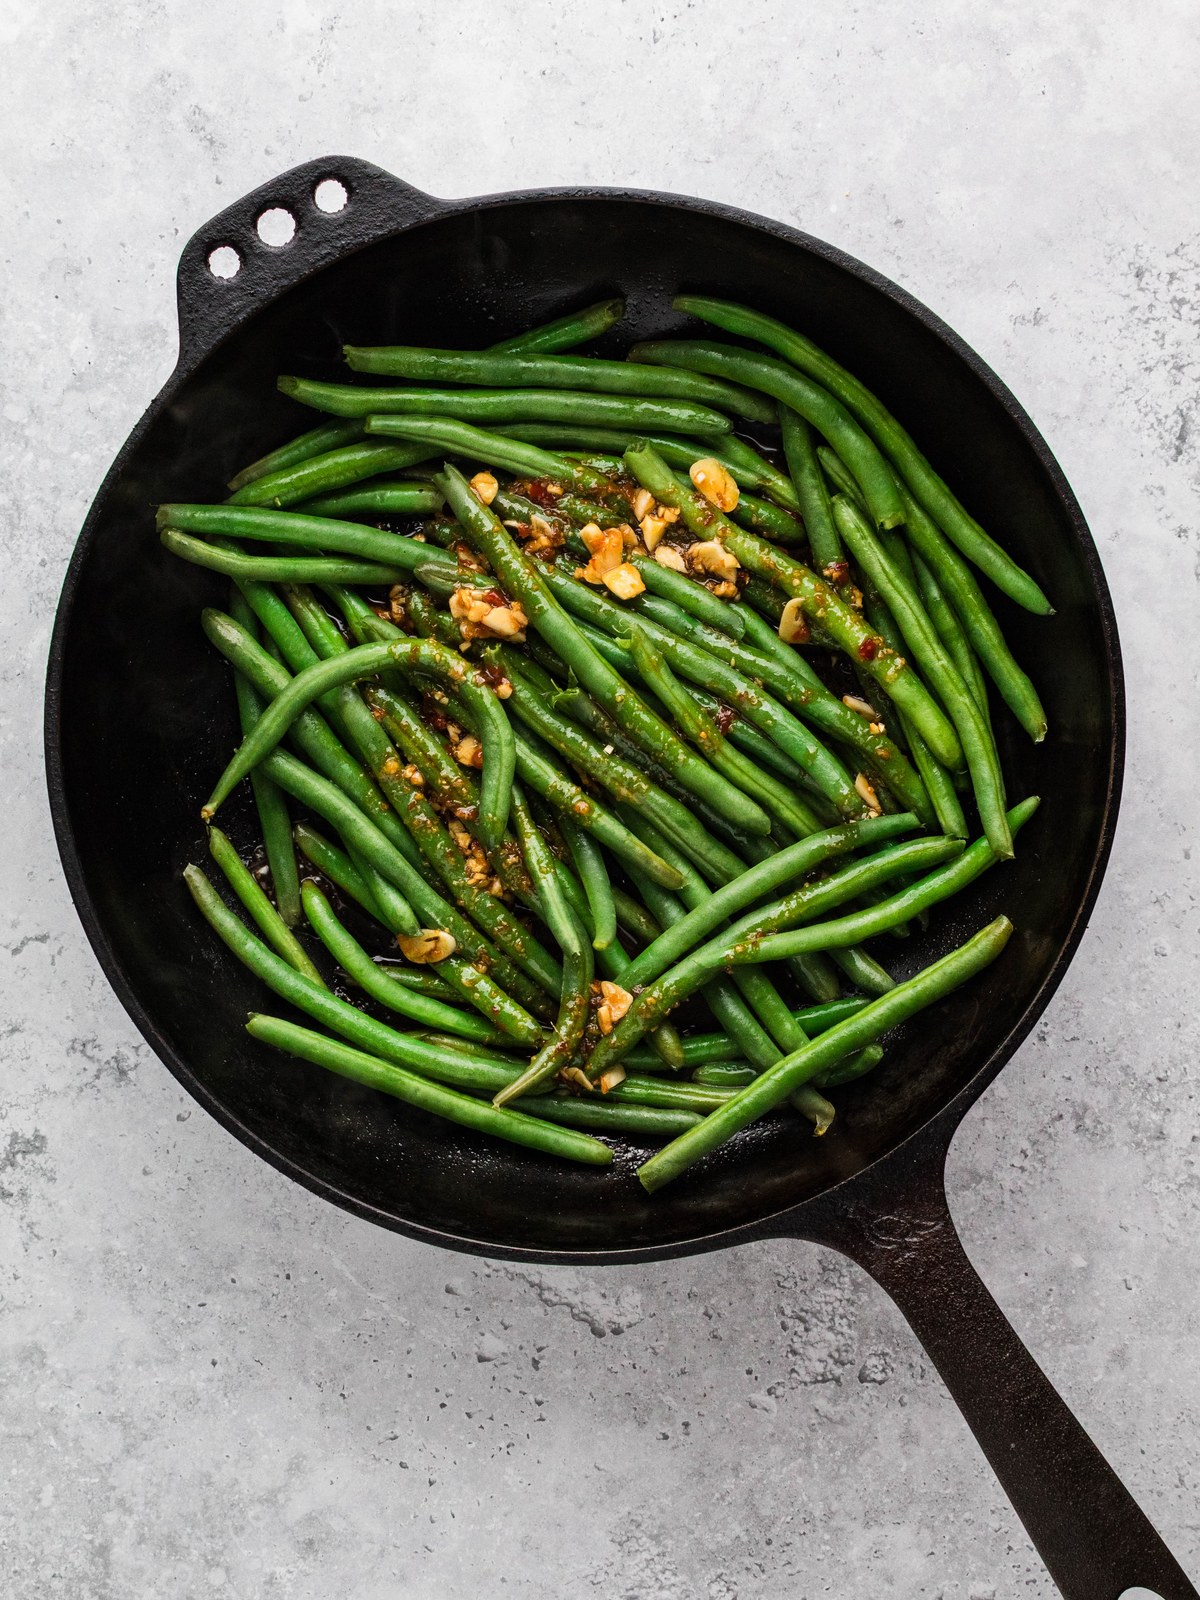
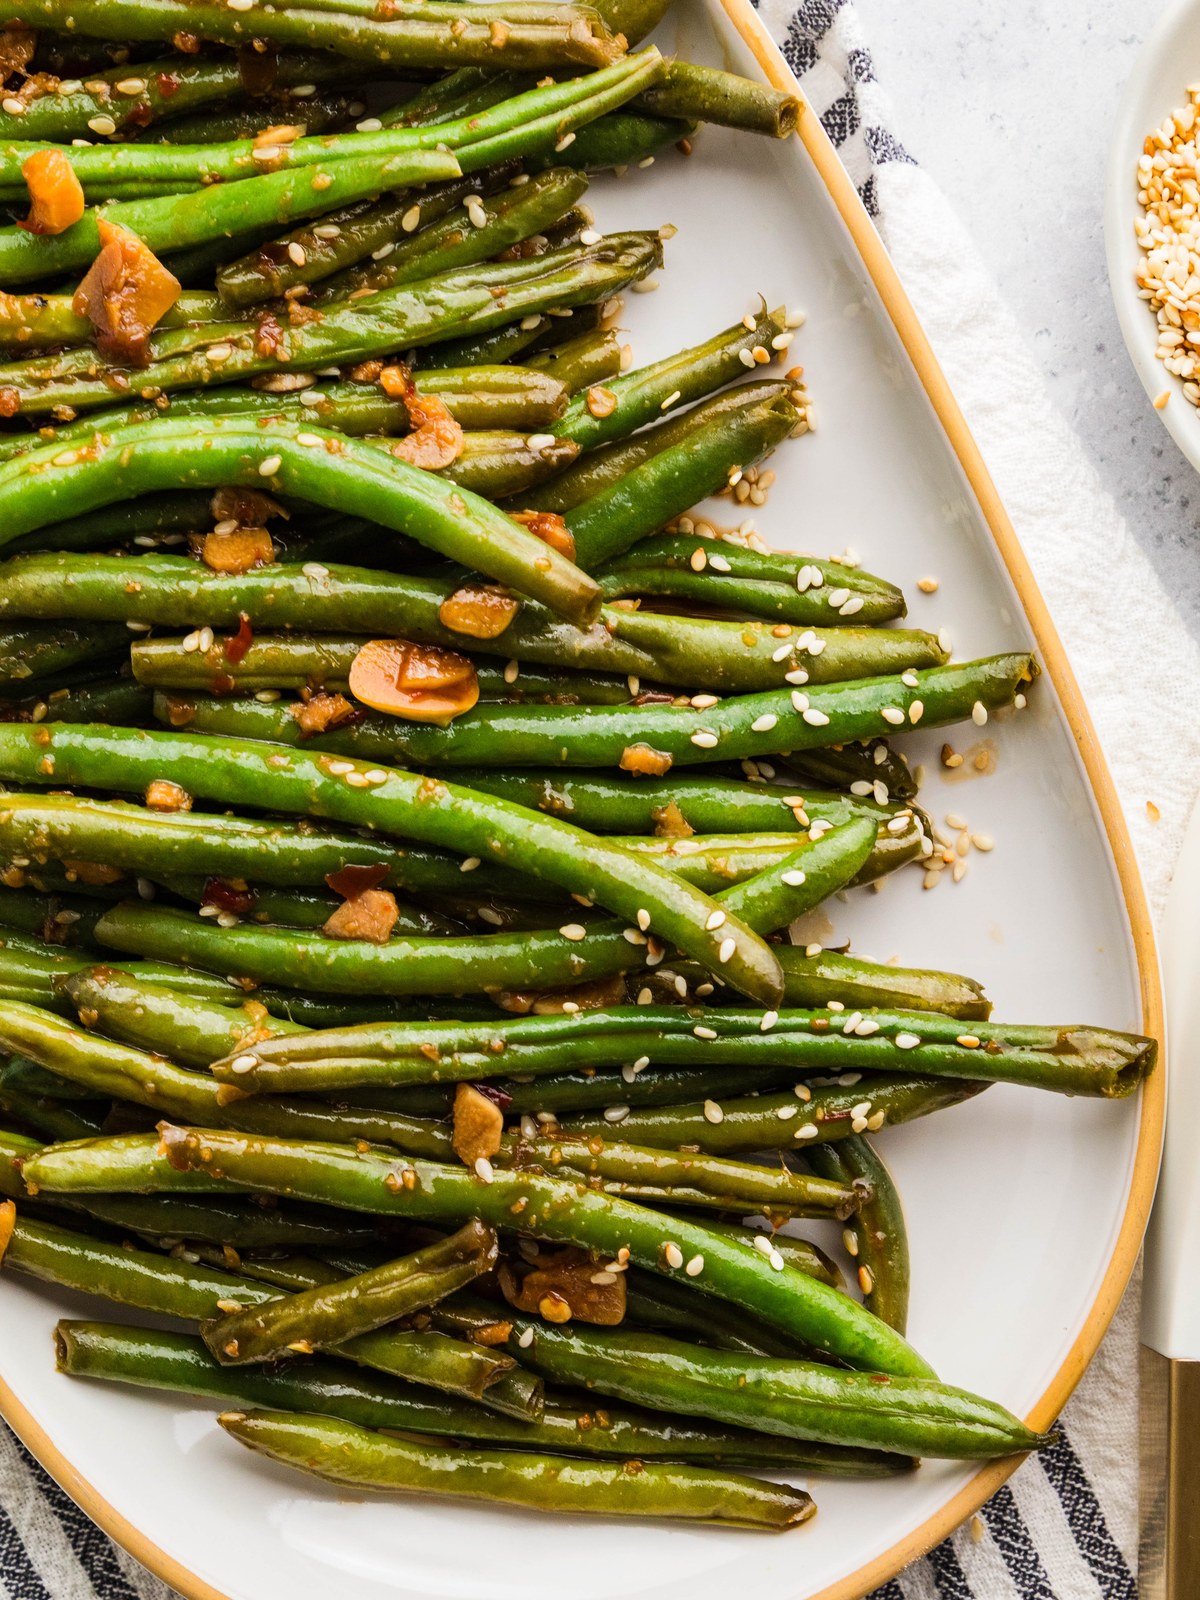
- Step 1: Steam the beans. The green beans and water go into a hot cast iron skillet, covered, until they are tender but still firm.
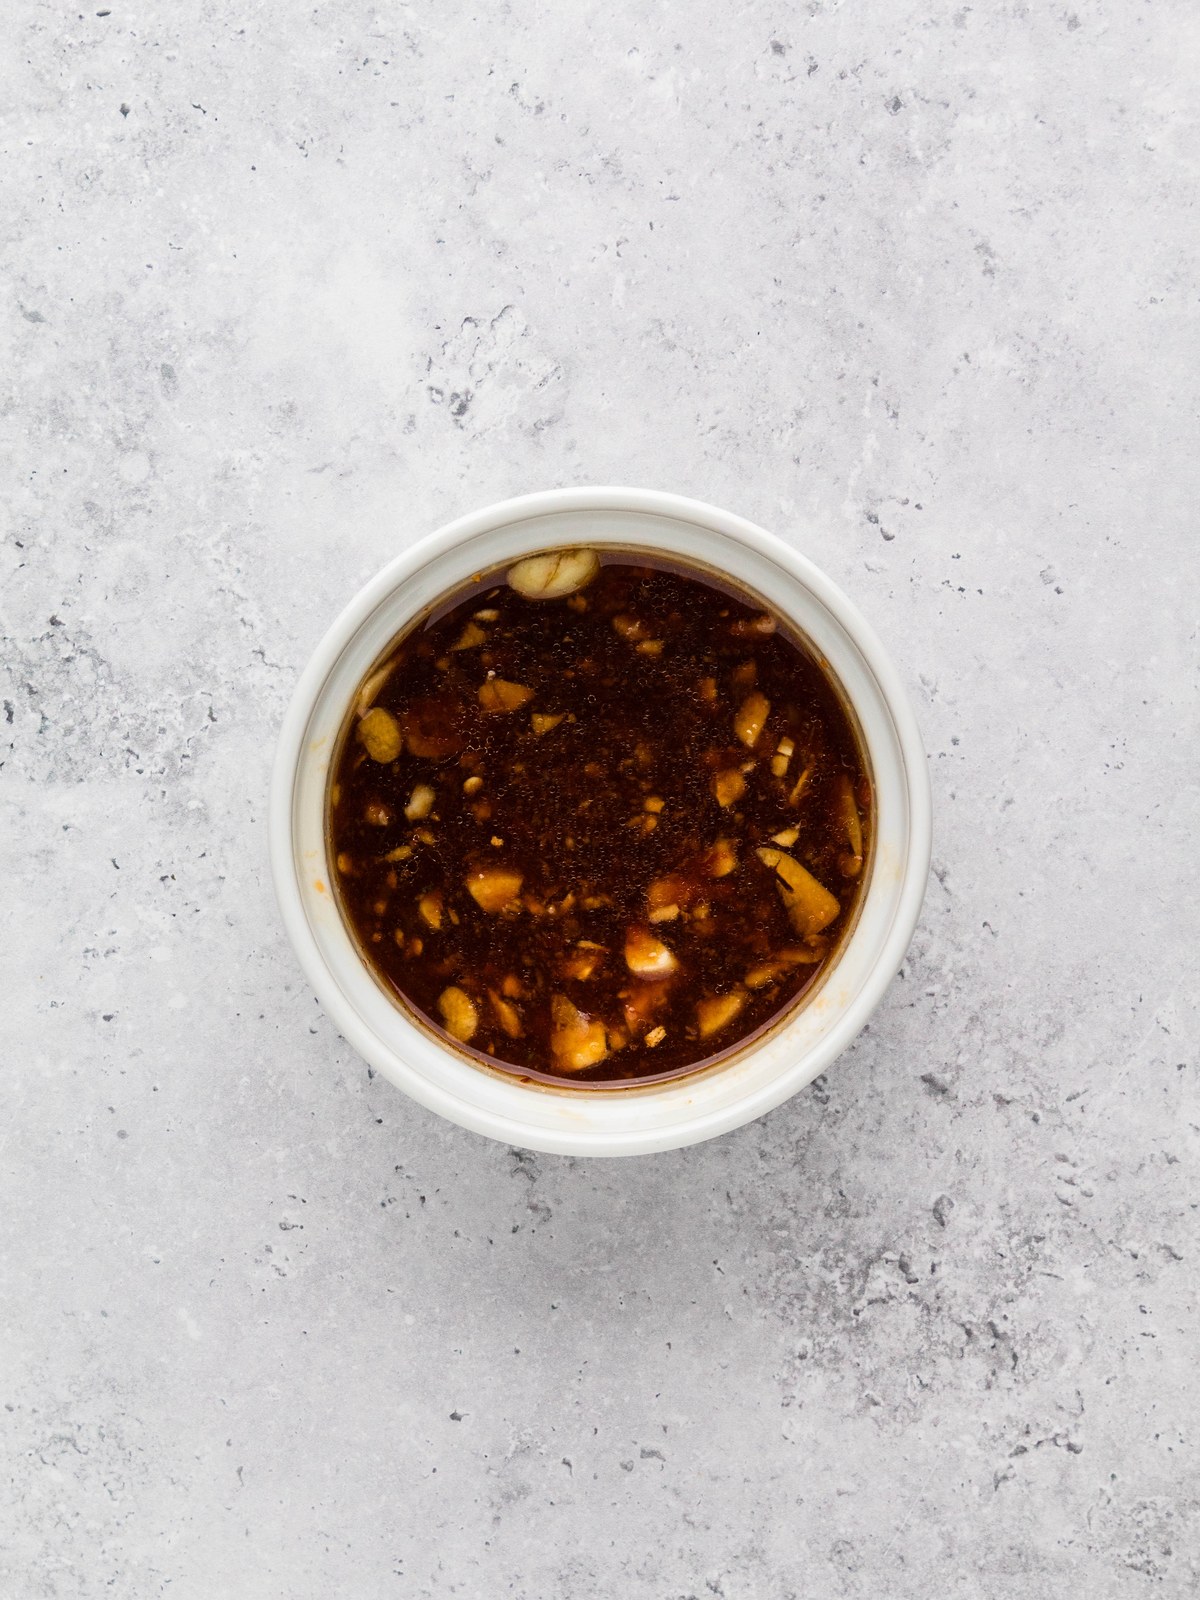
- Step 2: Whisk the sauce. Soy sauce, rice wine vinegar, honey, chili garlic sauce, garlic, ginger, and sesame oil, all in one small bowl.
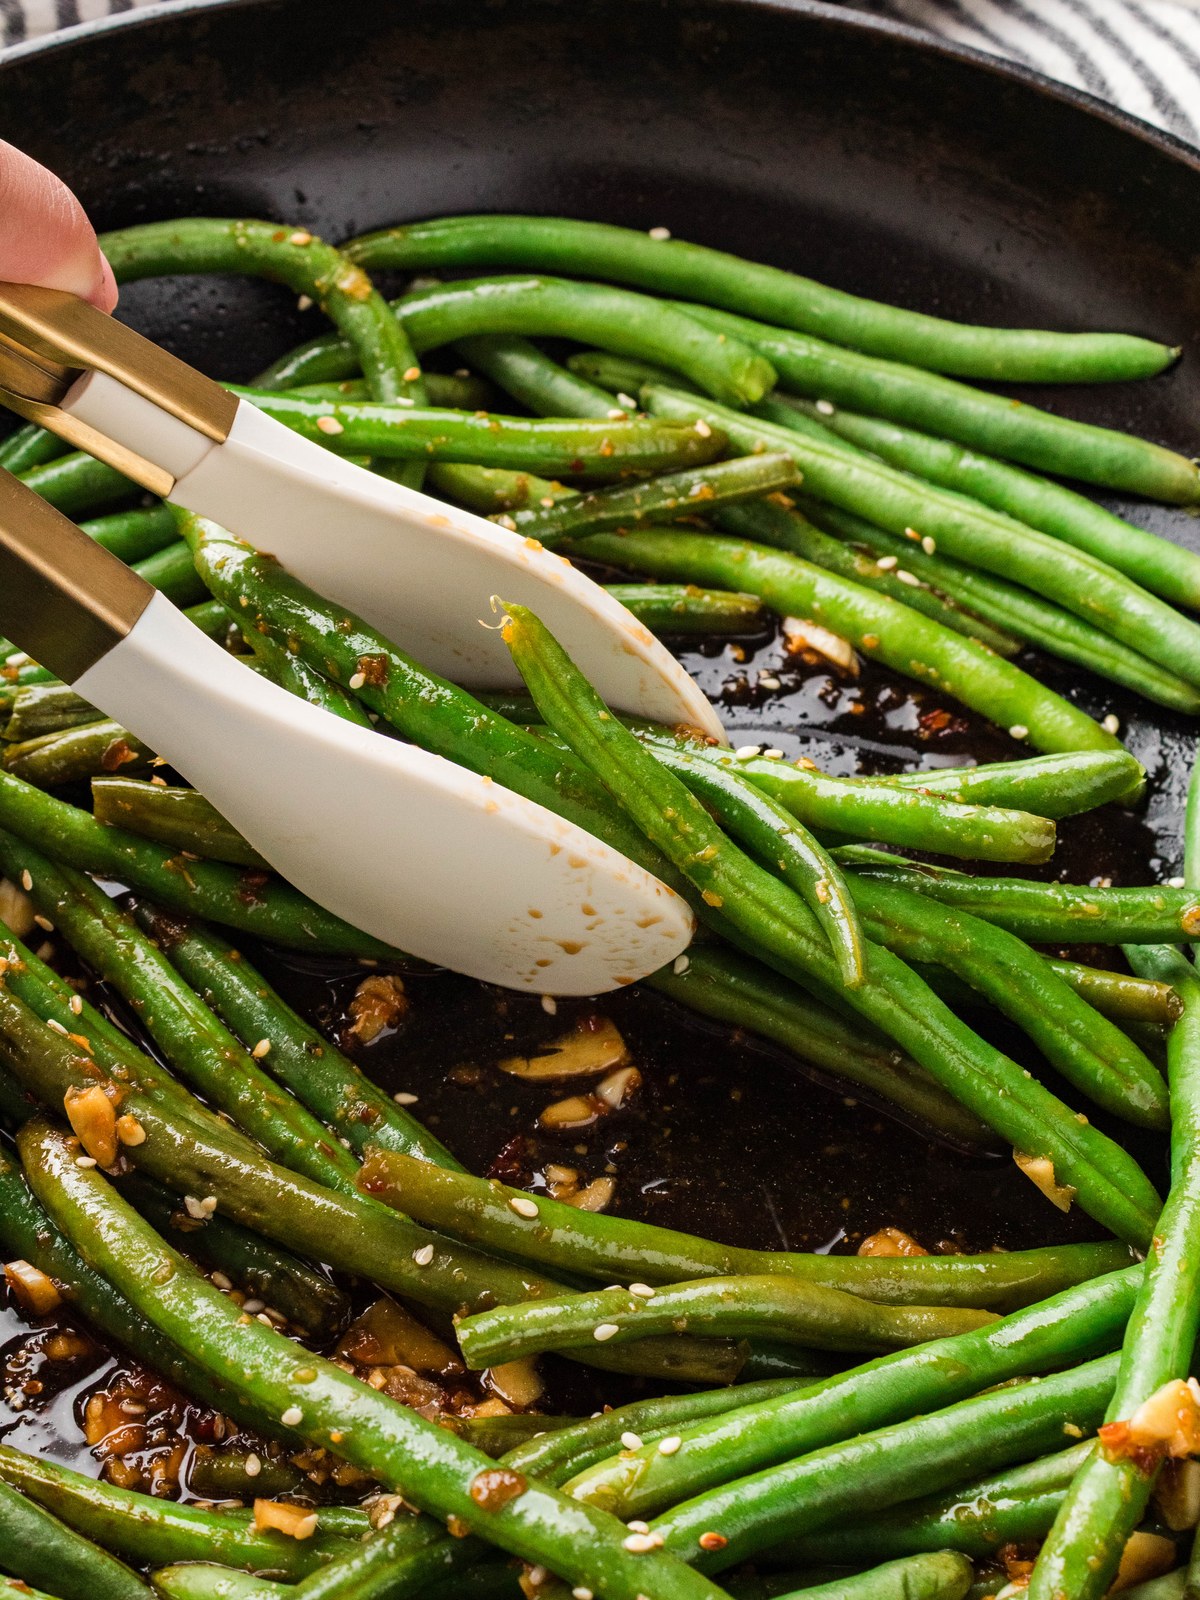
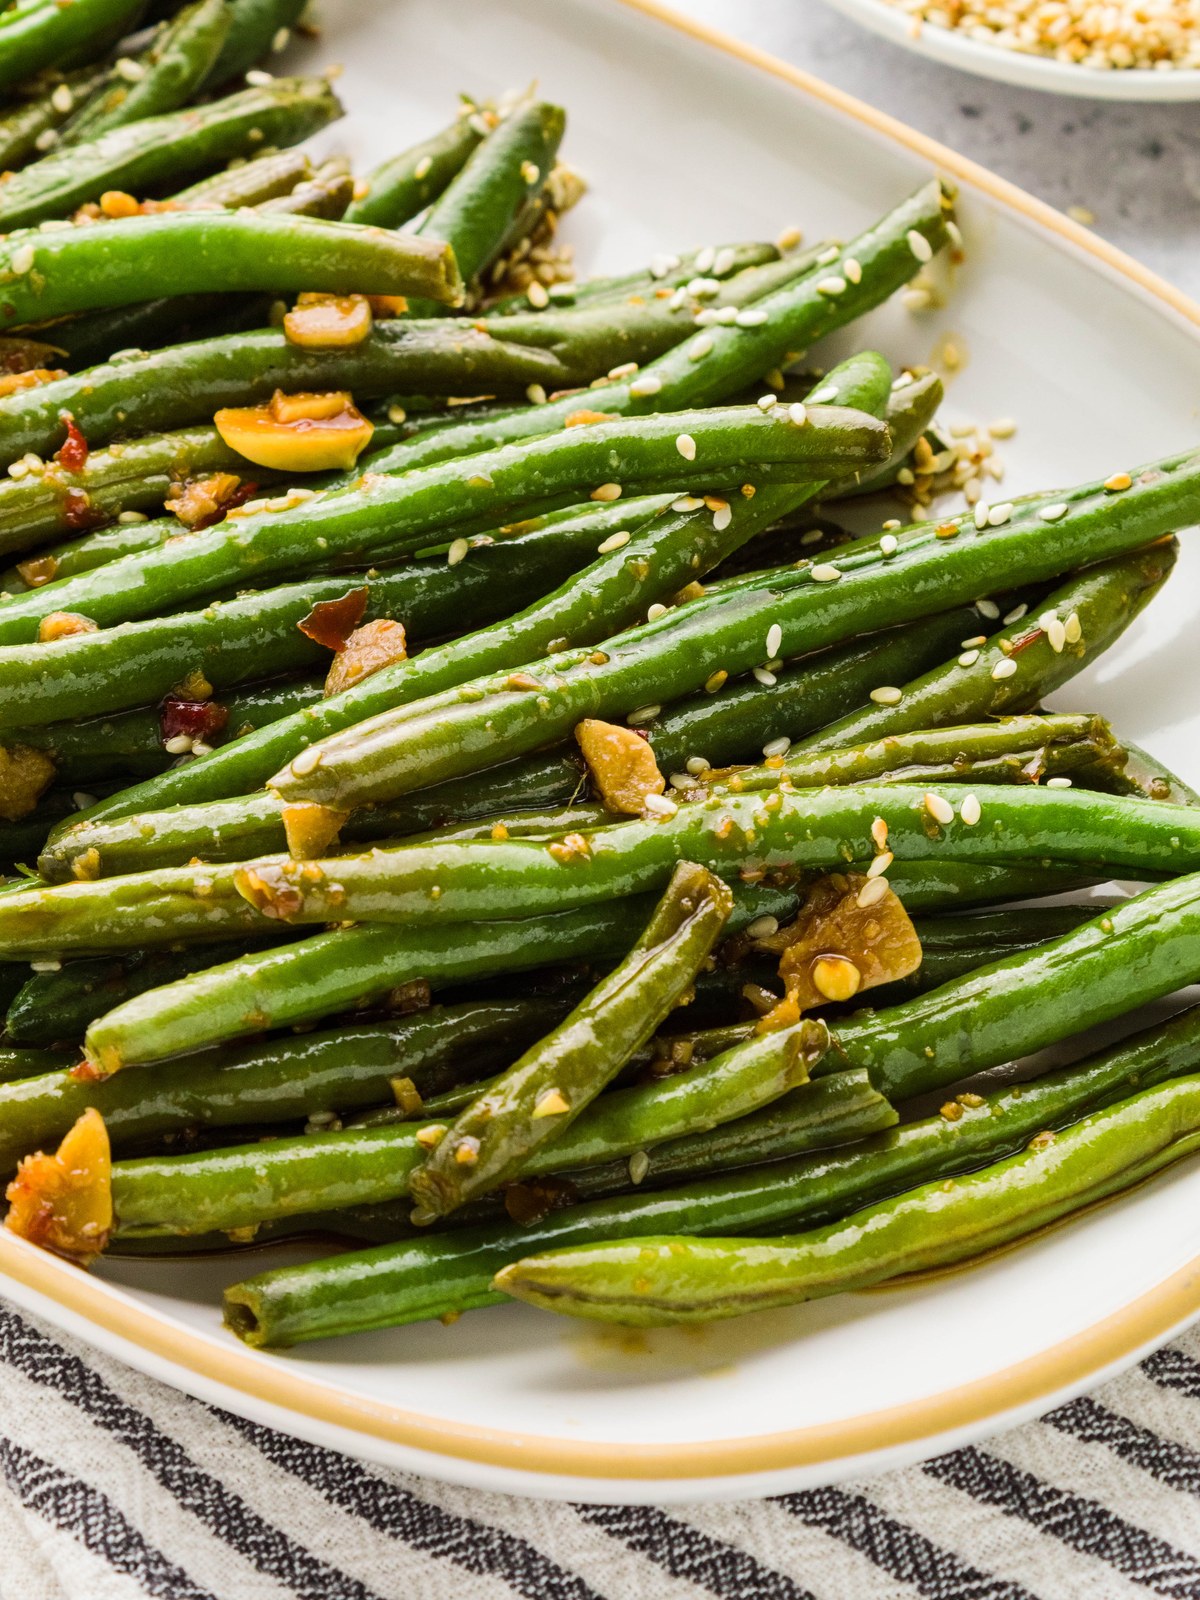
- Step 3: Toss to coat. Drain off any water left in the pan, pour in the sauce, and toss until every bean is glossy.
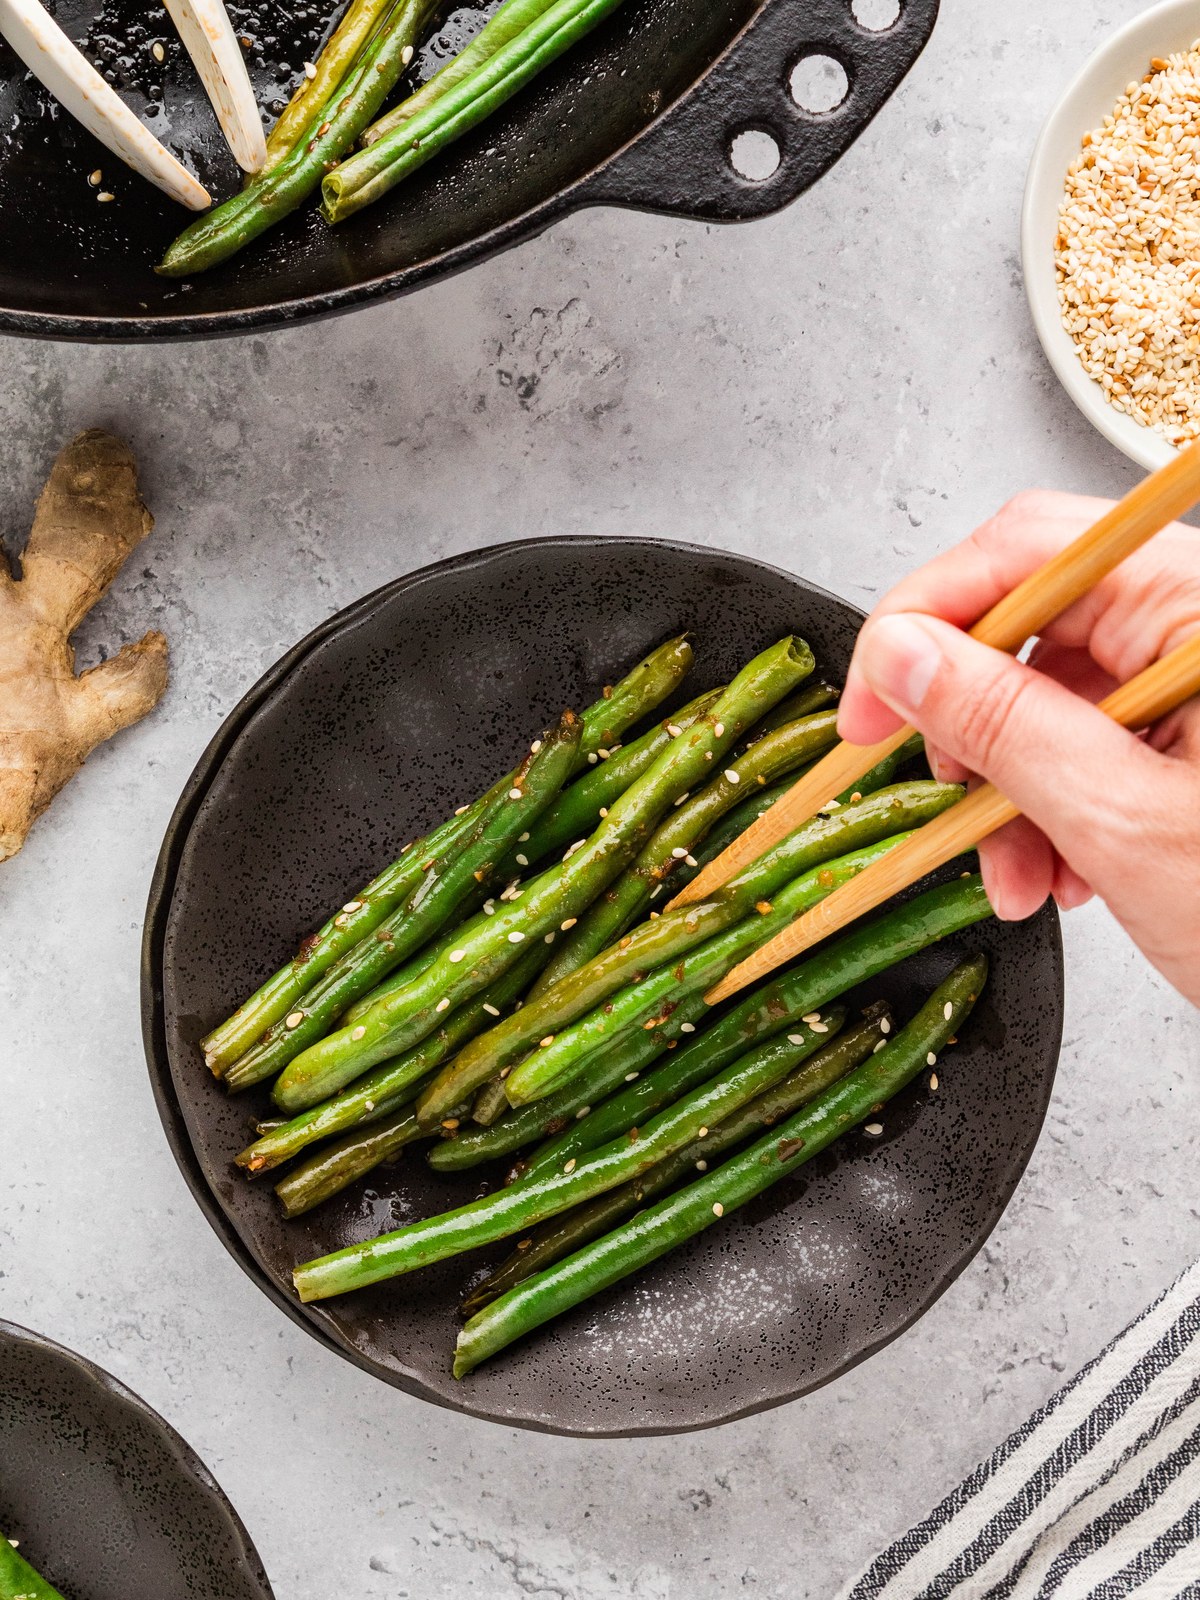
- Step 4: Serve warm. Top with toasted sesame seeds and get them to the table while they are hot.
Variations
- Air Fryer: Cook the beans at 375°F for 8 to 10 minutes, then toss them in the sauce. This frees up the stovetop when the rest of dinner needs the burners.
- Different Vegetables: Broccoli, Brussels sprouts, and bok choy all take this same sauce well.
- Make It a Meal: Add shrimp, sliced chicken, or cubed tofu and serve the whole thing over rice.
- More Heat: Extra chili garlic sauce, a pinch of red pepper flakes, or a spoonful of chili crisp stirred in at the end.
- No Heat at All: Leave the chili garlic sauce out. The sauce still works fine on the balance of soy, honey, and vinegar.
- Nutty Finish: Chopped peanuts or cashews instead of sesame seeds.
- Mind the Bean Variety: Haricots verts are thinner and need about half the steaming time. Chinese long beans need a minute or two more. Check at the low end of the range and go from there.
Expert Tips
- Do not crowd the pan. This is the number one reason green beans come out soggy. Doubling the batch into one skillet turns a sear into a steam. Use two pans or cook in batches.
- Keep the lid on at the start. Steaming is what keeps the beans bright green with some crunch left in them.
- Watch the clock at the end. These cook fast. A couple of minutes too long and they go brown, soft, and limp.
- Dry the beans before they hit the pan. Surface water has to boil off before anything can start browning.
- Slice the garlic instead of mincing it. Minced garlic scorches in a hot cast iron pan. Slices hold up.
- Taste before you add any salt. The sauce reduces fast and the soy concentrates as it does, so the seasoning window is narrower than you would think.
What to Serve With Asian Green Beans
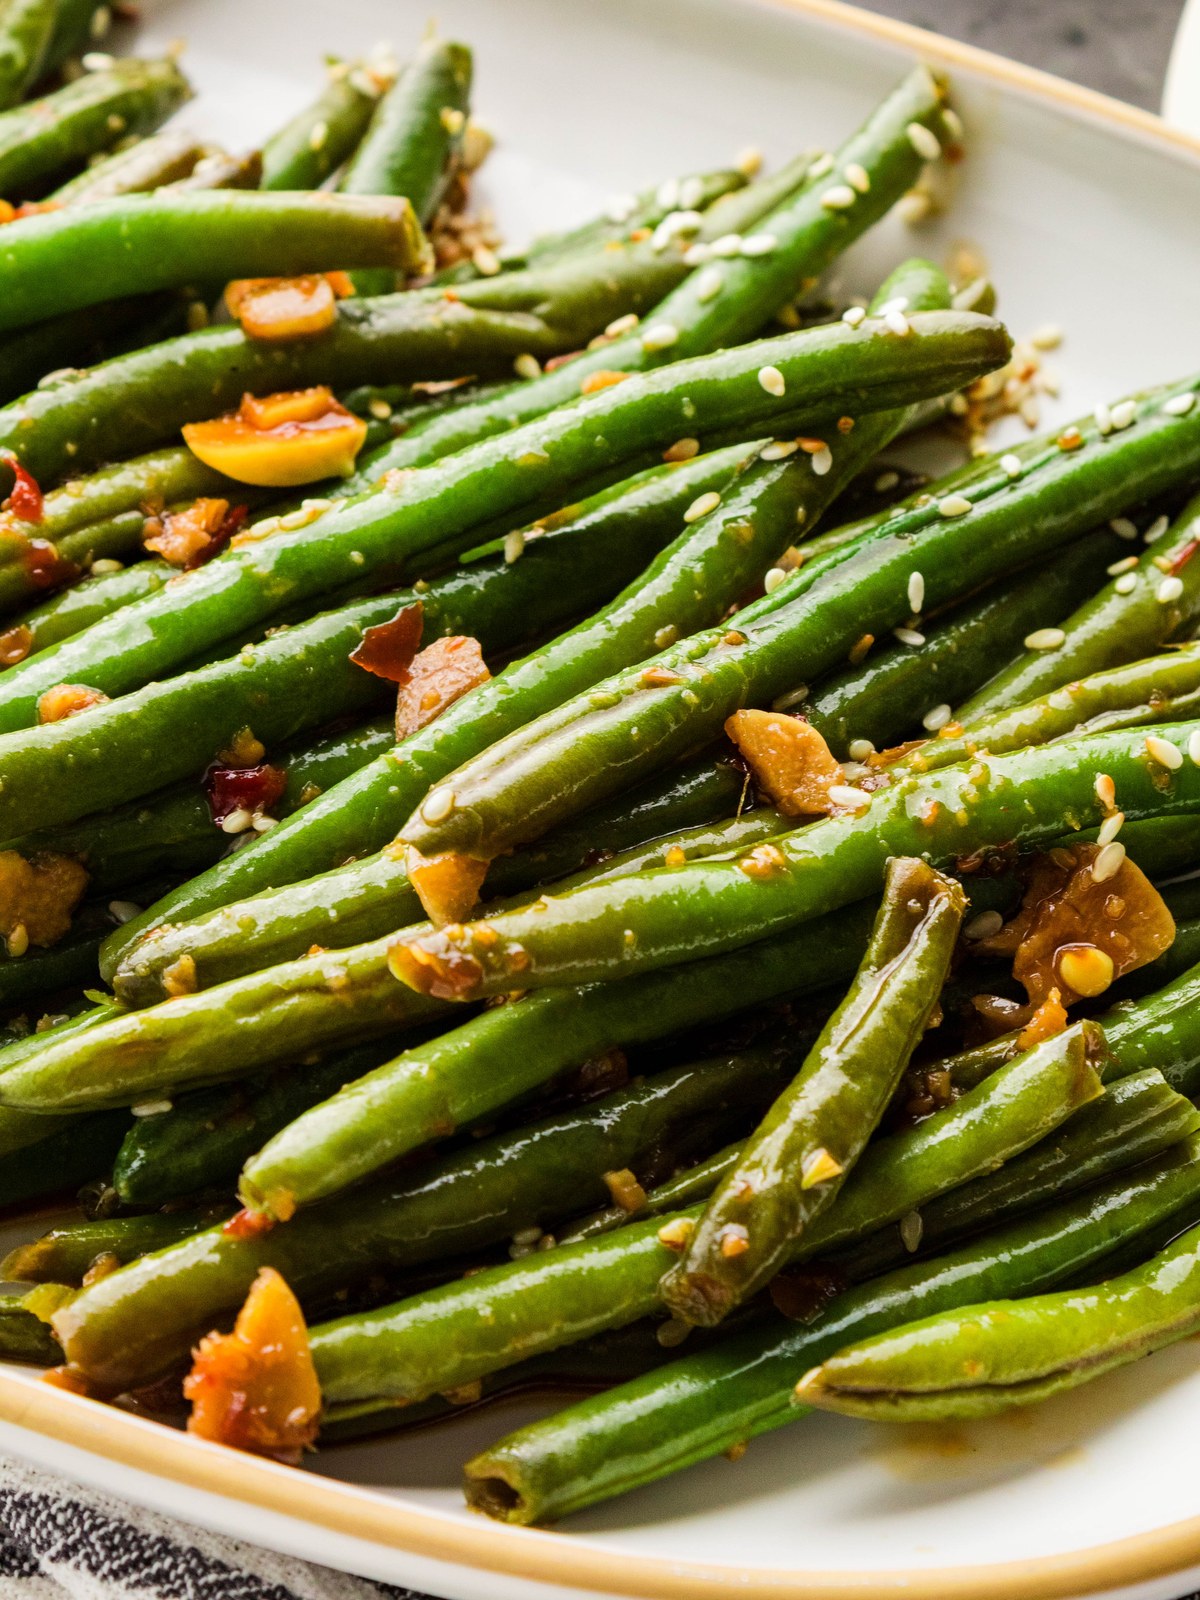
These work with just about anything, whether the rest of dinner is leaning takeout or not.
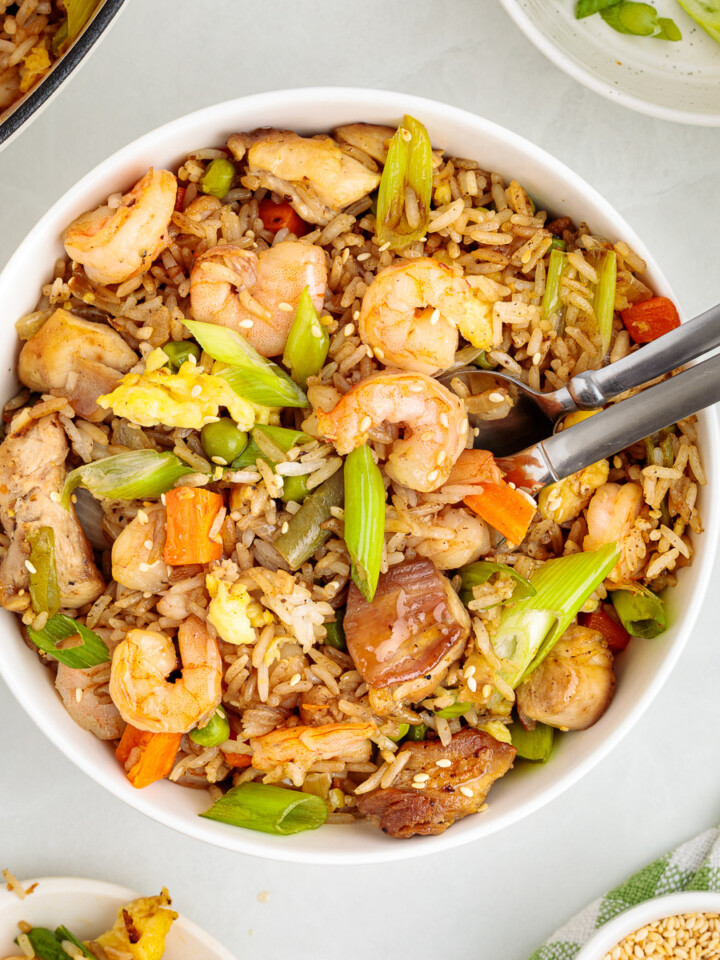
- Chicken and shrimp fried rice makes this a full meal with almost no extra effort.
- Teriyaki BBQ chicken hits a lot of the same flavor notes.
- Ground turkey stir fry for a weeknight that needs to be quick and lean.
- A simple roasted chicken, for a night that is not trying to be Asian at all.
- Grilled or baked tofu, either alongside or tossed together stir fry style.
- Dumplings and steamed rice.
Make Ahead and Storage
In the fridge. Let the green beans cool completely, then transfer them to an airtight container. They keep for 3 to 4 days.
Reheating on the stovetop. This is the better method. Add the beans to a skillet over medium heat with a tablespoon of water and stir occasionally until heated through, about 5 minutes.
Reheating in the microwave. Two minutes on high in a microwave safe bowl, then let them rest for a minute before serving.
In the freezer. Cool completely, move to a resealable bag, and freeze for up to 3 months. I will be straight with you: the texture softens noticeably after freezing, so only go this route if you are fine with that trade.
Making them ahead for a holiday table. Steam the beans and whisk the sauce up to a day in advance, but keep them separate in the fridge. Toss and reheat right before serving. Beans that sit in the sauce for hours go limp and lose their color, which is the whole reason people end up disappointed in a make-ahead green bean.
Frequently Asked Questions
You can, and here is how to do it right. Thaw them completely, pat them dry with a towel, and let them air dry for a few minutes. Frozen beans hold a lot of water, and that water has to cook off before anything can brown. Skip the steaming step entirely since they are already soft, get the skillet hotter than usual, and give them a few extra minutes in the dry pan before the sauce goes in. They will not have quite the same snap as fresh, but they are still very good.
Almost always one of three things. The pan was crowded, so the beans steamed in their own moisture instead of searing. The beans went into the pan wet. Or they simply cooked too long. Green beans go from tender-crisp to limp in about two minutes, so start checking at the low end of the time range. If you are doubling the recipe, use two skillets rather than piling everything into one.
No. The two tablespoons of water and the lid do the same job in the same pan, which saves you a pot, a colander, and about ten minutes. The lid steams the beans through, then the water cooks away and the pan gets hot and dry again, so the beans still brown before the sauce goes on.
Swap the soy sauce for tamari or coconut aminos, and adjust for the difference. Tamari is saltier and less sweet than regular soy sauce, while coconut aminos are sweeter and lower in sodium, so you may want to pull the honey back slightly. Also check the label on your chili garlic sauce, since many brands contain wheat.
Yes, with one adjustment. Steam the beans and whisk the sauce up to a day ahead, but keep them separate in the fridge. Toss them together and reheat just before serving. Beans that sit in the sauce for hours go soft and lose their color.
Thermal mass. When a pound of cold green beans hits a thin pan, the temperature crashes and the beans stew instead of browning. Cast iron holds its heat and recovers fast, so you get real color on the beans. A carbon steel wok does the same job if you have one. The sauce is only in the pan for about a minute, which is not long enough to affect a well-seasoned surface.
More Delicious Recipes
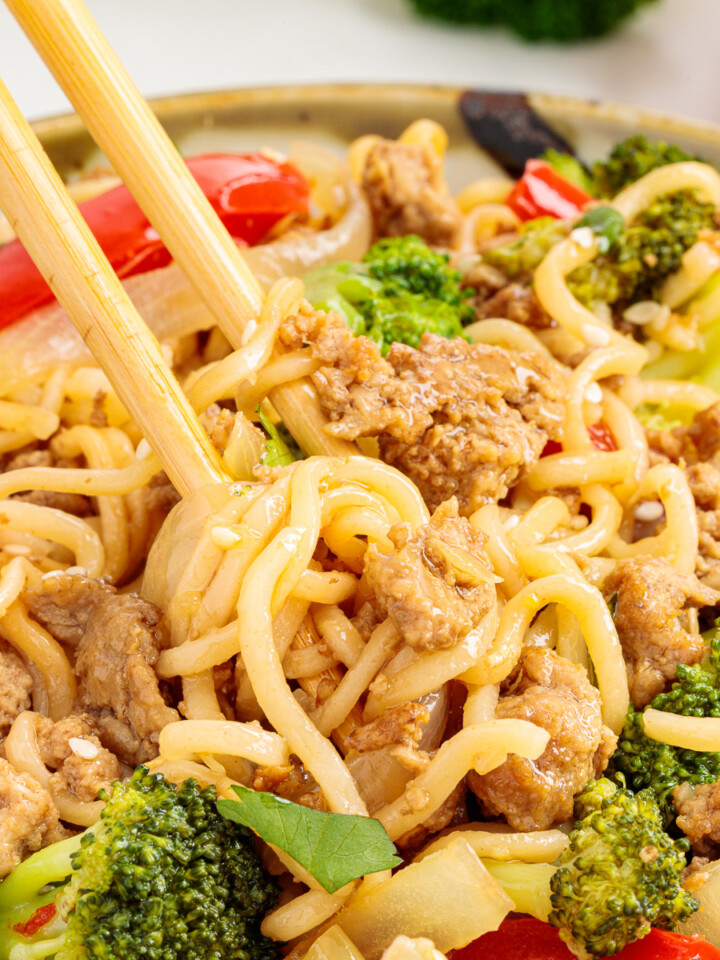
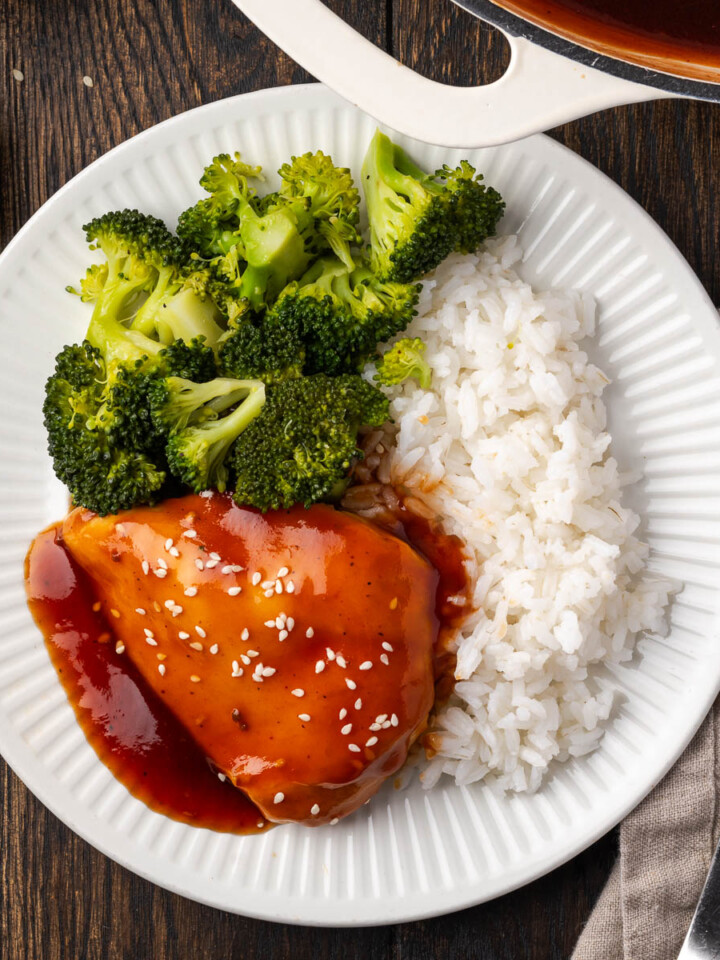
If you tried these Asian Green Beans or any other recipe on my website, please leave a 🌟 star rating and let me know how it went in the 📝 comments below. Thanks for visiting!
Get the Recipe
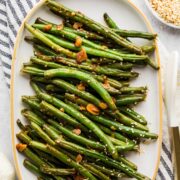
Asian Green Beans
Equipment
- 1 Mixing bowl
Ingredients
- 12 ounces green beans washed and trimmed
- 2 tablespoons water
- 2 tablespoons soy sauce
- ½ tablespoon rice wine vinegar
- 2 teaspoons honey
- 1 ½ teaspoons chili garlic sauce
- 2 cloves garlic sliced
- 1 teaspoon ginger grated
- 1 teaspoon sesame oil optional
- Toasted sesame seeds or everything bagel seasoning optional garnish

Instructions
- Heat a cast iron or heavy bottomed skillet over medium high heat.
- Add the green beans and water and cover with a lid to steam for 3 to 5 minutes, or until the green beans are tender but still firm.
- Meanwhile, in a small mixing bowl, whisk together the soy sauce, rice wine vinegar, honey, chili garlic sauce, garlic, ginger, and sesame oil until well combined.
- Drain off any remaining water and add the sauce to the green beans, tossing to coat.
- Serve warm, topped with toasted sesame seeds or everything bagel seasoning if desired.
Notes
- Do not crowd the pan. This is the number one cause of soggy green beans. Doubling the batch into one skillet turns a sear into a steam. Use two pans or cook in batches.
- Keep the lid on at the start. Steaming is what keeps the beans bright green with a little crunch left in them.
- Watch the clock at the end. These cook fast. A couple of minutes too long and they go brown, soft, and limp.
- Dry the beans before they hit the pan. Surface water has to boil off before anything can brown.
- Slice the garlic instead of mincing it. Minced garlic scorches in a hot cast iron pan. Slices hold up.
- Taste before you add salt. The sauce reduces fast and the soy concentrates as it does.
Nutrition
Dutch Oven Daddy is not a dietician or nutritionist, and any nutritional information shared is only an estimate. We recommend running the ingredients through an online nutritional calculator if you need to verify any information.
Edward says
Oh this is my new favorite side! So delicious! Thank you!